


Building a DIY Wooden Loft Bed with Storage: The Definitive Guide for Maximizing Small Bedroom Space
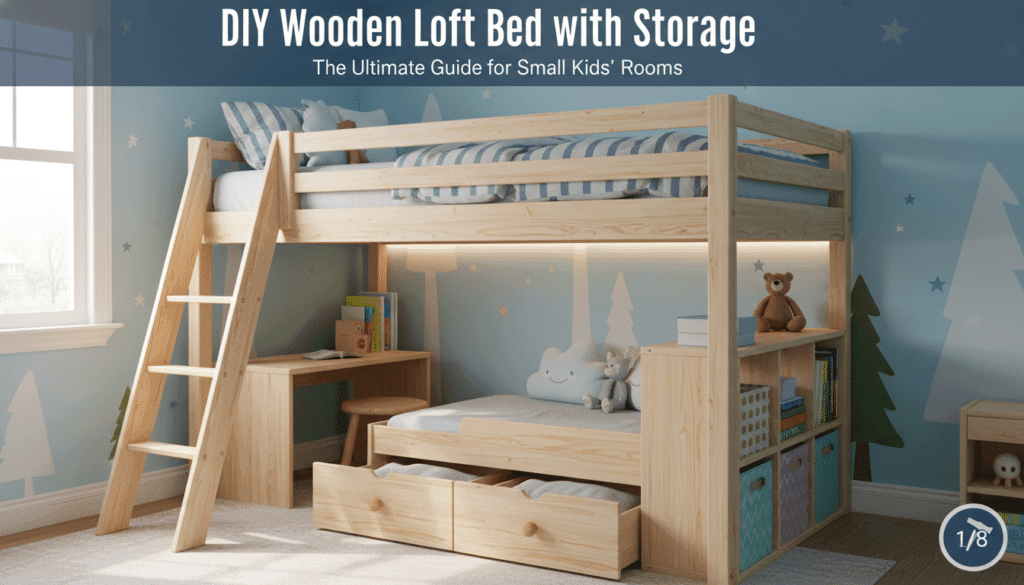
When it comes to designing a child’s bedroom, space is often the most significant constraint parents face. A DIY wooden loft bed with storage is the single most effective way to reclaim floor space while providing a functional and fun environment for your child. In this comprehensive guide, we will walk you through every stage of planning, building, and finishing a custom loft bed that incorporates essential storage elements like shelves, drawers, or a built-in desk. By elevating the sleeping area, you effectively double the usable square footage of the room, allowing for play areas or study zones that were previously impossible. Many homeowners look to the history of elevated sleeping systems to understand how verticality has always been a solution for cramped living quarters.
Key Takeaways for Successful Loft Bed Construction
- Always prioritize structural safety and weight limits when selecting lumber.
- Measure the room height twice to ensure there is enough clearance for the child to sit up.
- Incorporate storage early in the design phase to maintain structural integrity.
- Use high-quality fasteners and wood glue for long-lasting joints.
- Consult professional safety guidelines for guardrail heights and ladder spacing.
Why Choose a DIY Loft Bed for a Small Room?
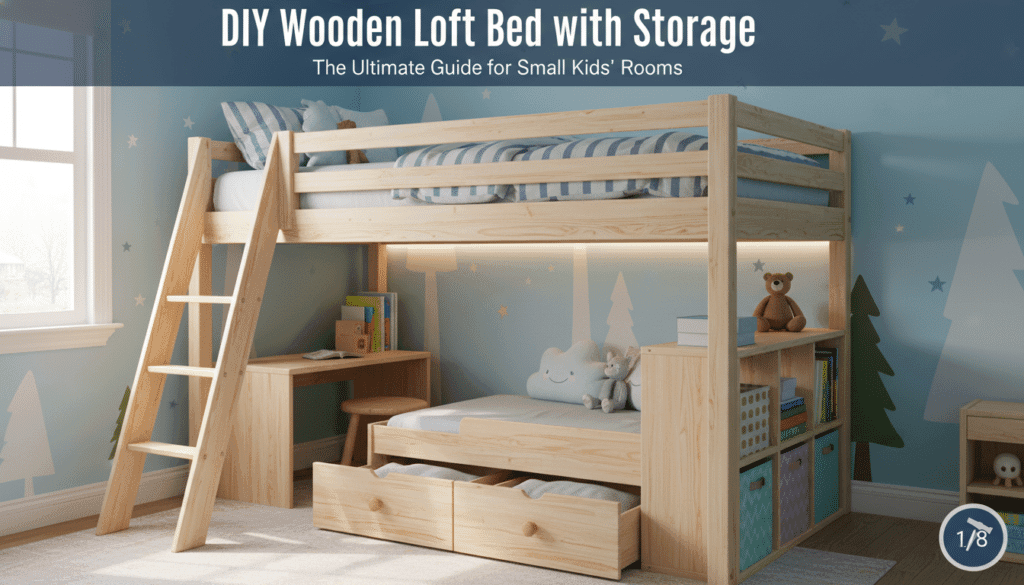
The primary benefit of a loft bed is its ability to utilize vertical space that otherwise goes to waste. Traditional beds occupy a large footprint, but a lofted design frees up that area for creative storage solutions or a workspace. Unlike store-bought furniture, which often uses particle board or flimsy materials, building it yourself allows you to use solid wood, ensuring the piece will last for years. If you are new to complex projects, you can explore our comprehensive woodworking guides to familiarize yourself with basic joinery techniques. Customization is another major advantage, as you can tailor the dimensions to fit awkward corners or specific ceiling heights. For those who find the DIY process daunting, our professional woodworking services are always available to help refine your designs.
Safety Standards and Regulations
Before you pick up a saw, you must understand the safety requirements for elevated beds. The Consumer Product Safety Commission (CPSC) provides strict regulations regarding guardrail height and the gap between the bed frame and the wall. According to the Consumer Product Safety Commission (CPSC) guidelines, guardrails should extend at least 5 inches above the top of the mattress. Never compromise on safety features like sturdy ladders and rounded edges to prevent injuries. Ensuring that the bed is anchored to wall studs provides an extra layer of stability that is crucial for active children.
Planning Your Project: Measurements and Materials
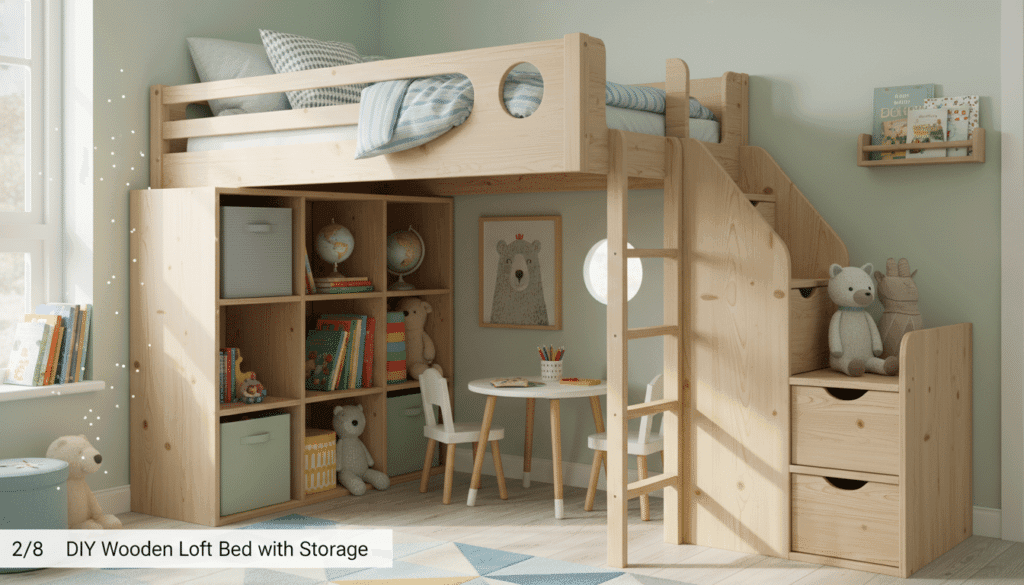
Planning is the most critical phase of any woodworking project. Accurate measurements of the room and the mattress are the foundation of a successful build. Start by measuring the ceiling height; ideally, you want at least 30 to 36 inches of space between the top of the mattress and the ceiling. Selecting the right wood species is also essential for both aesthetics and strength. For most DIYers, kiln-dried pine or Douglas fir from a local lumber yard is the most cost-effective choice. However, if you want a premium finish, consider hardwoods like oak or maple. Always look for wood certified by the Forest Stewardship Council (FSC) to ensure your materials are sustainably sourced.
Essential Tools List
To complete this project efficiently, you will need a standard set of power tools and hand tools. Investing in a high-quality miter saw and a pocket hole jig will significantly improve the speed and accuracy of your assembly. Here is what you should have in your workshop:
- Miter saw for cross-cutting lumber
- Drill/Driver combo with various bits
- Pocket hole jig (like a Kreg Jig)
- Orbital sander for a smooth finish
- Clamps (the more, the better)
- Tape measure and speed square
Proper tool maintenance and safety gear, including ear protection and safety glasses, are non-negotiable. For specific advice on tool selection, you can contact our experts directly.
Step-by-Step Construction Guide
Step 1: Building the Main Frame
The frame is the skeletal structure that supports the entire bed. Constructing the bed frame with 2×6 or 2×8 lumber provides the necessary strength to support both the mattress and the occupant. Start by cutting your side rails and end rails to size. Use pocket hole screws and wood glue to join the corners, ensuring everything is perfectly square. A square frame prevents the mattress from shifting and ensures the legs will attach correctly. Refer to Encyclopedia Britannica’s overview of wood construction for a deeper understanding of how load-bearing structures distribute weight.
Step 2: Installing the Legs and Support Posts
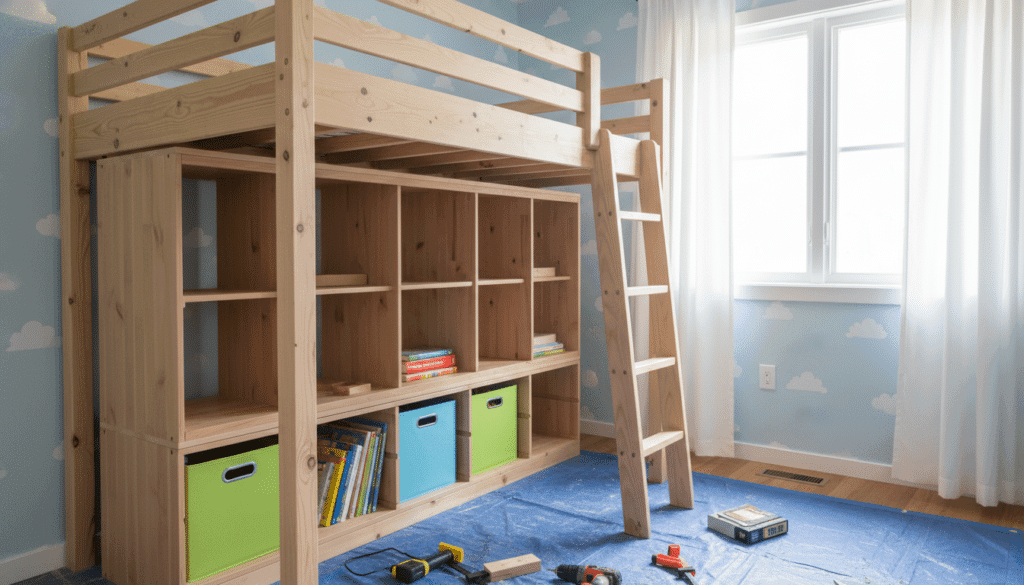
The legs are the pillars of your loft bed. Using 4×4 posts for the legs offers maximum stability and prevents the bed from wobbling during use. Notch the tops of the posts so the bed frame can sit directly on the wood rather than relying solely on the shear strength of the bolts. Secure the frame to the legs using heavy-duty carriage bolts and washers for a permanent, rock-solid connection. This method is much safer than using simple wood screws which can strip or loosen over time.
Step 3: Creating the Slat System
The mattress needs a breathable yet firm base to sit on. Installing a series of 1×4 pine slats spaced no more than 3 inches apart provides excellent mattress support without the need for a box spring. Secure each slat to the internal cleats of the frame using wood screws. Adding a center support rail is recommended for full-size loft beds to prevent sagging in the middle. This ensures the mattress remains flat and comfortable for years to come.
Integrating Storage Solutions Under the Bed
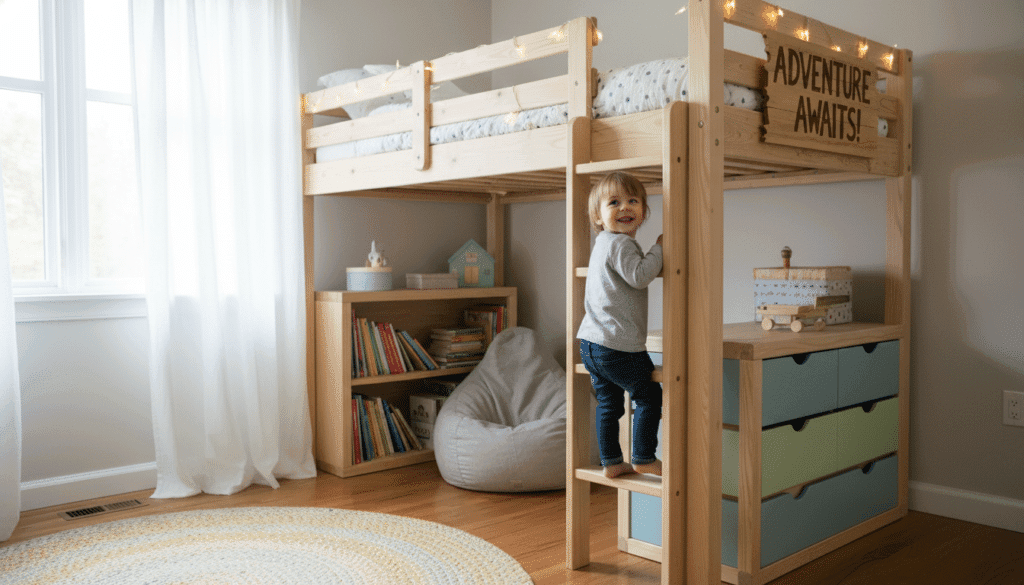
This is where the DIY loft bed truly shines in a small room. The area beneath the bed can be transformed into a modular storage unit that includes drawers, bookcases, or a clothing rod. By building independent shelving units that fit snugly between the legs, you add additional structural rigidity to the entire assembly. Designing built-in drawers with soft-close slides adds a touch of modern luxury while keeping the room organized. Many designers utilize Architectural Digest space-saving techniques to inspire their under-bed configurations.
Adding a Built-in Desk
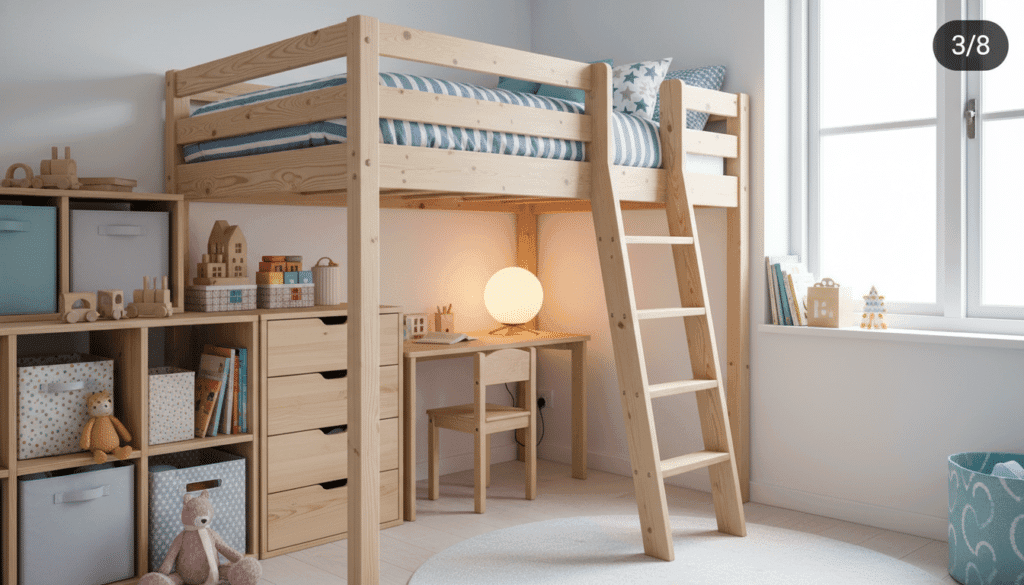
For school-aged children, a desk is a vital addition. Attaching a desktop surface to the back legs of the loft bed creates a quiet, dedicated study nook that doesn’t consume extra floor space. Ensure the desk height is ergonomically correct for your child’s age. You can even incorporate cable management holes to keep computer wires tidy and out of sight. This integration makes the loft bed a multi-functional piece of furniture rather than just a place to sleep.
Finishing Touches: Sanding, Staining, and Painting
The finish of your loft bed determines its aesthetic appeal and durability. Sanding the wood through progressively finer grits—from 80 to 220—is the most important step for achieving a professional look. Once the wood is smooth, you can apply a wood conditioner followed by your choice of stain or paint. Using a water-based polyurethane topcoat provides a hard, protective barrier that is safe for children and easy to clean. If you choose to paint, a semi-gloss or satin finish is ideal for furniture as it resists fingerprints and scuffs.
Ladder and Guardrail Installation
The ladder is often the most used part of the bed and must be built for heavy traffic. Building a slanted ladder with wide treads makes it much easier and safer for children to climb than a vertical ladder with thin rungs. Secure the ladder to both the bed frame and the floor if possible to eliminate movement. Double-check that the guardrails are securely fastened and have no sharp edges that could cause scrapes. Safety is an ongoing process, so periodically check the tightness of all bolts and screws as the wood settles and seasons over time.
Maintenance and Longevity
A well-built wooden loft bed can last a lifetime with proper care. Wood is a natural material that expands and contracts with changes in humidity, so checking the hardware annually is essential. If you notice any squeaking, a simple tightening of the carriage bolts usually solves the problem. Re-applying a coat of wax or polish every few years will keep the wood looking vibrant and protected. For more tips on maintaining your custom furniture, visit our guides section frequently for updated maintenance protocols.
Conclusion: Transforming Your Child’s Room
Building a DIY wooden loft bed with storage is a challenging but immensely rewarding project. By following this guide, you have created a piece of furniture that is safer, stronger, and more functional than anything found in a big-box store. You have maximized a small room’s potential and provided your child with a unique space that they will cherish. The skills you have gained during this build will serve as a foundation for many more woodworking adventures in the future. Don’t forget that the key to a successful project is patience and precision.
Final Thoughts on Small Space Design
In the world of interior design, every inch counts. A loft bed is not just a bed; it is a comprehensive room solution that addresses sleeping, storage, and study needs in one footprint. As your child grows, the space underneath can be adapted to meet their changing needs, whether that means more storage or a larger desk. Embracing the DIY spirit allows you to create a home that is truly tailored to your family’s lifestyle. Happy building!