


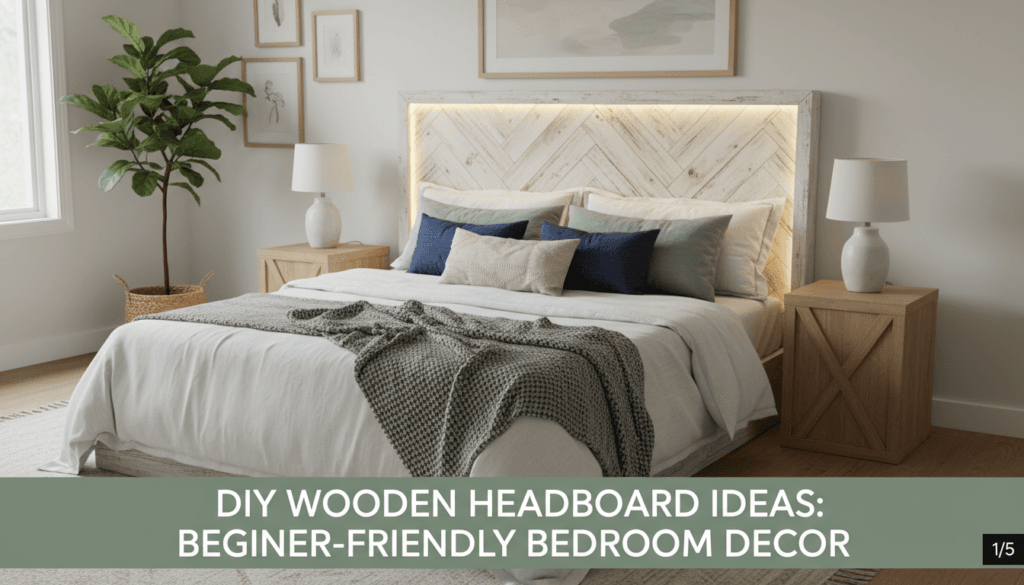
DIY Wooden Headboard Ideas for Bedroom Decor Beginners
Transforming your bedroom into a cozy sanctuary often starts with a single, impactful focal point, and nothing serves this purpose better than a beautifully crafted DIY wooden headboard. For many bedroom decor beginners, the prospect of building furniture from scratch might initially seem overwhelming, but creating a headboard is widely considered one of the most accessible and rewarding woodworking headboard projects available. By choosing to build rather than buy, you unlock the ultimate freedom to customize dimensions, wood types, and finishes to perfectly match your specific interior design vision. Learning how to craft a DIY wooden headboard not only saves you hundreds of dollars compared to retail prices, but it also equips you with fundamental woodworking skills that will serve you for a lifetime. Throughout this comprehensive guide, we will explore a variety of beginner-friendly designs, essential tools, step-by-step instructions, and styling tips to ensure your project is a resounding success.
Key Takeaways for Your Headboard Project
- Selecting the right materials and thoroughly planning your design are the most critical steps in ensuring a smooth woodworking process.
- Repurposed materials like pallet wood and reclaimed timber offer budget-friendly and environmentally conscious alternatives for bedroom decor beginners.
- Proper sanding and sealing not only enhance the visual appeal of your DIY wooden headboard but also protect the wood from long-term wear and tear.
- Securely mounting your headboard, whether to the bed frame or directly to the wall studs, is an absolute necessity for safety and structural integrity.
Why Choose a Wooden Headboard for Your Bedroom?
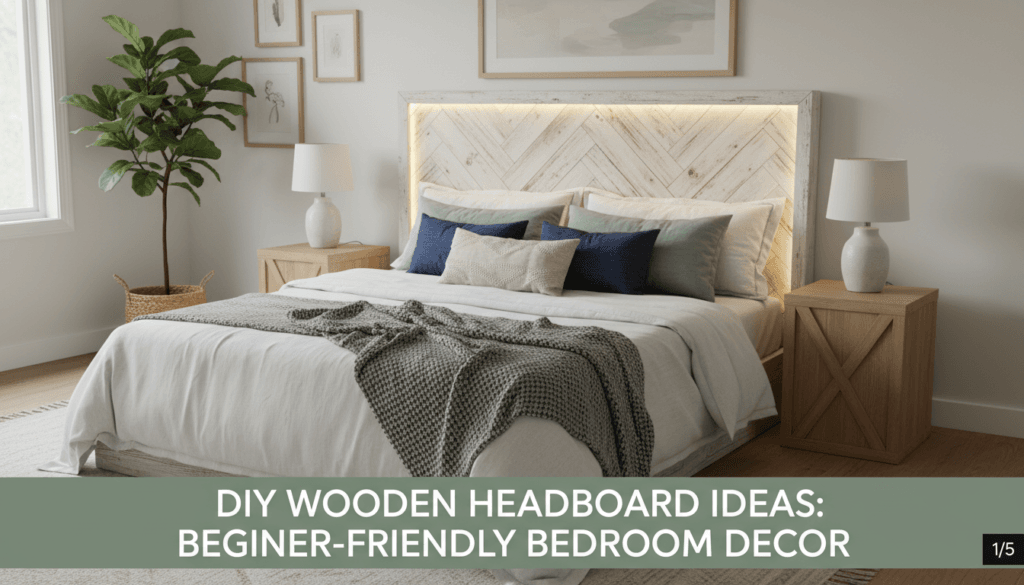
Incorporating natural wood elements into your sleeping space brings an unmatched level of warmth, texture, and organic beauty that synthetic materials simply cannot replicate. Historically, headboards served the practical purpose of insulating sleepers from cold drafts, a fascinating fact you can explore further by reading about the history and function of headboards. Today, they act primarily as the aesthetic anchor of a room, setting the tone for the rest of your decor. For bedroom decor beginners, wood is an incredibly forgiving and versatile medium that can be adapted to fit almost any design style, from rustic farmhouse and mid-century modern to sleek contemporary minimalism. Furthermore, wood naturally complements a wide range of colors and textiles, making it easy to update your bedding and wall colors without needing to replace your furniture. By investing your time in budget headboard ideas, you create a timeless piece that will age gracefully and grow in character over the years.
Another significant advantage of choosing a DIY wooden headboard is the sheer environmental and economic benefit of building it yourself. Many commercially available headboards are constructed from particleboard or MDF, which may contain harsh chemicals and lack the durability of solid wood. By sourcing your own materials, you have complete control over the quality and safety of your furniture, ensuring your bedroom remains a healthy environment. You can even read up on indoor air quality standards to understand why avoiding high-VOC finishes is crucial for pieces kept in your sleeping area. If you are eager to learn more about sustainable practices and safe material selection, be sure to check out our comprehensive beginner woodworking guides for deep dives into eco-friendly crafting.
Essential Tools and Materials for Your First Headboard Project
Gathering the correct tools and high-quality materials before you make a single cut is the foundational secret to a frustration-free woodworking experience. As a beginner, you do not need a fully stocked professional workshop to achieve stunning results; a few carefully selected power tools and hand tools will suffice. Your essential toolkit should include a reliable power drill, a circular saw or miter saw for precise cuts, an orbital sander to smooth out rough edges, and basic measuring tools like a tape measure and a carpenter’s square. If you are unsure which specific brands or models are best suited for beginners, take a moment to review our recommended essential tools list, which breaks down the most cost-effective options on the market. Additionally, you will need a variety of hardware, such as wood screws, wood glue, and mounting brackets, to ensure your DIY wooden headboard is structurally sound.
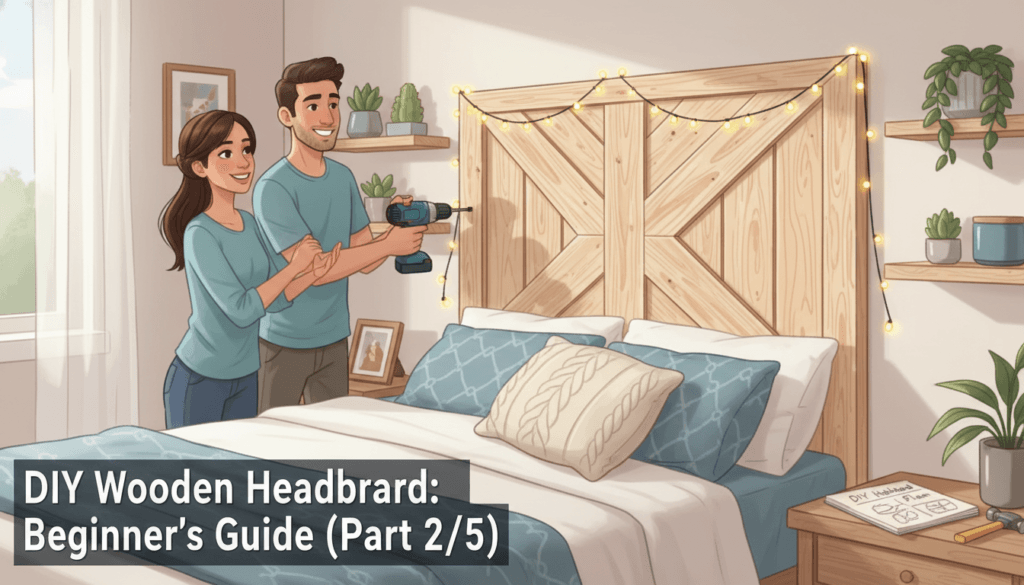
When it comes to selecting materials, the type of wood you choose will drastically influence both the final appearance and the overall cost of your project. For those working within a tight budget, inexpensive softwoods like pine and whitewood are excellent choices, as they are widely available at local home improvement stores and are very easy to cut and sand. If you desire a more luxurious finish, hardwoods such as oak, walnut, or maple offer superior durability and stunning natural grain patterns, though they require a larger upfront investment. You can also explore creative, cost-saving avenues by utilizing reclaimed wood or pallet wood, which injects instant character and a rustic charm into your easy wood crafts. No matter which material you select, always inspect your lumber for excessive warping, deep cracks, or large knots that could compromise the integrity of your build.
Top DIY Wooden Headboard Ideas for Beginners
1. The Classic Reclaimed Wood Headboard
A reclaimed wood headboard is the ultimate statement piece for anyone looking to infuse their bedroom with history, texture, and rustic elegance. This project involves sourcing weathered boards from old barns, fences, or architectural salvage yards, and arranging them into a cohesive panel. Because the wood already boasts natural imperfections, nail holes, and variations in color, this design is incredibly forgiving for beginners who might struggle with achieving perfectly flush joints. To create this look, you typically build a simple plywood backing board and attach the reclaimed planks using wood glue and brad nails in a staggered, brick-like pattern. If you want to see how this style fits into broader room aesthetics, you can explore leading interior design trends to find inspiring ways to pair rustic textures with modern bedding.
2. Easy Pallet Wood Headboard
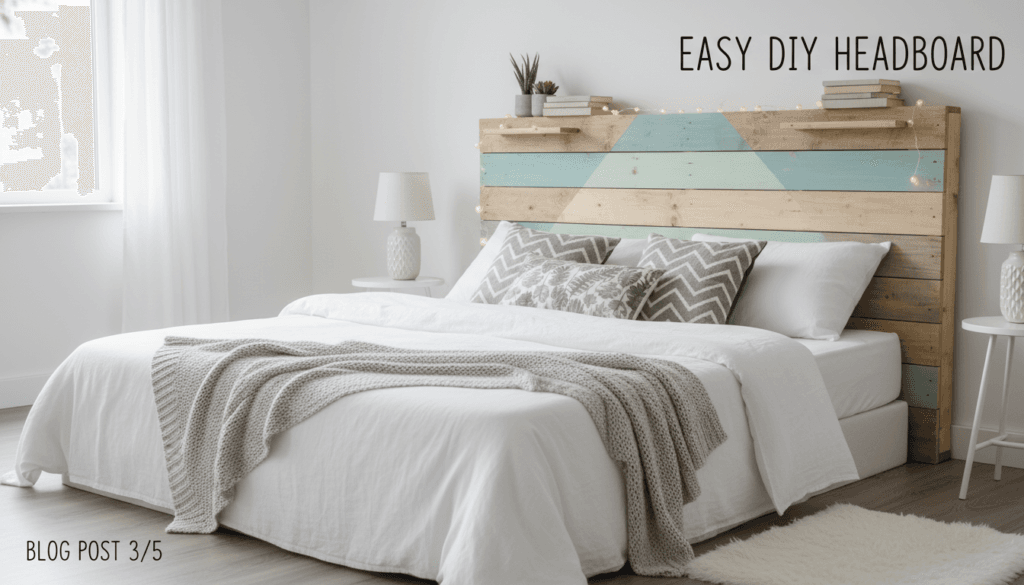
For those searching for truly budget-friendly bedroom decor, repurposing wooden shipping pallets into a stylish headboard is an ingenious and highly popular solution. Pallet wood is often available for free or at a very low cost from local businesses, making it an ideal material for budget headboard ideas. The key to a successful pallet wood project is thorough preparation, as these boards must be carefully dismantled, deeply cleaned, and aggressively sanded to remove splinters and rough patches. Once prepped, the boards can be left in their raw state for an industrial look, or they can be stained in alternating shades to create a dynamic, multi-tonal focal point. For more inspiration on utilizing inexpensive materials, browse through our other exciting bedroom projects tailored specifically for novices.
3. Geometric Plywood Headboard
If your personal style leans more towards modern minimalism or mid-century design, a geometric plywood headboard offers a sleek, contemporary aesthetic that is surprisingly easy to construct. Plywood is incredibly stable, cost-effective, and provides a large, smooth surface that is perfect for painting or applying a clear, natural finish. By cutting a single sheet of high-grade birch or oak plywood into geometric shapes—such as overlapping arches, sharp triangles, or perfectly symmetrical rectangles—you can create a visually striking piece of modern art for your bedroom. The edges can be finished with iron-on edge banding for a professional, seamless look that hides the layered core of the plywood. This project emphasizes precision measuring and clean cuts, making it a fantastic exercise in foundational woodworking skills.
4. Faux Woven Wood Headboard
Achieving the intricate look of a woven headboard without the complex craftsmanship is entirely possible by using cleverly arranged thin wood lattice strips. This design mimics the highly sought-after appearance of woven rattan or cane, which adds a breezy, bohemian texture to your sleeping space. To build a faux woven wood headboard, you construct a solid outer frame and attach thin strips of flexible wood horizontally and vertically across the back, weaving them slightly or simply layering them to create depth. Painting the finished piece in a crisp white or a moody charcoal grey can instantly elevate the perceived value of the headboard. It is an excellent example of how creative bedroom decor for beginners can yield high-end results on a shoestring budget.
5. Minimalist Slatted Wood Headboard
The slatted wood headboard is a hallmark of Scandinavian interior design, celebrated for its clean lines, airy feel, and understated elegance. This project involves attaching uniformly spaced vertical or horizontal wooden slats to a hidden backer board or directly to the wall behind the bed. By leaving consistent gaps between the wooden slats, you create a sense of verticality that can actually make your bedroom ceilings feel significantly higher and the room more spacious. Softwoods like pine or even higher-end woods like walnut look spectacular in this format, especially when treated with a natural oil finish that enhances the grain. This design is relatively straightforward to assemble, provided you use a spacer block to ensure the gaps between each slat remain perfectly uniform throughout the entire installation.
Step-by-Step Guide: Building Your First DIY Wooden Headboard
Step 1: Planning and Measuring Your Space
The foundation of any successful woodworking project lies in meticulous planning and accurate measurements of your specific space. Before purchasing any materials, you must determine the exact width and desired height of your headboard, taking into account the size of your mattress and the height of your bed frame. A standard rule of thumb is to make the headboard at least two to four inches wider than your mattress on each side to create a balanced, substantial appearance. If you need guidance on how to properly assess your room’s dimensions and layout, reviewing proper room measurement techniques can prevent costly sizing errors. Taking the time to sketch out your design and create a precise cut list will streamline the entire building process and eliminate guesswork at the hardware store.
Step 2: Selecting and Preparing Your Wood
Once you have your plans and measurements finalized, selecting the right lumber and preparing it correctly is the next crucial phase of your build. Head to your local lumberyard or home improvement center and take your time inspecting each board for straightness, avoiding any pieces that are bowed, cupped, or heavily twisted. After bringing your wood home, it is highly recommended to let it acclimate to the humidity levels inside your house for a few days before making any cuts. This acclimation period prevents the wood from warping or splitting after your DIY wooden headboard has been assembled. Once acclimated, cut your boards to the lengths specified in your cut list, ensuring your saw blade is sharp for clean, tear-out-free edges.
Step 3: Assembling the Headboard Structure
Assembling the structural frame of your headboard requires patience, precision, and the correct application of joining techniques to ensure long-lasting stability. For most beginner designs, assembling a framework of two-by-fours or one-by-threes serves as the sturdy backbone to which your decorative facade will be attached. Using a combination of high-quality wood glue and strategically placed wood screws or pocket hole joinery guarantees that your headboard will easily withstand nightly use without squeaking or wobbling. Always work on a flat, level surface and use a carpenter’s square frequently to verify that your corners are perfectly angled at ninety degrees. If you encounter any structural issues or need personalized guidance during your build, do not hesitate to reach out to our expert team for advice.
Step 4: Sanding, Staining, and Sealing
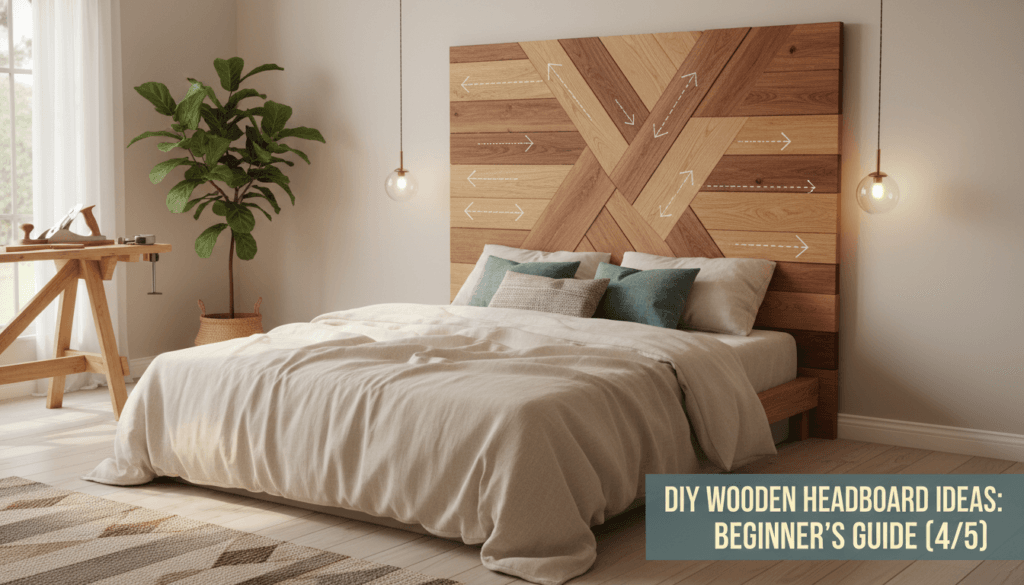
The finishing process is where your raw lumber truly transforms into a polished, professional-looking piece of custom furniture. Begin by aggressively sanding the entire assembled headboard using a progression of sandpaper grits, starting with a coarse 80-grit to remove major imperfections and finishing with a fine 220-grit for a silky smooth surface. Applying a high-quality wood stain can dramatically alter the aesthetic of your headboard, allowing you to match inexpensive pine to the rich, dark tones of walnut or mahogany. For comprehensive advice on selecting the best stains and topcoats for your specific wood type, consult resources on expert woodworking finishes to achieve a flawless result. Finally, always seal your project with at least two coats of polyurethane or a natural wax finish to protect the wood from moisture, skin oils, and everyday wear.
Step 5: Safely Mounting Your Headboard
Ensuring that your newly crafted headboard is securely mounted is paramount for both your personal safety and the protection of your bedroom walls. There are three primary methods for installing a headboard: attaching it directly to your existing metal bed frame using bolts, mounting it flush against the wall using a heavy-duty French cleat system, or building sturdy wooden legs that allow it to be freestanding. For heavier solid wood designs, the French cleat method is highly recommended, as it distributes the substantial weight of the headboard evenly across multiple wall studs. Always use a high-quality stud finder and heavy-duty anchors if you must drill into drywall where a stud is not present. Properly securing your piece is the final, satisfying step in your woodworking headboard projects journey.
Tips for Styling Your New DIY Wooden Headboard
The true magic of a custom headboard is fully realized when it is thoughtfully integrated into your broader bedroom decor scheme. Your new wooden focal point serves as the perfect backdrop for experimenting with different textures, colors, and lighting choices. To soften the hard, architectural lines of the wood, pile your bed high with plush, contrasting textiles such as chunky knit throw blankets, velvet accent pillows, and crisp linen duvet covers. Installing wall-mounted sconces on either side of the headboard not only provides functional reading light but also casts beautiful, dramatic shadows that highlight the natural grain and texture of the wood. Should you eventually want to redesign your entire room around your new piece, our professional custom design services can help you curate a cohesive, magazine-worthy look.
Maintenance and Long-Term Care for Wood Furniture
Protecting your investment of time and effort requires a minimal but consistent maintenance routine to keep the wood looking pristine for decades. Dust your headboard weekly using a soft, dry microfiber cloth to prevent dirt from settling into the grain or the crevices of the design. Avoid using harsh chemical cleaners or silicone-based dusting sprays, as these can gradually degrade the protective sealant and leave a cloudy residue on the wood’s surface. Instead, if the headboard requires a deeper clean, lightly wipe it down with a damp cloth and a mild soap solution, immediately drying it with a separate towel. Reapplying a thin layer of furniture wax every year or two will rejuvenate the finish, ensuring your DIY wooden headboard remains the breathtaking centerpiece of your bedroom.
Conclusion
Tackling a DIY wooden headboard is arguably one of the most empowering and transformative projects a beginner can undertake in the realm of home decor. It provides an unparalleled opportunity to learn fundamental woodworking skills while simultaneously crafting a bespoke piece of furniture that perfectly encapsulates your personal style. From selecting the ideal cuts of lumber to applying the final protective coat of sealant, every step of the process connects you deeper to your living space, proving that luxury and customization do not have to come with a staggering price tag. By leveraging the easy wood crafts and techniques detailed in this guide, you are well on your way to elevating your bedroom into a true sanctuary. Embrace the inevitable imperfections as markers of your unique craftsmanship, and sleep soundly knowing you built something beautiful with your own two hands.