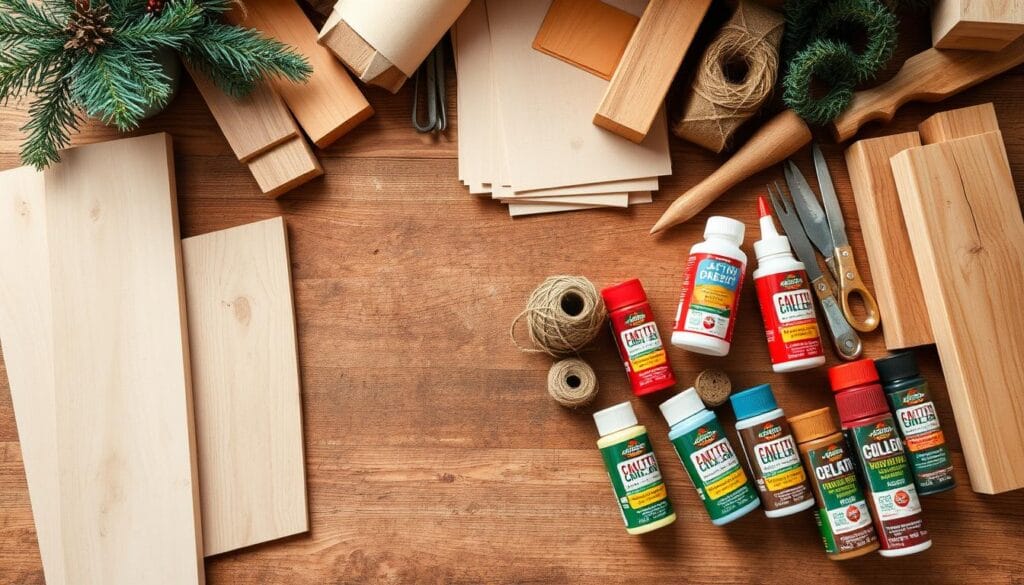
Last winter, I stumbled upon a box of scrap lumber in my garage while searching for holiday supplies. Instead of tossing it, I decided to try something new – crafting a minimalist tree centerpiece. What started as a weekend project became the talk of our family gathering, with cousins begging to take home their own versions. That’s when I realized how powerful handmade touches can be for holiday cheer.
This experience inspired me to explore budget-friendly ways to personalize seasonal decor. Whether you’re drawn to sleek black-and-white designs or cozy distressed finishes, wooden creations offer endless styling potential. The best part? You likely have most materials already – leftover planks, paint samples, and that half-used glitter jar from last year.
Through trial and error, I’ve perfected techniques that take less than 4 hours of active work. These crafts aren’t just quick – they’re durable enough to last through multiple celebrations. One of my first unique wooden ornaments still graces our mantel eight years later, looking as charming as ever.
What makes these crafts special goes beyond savings. They let you infuse personality into every corner – think tabletops, entryways, or even thoughtful gifts for neighbors. I’ll show you how to adapt designs for any space, using simple tools and colors that complement your existing home aesthetic. Ready to create something truly yours?
Gathering Materials and Tools for Your DIY Project
Picture this: You’re ready to start creating, but halfway through, you realize you’re missing a critical tool. Been there! Let’s avoid that frustration together. First things first – let’s build your supply arsenal without breaking the bank or your spirit.

Essential Supplies Overview
Start with two 6-foot pine boards or scrap wood pieces – I’ve made stunning holiday-themed creations using leftover pallets. Your toolkit should include:
- A miter saw (or borrow one from hardware stores)
- 220-grit sandpaper for smooth edges
- Wood glue that dries clear
- Purdy brushes for streak-free painting
Budget-Friendly Alternatives and Sourcing Tips
Here’s my golden rule: Never pay full price for supplies. Check local Facebook Marketplace for discounted tools, or visit hardware stores during paint clearance sales. For personalized ornaments, repurpose old picture frames into decorative elements.
Three money-saving hacks I swear by:
- Use sample paint pots instead of full cans
- Substitute nail guns with strong adhesive strips
- Create wood filler using sawdust and glue
Remember – the best projects adapt to what you have. That “imperfect” scrap board? It’ll add character no store-bought piece can match!
Step-by-Step Cutting and Assembly of Wood Pieces
Remember that moment when you first held a saw, unsure where to begin? I’ve been there too. Let’s turn those jitters into confidence with a clear roadmap for shaping your creation.
Precise Cutting Techniques and Angles
Start with two foolproof methods I’ve tested:
- 30-degree angle method: Perfect for beginners – creates gentle slopes
- 45-degree approach: Ideal for dramatic triangular shapes
For the 30-degree style, cut:
- Two 3½” trunk pieces
- Eight 5¼” bottom limbs
- Two 10¼” base supports
Pro tip: Use your first cut piece as a template. Trace its angles onto other boards with a silver sharpie – no measuring twice!
Assembling Your Tree Structure with Care
Grab your wood glue and follow this rhythm:
- Lay base pieces overlapping by 1″
- Stack limbs upward, alternating directions
- Weight with canned goods if clamps won’t fit
I learned the hard way: Work on level ground. Check alignment with a carpenter’s square every three pieces. Let each layer dry 20 minutes before adding the next – patience prevents sliding!
For visual learners, my complete visual guide shows exact placement sequences. Remember – slightly uneven edges add rustic charm. Your handmade touch makes it special!
Sanding Techniques for a Smooth, Professional Finish
Sanding transformed my projects from rough to refined – and it’s simpler than most think. The secret lies in two things: choosing the right grit and mastering dust control. Let me walk you through the process that’ll make your creation feel store-bought.
Choosing the Right Sandpaper for Each Step
I stick with 220-grit paper for final smoothing. It’s coarse enough to tackle saw marks but gentle on details. Always move with the wood’s grain – you’ll feel less resistance and avoid scratches. For tight corners, fold the paper into thirds instead of using bulky tools.
Effective Dust Removal with Tack Cloth
Here’s where many rush: wiping surfaces with a dry rag just pushes particles deeper. Tack cloth’s sticky texture grabs every speck. Press lightly and work in one direction – your final coat will thank you. Pro tip: Wear nitrile gloves to keep resin off your hands!
Electric sanders save time, but hand-sanding offers better control for smaller pieces. Whichever method you choose, my step-by-step sanding guide shows how to prep surfaces for paint or stain. Remember: A smooth base makes all finishes look intentional, not accidental.
