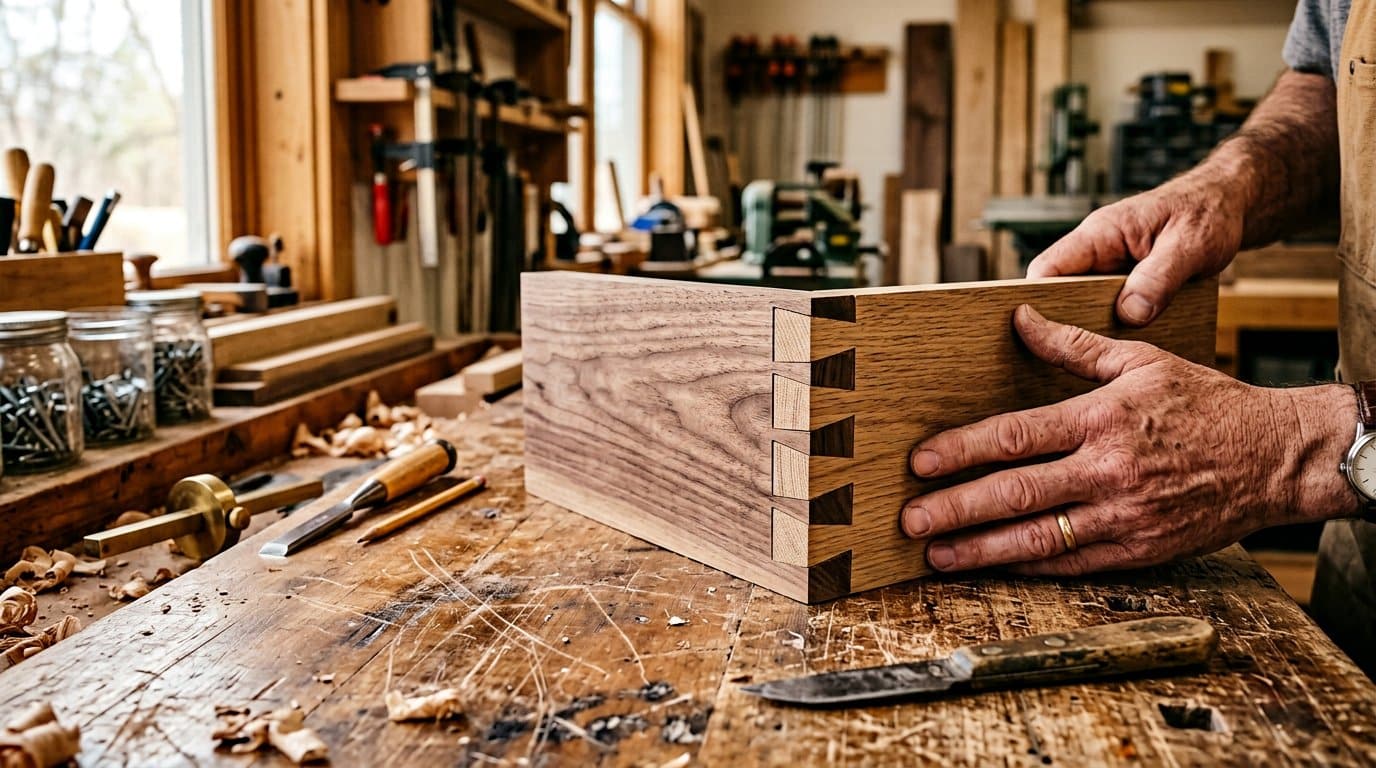
There is a moment in every beginner’s woodworking journey when the project stops being about cutting straight lines and starts being about holding things together. You can saw a perfect board and still build a wobbly shelf, because the difference between a weekend project and a piece of furniture is almost always the joints. This guide is the one I wish I had on day one: the seven joints worth learning first, what each one is actually strong at, and how to choose between them without over- or under-building.
Quick answer: learn these seven in this order — butt, miter, half-lap, dado, pocket-hole, dowel, mortise-and-tenon (with dovetail as the advanced finale). Start with pocket-hole joints for your first real furniture: one cheap jig, hidden screws, strong enough for almost everything you will build in year one. Save mortise-and-tenon for table and chair frames, and dovetails for drawers. Use the simplest joint that will carry the load — every joint you cut is a chance to make a mistake, and a joint you never needed is a mistake you paid for.
The one rule that decides every joint
Before any technique: glue works on long grain, and a joint is only as strong as its glue surface and its fit. A perfectly cut mortise-and-tenon with a sloppy fit is weaker than a humble pocket-hole joint driven home tight. A joint with gaps is a joint that will fail, no matter how expensive the wood. Everything below is really a conversation about two things — how much long-grain surface you create, and how precisely the two pieces fit.
One more rule that saves beginners months of frustration: dry-fit everything before glue touches it. Assemble the whole project with clamps and no adhesive, check it for square and twist, then take it apart. Glue is not a correction fluid; it is a commitment.
The seven joints, ranked for beginners
This is the order I would learn them, and roughly the order they appear in a real beginner’s project list. The table first; the details after.
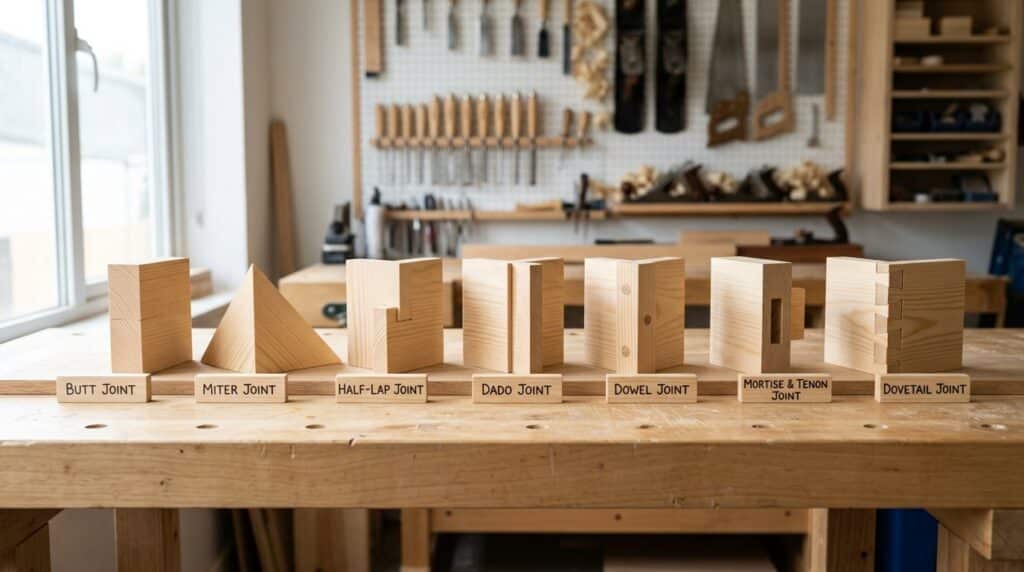
| Joint | Strength | Difficulty | Needs | Best for |
|---|---|---|---|---|
| Butt | Weak alone | Trivial | Saw, glue, screws | Shop jigs, non-load-bearing frames |
| Miter | Weak (needs reinforcement) | Easy | Miter saw, glue, clamps | Picture frames, box corners, trim |
| Half-lap | Moderate | Easy–moderate | Saw, chisel | Frame corners, simple bases, stretchers |
| Dado | Strong in one direction | Moderate | Table saw or router | Shelves, cabinet sides, drawer supports |
| Pocket-hole | Strong (screw-based) | Easy | Pocket-hole jig, drill | Face frames, cabinets, fast furniture |
| Dowel | Moderate–strong | Moderate | Drill, dowel jig, dowels | Panel glue-ups, frames, alignment |
| Mortise-and-tenon | Among the strongest | Intermediate | Saw, chisels, drill | Table legs, chair frames, doors |
| Dovetail | Among the strongest | Advanced | Dovetail saw, chisels, marking gauge | Drawers, boxes, heirloom pieces |
1. Butt joint — learn it, then move on
The butt joint puts the end of one board against the face or edge of another. No interlocking, no fancy cuts — square the ends, add glue and screws. It is the weakest joint in the shop because end grain barely accepts glue, and a glued end-grain-to-long-grain butt joint will fail under almost any real load.
That does not make it useless. It is perfect for shop jigs, workshop fixtures, and any frame that will never carry weight — and it is the right joint to practice on while your saw skills develop. The beginner mistake is using it for furniture that will hold books, sit on, or lean against. If the joint will carry load, reinforce it (screws, dowels, or a corner block) or choose a different joint.
2. Miter joint — pretty corners, honest weakness
A miter cuts both ends at 45° so two boards meet in a clean corner with no end grain showing. Picture frames, small boxes, and trim are its home. The catch: a miter glued alone is the weakest corner in woodworking — the glue surface is all short grain, and the joint has nothing resisting a knock.
Reinforce every miter that matters: a spline (a thin strip of wood glued across the corner), a biscuit, or corner blocks on the inside. A splined miter turns a fragile corner into a genuinely strong one, and it is a five-minute addition that makes frames last decades instead of seasons.
3. Half-lap — the first “real” joint
A half-lap removes half the thickness from each board so they overlap and sit flush. The result is a joint the same thickness as a single board, with several times the glue surface of a butt joint and a mechanical interlock that resists twisting. It is the joint that makes a simple frame — a stool base, a bench frame, a stretcher between table legs — feel like furniture instead of a construction.
You can cut it with a handsaw and a chisel (the beginner path: saw the shoulders, chisel out the waste, pare to your line), or in seconds on a table saw or router. It is forgiving, visible in the finished piece if you leave it exposed, and it teaches you the two skills that matter everywhere else: cutting to a line and paring a flat surface.
4. Dado — the shelf’s best friend
A dado is a flat-bottomed groove cut across the grain of a board, sized to accept another board — typically a shelf into a bookcase side. The shelf sits inside the groove, which means the joint carries vertical load mechanically, not just with glue. A dado shelf cannot slide forward, cannot sag at the front, and needs no visible screws.
It is strong in exactly one direction — the load it was designed for — which is why it is the right answer for shelves and cabinet carcasses and the wrong answer for a table leg. Cut dados on a table saw with a dado stack, or with a router and a straight bit in two or three passes. Mark the width from the actual shelf board, not from the tape measure: plywood is never exactly what the label says.
5. Pocket-hole — the beginner’s power tool
A pocket-hole joint drills an angled hole (about 15°) into one board with a dedicated jig, then drives a self-tapping screw through it into the neighbouring board. The screw pulls the joint tight and holds it while the glue sets — no clamps, no waiting, no fancy tools. One jig, one drill, and you can build a bookcase this weekend.
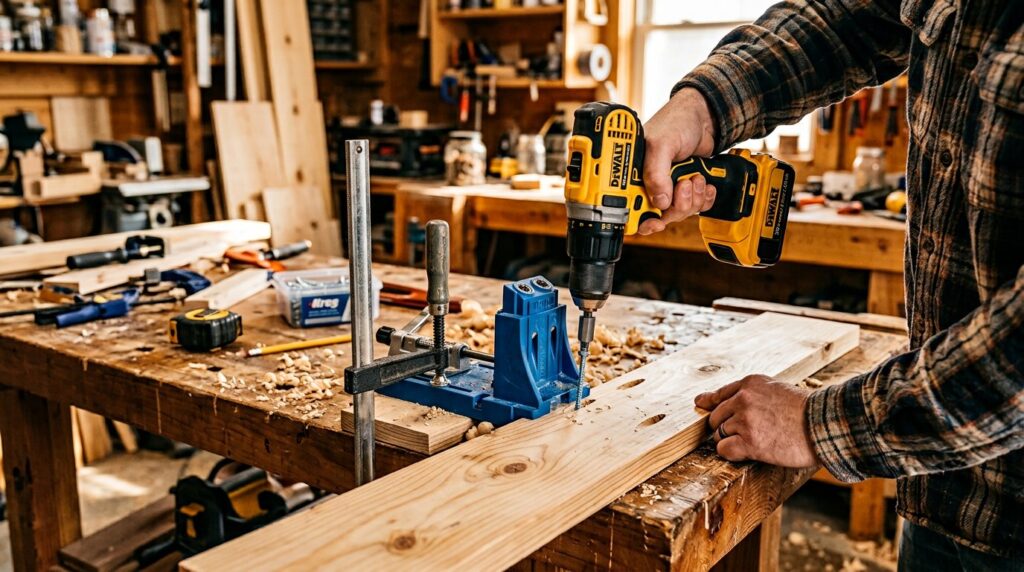
Be honest about its limits. The strength comes from the screw threads, not from glue surface, so pocket-hole joints rely on the fastener and can loosen under years of racking stress — the side-to-side wiggle a chair frame lives with. They are ideal for face frames, cabinet boxes, shop furniture and anything hidden. They are not the joint for a dining table that will be pushed, pulled and leaned on for twenty years. And buy the jig with a clamp built in; the cheap ones slip, and a slipped jig means a hole in the wrong place.
6. Dowel — invisible alignment and real strength
A dowel joint aligns two boards with round wooden pins glued into matching drilled holes — the classic use is edge-gluing boards into a tabletop, where the dowels keep the boards flush while the glue line does the real work. Done well, a dowel joint adds genuine strength to frames and carcasses, and the finished piece shows no hardware at all.
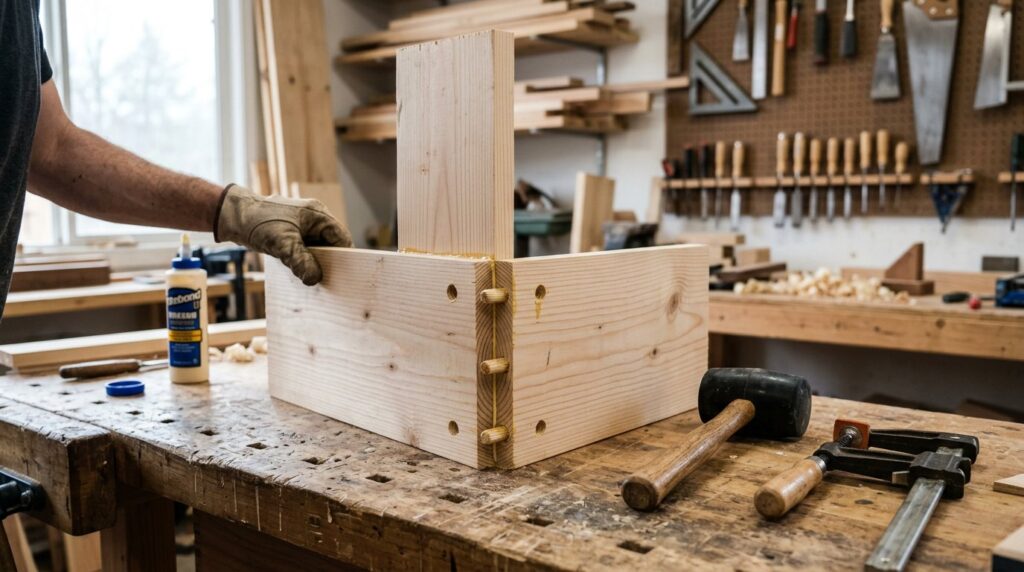
The whole game is alignment, and that is what a dowel jig (or dowel centres — the little metal pins that transfer hole positions from one board to the other) is for. Use fluted or spiral-grooved dowels so glue and air can escape as the pin goes home; a smooth dowel in a glued hole is a hydraulic lock that will not seat. For ¾-inch stock, ⅜-inch dowels are the standard size, two per joint minimum.
7. Mortise-and-tenon — the joint furniture is built on
A rectangular tongue (the tenon) cut on the end of one board fits into a matching rectangular hole (the mortise) in the other. The mechanical interlock resists pulling apart, the long-grain cheeks of the mortise provide a huge glue surface, and a well-fit, well-glued mortise-and-tenon is stronger than the wood around it — the rail will break before the joint lets go. This is the joint behind table legs, chair frames, door frames and most heirloom furniture.
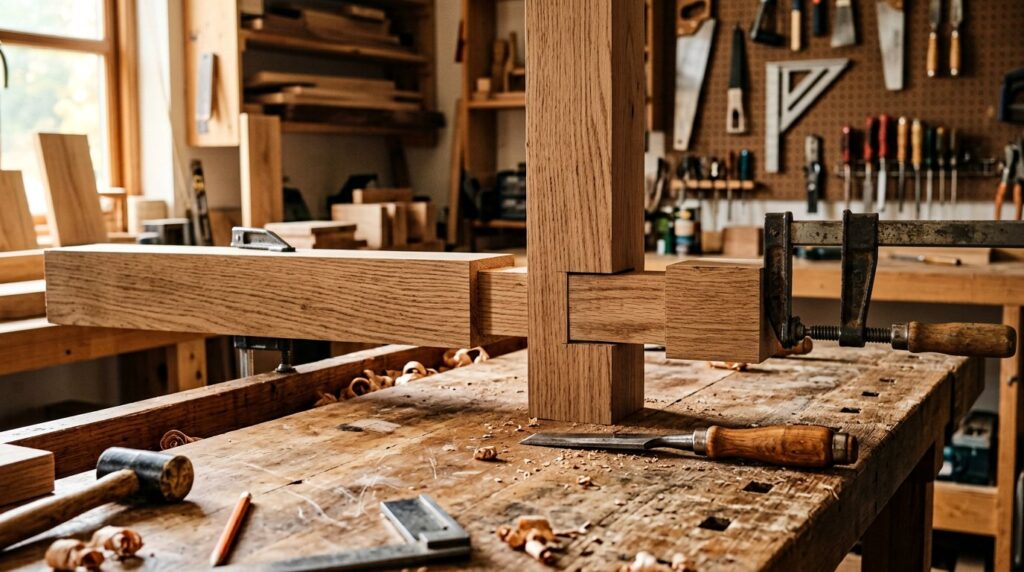
The proportions that make it work: the tenon is about one-third the thickness of the rail, and its length is four to five times its thickness. The mortise is cut first (drill out the waste, chisel the walls square) or with a mortising machine; the tenon is then cut to fit the mortise you actually made, not the one you planned. The fit is the skill: snug enough to need hand pressure, loose enough to assemble without a mallet. A joint you have to hammer apart is a joint that will crack; a joint that falls together is a joint that will fail.
For a beginner, the honest path is a practice rail or two in pine before touching the project wood. Chopping square mortises is a chisel skill, and chisels reward sharpness — a dull chisel makes ugly, weak mortises and teaches bad habits.
Dovetail — the destination, not the starting line
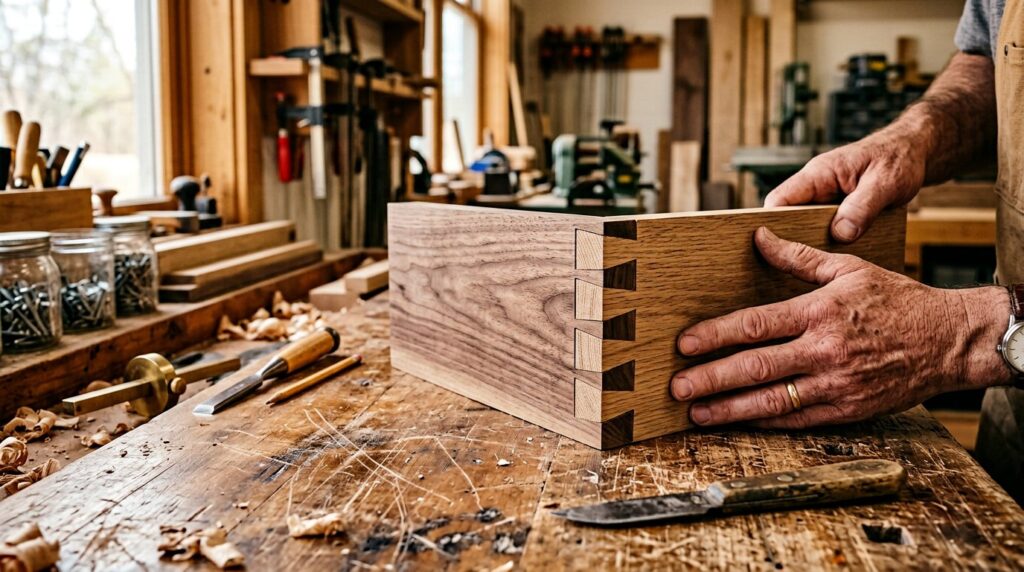
Dovetails interlock trapezoidal “tails” and “pins” so the joint resists being pulled apart in one direction — which is exactly what a drawer front experiences every time it is opened. That mechanical lock, plus a massive glue surface, is why a hand-cut dovetail is the signature of serious furniture. They are also the most demanding joint on the list: a dovetail saw, sharp chisels, a marking gauge, and a great deal of patience.
My advice: build a year of projects first. Dovetails reward the precision that comes from experience, and a router jig can produce clean, strong half-blind dovetails for drawer boxes long before your hand-cut skills are ready. When you do cut them by hand, start with a single tail and pin in pine, and expect your first few to look like a beaver chewed them. They will still hold.
Glue and clamps: the half of joinery nobody photographs
Every joint above is only as good as its glue-up. The rules that matter:
- Dry-fit first, always. Clamps on, glue off. Check for square (measure both diagonals — equal diagonals mean square) and for twist (rock it on a flat surface). Fixing a twisted glue-up is nearly impossible; fixing a twisted dry assembly takes a clamp moved two inches.
- Use the right glue. PVA (yellow carpenter’s glue) is the default for indoor furniture: 30–60 minutes of clamp time, full strength in about 24 hours. Waterproof PVA (Titebond III type) for anything near moisture. Polyurethane glue foams and fills small gaps — useful, messy, and it needs moisture to cure. Never use white school glue for furniture.
- Clamp until there is squeeze-out, then stop. A thin, even bead of glue squeezing from the seam means the joint is full. No squeeze-out means a starved joint; a river of squeeze-out means you are crushing the glue line flat and starving it anyway. About 100–200 psi of even pressure is the target.
- Wait before you stress it. Unclamping after an hour is fine; sanding, planing or loading the piece should wait until the glue has fully cured — about 24 hours for PVA. Removing clamps too early is the single most common cause of failed glue-ups.
- Clean squeeze-out while it is wet. A damp rag now beats a chisel and sanding scratches tomorrow.
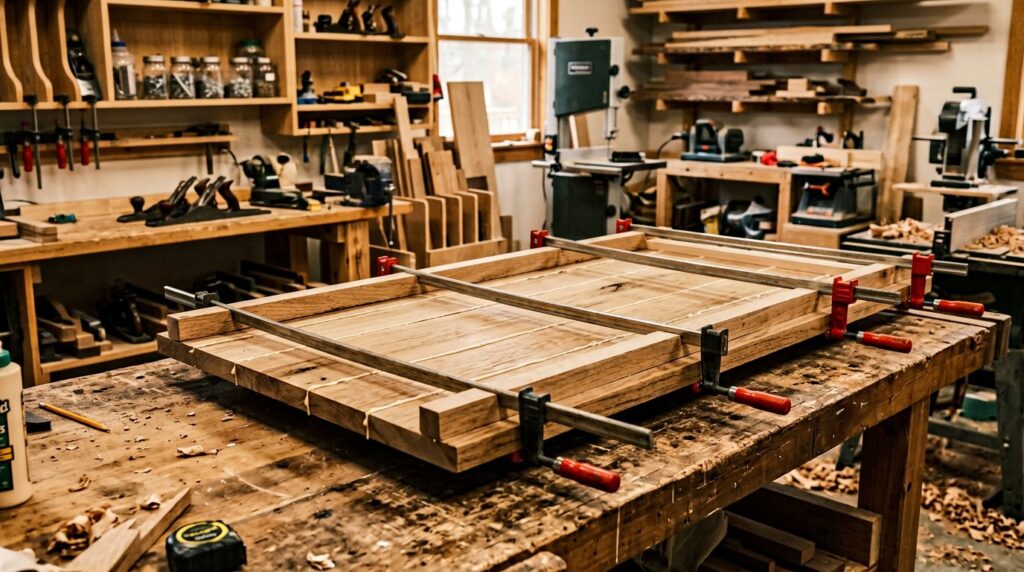
And the species matters more than beginners expect: glue bonds long grain beautifully, which is why edge-glued panels are strong, and why our guide to types of wood for woodworking is worth reading before you pick lumber for a glue-heavy project — oily species like teak need a solvent wipe before gluing, and wet or green lumber will sabotage any joint you cut.
Five beginner mistakes that ruin joints
- Cutting to the tape measure instead of to the mating piece. Dados, rabbets and tenons should be sized from the actual board that fits them. Measure twice, but better: mark from the piece itself with a marking knife.
- Skipping the dry fit. Glue hides nothing; it punishes everything. A joint that needs force to close dry will crack, split or starve when glued.
- Dull tools. A dull saw tears, a dull chisel crushes, and a crushed fiber does not glue. Sharp tools are not a luxury — they are the cheapest upgrade in the shop.
- End-grain glue-ups without reinforcement. Glue on end grain soaks in and starves. Butt joints, miters and cross-grain connections all need a mechanical backup: screws, dowels, splines or a proper joint.
- Rushing the cure. Sanding or loading a joint the same afternoon is how strong-looking joints fail in month three.
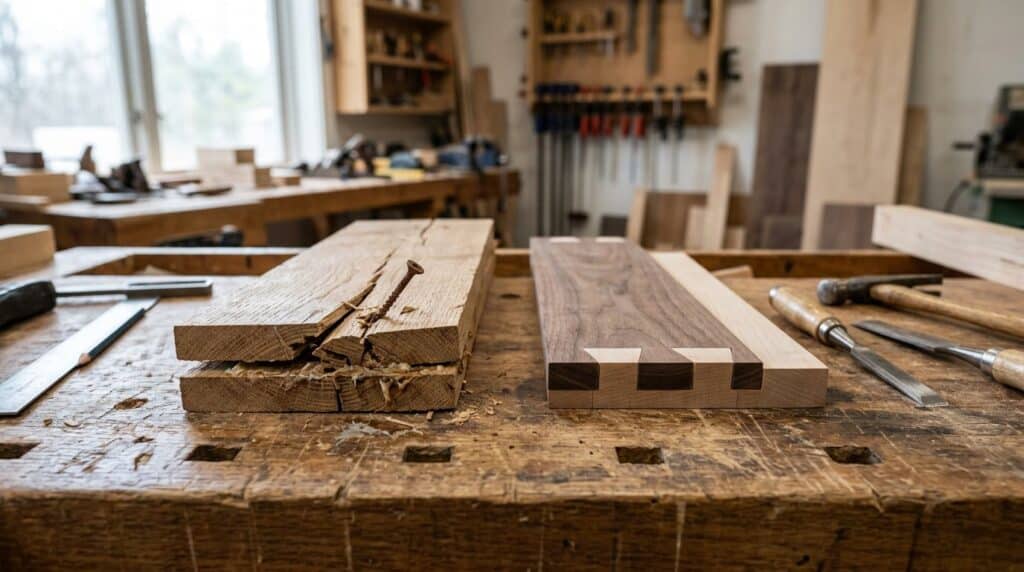
Which joint for which project: a decision table
| Project | Primary joint | Why |
|---|---|---|
| Bookcase / shelving | Dado for shelves, pocket-hole for the carcass | Shelves carry load mechanically; the box goes together fast |
| Coffee table | Mortise-and-tenon apron-to-leg, pocket-hole or screws for the top | Legs take racking abuse; the top just needs to stay flat |
| Simple stool / bench | Half-lap frame, screwed or doweled seat | Half-laps are strong, visible and honest |
| Picture frame | Miter + spline (or biscuit) | Clean corners that survive a knock |
| Drawer box | Dovetail (or dado + screws for shop drawers) | The front is pulled every single day |
| Tabletop / cutting board | Edge glue + dowels or biscuits | Long-grain glue is stronger than the wood |
| Cabinet face frame | Pocket-hole | Fast, hidden, strong enough for a frame that is not the load path |
| Shop jig / workbench fixture | Butt + screws, or pocket-hole | It needs to work, not to impress |
| Outdoor bench | Half-lap or mortise-and-tenon with waterproof glue | Mechanical interlock survives seasonal movement |
| Wall shelf with bracket | Dado or hidden cleat | The bracket carries the load; the joint just locates it |
Marking and cutting: where joints are actually won
Every joint above is cut twice: once with a pencil and once with a saw, and the pencil line decides the saw cut. The beginner habit that transforms results is marking from a knife, not a pencil — a marking knife leaves a hairline groove that the saw plate can register against, and joinery is mostly a stack of those hairlines landing where they should.
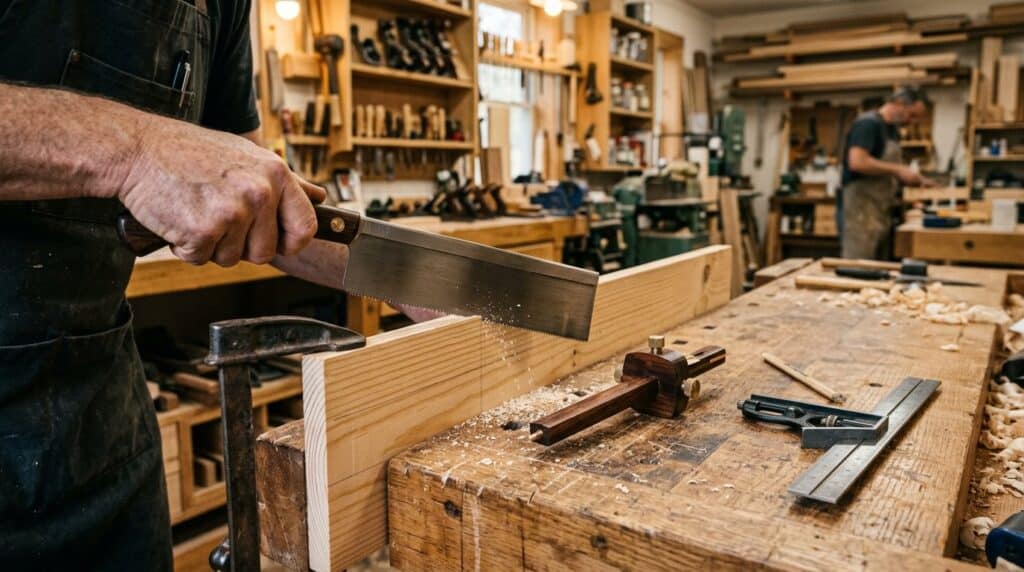
Cut to the waste side of the line, then pare or plane to the line. A saw that “almost” reaches the line leaves a step that glue cannot forgive; a chisel that takes the last whisper of wood leaves a surface that glues like it was made for it — because it was. This is the entire difference between joints that gap and joints that disappear.
If you are still gathering tools, our woodworking tools for beginners guide covers the twelve that matter (a pocket-hole jig and a good chisel set are on that list for exactly this reason). And when a project drawing calls for joints you have never cut, our woodworking plans guide shows how to read the cut list and sequence the joinery before you touch a board. For the surfaces these joints create, our sanding and finishing guide picks up exactly where this one leaves off.
FAQs
What is the easiest wood joint for a complete beginner?
The butt joint is the easiest — square two ends and fasten them. For your first piece of real furniture, the pocket-hole joint is the easiest strong joint: one jig, hidden screws, and it is genuinely hard to make badly.
What is the strongest wood joint?
For furniture frames, the mortise-and-tenon is the classic answer — strong against racking and pulling, with a huge glue surface. Dovetails are comparably strong against pull-apart forces, which is why drawers use them. In practice, a well-fit joint of any type beats a sloppy joint of the strongest type.
Can I build furniture with only pocket-hole joints?
Yes — bookcases, cabinets, bed frames and shop furniture are all perfectly buildable with pocket holes alone, and thousands of woodworkers do exactly that. The limits show up over years: pocket-hole joints rely on screws and can loosen under constant racking. For a first dining table or anything heirloom, learn the mortise-and-tenon.
Do I need dowels if I have a dowel jig and glue?
For edge-gluing a tabletop, good long-grain glue alone is actually stronger than the wood — the dowels or biscuits are there to keep the boards aligned and flat while you clamp, not to add much strength. For frames, dowels add genuine structural reinforcement. Use them for alignment on panels, for strength on frames.
How long should I leave clamps on a glued joint?
For PVA carpenter’s glue: 30–60 minutes of clamp time, then leave the piece unstressed for about 24 hours before sanding or loading it. Cold or humid shops need longer. Polyurethane glue wants 1–2 hours clamped. When in doubt, overnight in clamps is never wasted.
Is a miter joint strong enough for a picture frame?
Only with reinforcement. A glued miter alone is the weakest corner in woodworking; add a spline, a biscuit or inside corner blocks and it becomes perfectly durable for frames.
Can I cut a mortise-and-tenon with only hand tools?
Absolutely — that is how it was done for centuries. A drill (or brace) removes the mortise waste, a sharp chisel squares the walls, and a saw and chisel cut the tenon cheeks. It is slower than a mortising machine and the results are more yours.
Do I need a table saw to make good joints?
No. A circular saw with a straightedge guide, a router, or even a sharp handsaw and chisels will cut every joint in this guide. A table saw makes dados and tenons faster and more repeatable, but it is a convenience, not a requirement — and a beginner’s first money is better spent on a pocket-hole jig, a clamp set and a sharp chisel.
Your first three joints: a weekend plan
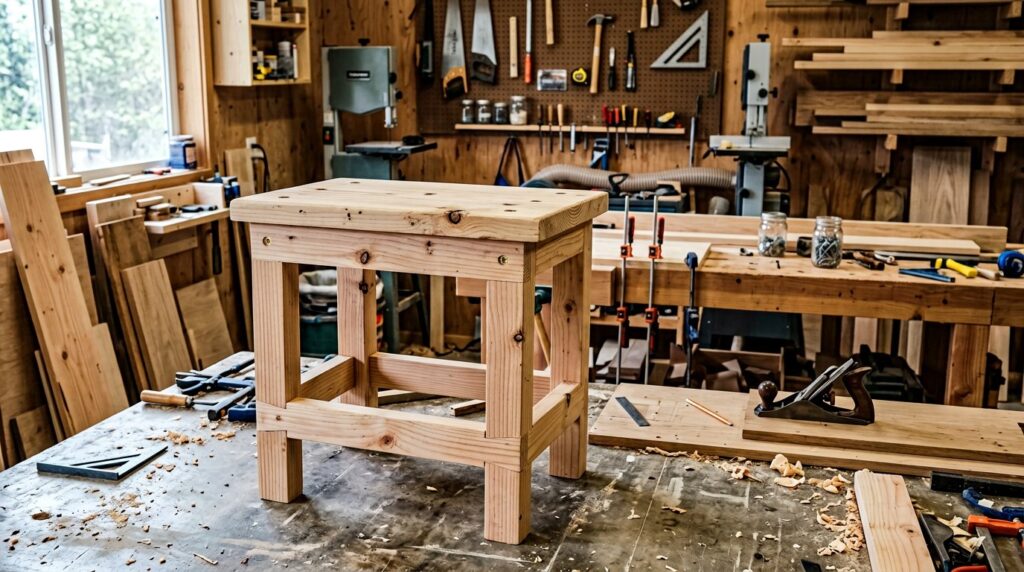
If you want to stop reading and start cutting: build a simple shop stool. Cut four legs, half-lap the stretchers between them, and screw or dowel the seat on. You will cut a half-lap, drill dowel or pocket-hole holes, dry-fit a frame, check it for square, and glue it up — four of the seven joints in one honest afternoon, on a project that is useful even if it is not beautiful. Then build a small box with mitered, splined corners. Then a shelf with dados. By the third project, the joints stop being the scary part.
And when a joint does fail — because the first one will — do not throw the project away. Cut the joint apart, learn what the gap was telling you, and cut it again. Every failed glue-up is tuition, and it is cheaper than any class.