My first “finished” project looked great for exactly one week. I had built a small pine shelf, skipped the sanding because I was impatient, and brushed on a thick coat of polyurethane straight from the can. A week later the finish had drips I couldn’t sand out, a rough patch where the grain had raised, and a colour that reminded me of honey left in the sun. The shelf was fine. The finish was a lesson.
The truth is, finishing is 90% sanding and preparation — and almost none of it is hard. It just needs to be done in the right order, with the right grits, and with more patience than your average Saturday allows. This guide walks you through sanding and finishing from bare wood to the final coat, the way I wish someone had explained it to me before that first shelf: what every grit number means, when to sand by hand versus with a machine, how to stain without blotches, and the exact coat-by-coat schedule I use on furniture today.
Why sanding decides the quality of your finish
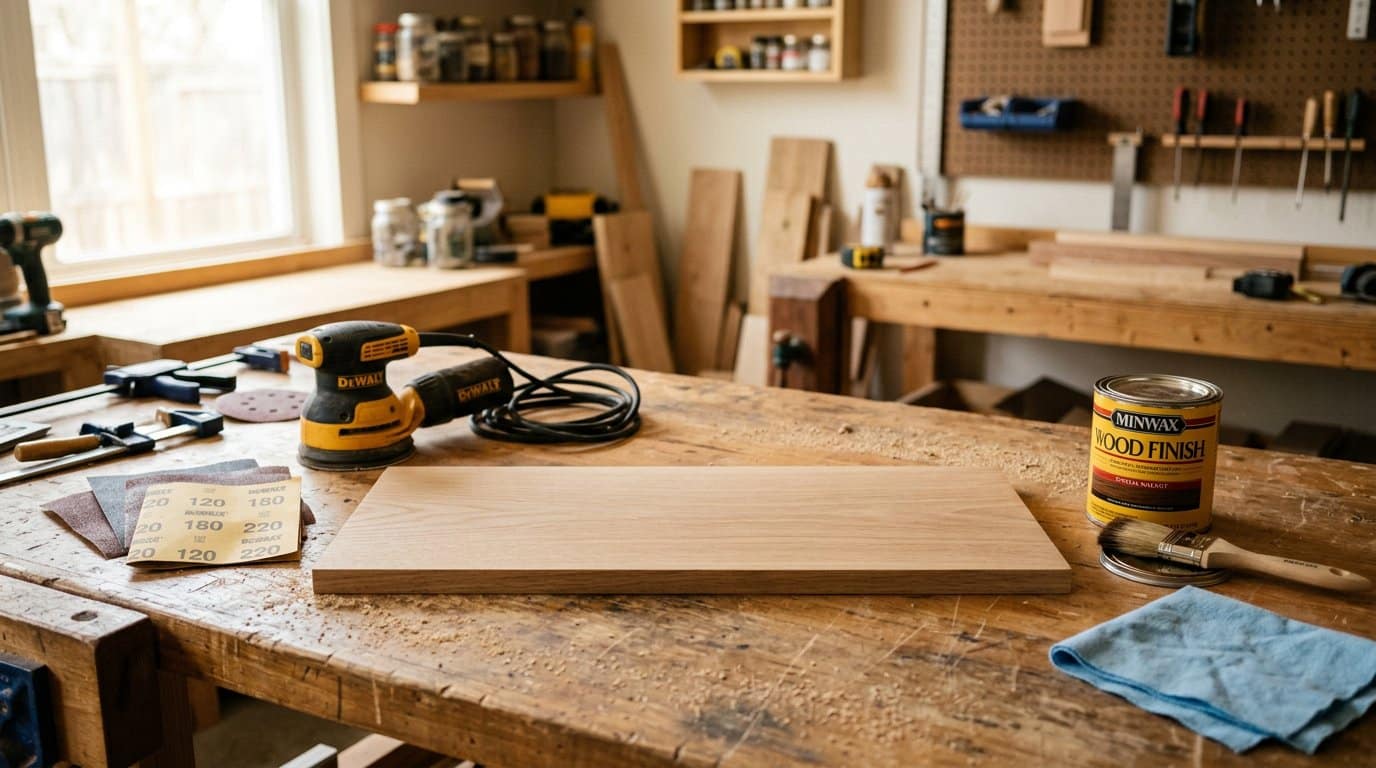
Finish does not hide sanding mistakes — it advertises them. Every scratch left in the wood shows up the moment light hits a clear coat, and blotchy stain is almost always caused by uneven sanding underneath. Think of sanding as the actual surface you will live with; the finish is just a transparent layer of protection over it.
There are three things sanding does that nothing else can: it flattens the surface, it removes machine marks left by your saw and planer, and it opens the pores evenly so stain and finish absorb consistently. Skip any one of those and no amount of expensive finish will save the piece.
Sanding grits explained: the numbers finally make sense
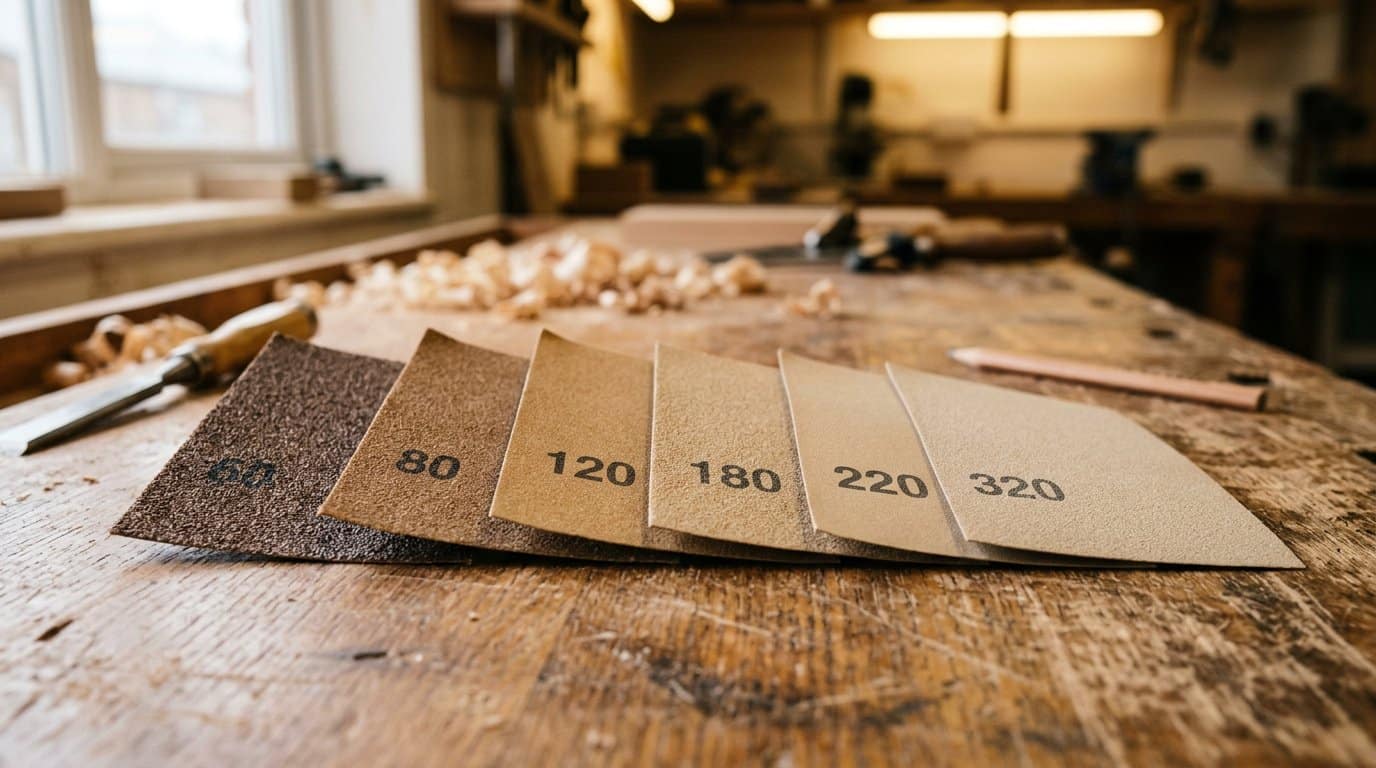
Grit numbers look backwards until you memorise one rule: the higher the number, the finer the grit, and the smoother the result. A coarse 60-grit removes material fast and leaves deep scratches. A fine 220-grit removes almost nothing but leaves a silky surface ready for finish.
Here is the range you will actually use, and what each grit is for:
- 40–60 grit — aggressive stock removal: taking down rough-sawn lumber, removing old finish, reshaping.
- 80 grit — first smoothing pass after sawing or planing; removes the deep scratches left by 60.
- 100–120 grit — the standard “smoothing” range for bare wood before finish.
- 150–180 grit — fine sanding for hardwood furniture that will be clear-coated.
- 220 grit — final pass before finish on most projects, and between coats of polyurethane.
- 320+ grit — sanding finish coats themselves (wet-sanding range) and bare wood that will be oiled.
The golden rule of grit progression: never jump more than one step — 80 to 120 is fine, 80 to 220 is not. Each grit exists to remove the scratches of the previous one, and skipping steps just means the deep scratches stay under a smoother surface, waiting to appear under your finish.
Hand sanding vs. power sanding: when each wins
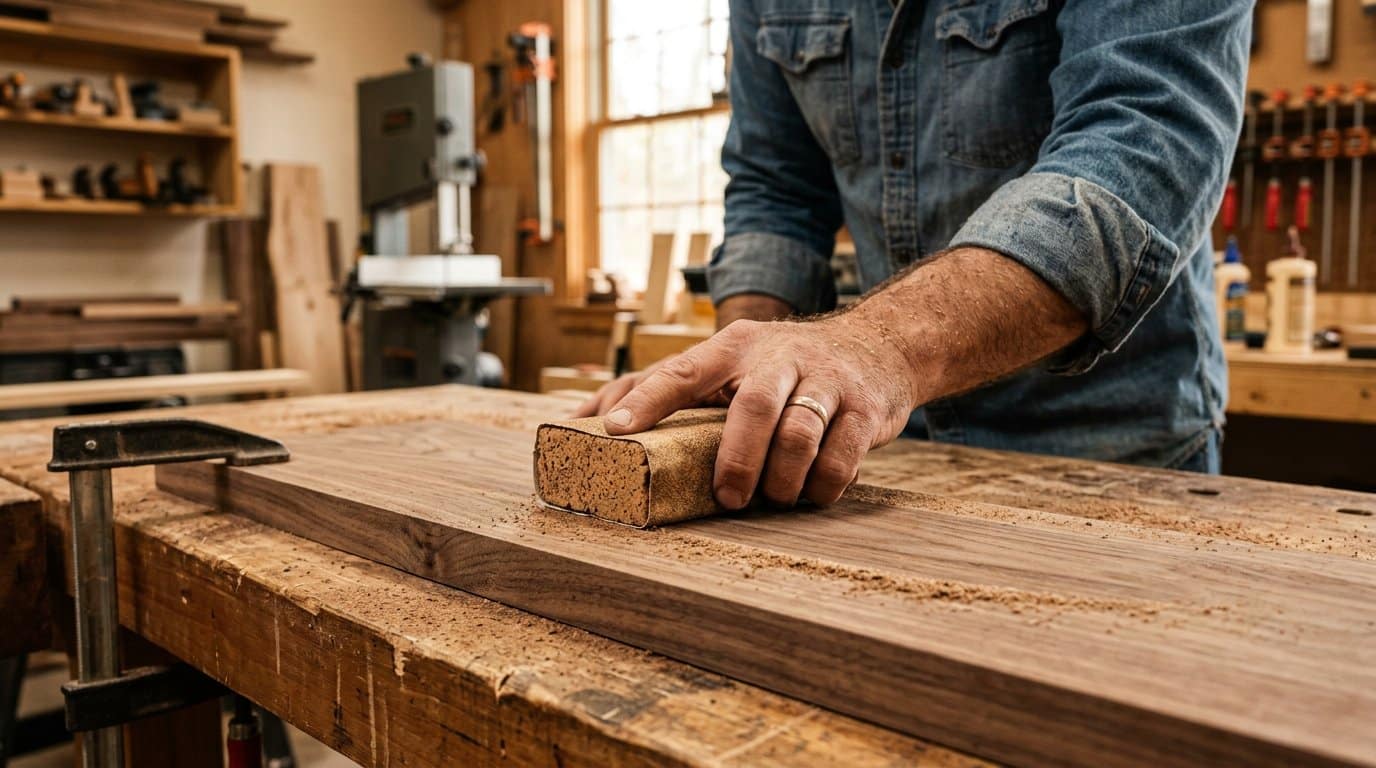
You do not need a power sander to get a beautiful finish — generations of furniture makers sanded entirely by hand. But for large flat panels, a sander saves real time. Here is how I decide:
Power sanding (an orbital sander) is for large flat surfaces — tabletops, panels, cabinet doors. A random-orbit sander leaves no swirl marks because the pad moves in two directions at once. Keep it moving constantly, let the tool’s weight do the work, and never press down hard; pressure just digs scratches deeper.
Hand sanding wins everywhere else — edges, mouldings, curved parts, inside corners, and every surface too small for a machine. Wrap the paper around a cork or rubber sanding block so your fingers do not create hollows, and sand with the grain. A sanding block is the cheapest upgrade in woodworking, and it will show in every edge you finish.
If you are working on one or two small projects a year, buy a sheet of 120 and 220, a block, and sand by hand. It is slower, quieter and, honestly, calming — and for small pieces it is often faster than setting up a machine.
Five sanding habits that save every project

These are the habits I break beginners out of — each one has cost me a piece of wood at some point:
1. Sand with the grain, always. Cross-grain scratches are the ones that show through finish. On end grain, sand in one direction only, and expect it to drink more finish than the faces.
2. Increase grits by one step at a time. As above — 80 → 120 → 180 → 220. It feels like extra work until the first time you see a 220-scratched board finish perfectly.
3. Clean between grits. Wipe the dust off with a tack cloth or vacuum before switching grits. Leftover coarse dust scratches the surface as you sand with the finer paper.
4. Raise the grain before the final pass. Bare wood + water = raised fuzzy grain. Lightly wipe the surface with a damp cloth, let it dry, then do your final sanding pass at 220. The fibres stand up, get cut off flat, and will not rise again under your first coat of finish. This one habit removes 80% of “rough finish” complaints.
5. Sand to 220, not to a mirror. Finishes need a little tooth to grip. Sanding past 320 on bare wood can make polyurethane and stain less even because the surface is almost burnished. 220 is the sweet spot for most projects.
Before you finish: moisture and wood movement
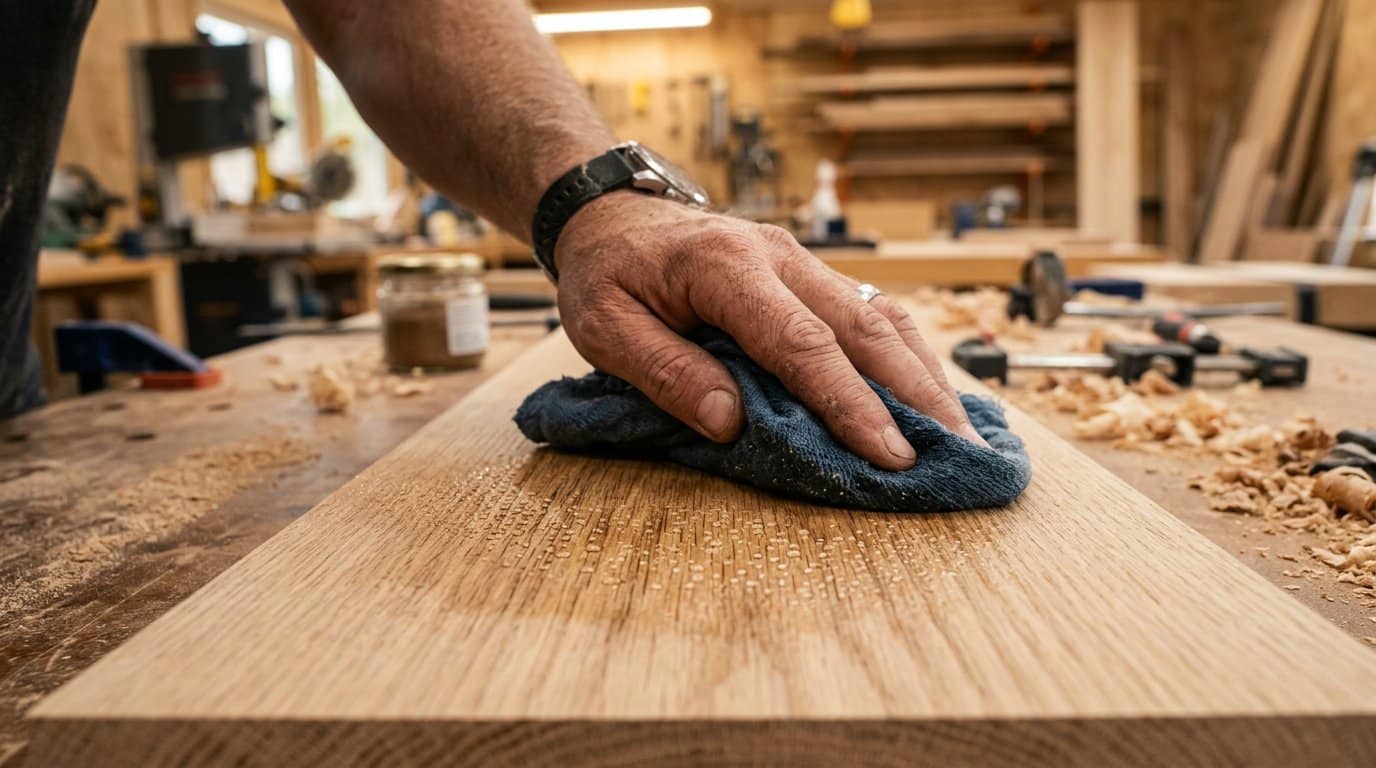
Finishing a board that is still damp, or a piece built without accounting for wood movement, is how finishes crack, and how tabletops split. Solid wood expands and contracts with humidity — across the grain, not along it — and a rigid finish fights that movement until something gives.
Two practical rules: let your lumber acclimatise in your workshop for at least a few days before you build and finish, and never finish a board that feels cool or damp to the touch. If you are building furniture that will live in a heated or air-conditioned home, that is also where to start — my guide on preventing wood furniture from warping and cracking explains how wood movement works and how to design around it. Skipping this step is the single most common cause of ruined finishes I see in reader photos.
Staining wood for beginners: how to avoid blotches
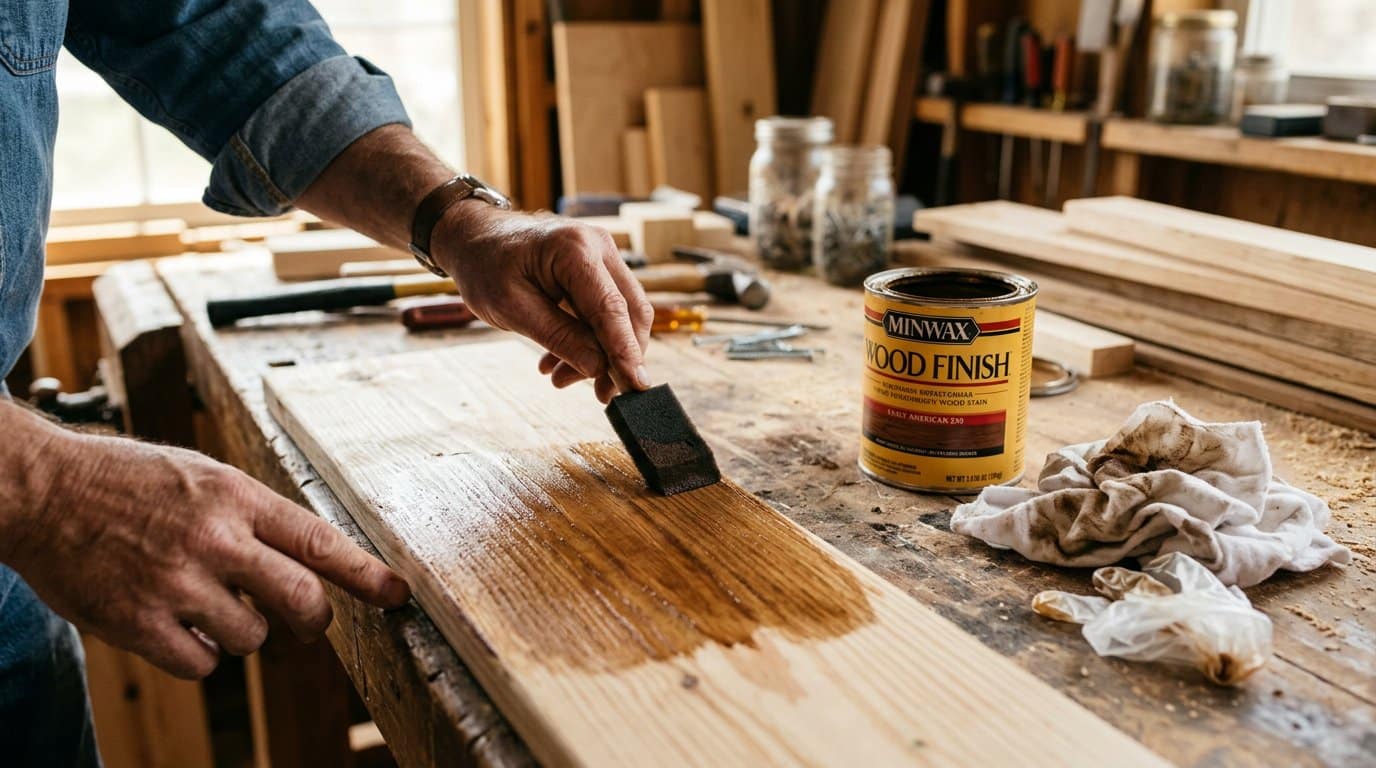
Stain is a dye-and-pigment mix that soaks into the wood’s pores — so its worst enemy is uneven absorption. Softwoods like pine and spruce blotch badly because the soft earlywood drinks stain faster than the dense latewood. Hardwoods like oak and walnut take stain beautifully and evenly. The fix for blotchy softwood is a pre-stain wood conditioner: brush it on, let it dry briefly, then stain. It partially seals the thirsty areas so the colour goes on even.
Whatever wood you are staining, follow the same routine:
- Sand to 220 and remove every bit of dust.
- Apply the conditioner on softwoods and wait 10–15 minutes.
- Stir the stain thoroughly — never shake it, which adds bubbles.
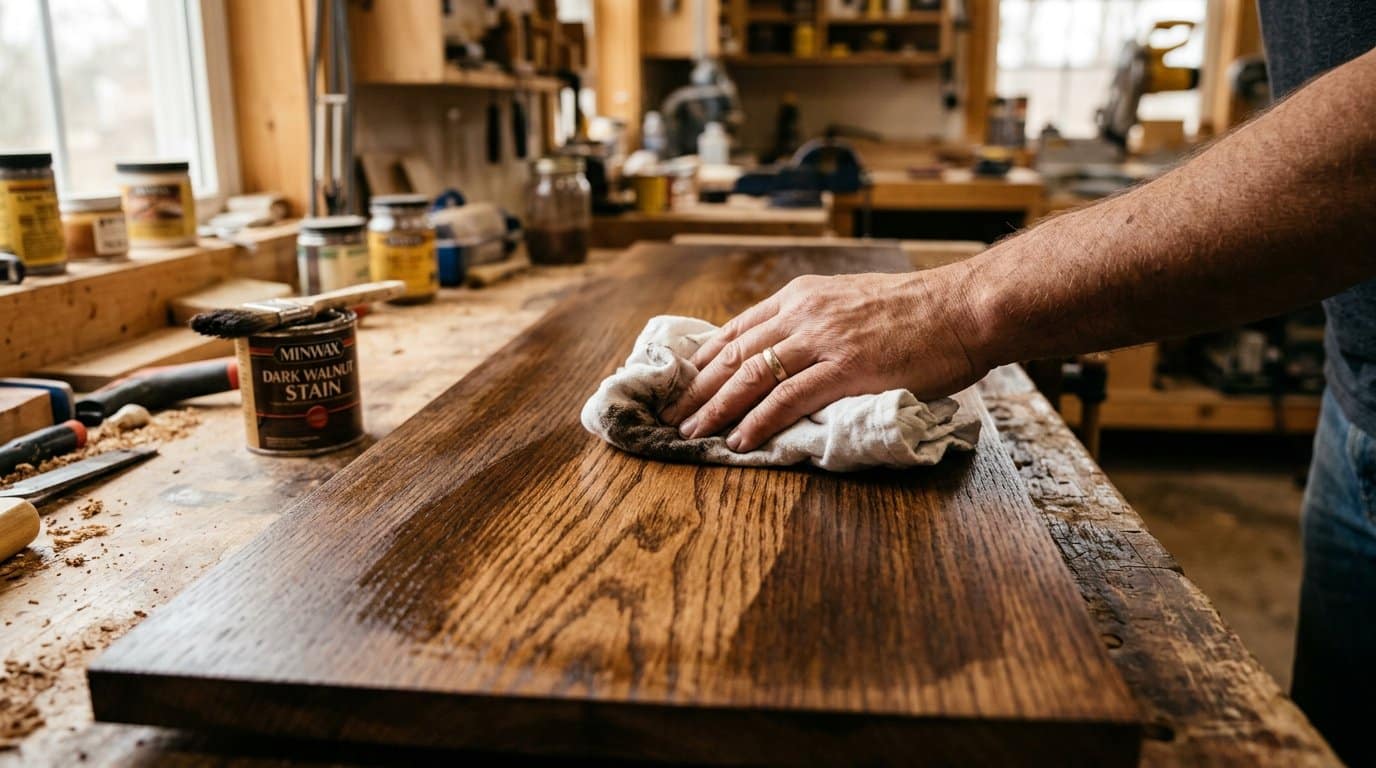
- Brush or wipe it on generously, then wipe it off with a lint-free cloth after a few minutes. The longer it sits, the darker the colour, so test on a scrap piece first.
- Let stain dry fully (overnight is safest) before any topcoat. Stained but unsealed wood will feel rough again because the stain raises the grain — a very light 320 hand sand before the first topcoat fixes it.
Colour testing is non-negotiable: the same stain looks completely different on pine, oak and plywood. Keep a scrap of your actual project wood, stain it, and let it dry before you commit.
Choosing a topcoat: oil, shellac, polyurethane or wax
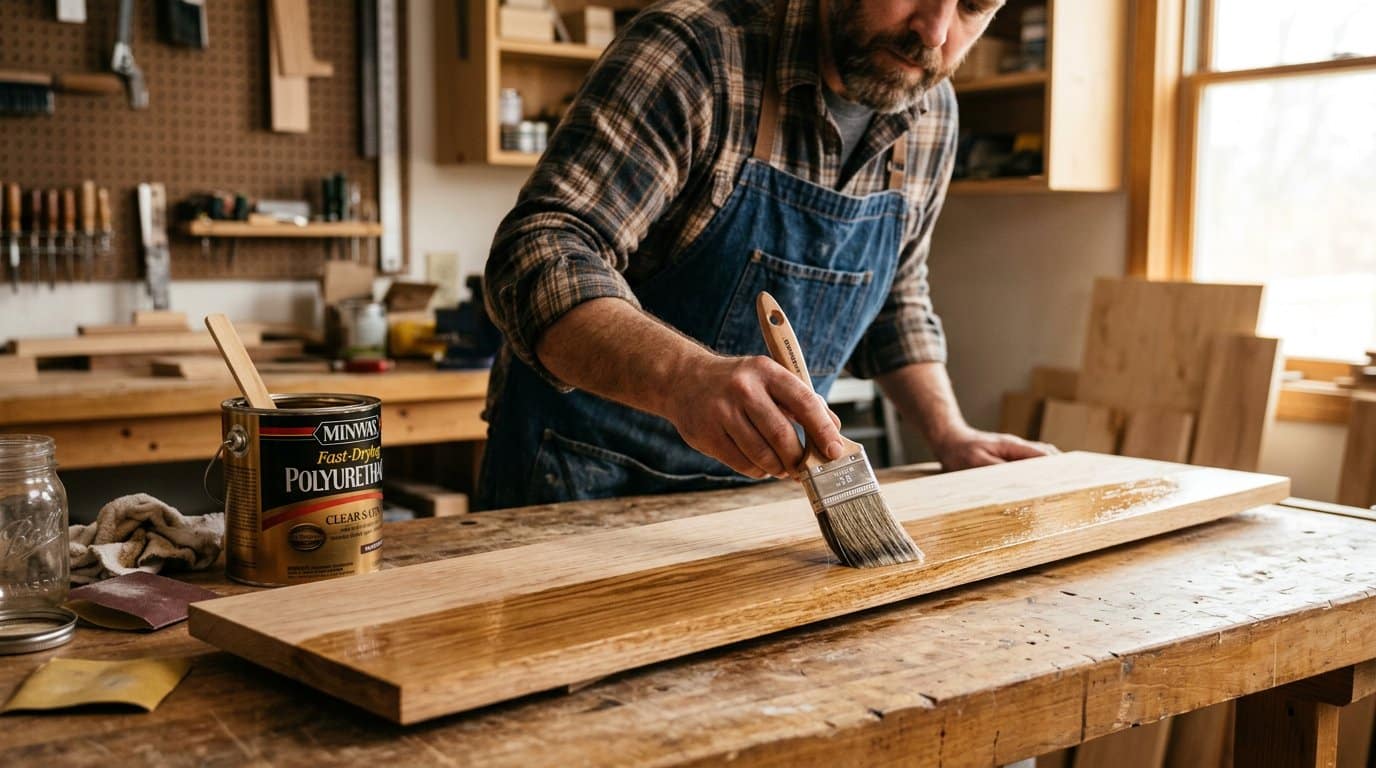
Once the colour is right, the topcoat protects it. There is no single best finish — only the right one for the job:
Danish oil and tung oil soak into the wood and leave a low, natural sheen. They are the easiest finishes to apply and repair, and perfect for items that need touching up, but they offer modest protection against water and heat.
Shellac dries fast, looks warm and traditional, and is completely safe to use. It is not very water-resistant, so it suits indoor decor pieces rather than tabletops.
Polyurethane (water-based or oil-based) is the workhorse — tough, water-resistant, and available in satin, semi-gloss and gloss. Water-based poly dries fast, smells mild and stays clear; oil-based poly gives a warm amber tone and is more durable, but needs ventilation and longer drying time.
Wax is a topcoat over a topcoat: a soft sheen and pleasant feel over oil or poly, with minimal protection on its own. Re-apply it every few months on high-use pieces.
For your first few furniture projects, keep it simple: stain if you want colour, then two or three coats of water-based polyurethane in satin. It is forgiving, fast-drying and hard to mess up.
The coat-by-coat finishing schedule I use
Here is the exact schedule for a small project like a shelf, a plant stand or a mirror frame, from bare wood to done:
Day 1 — prep. Sand 120 → 180 → 220, raise the grain with a damp cloth, final 220 pass, wipe dust, apply stain or conditioner if using colour, and let it dry overnight.
Day 2 — first coat. Brush on a thin, even coat of polyurethane along the grain. Thin coats dry flatter than thick ones — two thin coats beat one gluggy coat every time. Let it dry per the can’s instructions (usually 2–4 hours for water-based).
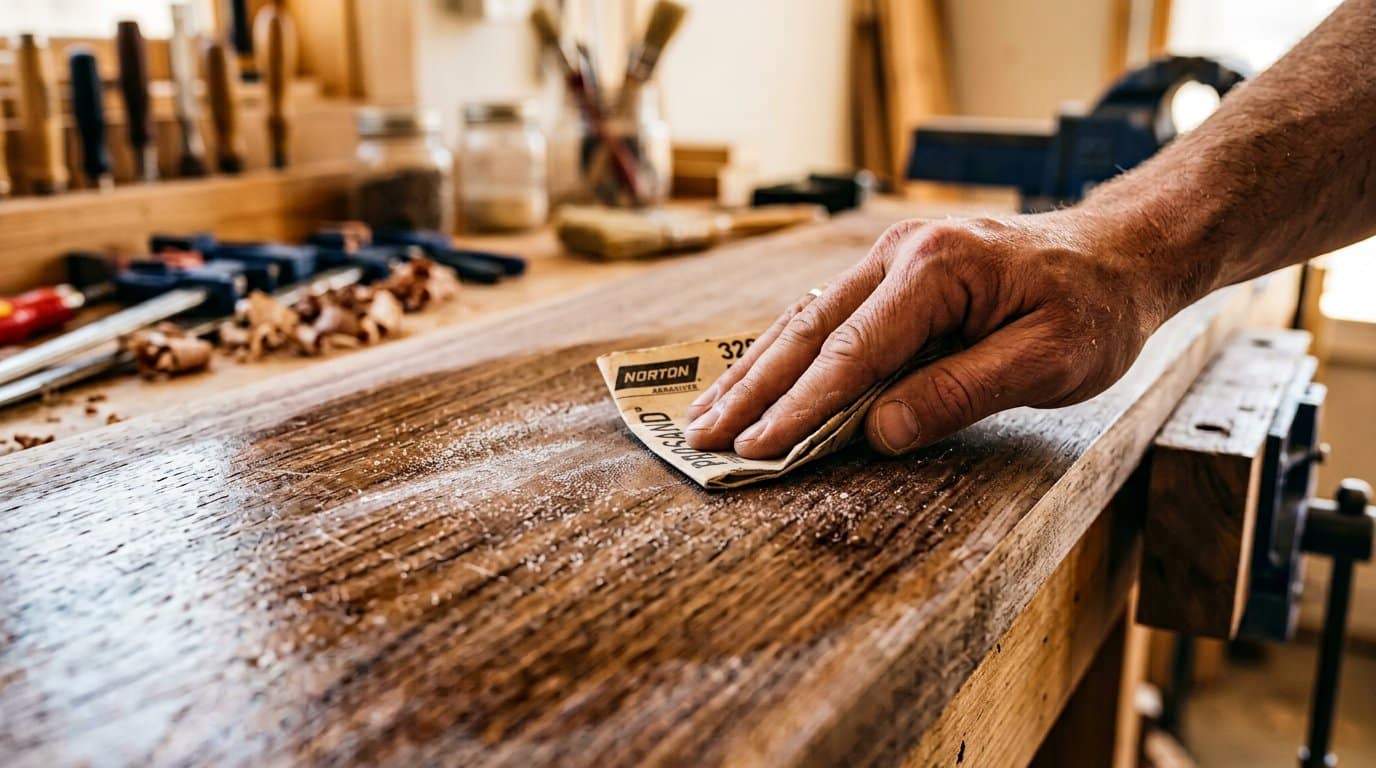
Day 2 — second coat. Lightly sand the first coat with 320-grit (or a sanding sponge) to knock off dust nibs, wipe clean, and apply the second thin coat. Sanding between coats is what creates that smooth, glass-like feel.
Day 3 — third coat and done. Sand lightly again, apply the final coat, and let the piece cure for at least 48–72 hours before heavy use. Polyurethane hardens over days, not hours — a “dry” surface can still dent a week later.
Between coats, work in a dust-free room if you can, and pour your finish into a separate container rather than dipping straight from the can — it keeps the can clean and stops dust settling in it.
Common finishing mistakes (and the fixes)
- Drips and runs. You applied too much too fast. Fix: let it dry fully, sand flat with 220–320, and recoat thinly.
- Blotchy stain on pine. No conditioner, or uneven sanding underneath. Fix: sand back, use conditioner, test first.
- Rough surface after the first coat. You skipped raising the grain. Fix: light 320 sand between coats — it will smooth out by the final coat.
- Finish never feels hard. You are testing too early, or the coats are too thick. Give it the full cure time and keep coats thin.
- White blush or milky patches. Moisture trapped under the finish, usually from a damp room or damp wood. Fix: sand back and recoat in a dry, warm space.
- Bubbles in the finish. You shook the can or brushed too vigorously. Fix: stir gently, brush slowly along the grain, and pop bubbles with a light stroke as they appear.
Almost every finishing disaster is recoverable. Sanding back to the wood and starting again costs an afternoon, not the piece — so do not be afraid to fix rather than live with a bad finish.
Finishing FAQ
What grit should I sand to before staining? 150–180 is ideal for most stains; 220 for water-based stains. Going finer than 220 can make stain sit on the surface instead of absorbing.
Do I need to sand between coats of polyurethane? Yes — a light pass with 320 grit between coats removes dust nibs and gives the next coat something to grip. It is the difference between a good finish and a great one.
How long should polyurethane dry before I use the furniture? You can handle it in a day, but give it 48–72 hours before normal use and a full week before placing heavy objects on it. Curing continues for weeks.
Can I sand plywood the same way as solid wood? Mostly yes, with one warning: plywood has a thin veneer face, often less than 1/16 inch. Sand gently and never start below 120 grit or you risk sanding through to the core layer.
Should I sand between stain and the first topcoat? Yes — staining raises the grain. Once the stain is fully dry, do one very light pass with 320 grit and wipe clean before your first coat of finish.
Is water-based or oil-based polyurethane better for a beginner? Water-based. It dries fast, cleans up with soap and water, has low odour and stays clear — which means more forgiving for your first projects. Choose oil-based when you want the warm amber look or maximum durability on a dining table.
Do I need to sand rough-sawn lumber before using it? Yes, and start coarser than you think: 60–80 grit to flatten and remove the saw texture, then work up one step at a time to 220. Planing is faster if you have access to a jointer and planer.
About the author and this guide
I’m Saurav Samanta, a home-decor woodworking enthusiast who has built and documented dozens of projects — from garden structures to furniture — for this site. Every finish schedule in this guide comes from finishes I have applied myself (including the drippy shelf that started this article). Sanding creates fine dust, and finishes contain solvents: wear a dust mask while sanding, work in a ventilated area when applying finishes, and always follow the safety instructions on the products you use. Spotted an error? Report it here and I’ll fix it.
Ready to finish? Start with these
Sanding and finishing is a skill you build one project at a time — and the pieces you finish make the best practice. Start small: a plant stand (an afternoon build, ideal for your first full finish), a mirror frame (where a smooth finish really shows), or one of the scrap-wood projects (nearly free to practise on). When you are ready to plan your next build, my woodworking plans guide will get you from drawing to lumber, and the easy furniture projects roundup has ten pieces worth your new finishing skills. Sand it smooth, finish it thin, and let it cure — that is the whole secret.