My first real project was a pine bookshelf. I skipped the plans, grabbed a circular saw, and started cutting. Three boards later I had a wobbly, uneven shelf that my wife still jokes about — and I had learned the most expensive lesson in woodworking: the plan comes before the saw, not after.
Woodworking plans are the difference between a weekend of frustration and a piece you’re proud to show off. They tell you exactly what to buy, what to cut, and how to put it together — so you spend your energy building instead of guessing. In this guide, I’ll show you how to read plans like someone who’s been building for years: what every section means, how to avoid the mistakes I made, and how to pick the right plan for your skill level.
What’s inside a good woodworking plan?
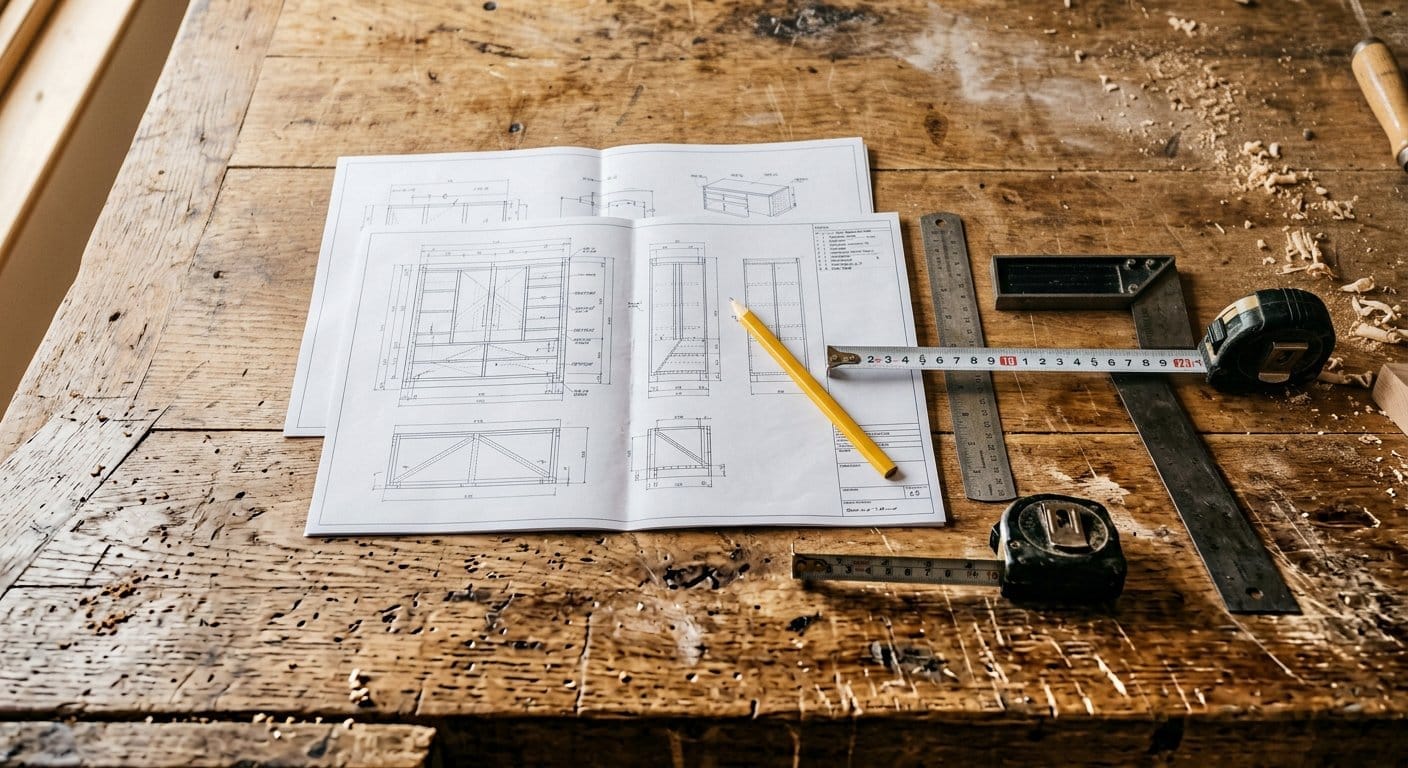
A complete plan is more than a drawing. Whether it’s a free PDF from a woodworking blog or a paid set from a plan designer, a professional plan contains five essential parts:
Related guide: a good plan names its joints — our woodworking joints for beginners guide covers the seven worth learning first and what each one is strong at.
Related guide: a good plan also names the species and the board feet you need — our types of wood for woodworking guide shows how to read the wood callouts on a cut list and budget the lumber (with the waste factor).
- Materials list — the exact lumber, sheet goods, hardware and finish you need, with quantities.
- Cut list — every piece with its finished dimensions, usually organised by part name (A, B, C…).
- Diagrams — top, front and side views, plus an exploded view showing how parts fit together.
- Joinery callouts — which joints to use (dado, pocket hole, mortise-and-tenon) and where.
- Assembly steps — the order of operations, including glue-up and clamping notes.
If a plan is missing the cut list or materials list, treat it as a rough sketch — not something to follow blindly. That single habit has saved me more trips to the lumber yard than anything else.
The three types of plans (and when each makes sense)

Free plans from established woodworking sites are perfect for small projects and learning the basics. Paid plans usually include more detailed diagrams, full-size templates and professional joinery — worth it for furniture you’ll keep for decades. Digital plan libraries bundle hundreds of plans for one price; they’re a good deal if you plan to build regularly, though quality varies wildly from set to set. If you’re considering one, my honest review of Ted’s Woodworking covers what’s actually inside a popular plan library.
My rule of thumb: free plans for projects under a weekend long, paid plans for heirloom furniture, and a plan library only after you’ve built five or six projects and know what you enjoy.
How to read a cut list without getting confused
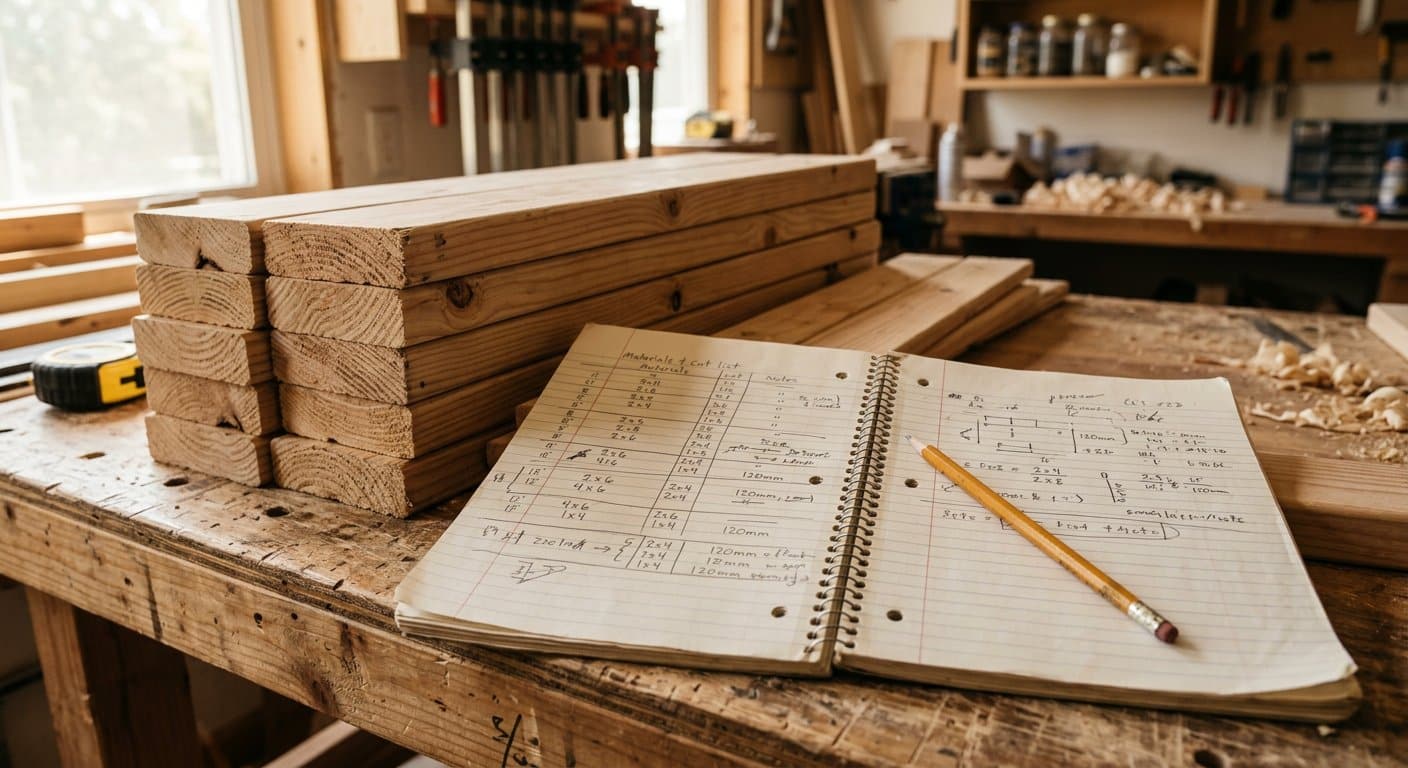
The cut list is where beginners get lost — and where mistakes cost money. Three things matter most:
1. Nominal vs. actual lumber sizes. A “2×4” is not 2 inches by 4 inches; it’s 1½″ × 3½″ after planing. A “1×6” is ¾″ × 5½″. If a plan assumes actual dimensions and you buy nominal without adjusting, every piece comes out wrong. When in doubt, check the plan’s notes — good plans state which they use.
2. Board feet for rough lumber. If you’re buying rough hardwood, it’s sold by the board foot: (thickness in inches × width in inches × length in feet) ÷ 12. A 4/4 (one-inch) board, 6 inches wide and 8 feet long, is 4 board feet. Always add 10–15% for waste and defects.
3. Grain direction and face marks. Plans sometimes mark which face is “show face” or which direction grain should run. It matters — a door panel with grain running the wrong way will look odd and may move differently.
I keep a highlighter in my shop and mark every cut on the printed plan as I make it. It takes five seconds and prevents cutting the same piece twice.
Reading diagrams: the exploded view is your best friend
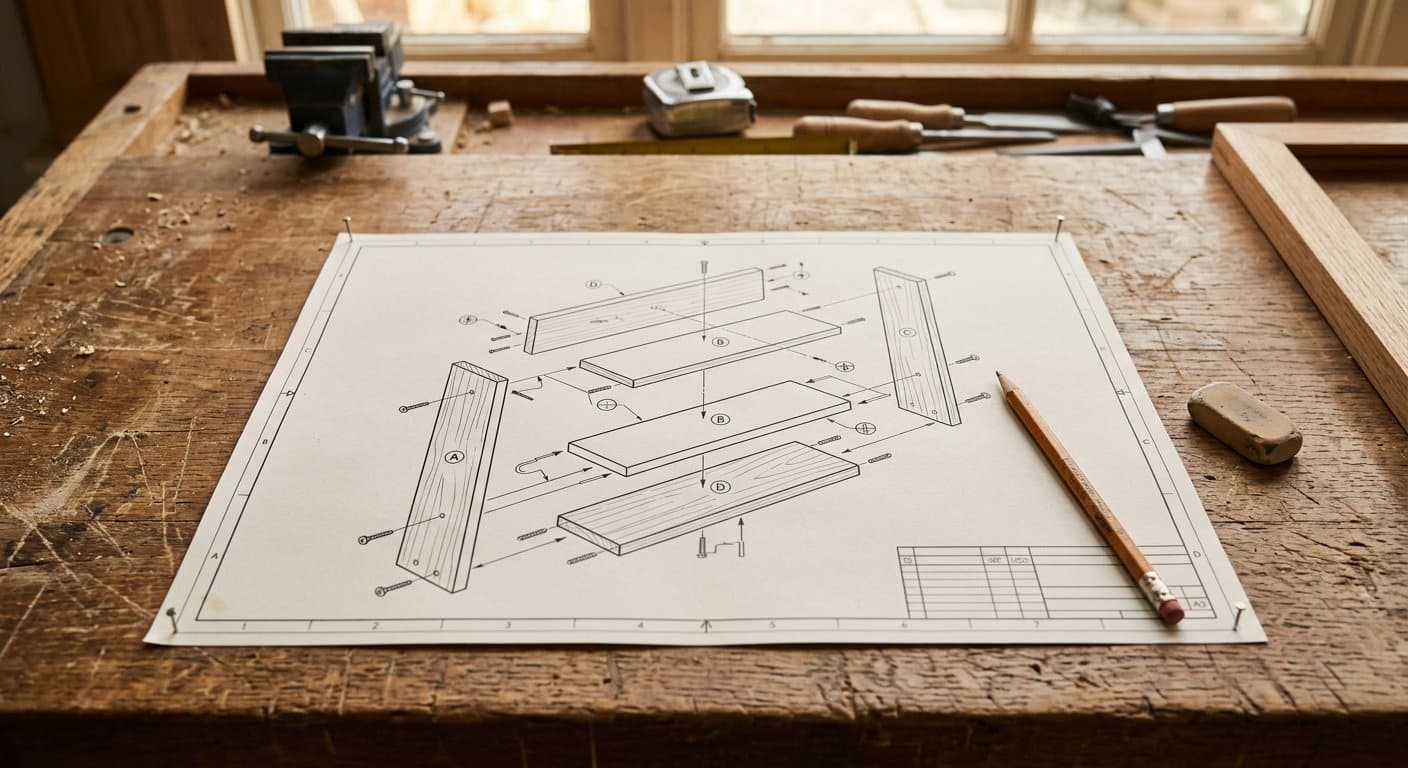
Line drawings intimidate beginners, but they follow a few simple conventions. An exploded view shows every part floating apart from the others, so you can see how they nest together — study it before you read anything else. Dimension lines with arrows tell you where a measurement starts and ends. Dashed lines usually show hidden edges or parts behind other parts.
If a plan uses symbols you don’t recognise (dado, rabbet, dowel, biscuit, mortise-and-tenon), stop and look them up before you cut — cutting first and understanding later is how I once cut five dados in the wrong direction. A good reference on joints from Fine Woodworking’s joinery guides is worth bookmarking.
Pick a plan that matches your skill level
Nothing kills a hobby faster than a first project that’s too hard. Here’s how I tell beginners to sort plans:
- Beginner: straight cuts, butt joints or pocket screws, no curved parts. Think plant stands, simple shelves and boxes — like the beginner-friendly plant stand build on this site.
- Intermediate: dadoes, rabbets, mitered frames, basic hardware like hinges. The entryway bench with shoe storage is a great stepping stone.
- Advanced: complex joinery, curved or angled work, inlay, large casework. Build up to these — your first dovetails don’t belong on a dining table.
Start with projects that use scrap wood or inexpensive pine. If a plan calls for premium hardwood, build a prototype in plywood or pine first. The cost of practice wood is always cheaper than the cost of ruining walnut.
What tools you need before the first cut
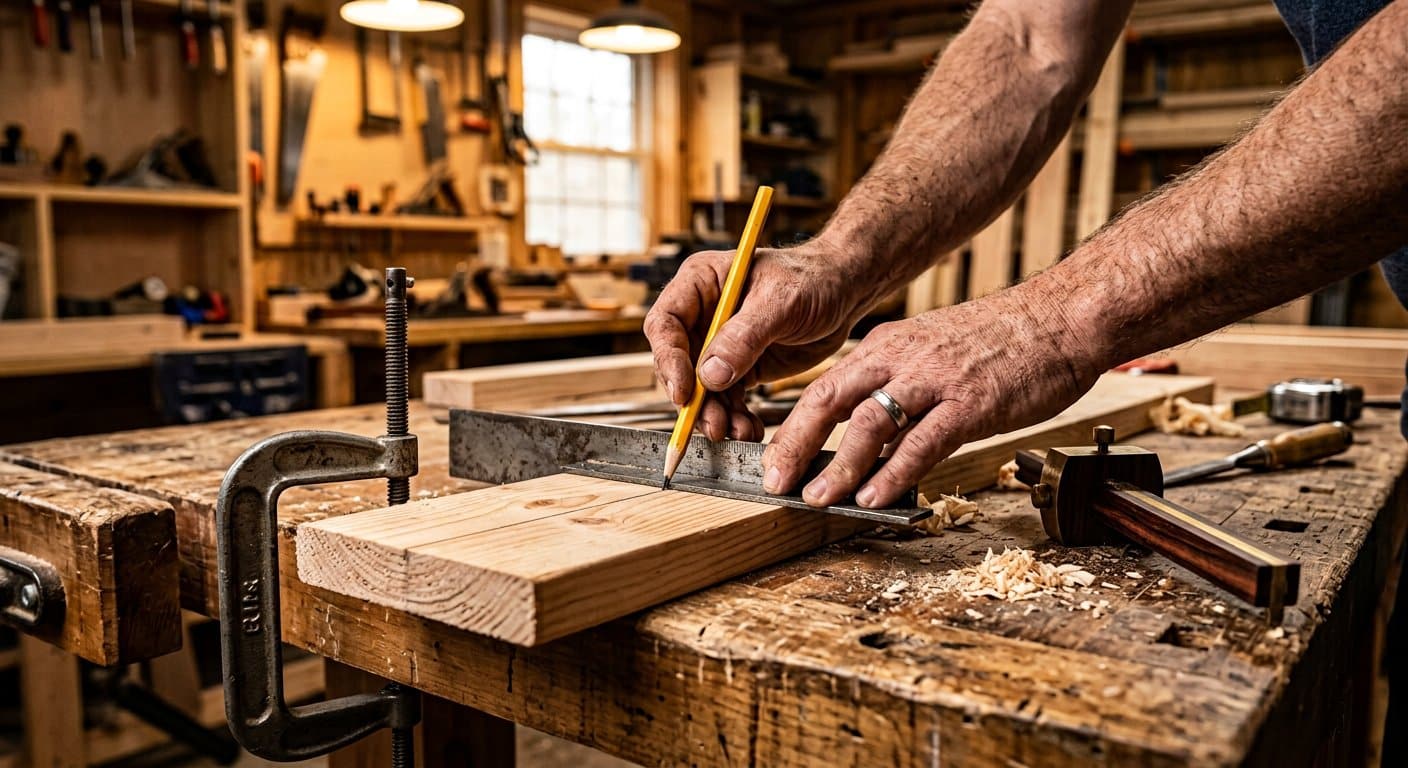
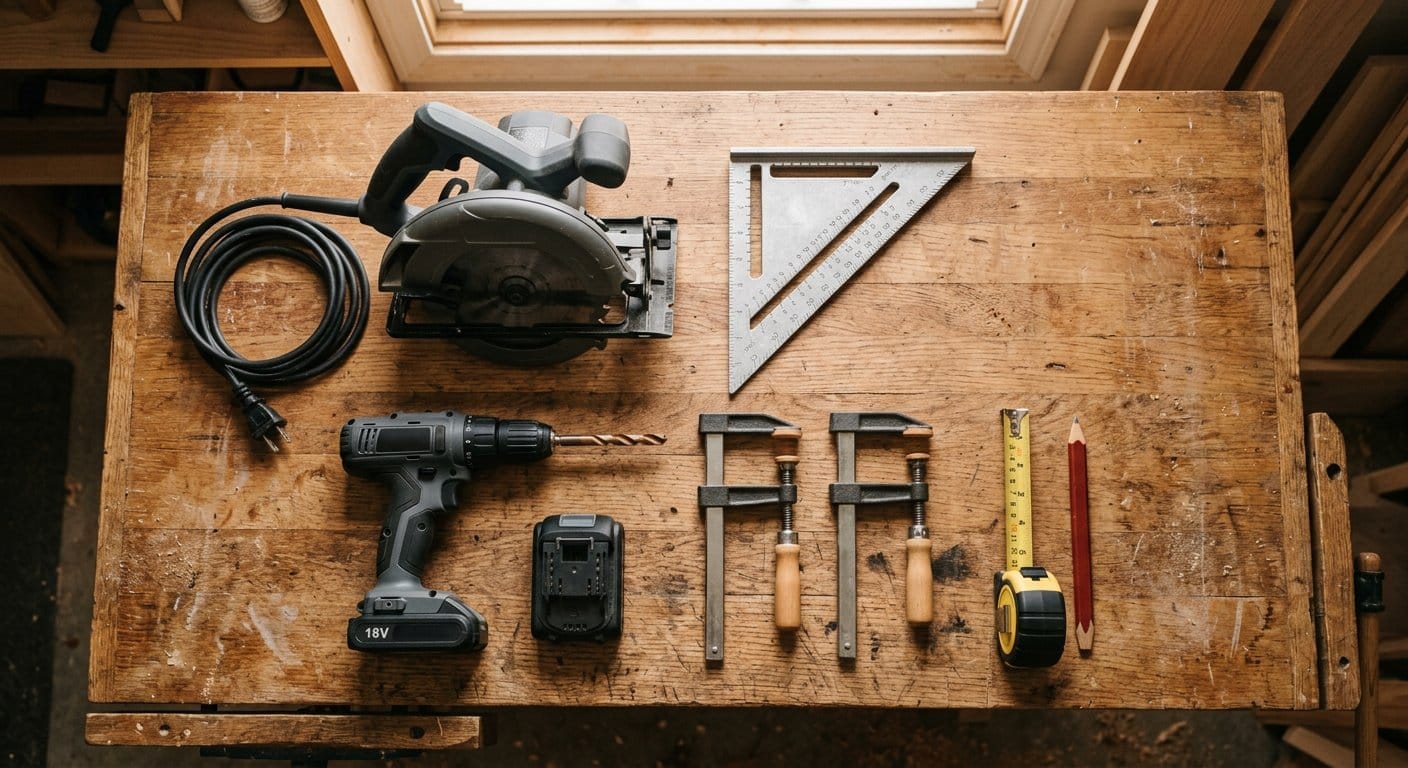
Plans list required tools, but many beginners panic about equipment. You don’t need a full workshop to start — a circular saw, a speed square, a drill/driver, clamps and a tape measure will handle most beginner projects. I built my first four projects with exactly that kit. My complete beginner’s tool guide breaks down what to buy first, what to borrow, and what to skip entirely. My guide to the essential woodworking tools for beginners sets out exactly what that starter kit should look like — and what you can safely ignore.
One tool I’ll never skip: a good square. A “close enough” 90-degree corner is how shelves end up looking like mine did.
Woodworking plan vocabulary: a quick cheat sheet
Plans use a shorthand that looks intimidating until you know the words. Here are the terms I explain to every beginner who asks:
- Kerf — the width of material a saw blade removes (typically ⅛″). Always cut on the waste side of your pencil line to account for it.
- Dado / rabbet — a dado is a groove cut across the grain (like a shelf slot); a rabbet is a step cut along an edge. Both make joints stronger than simple butt joints.
- Mortise and tenon — the classic furniture joint: a tongue (tenon) locked into a slot (mortise). Rock solid, but usually an intermediate skill.
- Pocket hole — a drilled angled hole that hides a screw from the front. The easiest strong joint for beginners with just a drill and a pocket-hole jig.
- Board foot — the unit rough lumber is sold in: thickness (in) × width (in) × length (ft) ÷ 12.
- MDF / plywood / hardwood — MDF is cheap, flat and paintable but heavy and prone to sag; plywood is strong and stable; hardwood (oak, walnut, maple) is what you use when you want the piece to last generations.
- Reveal — a deliberate gap or setback between parts, used for a crisp, designed look.
- Show face — the side of a board that will be visible in the finished piece. Mark it before cutting; it decides which side gets sanded and finished first. When your piece is ready for its final surface, my wood sanding and finishing guide for beginners walks you from bare wood to a smooth, pro-looking finish.
Bookmark this list. The first time you see “rabbet” in a plan and know exactly what it means, you’ll feel the hobby click into place.
How to scale a plan safely
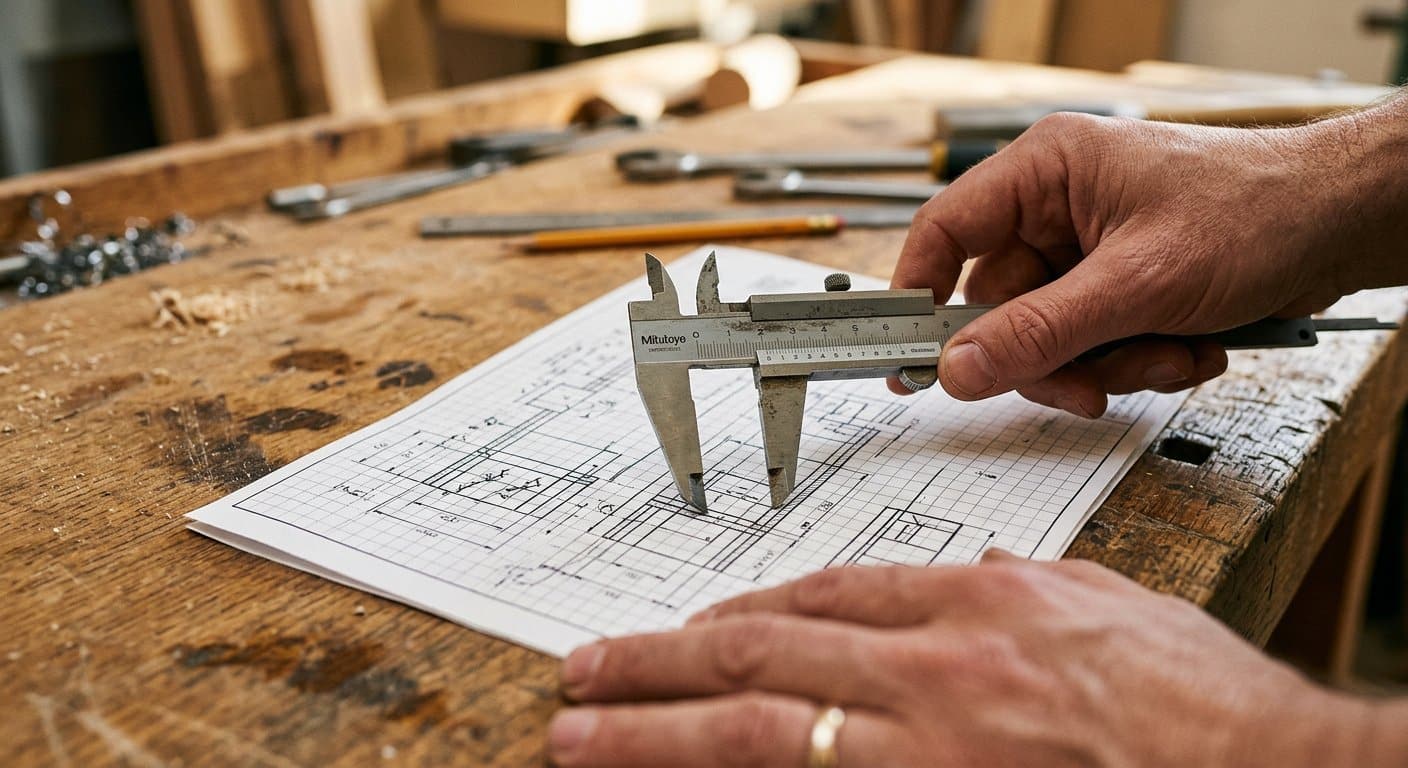
Found a plan you love that’s 10 inches too small? Scaling is possible, but it’s not as simple as multiplying every number. Widths and lengths scale linearly, but material thickness and joinery sizes often shouldn’t — a shelf that spans 60 inches needs a thicker board than one spanning 24 inches. When you scale up, you usually need to add support, upgrade joinery, or both.
My rule: scale up or down by no more than 20–25% without redesigning the structure. If you need bigger, find a bigger plan instead.
Where to find free woodworking plans (that aren’t junk)
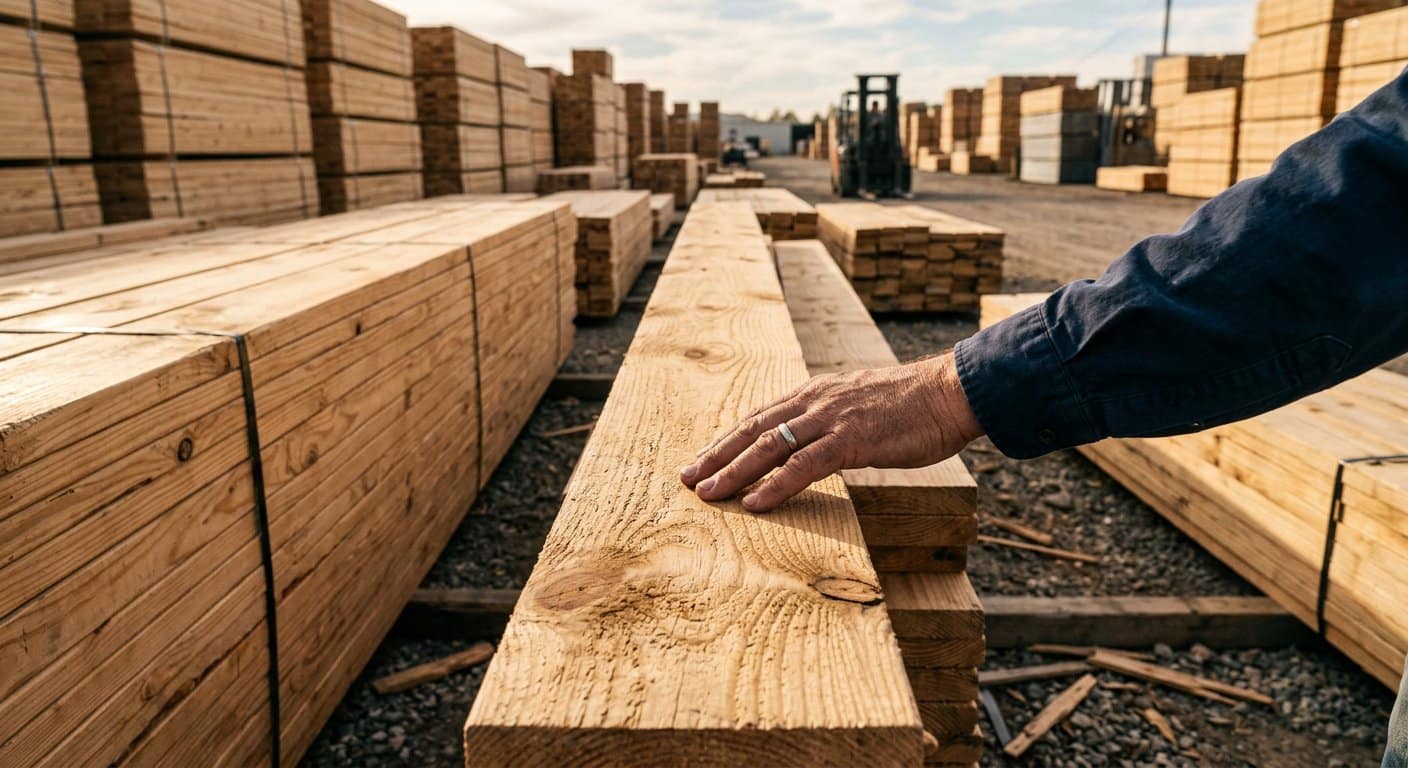
Free plans are everywhere — the skill is finding ones worth your time. Good sources I actually use:
- Ana White — thousands of free furniture plans with cut lists, built for beginners with basic tools.
- Wood Magazine — well-tested plans from an established publication, many free.
- Established woodworking blogs and YouTube channels — look for plans with a full cut list and photos of the finished piece from multiple angles.
As a rule, if a “free plan” has no cut list and no materials list, it’s not a plan — it’s an idea. File it in your inspiration folder and keep looking.
Following a plan start to finish: a floating shelf
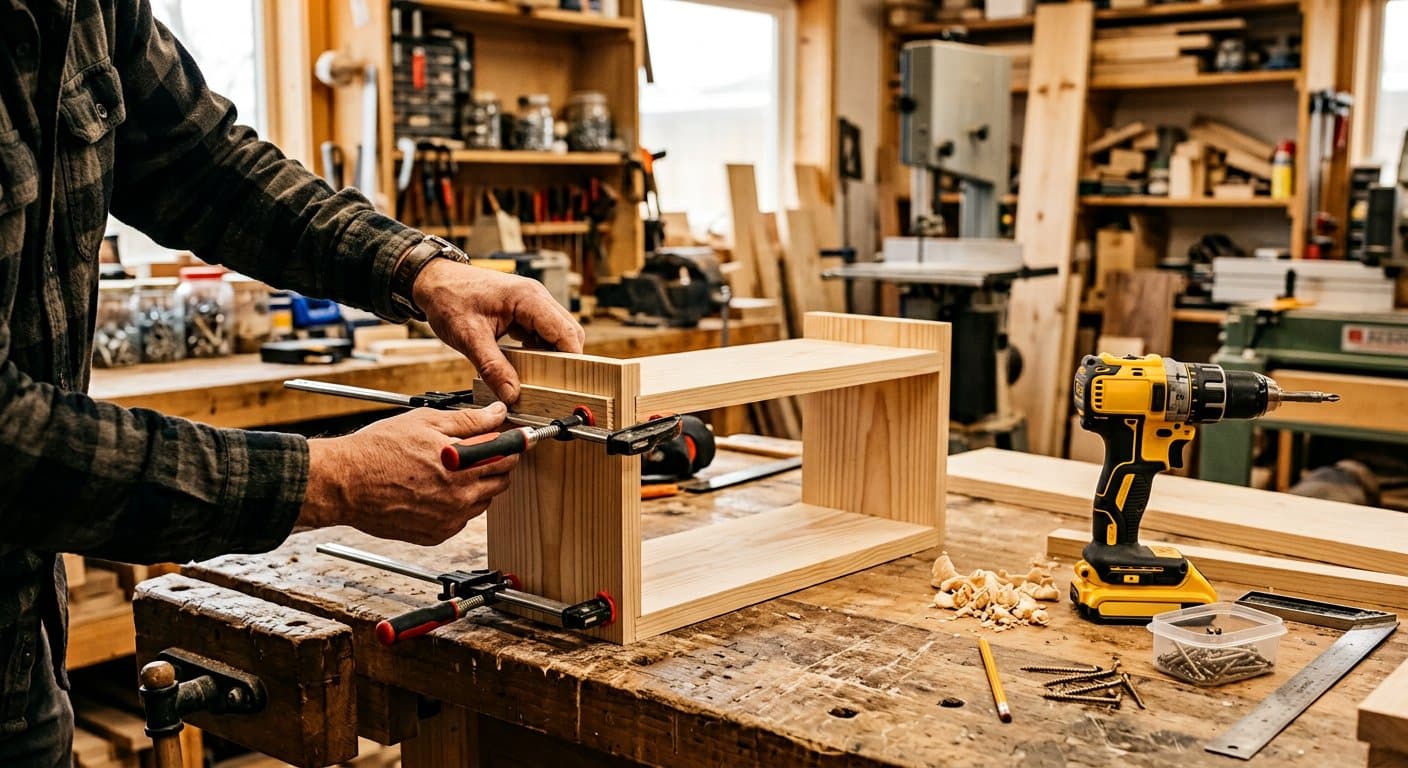
Let’s walk through a typical beginner plan — a 24-inch floating shelf — the way I’d actually build it:
1. Read everything first. Materials: one 1×8 pine board (6 feet), one 2×2 (3 feet), wood glue, 2-inch screws, finish of choice. Cut list: two shelf faces, two end caps, two support cleats. Diagram: three views, all simple rectangles.
2. Buy with the cut list in hand. I pick straight, knot-free boards — checking the grain is easier at the store than at the saw. (Learning to choose the right wood was a turning point for me.)
3. Cut in order. Long cuts first, then short ones from the offcuts. Mark every piece with its part letter before you move on.
4. Dry-fit before gluing. Assemble everything with clamps and no glue. If it fits, take it apart and glue for real. If it doesn’t, adjust now — wet glue makes adjustments miserable.
5. Finish before mounting. Sand through the grits (120 → 180 → 220), wipe off dust, then finish. Pre-finishing the inside of the cleats means no visible brush marks once mounted.
If you want more practice pieces in this style, my easy DIY wood furniture projects list has ten builds that follow this same pattern.
Common mistakes beginners make with plans

- Skipping the cut list to “save time.” You don’t save time — you buy the wrong wood and recut everything.
- Trusting the drawing over the numbers. If the diagram and the cut list disagree, the cut list wins.
- Ignoring wood movement. Solid wood expands and contracts with humidity. Wide boards need room to move, or they crack. My guide on preventing warping and cracking explains why this matters even for small projects.
- Cutting all parts before checking tool setups. Cut one test piece, check the fit, then cut the rest.
- Not accounting for saw kerf. A ⅛″ saw blade removes ⅛″ of wood. Measure from the right side of the line, every time.
Frequently asked questions
Are free woodworking plans reliable? Yes, from established sources with complete cut lists and photos. Treat plans without cut lists as inspiration, not instructions.
How do I know if a plan is beginner-friendly? Check for straight cuts only, simple joints (butt, pocket hole), and a tools list that matches what you own. If it needs a table saw and you have a circular saw, keep looking.
Can I modify a plan to fit my space? Yes, within reason — scaling up or down by 20% is usually safe, but re-check joinery and support when you change dimensions.
Do I need special software to read plans? No. A printed PDF or even a phone screen works. Full-size templates (printed at 100% scale) are helpful but rarely required for beginner projects.
What’s the easiest first project with plans? A floating shelf, a planter box, or a simple stool. All three appear in my workshop ideas and project roundups with full plans.
Should I print plans or use them on screen? Whatever keeps you accurate. I print and highlight, because pencil marks and sawdust don’t mix with phones. If you stay digital, zoom in on the cut list and keep the drawing separate from the numbers.
How long does a typical beginner project take? Plan for a weekend: one day for cutting and one for assembly and finish. Small pieces like a plant stand can be done in an afternoon once you’ve built two or three things.
About the author and this guide
I’m Saurav Samanta, a home-decor woodworking enthusiast who has built and documented dozens of projects — from garden structures to furniture — for this site. Everything in this guide comes from builds I’ve actually completed (and the mistakes I made along the way). Woodworking involves sharp tools and power equipment; always follow the safety instructions for your tools and wear appropriate protection. Spotted an error? Report it here and I’ll fix it.
Ready to build? Start with these
Pick one plan, read it twice, and build it once. My suggestions for your first three builds: a wall art piece (small and forgiving), a scrap-wood shelf (nearly free to make), and a magazine rack (your first piece of real furniture). Every plan you follow makes the next one easier — and one day you’ll be the one writing the guide.