Starting my first woodworking project was both exciting and scary. The smell of fresh wood and the sound of a joint clicking into place were thrilling. Creating something with my hands was incredibly fulfilling. If you’re starting your woodworking journey, you’re in the right place.
In this article, I’ll share 10 easy woodworking projects for beginners. These projects range from simple crafts to small furniture, teaching various skills and tools. They’re designed to boost your confidence and experience in DIY.
Whether you’re using basic tools like a saw and hammer or power tools like a miter saw, you’ll find the help you need. This will guide you as you start your woodworking adventure.
So, get ready to work, wear your safety gear, and explore easy woodworking projects. You’ll soon be making beautiful, useful items for your home!
Key Takeaways
- Discover 10 easy woodworking projects for complete beginners
- Projects range from simple scrap wood crafts to small furniture pieces
- Learn to use basic tools like saws and hammers, as well as power tools
- Gain confidence and experience in the world of DIY woodworking
- Create beautiful, functional pieces for your home
Introduction to Woodworking for Beginners
Woodworking is a rewarding journey that offers many benefits for beginners. It’s a great way to create handmade wooden decor and feel a sense of accomplishment. Plus, it’s a wonderful hobby for the weekend.
Benefits of Woodworking
Woodworking is more than just a skill; it’s a creative outlet. It helps you relax and find calm in a busy world. You’ll also feel proud and confident as you learn new things and see your projects come to life.
Essential Tools for Beginners
Beginners need the right tools to start woodworking. You’ll need a saw, hammer, measuring tape, and sandpaper. As you get better, you might want tools like a circular saw and random orbit sander for harder projects.
Safety Tips for Working with Wood
Always put safety first when working with wood. Wear safety glasses and gloves to avoid injuries. Keep your workspace clean and organized to avoid accidents. Start with simple projects to build your skills and confidence.
With the right knowledge, tools, and safety tips, beginners can start their woodworking journey. They’ll create beautiful wooden decor and projects that will last forever.
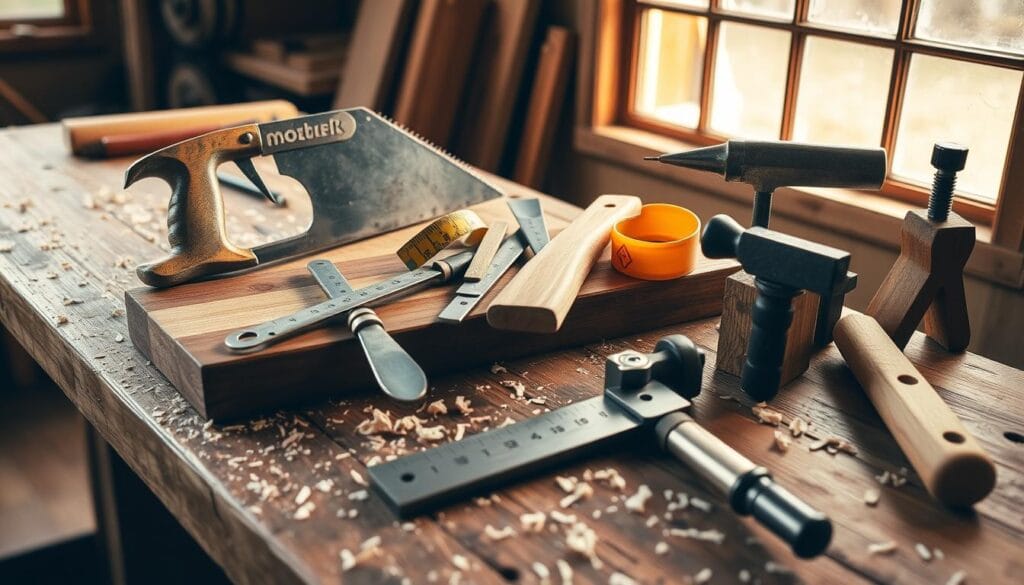
“Woodworking is not just a hobby, it’s a way of life. It’s about creating something tangible and beautiful with your own two hands.”
Project 1: Simple Wooden Planter Box
Building a wooden planter box is a great project for beginners. This guide will show you how to make a planter box using easy-to-find materials and basic tools.
Materials Needed
- 12′ x 6″ x ¾” Cedar or Pine Lumber
- 20 1 1/4″ Exterior Grade Screws
- 24″ x 24″ Landscaping Fabric or alternative materials like old towels
- Organic Container Soil
- Mulch (wood chips, straw, shredded paper)
Step-by-Step Instructions
Start by cutting the lumber into specific sizes: 4″ x 22 1/2″ for the sides, 4″ x 7″ for the ends, and extra pieces for the connections. Use wood glue and 1 1/4″ exterior grade screws to put the planter together. Make sure to use the right screw length for the wood thickness. Line the bottom with landscaping fabric or a similar material, then fill it with organic soil and mulch to keep it moist.
Customization Ideas
Make your planter box unique by adding rope handles or painting it in bright colors. To save money, look for cedar lumber at local sawmills. Many cedar species are currently affected by disease. You can also use cedar-adjacent species like Juniper, which are also resistant to rot and pests.
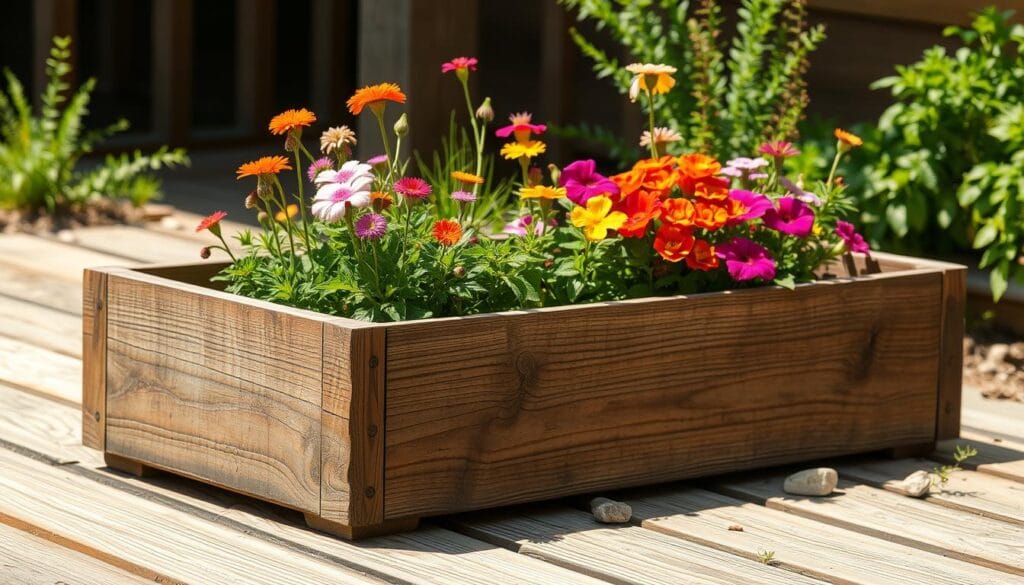
This woodworking project is a great way to learn essential skills like cutting, assembling, and finishing. It also adds beauty and function to your outdoor space. With the right materials and a bit of creativity, you can make a beautiful wooden planter box that enhances your home’s look and provides a great place for your plants.
Project 2: Basic Bookshelf
Building a simple bookshelf is a great way for beginners to improve their woodworking skills. This project helps you practice measuring, cutting, and assembling wood. It’s a good way to build confidence and prepare for more challenging projects.
Tools Required
To make a basic bookshelf, you’ll need some basic tools. You’ll need a saw, a drill, screws, wood glue, and clamps. The text suggests focusing on one joint type, like mortise and tenon, to get better faster.
Assembly Instructions
Start by cutting the wood boards to the right length for the shelves and side supports. Measure and mark where the shelf dados will go. These are grooves in the side supports for the shelves.
Then, use your tools to make these dados. Make sure they fit the shelves well.
Next, put the bookshelf frame together by gluing and screwing the side supports to the top and bottom boards. Once it’s strong, put the shelves in the dados and secure them.
Finishing Touches
After the basic structure is done, it’s time for the finishing touches. The text says not to use stains and dyes on your first project. Instead, plan for a clear coat finish to make finishing easier for beginners. Sand the whole bookshelf to make it smooth, then apply your chosen finish, like clear polyurethane or natural wood oil.
Lastly, think about adding personal touches. You could use decorative brackets or a custom paint color to match your home. The goal is to make a piece of furniture that’s both functional and looks good, showing off your growing skills.
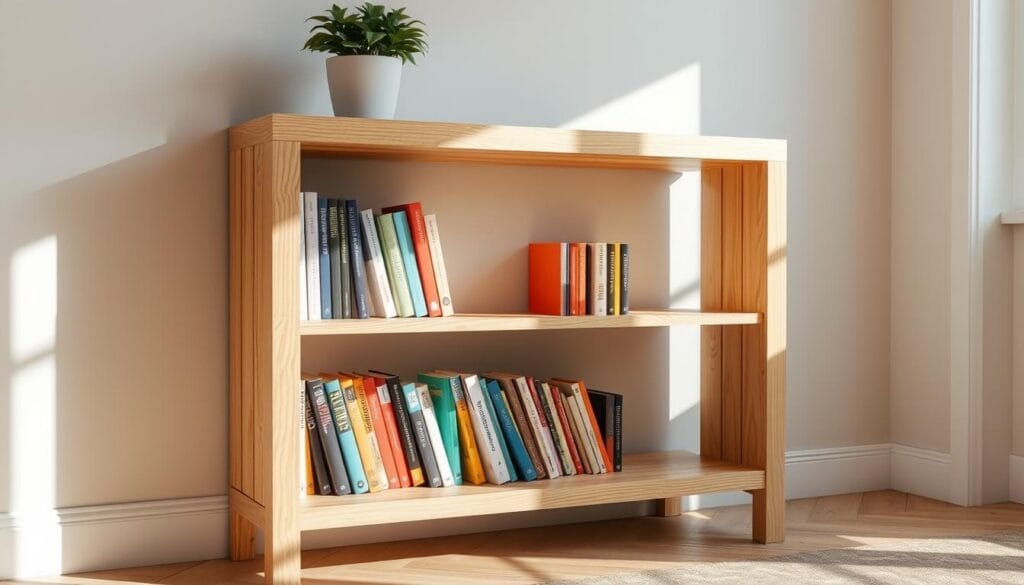
Building a basic bookshelf is a great first project for beginners. It helps you learn the basics and builds your confidence. This way, you’ll be ready to take on more complex projects in the future.
Project 3: Rustic Picture Frame
Making a rustic picture frame is a great way to add charm to your home. You can use old or new wood with unique patterns and knots. This makes each frame special.
Choosing the Right Wood
Look for wood that looks weathered or distressed. You can use old pallets, barn siding, or new wood that you distress. The wood’s natural flaws and colors add to the charm of your decor.
Measuring and Cutting
Getting the measurements right is crucial for a good frame. Use a miter saw for 45-degree cuts to make the corners fit well. Then, glue and nail the pieces together for a strong frame.
Adding A Personal Touch
Make your frame stand out by adding personal touches. You can carve designs, add metal accents, or use unique stains or paints. These details make your project truly unique.
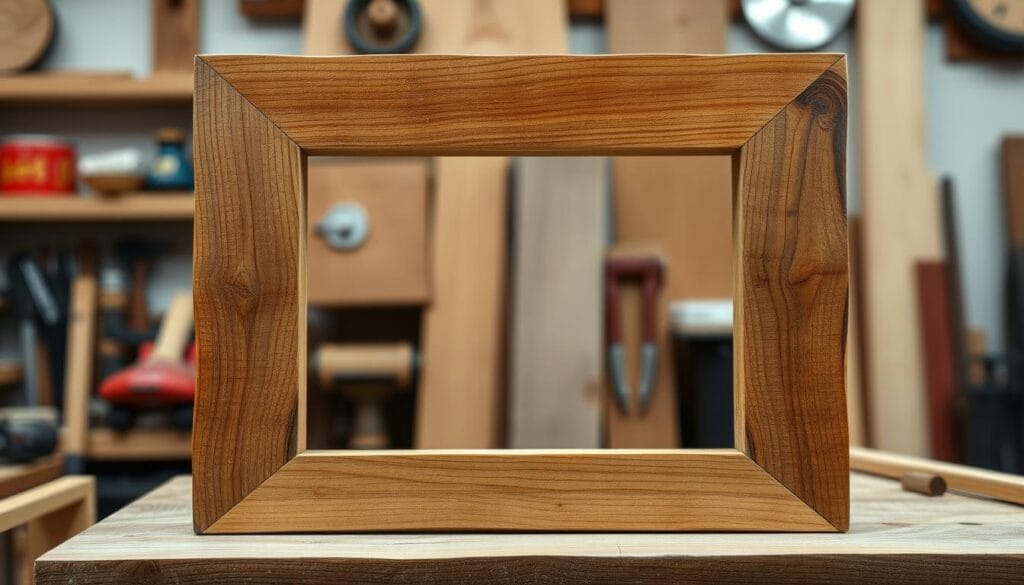
“The beauty of creating a rustic picture frame is that each one will be a unique reflection of your personal style and the character of the wood you choose.”
This DIY project is great for both beginners and experienced woodworkers. It’s a wonderful way to show off your handmade decor and add warmth to your space. With creativity and care, you can make a beautiful piece that will last for years.
Project 4: Easy Birdhouse
Building a birdhouse is a fun weekend project for beginners. It’s a great way to attract birds to your backyard. Here’s how to make a simple birdhouse.
Design Options
Birdhouses come in many designs, from classic to modern. Think about which birds you want to attract. A simple cedar birdhouse is good because it’s hard for predators to see. You can also add a perch or roof shingles for a unique look.
Construction Steps
You’ll need weather-resistant wood like cedar, glue, and small nails. The birdhouse costs about $3.50 Canadian dollars and takes less than 30 minutes to make. First, cut the wood for the base, sides, roof, and entrance hole. Then, use glue and nails to put it together.
Painting and Decoration
After building, add the final touches. Paint or stain the birdhouse to protect it and make it look good. Use three coats of paint for each color. You can also add a perch or roof shingles for extra charm.
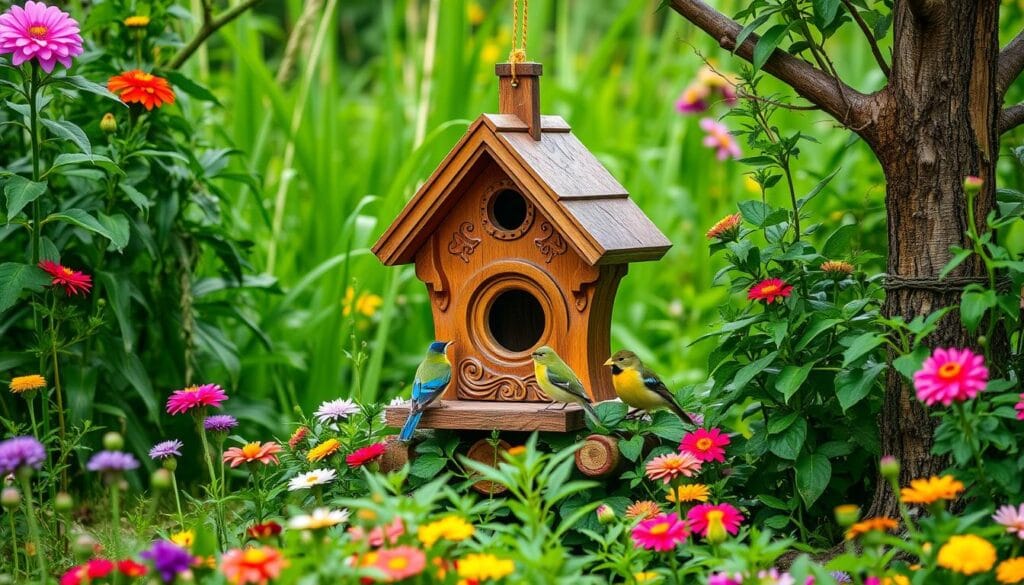
Building a birdhouse is a fun project for the whole family. With basic tools and creativity, you can make a bird-friendly home. So, why not try it this weekend?
Project 5: DIY Candle Holders
Make your living space cozier with DIY candle holders. These wooden decor pieces are easy to make and add a rustic touch. Let’s dive into making your own candle holders from scratch.
Selecting Wood Types
The wood you pick for candle holders matters a lot. Choose hardwoods like maple or oak for their strength and long life. These woods can handle heat well and last for many years.
Crafting Process
Making DIY candle holders is easy. Cut wood blocks to the size you want, from 7″ to 5″ tall for a nice look. Use a circular saw and a battery drill for the cuts and holes. Sand the blocks smooth and add a safe finish for dining use.
These projects are great for trying new things. You can use different candles, like taper, pillar, or tea light candles. This lets you match your holders to your style or the event.
Safety Precautions
Always be careful with candles and wood. Make sure candles fit well in holders and never leave them burning alone. This project is quick, taking only 45 minutes. It’s perfect for beginners or a fun DIY project.
By following these steps and being safe, you can make beautiful wooden decor. Enjoy the process and show off your creativity with these DIY candle holders.

Project 6: Functional Coat Rack
Make your entryway stylish and practical with a DIY coat rack. It’s a great project for beginners who want to make easy wood furniture for their home. With basic tools and materials, you can build a coat rack that organizes your stuff and adds rustic charm.
Tools and Materials
You’ll need air-dried walnut wood, a 3/8″ dowel rod, a drill, wood screws, and a sander. The coat rack’s length can be adjusted to fit your space, but 30 inches is a common size. Sand the wood to 220 grit before applying a protective finish like Minwax Wipe-on Poly.
Assembly Guide
Start by cutting the wood to size and making the coat rack’s parts. Use 2″ wide strips for the fixed parts and 1″ wide for the movable ones. Drill holes and screw in the dowel rod to connect them. Use screws on each end and one in the middle for stability.
Installation Tips
Securely anchor the coat rack into wall studs to hold coats and bags. Routing key hole slots in the back makes installation easier. For a modern look, add a movable section with 45-degree cuts. This lets you adjust the rack to fit your style.
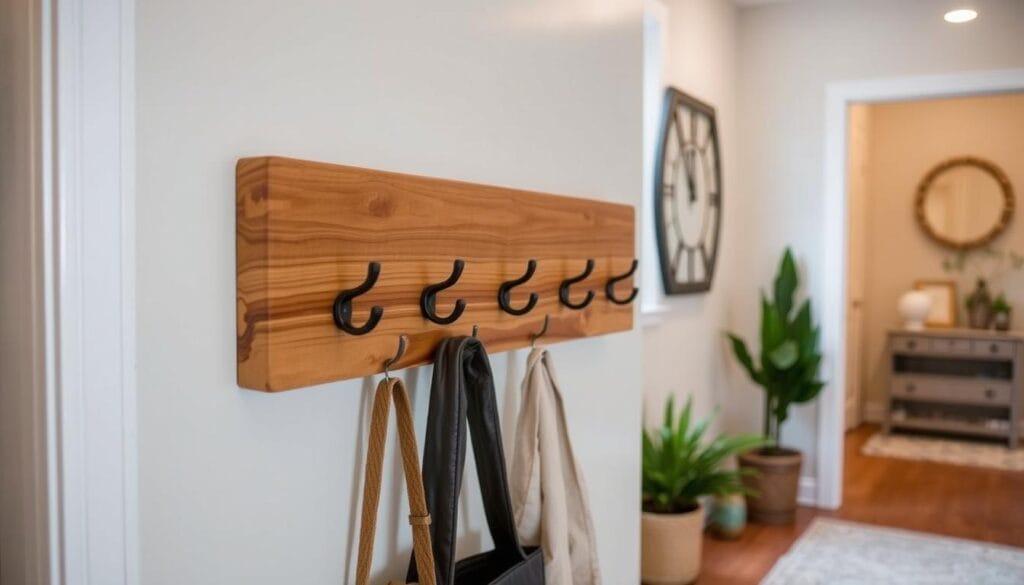
Follow these steps to make a woodworking plan for beginners that’s both useful and stylish. Let your DIY spirit shine and build your own coat rack today!
Project 7: Simple Side Table
Making a stylish side table is a great project for beginners. It can change any room’s look, adding charm or modern style. Let’s go through how to build your own simple side table.
Required Materials
You’ll need basic tools and materials for this project. These include a miter saw, pocket hole jig, drill, jigsaw, and clamps. You’ll also need specific screws and wood boards.
Building Steps
Start by cutting the wood to the right size. You’ll need pieces for the legs, base, and top. Then, make a half-lap joint for the base and attach it with glue and screws.
Drill pocket holes and attach the base to the legs with screws. Finish by securing the top with 2-inch wood screws.
Sanding and Staining
After building, sand the table with coarse-grit sandpaper and then fine-grit for a smooth finish. This step is rewarding as you see the wood transform.
Next, apply a stain or paint to match your decor. You can customize the finish and design to fit your style.
By following these steps, you can make a beautiful side table. It’s a great project for beginners or seasoned woodworkers to improve their skills.
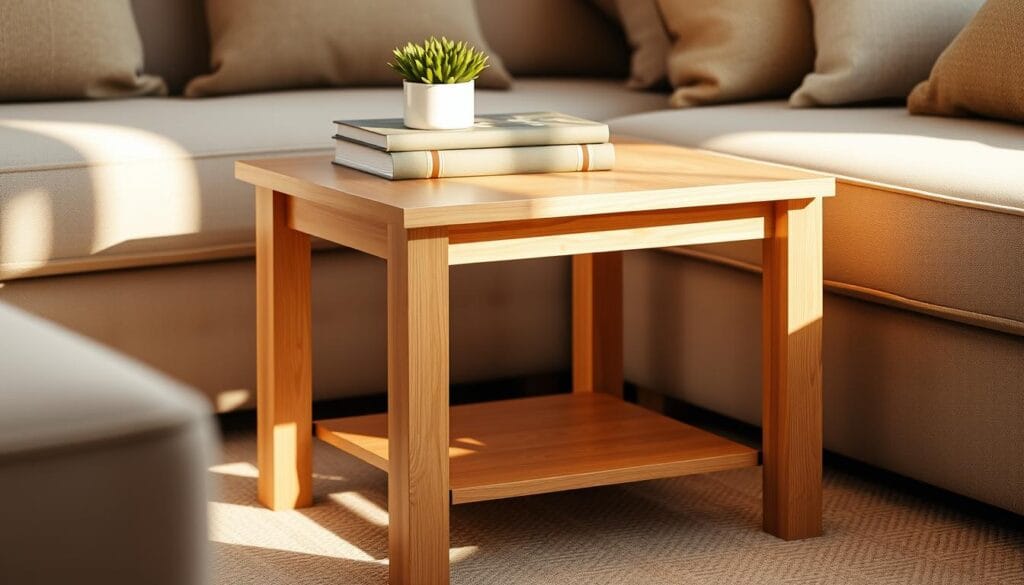
Project 8: Wooden Toy Car
Making wooden toy cars is a fun DIY project for beginners. They make great gifts and are a rewarding weekend project. With basic tools and creativity, you can make a unique wooden toy car.
Design Considerations
Design your wooden toy car to be simple and safe. Cut out the shape using a band saw or scroll saw. The axle length is the wood thickness plus two tire thicknesses plus a bit for movement.
If the tires are too tight, they won’t roll well.
Cutting and Assembling
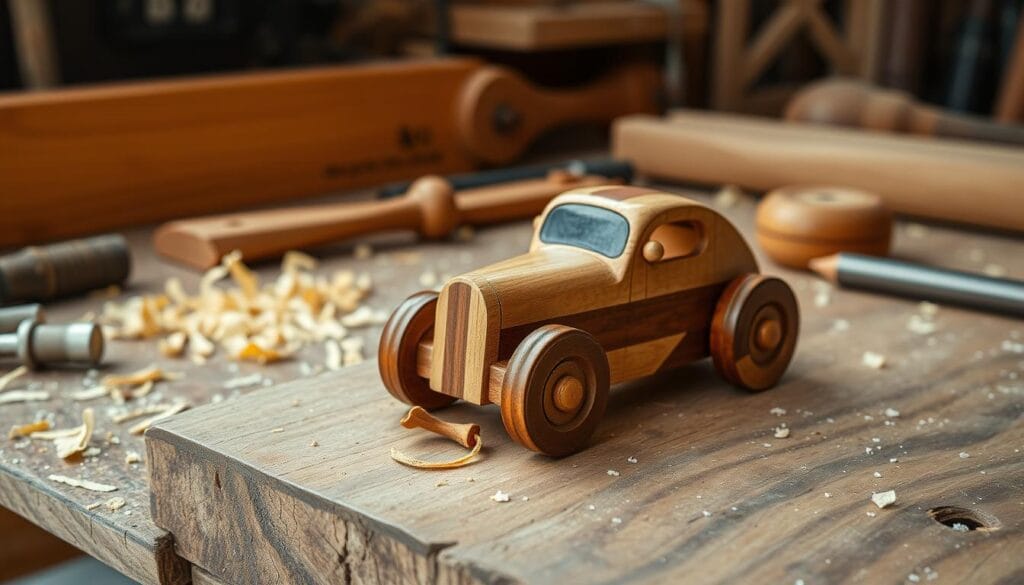
Use the right tools to cut out the car body, wheels, and axles. You can use maple, black walnut, or poplar for this project. Assemble the car with wood glue and small dowels for the axles.
When painting the car, use painter’s tape to avoid spills. Apply tape around the dowel for better glue adhesion.
Finishing Steps
Sand the car well to make it smooth and safe for kids. Hold the glued tire for 30 seconds to secure it. Paint the bottom black and the body with sanding for a shiny finish.
Or, leave the wood natural to show off its beauty.
With a few steps, you can make a beautiful wooden toy car. It’s a great way to show off your DIY skills this weekend.
Project 9: Expandable Wooden Rack
The expandable wooden rack is a great addition to any home. It’s perfect for organizing shoes, magazines, and more. Its design lets you adjust it to fit your space needs.
Functions and Uses
This rack is super versatile. It’s great for storing shoes and keeping them in sight. It also works well for magazines and small items. You can adjust it to fit your needs.
Construction Steps
Building this rack is easy. You just connect wooden slats with hinges, which allows you to change its size to fit your space.
Customization Options
This project is all about making it your own. You can add hooks for keys or jewelry. Try painting it or mixing woods for a unique look. The options are endless.
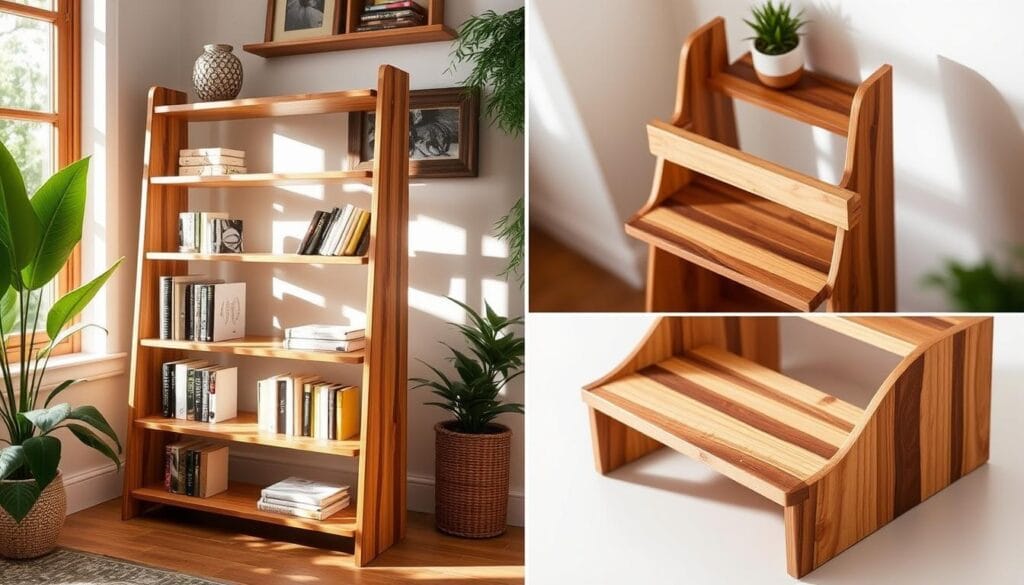
The expandable wooden rack is perfect for organizing or decorating. It’s easy to make and can be customized in many ways. It’s a great project for beginners to try their hand at woodworking.
Project 10: Basic Cutting Board
Making a simple cutting board is a great project for beginners. Hardwoods like maple, walnut, cherry, and acacia are good for food safety. A standard cutting board is 1 ½” thick, 12″ wide, and 18″ long.
Using contrasting woods, like maple and walnut, can make your board look interesting. This tutorial used maple and walnut strips to create a unique design. The finished board was 12 ¾” x 19″ with 14 maple and 3 walnut strips.
Making It Unique
To make your cutting board special, try using different wood species. You can also add a juice groove to catch spills. With some creativity, your cutting board can become a beautiful kitchen piece.
Proper Care Instructions
It’s important to take care of your cutting board. Sand it with grits from 120 to 220 for a smooth finish. Use food-grade mineral oil or cutting board oil as a finish, letting it soak for 3 days.
When cleaning, wash it with a soft sponge and warm, soapy water. Rinse and air dry. Regular oiling keeps the wood moist and prevents damage.

Choosing the right wood and following care tips can make a beautiful cutting board. Projects like this are perfect for beginners to practice simple wood projects and woodworking tutorials.
Tips for Successful Woodworking
Starting your woodworking journey as a beginner is thrilling. It might seem tough to make beautiful, useful items at first. But, with practice, inspiration, and community support, you can find joy and pride in this craft.
Practice with Small Projects
Building your skills takes time, just like Rome was built. Begin with small, easy projects to learn your tools and techniques. Try out various woodworking methods, like using different saws and drill bits. Each project you finish will boost your confidence and skills, leading to bigger projects.
Finding Inspiration
Surround yourself with things that spark your creativity. Look to nature, architecture, or online woodworking groups for ideas. Notice the details and styles that excite you, then try to add them to your projects. Exploring and trying new things will help you find your own style.
Joining Woodworking Communities
Connecting with other woodworkers can change your game. Share your projects, ask for tips, and learn from others. Joining clubs or forums gives you access to lots of knowledge, tools, and workshops. It makes learning more fun and helps you grow faster.
Remember, every pro started as a beginner. Be patient, learn from mistakes, and keep practicing. With hard work and a love for exploring, you’ll create amazing woodworking pieces to share with others.
Conclusion: Start Your Woodworking Journey Today
Starting your woodworking journey is exciting and rewarding. You can build confidence and develop essential skills by doing simple projects. These projects help you learn to solve problems and work with your hands.
They are perfect for beginners. They improve your craftsmanship and prepare you for more complex projects later on.
Encouragement for Beginners
Woodworking is a lifelong craft with endless opportunities. Easy projects can make you feel relaxed and boost your self-esteem. Don’t be afraid to try new things and learn.
Next Steps After Completing Projects
Once you’ve mastered simple projects, try more complex ones or explore different styles. Ted’s Woodworking Plans have many furniture projects for all skill levels. Keep learning from books, online tutorials, and hands-on experience to improve your skills.
Resources for Further Learning
There are many resources to help you grow in woodworking. Learn about different wood types like pine and birch to expand your creativity. Join online communities, attend workshops, and find mentors to inspire you.
FAQ
What are the benefits of woodworking for beginners?
Woodworking is great for stress relief and skill building. It also gives you a sense of pride in creating something yourself.
What are the essential tools needed for beginner woodworking projects?
Beginners need a saw, hammer, measuring tape, and sandpaper. These tools are key for starting projects.
What safety precautions should be taken when working with wood?
Always wear safety glasses and work gloves when working with wood. Keep your area clean and organized to avoid accidents.
What are some easy woodworking projects for complete beginners?
Beginners can start with a wooden planter box or a basic bookshelf. You can also make a rustic picture frame, a birdhouse, or DIY candle holders.
How can I customize my woodworking projects?
You can add your own touch by using rope handles or unique paint colors. Carving designs on the wood is another way to make it special.
What should I consider when selecting wood for my projects?
Look at the grain patterns and knots when choosing wood. If it’s for the kitchen, make sure it’s safe for food.
How can I improve my woodworking skills?
Start with small projects and find inspiration online. Joining woodworking clubs or forums can also help you learn from others.

This paragraph will help the internet users for creating new blog
or even a blog from start to end.
Hi there Dear, are you actually visiting this web site regularly, if
so after that you will without doubt obtain good experience.