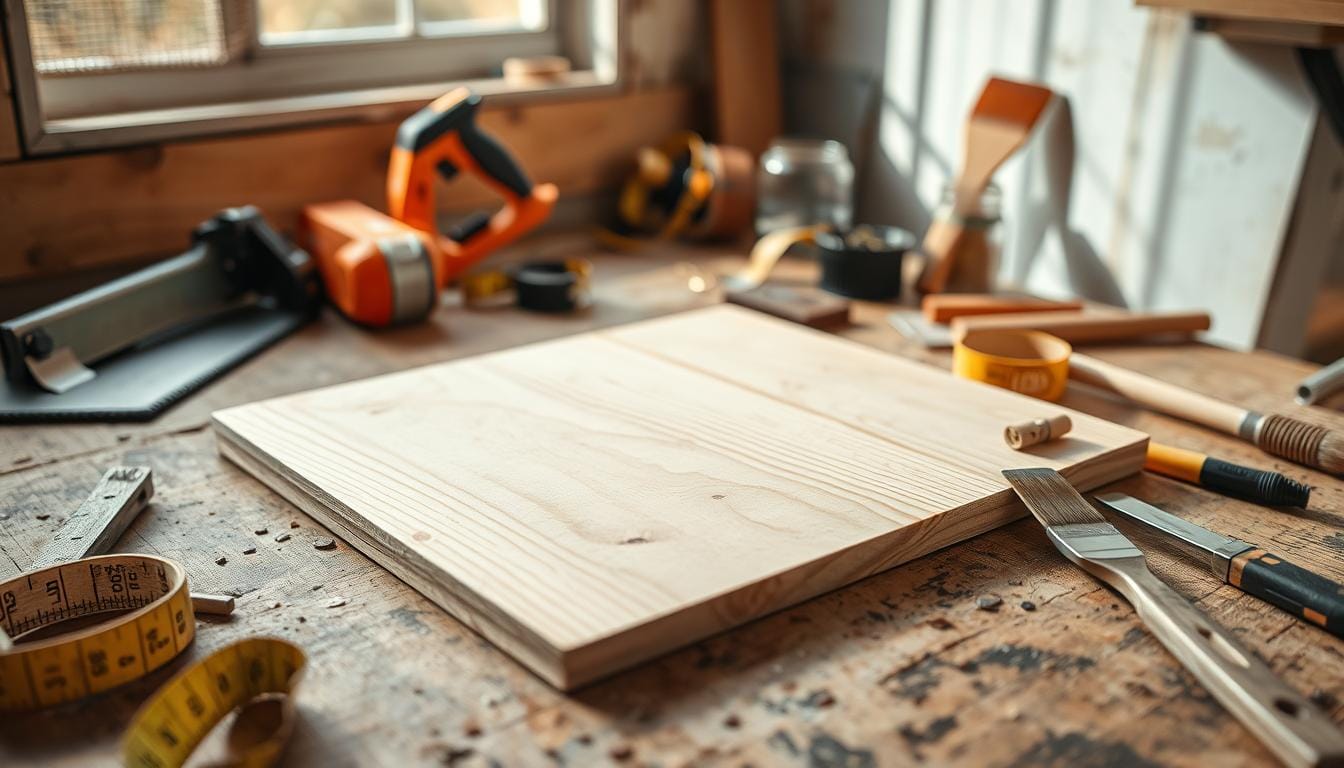
Thin wood boards are great for making your home look new. They are light and simple to use, perfect for many DIY projects. You can make custom furniture, shelves, and wall art with them. They are great for anyone who loves DIY, making your home look amazing.
There are many types of thin wood boards, like hardwood and plywood. Each has its own look and use. This means you can do lots of DIY projects, from quick crafts to detailed home solutions.
Key Takeaways
- Thin wood boards are versatile materials for DIY home projects
- They come in different types, including hardwood, softwood, plywood, and veneers
- Thin wood boards are lightweight and easy to work with
- They can be used to create a wide range of DIY projects, from custom furniture to wall decor
- Thin wood boards are affordable, with many projects costing under $5 in materials
What is a Thin Wood Board?
Thin wood boards are flat, slim pieces of wood used in DIY and home projects. They range from 1/8 inch to 3/4 inch thick, fitting many uses. They’re great for making custom shelves, unique wall art, or other creative projects. Knowing the different types helps you pick the best one for your project.
Definition and Characteristics
Thin wood boards, also known as wood planks or lumber sheets, are flat and slim. They’re made from various woods, like oak, maple, and walnut, or softwoods like pine, cedar, and fir. Each wood type has its own strength, durability, and look, making them perfect for different tasks.
Common Types of Thin Wood Boards
- Plywood: A favorite, plywood is made from layers of wood veneer, usually 3-ply. It’s strong, stable, and versatile, ideal for furniture, cabinetry, and DIY projects.
- Hardwood Boards: Thin boards from hardwoods like oak, maple, and walnut are durable and beautiful. They’re often used in high-end furniture and custom woodworking for their strength and natural beauty.
- Softwood Boards: Softwood thin boards, like those from pine, cedar, and fir, are cheaper and easier to work with. They’re great for general construction, outdoor projects, and DIY tasks where cost matters.
- Veneers: Thin wood veneers are less than 1/8 inch thick, glued to a base like plywood or particleboard. They’re a budget-friendly way to get a high-end wood look.
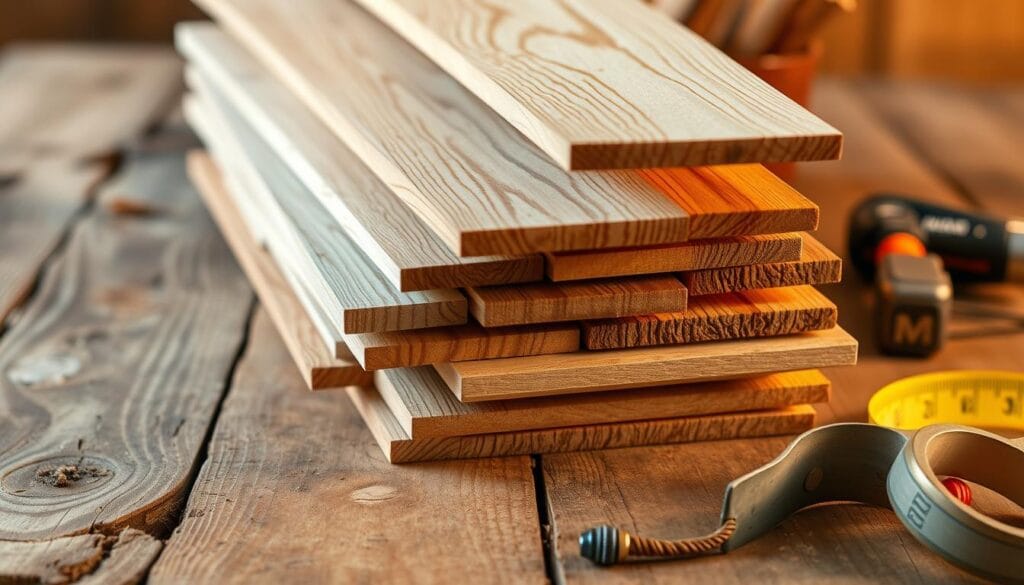
Thin wood boards are versatile and practical for many DIY and home improvement tasks. Knowing their characteristics and types helps you choose the right material for your project.
Benefits of Using Thin Wood Boards in DIY Projects
Thin wood boards, like hardwood and softwood, are great for DIY projects. They are light, making them easy to move and handle. This lets you do many home improvement tasks without trouble.
Lightweight and Easy to Handle
Thin wood boards are light, which is a big plus for DIY projects. They are perfect for tasks that need moving or installing often. This makes them great for DIY fans, as they are easy to move and set up without straining.
Versatile Applications for Home Decor
Thin wood boards, whether hardwood or softwood, are very versatile in home decor. They can be used for custom shelving or unique wall art. This lets you express your creativity and make your space stand out.
When picking thin wood boards for your projects, think about the differences between hardwood and softwood. Hardwood, like oak or maple, is durable and looks high-end. Softwood, like pine or cedar, is cheaper and easier to work with for beginners.
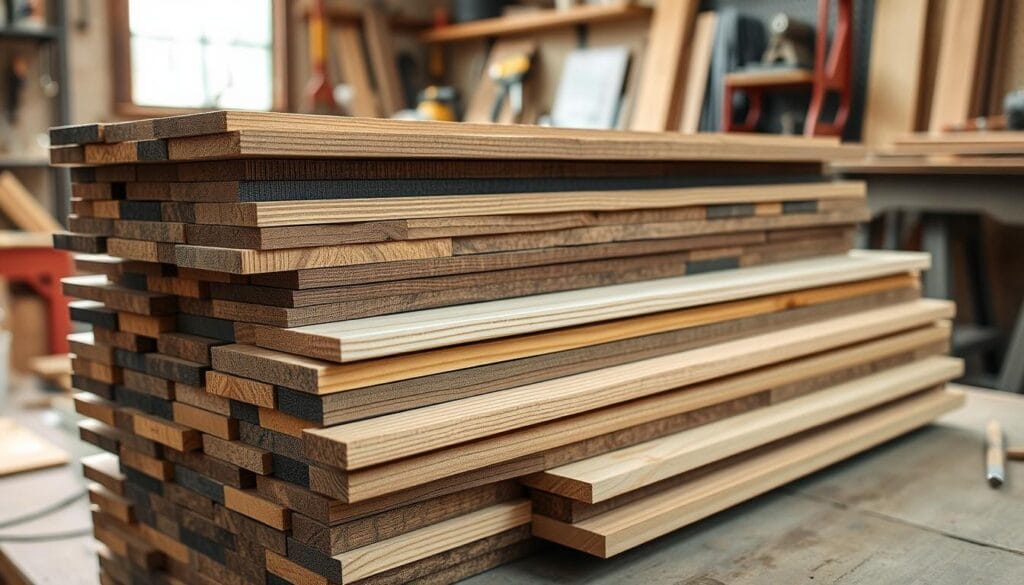
“Thin wood boards offer the perfect balance of lightweight portability and design versatility, making them a go-to choice for DIY enthusiasts.”
Looking to make custom shelving, unique wall art, or other home decor? Thin wood boards are a versatile and easy-to-use option. Their light weight and many uses make it simple to bring your ideas to life.
Popular Uses for Thin Wood Boards in Home Projects
Thin wood boards, like wooden laths, are great for many DIY projects. They’re perfect for making custom shelves or unique wall art. These boards let you get creative and change your home.
Crafting Custom Shelves
These boards are ideal for making your own storage solutions. They work well for adding shelves or floating ones. You can cut, sand, and finish them to match your home’s look.
Building Unique Wall Art
Thin wood boards are also great for making special wall art. You can make wooden signs, scrolls, or hanging decor. Try different woods like cedar or walnut for unique looks.
| Wood Type | Characteristics | Recommended Uses |
|---|---|---|
| Hardwood | Durable, with diverse color and grain patterns | Furniture, home decor, and outdoor projects |
| Softwood | Affordable, suitable for structural and DIY projects | Framing, shelves, and craft projects |
Thin wood boards are also good for making custom furniture and decorative pieces. They help you make your home unique and affordable.
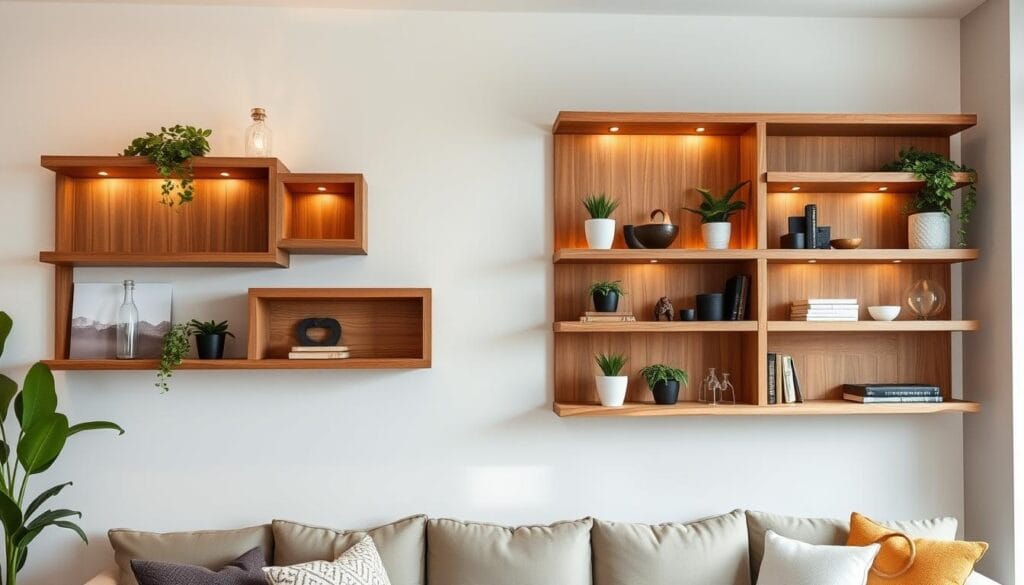
“The versatility of thin wood boards allows for endless creative possibilities in home decor and DIY projects.”
Thin wood boards add warmth and character to your walls and storage. They’re a great choice for home improvement projects. Start your DIY project today and see what you can create!
Tools and Materials Needed for Working with Thin Wood Boards
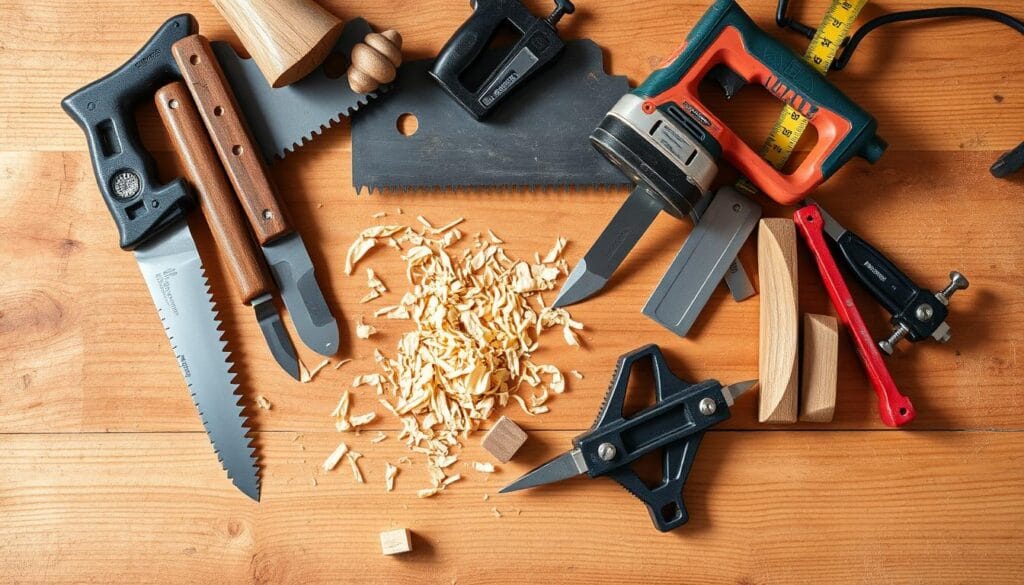
Working with thin wood boards needs the right tools and materials. This ensures your project goes smoothly. Whether you’re making custom shelves or unique wall art, having the right tools is key. Let’s look at the essential cutting tools, adhesives, and finishes for thin wood boards.
Essential Cutting Tools
To get precise cuts, a reliable cutting tool is needed. A circular saw or jigsaw works well for straight and curved cuts. For small projects, a hand saw is a good choice. A table saw set 1/8″ from the blade can make thin, uniform cuts.
Sanding is also crucial. Use different grits of sandpaper to smooth edges and surfaces. A palm sander or orbital sander helps a lot with this.
Recommended Adhesives and Finishes
For joining thin wood pieces, high-quality wood glue is essential. It bonds the boards strongly. Wood filler is useful for filling gaps or imperfections.
For protection and enhancing looks, choose a suitable finish. Stains, varnishes, and paints can change the board’s appearance. A clear coat finish is recommended for simplicity and to avoid mistakes.
The right tools and materials depend on the wood’s thickness and type. With the right equipment, you can create beautiful DIY projects easily.
| Tool/Material | Recommended Specifications |
|---|---|
| Hardwood Board Thickness | At least 3/4 inch |
| Table Saw Fence Setting | 1/8″ from the blade |
| Hardwood Board Length | 12 to 20 inches |
| Thin Board Cutting | Obtain 2 x 1/8″ and 1 x 3/16″ boards from 3/4″ original |
| Push Stick Length | 9 inches with 1/2 inch deep heel |
| Wider Board Cutting | Make two 3-inch cuts before cutting down the middle |
| Laser Cutting Preparation | Apply blue painter’s tape to top and bottom |
| Board Lamination | Cross the grain direction for additional strength |
| Laser Cut Edge Restoration | Sand the burned edges to restore the appearance |
With the right tools and materials, you’re ready for DIY projects with thin wood boards. Always prioritize safety and follow best practices for successful woodworking.
“Start with basic hand tools like a plane, saw, and chisel to build foundational skills, and focus on a single type of joint in a project to enhance your proficiency through repetition and familiarity.”
Choosing quality hardwood over softer woods like Pine can improve your woodworking skills. Avoid using reclaimed or pallet wood for your first projects to avoid complications.
When picking thin wood boards, consider availability and dimensions. 4-ft. x 4-ft. engineered wood panels, 1-inch S4S lumber, and 5-ft. x 5-ft. Baltic birch plywood are good choices. Be aware of thickness variations in materials like veneer and MDF for a seamless fit and finish.
Knowing the essential tools, adhesives, and finishes, and the key considerations for selecting thin wood boards, prepares you for your next DIY project. You’ll work with confidence and creativity.
Tips for Choosing the Right Thin Wood Board
When picking thin wood boards for DIY projects, think about a few key things. Thickness, wood type, quality, and price all matter a lot. Each one is important for your project’s success.
Factors to Consider: Thickness and Material
The thickness of your wood board should match your project’s needs. The real size might be different after cutting and planing. Choose a thickness that fits your project. Softwoods like pine are cheaper and good for many projects. Hardwoods like oak, maple, or walnut are more durable and high-quality.
Evaluating Quality and Price
Look at the wood grain and check for defects or warping when checking quality and price. Hardwoods are pricier but last longer, making them great for quality projects. Softwoods are cheaper and work well for budget-friendly DIY. Pressure-treated lumber is good for outdoor projects because it fights off termites, rot, and decay.
Remember, plywood’s actual thickness might be different. Also, think about the materials used in making it. Always check each board visually before buying.
Storing your wood properly is key to keeping it in good shape. Lay them flat and avoid leaning them against walls to prevent warping.
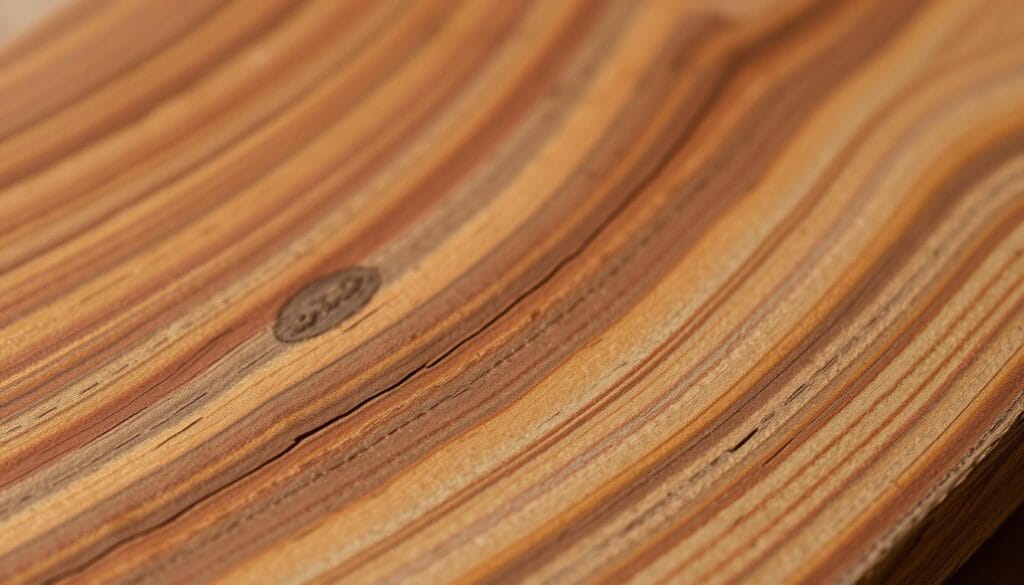
By carefully considering these factors, you can pick the right thin wood boards for your DIY projects. This will lead to a successful and satisfying outcome.
| Wood Type | Usable Material | Lumber Grading |
|---|---|---|
| Hardwood |
|
|
| Softwood |
|
|
The table above gives a detailed look at wood types, their usable material percentages, and lumber grading systems.
“Proper storage is crucial to minimizing board warping; lay boards flat on the floor or shelves and avoid propping them against walls to prevent bowing.”
Techniques for Cutting and Shaping Thin Wood Boards
Working with thin wood boards requires safe cutting practices for a smooth project. Always wear goggles and gloves to protect yourself. Measure carefully and mark your cuts for clean, precise results. Use a circular saw for straight cuts and a jigsaw for curves.
Sanding and Smoothing Edges
After cutting, sand the edges to remove splinters and achieve a smooth finish. Start with coarse grit paper, 100-120, to remove rough spots. Move to medium grit, 150-180, to refine the surface and remove scratches. Finish with fine grit, 220-320, for a silky smooth touch.
Sanding can take time, but it’s key for a professional finish. Use a random orbit sander or palm sander for big areas. Hand-sanding is best for small, detailed spots.

Success in wood cutting and shaping comes from patience, safety, and attention to detail. With the right tools and techniques, you can create beautiful DIY projects for your home.
Creative Ways to Finish Thin Wood Boards
Thin wood boards are a blank canvas for your creativity. You can choose from rustic, refined, or unique looks. There are many finishing techniques to change your DIY projects.
Painting and Staining Options
Painting lets you try out endless colors. You can go for bold colors or soft tones. Paint changes your thin wood boards’ look completely.
Staining keeps the wood’s natural beauty while adding color. Try different stains to match your style.
Incorporating Decorative Elements
Decorative techniques like distressing, whitewashing, or wood burning add character to your projects. Distressing gives a vintage vibe, while whitewashing adds a soft feel. Wood burning lets you add patterns or text.
Decoupage or collage adds more interest. Use ephemera, fabric, or photos to make unique art on your wood. Thin wood boards can become beautiful, customized pieces for your home.
Storage and Maintenance of Thin Wood Boards
Keeping your thin wood boards in good shape is key. A few simple steps can help protect your wood and make your DIY projects better.
Proper Storage Solutions
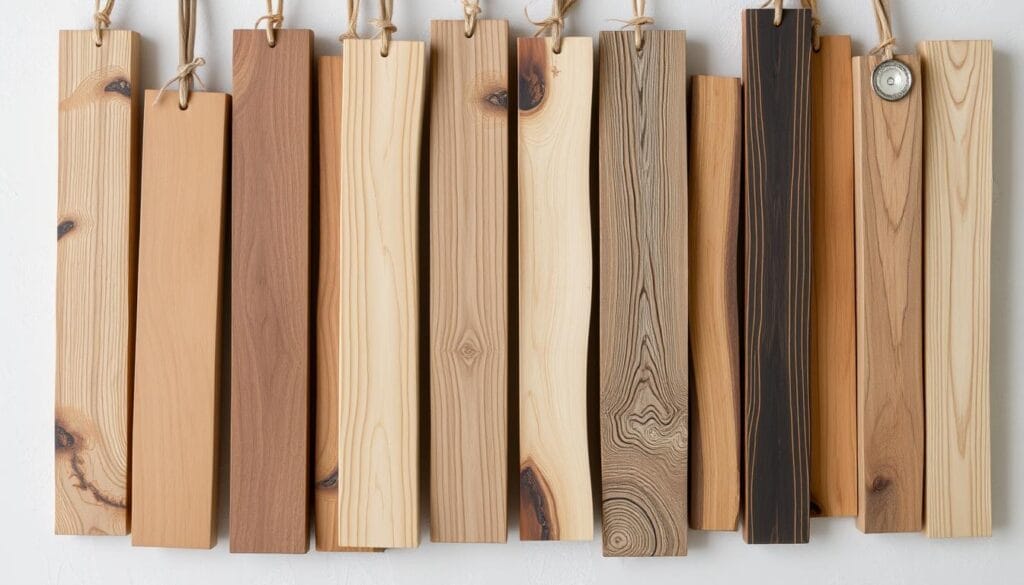
Store your wood in a dry, cool spot to avoid damage. Stack them flat or up, making sure they don’t bend. Use racks, shelves, or carts to keep things tidy and within reach.
Labeling your wood helps a lot. It makes finding the right piece for your project easy. This way, you use every piece of wood, reducing waste.
Care Tips for Longevity
Cleaning and upkeep are crucial for your wood’s look and life. Use a soft, damp cloth to wipe off dust or dirt. If it gets dirty, add a protective coat or refinish it to keep it looking good.
By following these tips, your wood will last longer. It will be ready to make your DIY projects look amazing.
| Storage Tip | Benefits |
|---|---|
| Organize by size and type | Efficient material retrieval, reduced waste |
| Use racks, shelves, and carts | Maximize limited space, maintain order |
| Maintain proper humidity levels | Prevent warping, splitting, or rotting |
| Clean and refinish as needed | Preserve appearance and protect wood |
Inspiring DIY Thin Wood Board Projects
Let your creativity shine by turning thin wood boards into beautiful DIY projects. You can make a rustic headboard, a floating shelf, or a custom picture frame. The options are endless. Projects like “10 stunning ideas to make with scrap wood” are very popular. Also, there’s a growing interest in making crafts with mini wood pallets from Dollar Tree.
Step-by-Step Project Ideas
Find step-by-step guides for DIY thin wood board projects. You can make a wooden chopping board and serving tray using a 4-ft. steel ruler. Or, you can build a wooden bench inspired by Aldo Leopold’s design, needing two boards and 18 screws. These guides will help you every step of the way.
Where to Find More Inspiration
For more ideas, check out home improvement websites and Pinterest. You can also visit your local hardware store for project ideas and workshops. There’s a big interest in small wood projects to sell, with 50 beginner-friendly projects in different materials. You can make a DIY reclaimed wood shelf or a wooden plant stand. Thin wood boards open up a world of possibilities.
FAQ
What are thin wood boards?
Thin wood boards are flat, slim pieces of wood for DIY and construction. They range from 1/8 inch to 3/4 inch thick. You can find hardwoods like oak and maple, softwoods like pine, and materials like plywood and veneers.
What are the common types of thin wood boards?
Common types include hardwoods, softwoods, plywood, and veneers. Each has its own strength, durability, and look. This makes them perfect for different projects.
What are the benefits of using thin wood boards for DIY projects?
Thin wood boards are light and easy to handle. They’re great for DIY projects. You can use them for custom shelves, wall art, and more.
What are some popular uses for thin wood boards in home projects?
They’re perfect for custom shelves and unique wall art. You can also use them for furniture, picture frames, and decorations.
What tools and materials are needed for working with thin wood boards?
You’ll need a circular saw, jigsaw, or hand saw for cutting. Sandpaper is for smoothing edges. A drill might be needed for some projects. Use wood glue for joining and wood filler for gaps.
How do I choose the right thin wood board for my project?
Consider thickness, material, and use. Hardwoods like oak are durable, while softwoods like pine are cheaper. Check the grain and look for defects.
What techniques should I use for cutting and shaping thin wood boards?
Always wear safety gear like goggles and gloves. Measure carefully and mark your cuts. Use a circular saw for straight cuts and a jigsaw for curves. Sand the edges to smooth them out.
How can I finish thin wood boards to enhance their appearance?
You can paint, stain, or distress them. Painting offers color options, while staining highlights the grain. Distressing and whitewashing add unique touches.
How should I store and maintain thin wood boards?
Keep them in a dry, cool place to avoid warping. Store them flat or vertically for support. Clean them with a soft cloth and apply a protective coating as needed.
Where can I find inspiration for DIY projects using thin wood boards?
Look for DIY projects online, like rustic headboards or floating shelves. Follow step-by-step guides. For more ideas, check home improvement websites, Pinterest, or local hardware stores.
