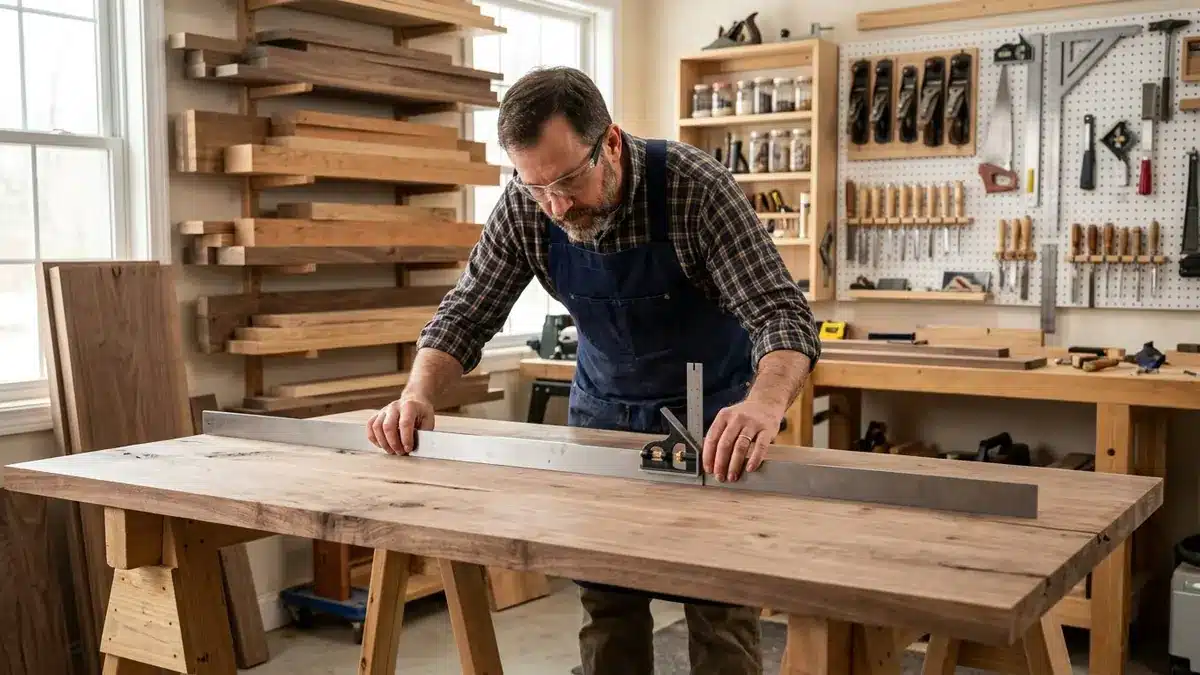
Solid wood furniture does not fail because wood moves; it fails when a design gives that movement nowhere to go. A tabletop can cup, a panel can split, or a joint can open when lumber is assembled at the wrong moisture content, milled too quickly, or fastened rigidly across the grain.
The reliable approach is straightforward: bring the wood close to the conditions where the furniture will live, choose stable boards, mill them in stages, and use joinery that permits seasonal expansion and contraction. A finish can slow moisture exchange, but it cannot make solid wood inert. When you are ready to seal that dry, stable wood, the wood sanding and finishing guide for beginners covers the practical coating routine.
Related guide: wood movement starts with the species and its moisture content — our types of wood for woodworking guide covers which woods move most, how to buy kiln-dried stock and how to acclimate lumber before cutting.
Quick answer: To prevent wood furniture from warping and cracking, measure the lumber’s moisture content, acclimate it in the destination environment, reject badly distorted boards, and allow every wide solid-wood part to move across its grain. Attach tabletops with clips, figure-eight fasteners, or slotted screw holes; float door panels in their frames; and finish faces, edges, and ends consistently.
Why solid wood changes shape
Wood is hygroscopic: it gains or loses moisture as the surrounding relative humidity changes. Once wood is below its fiber saturation point, losing bound moisture makes it shrink and gaining moisture makes it swell. The change is not equal in every direction. Movement along the grain is usually small, while movement across the grain is much more important. Tangential movement—along the curve of the growth rings—is generally greater than radial movement across the rings.
That unequal movement explains familiar defects. A flat-sawn board may cup as one face or one portion of its growth rings changes dimension differently from another. A wide panel that is screwed tightly to a cross-grain support may split because the panel is trying to change width while the support holds it still.
The USDA Forest Products Laboratory explains these moisture relationships and dimensional changes in its Wood Handbook chapter on the physical properties of wood. The practical lesson is not to eliminate movement—it is to anticipate it.
If you need a species overview before planning a build, start with our guide to different kinds of wood and their common uses.
1. Measure moisture before cutting joinery
A board can feel dry and still be too wet for an indoor project. Lumber stored in an open shed or humid warehouse may be far from the equilibrium conditions inside a heated or air-conditioned home. If you build immediately, the parts can shrink after assembly, opening miters, loosening joints, or pulling a tabletop into a cup.
Use a calibrated pin or pinless moisture meter and follow its instructions. Species correction matters on many meters. Test more than one board, then take readings near both ends and in the middle. A single low reading on the surface does not describe an entire stack.
There is no perfect worldwide moisture number. Target conditions close to the room where the finished piece will live, compare with established woodwork when possible, and look for stable readings over several days. As Penn State Extension explains in its guide to equilibrium moisture content and air-drying lumber, air-dried stock suitable for an unheated outbuilding may still be too wet for interior furniture.

2. Acclimate lumber correctly
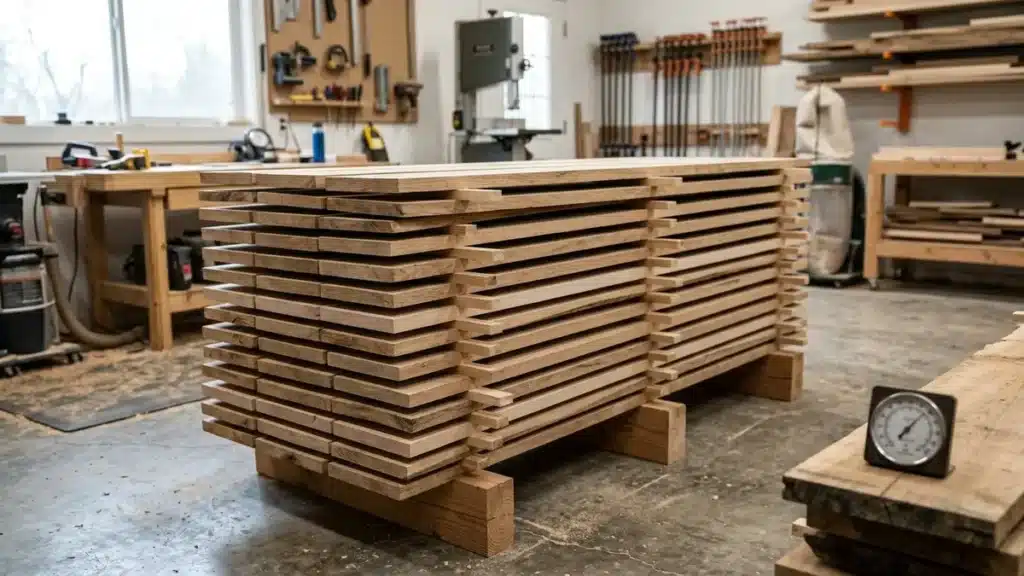
Acclimation is not simply leaving a bundled stack in a room. Remove plastic wrapping, keep the lumber off concrete, and separate layers with dry, evenly spaced stickers so air reaches both faces. Support the stack at frequent intervals and align the stickers vertically to reduce sagging.
Place the stack in conditions similar to the project’s final location—not beside a heater, an open window, or a damp wall. Check representative boards periodically. Time alone is not proof of readiness; stable meter readings are.
Thick stock equalizes more slowly than thin boards. Allow it more time, take extra readings, and cut important parts oversize before their final rest.
3. Select boards that want to stay flat
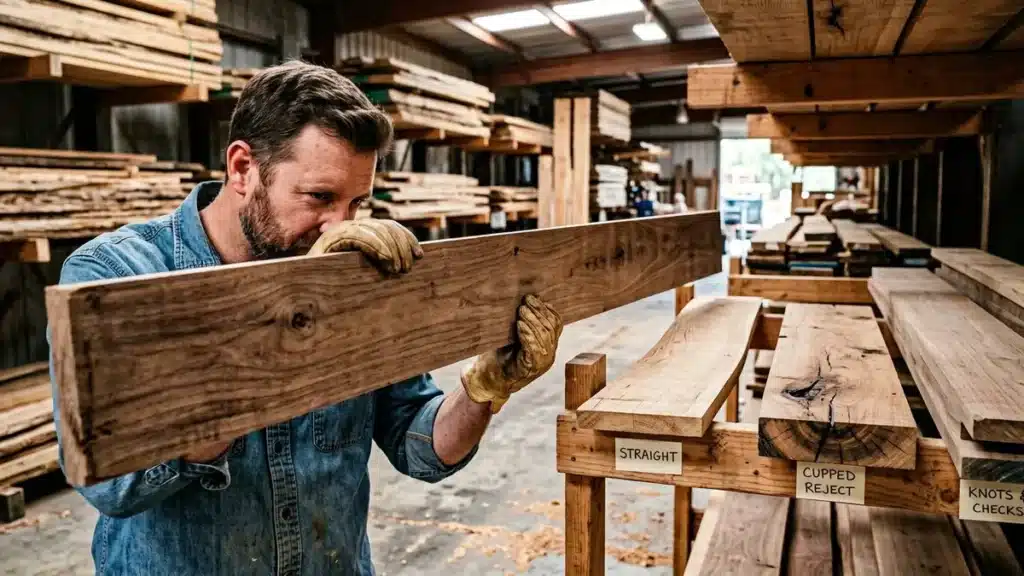
Good construction cannot fully rescue unstable material. At the lumber rack, sight down each board’s face and edge. Check for bow, cup, crook, twist, end checks, loose knots, and pith. A slight bow may mill out if the board is thick enough; twist is usually more wasteful. Avoid boards containing the tree’s central pith for wide furniture parts because the surrounding juvenile wood tends to move unpredictably and may crack as it dries.
Growth-ring orientation also matters:
- Flat-sawn boards often show cathedral grain. They are widely available and attractive, but typically change width more and are more prone to cupping.
- Quarter-sawn boards usually show straighter face grain and can be more dimensionally stable across their width. In oak, they may also display decorative ray fleck.
- Rift-sawn boards have consistently straight grain and are useful for legs where similar grain is wanted on adjacent faces, but they can cost more and produce more waste.
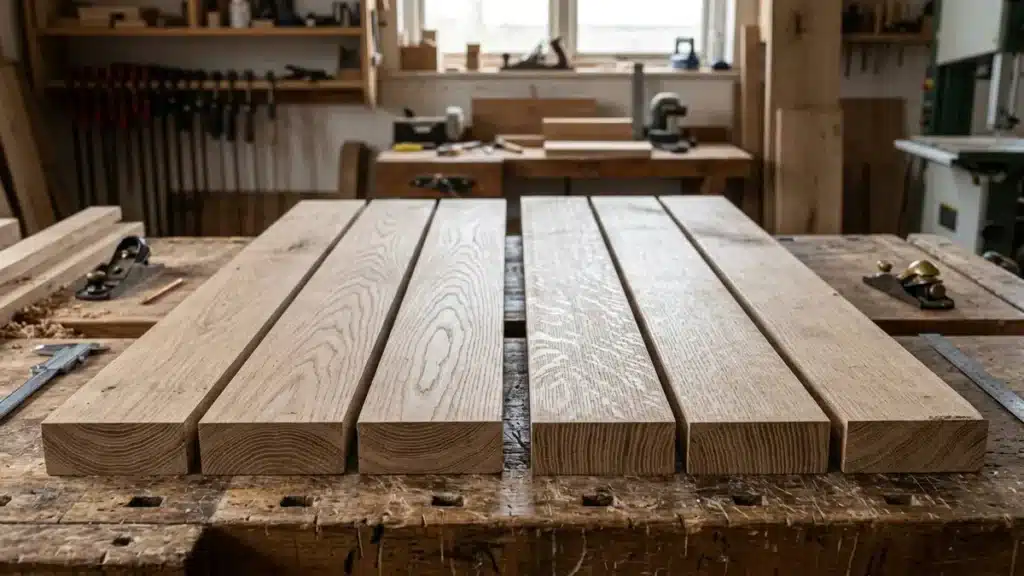
Use the straightest, most consistent pieces for long rails, door stiles, and tabletop edges. Save sound sections around defects for small scrap-wood projects rather than forcing a questionable board into a critical part.
4. Mill in stages instead of all at once
Milling can release internal stress and expose fresh surfaces. A board brought immediately to final thickness may move before assembly.
A safer workflow is:
- Crosscut rough boards a few inches longer than their final parts.
- Joint and plane them slightly oversize, removing material from both faces when practical.
- Stack the parts flat with stickers and let them rest for at least overnight; longer is sensible for thick or suspect stock.
- Recheck for movement, then perform the final flattening and thicknessing pass.
- Cut joinery only after parts are stable and at final size.
Balanced processing helps both faces respond more evenly. A well-organized shop makes staged milling easier; see these woodworking workshop ideas for practical material storage.
5. Build wide parts so they can move
Most preventable cracks come from cross-grain construction. A solid board changes width seasonally, but a part running perpendicular to it changes very little in that same direction. Lock the two together rigidly and something eventually gives.
Attach tabletops with movement-friendly hardware
Do not drive screws through fixed round holes in an apron directly into a wide solid top. Use tabletop clips, buttons, figure-eight fasteners, or screws through elongated holes. The attachment should hold the top down while permitting it to slide slightly across the grain.
Elongate holes in the direction the top needs to move. A washer-head screw can maintain clamping pressure without dropping into the slot. Tighten it securely, but not so aggressively that sliding becomes impossible. Near the centerline, one fixed reference point can keep the top centered while the remaining attachments allow movement toward both edges.
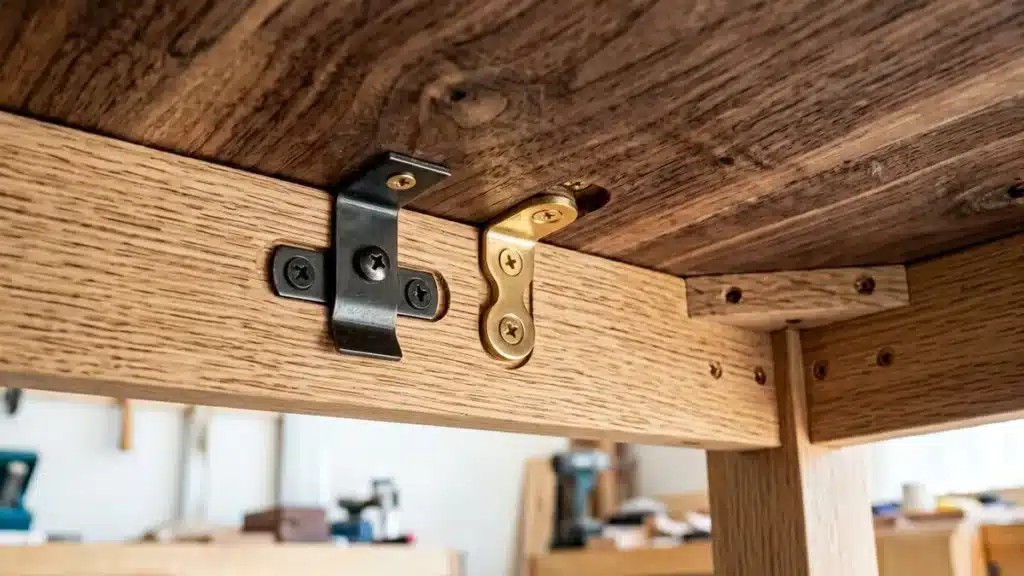
This detail is especially important on benches and desks. Our entryway bench construction guide provides useful planning context for furniture parts that must carry daily loads.
Let frame-and-panel doors float
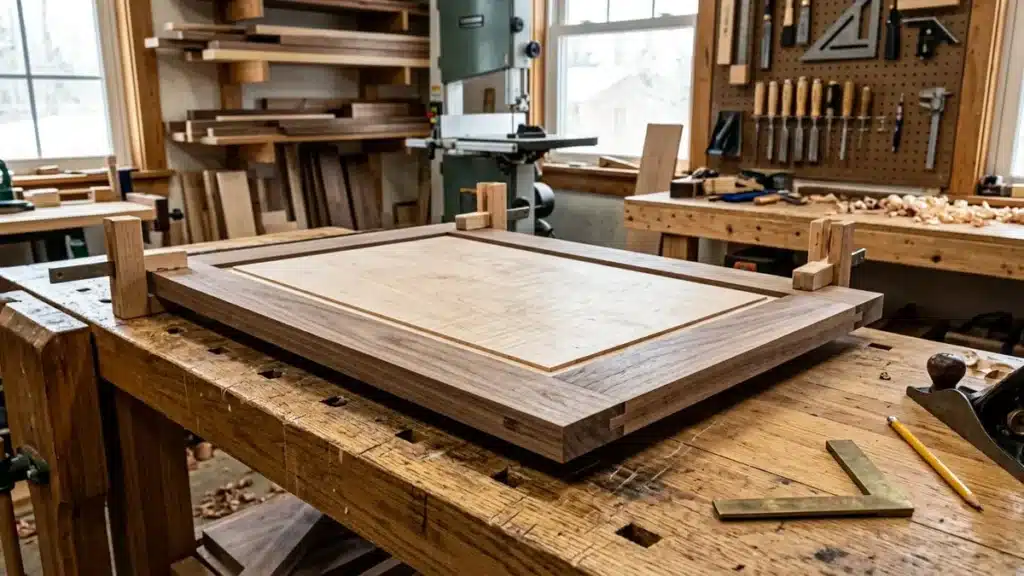
A traditional frame-and-panel door solves the wide-panel problem elegantly. The narrow rails and stiles provide structure, while the center panel sits in grooves without being glued around its perimeter. The panel can change width inside the frame.
Dry-fit the door to confirm the panel has room to move. Finish the panel before assembly if an unfinished line might appear when it shrinks; compressible spacers can prevent rattling without locking it.
Use breadboard ends correctly
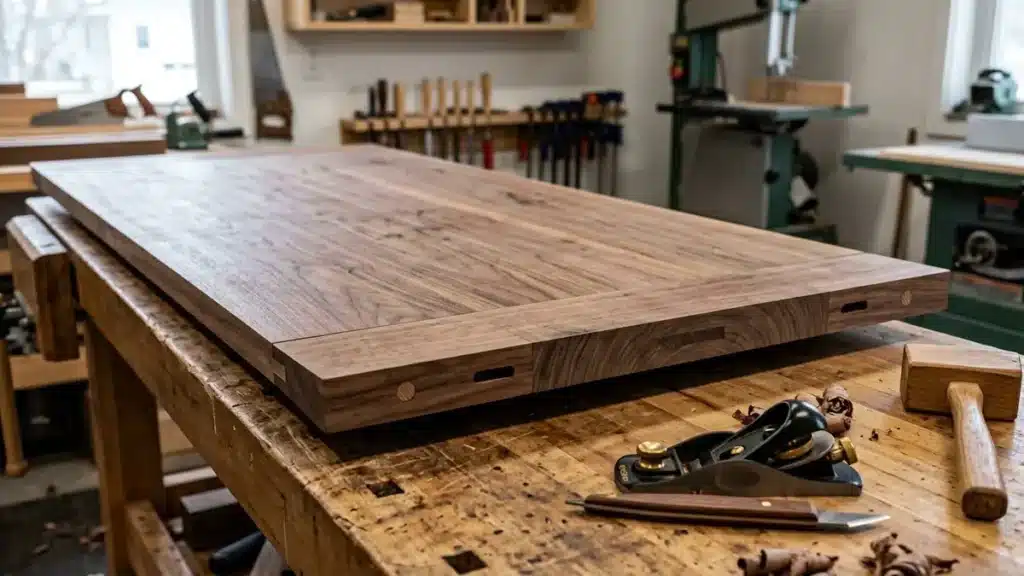
A breadboard end can help keep a tabletop flat and protect end grain, but it must not be glued across the full width. Traditional versions use a long tongue or multiple tenons. The center is fixed, while outer tenons are pegged through elongated holes or otherwise allowed to move.
Expect the main top to become slightly wider or narrower than the breadboard end during different seasons. That small offset is evidence that the joint is working, not poor craftsmanship.
Avoid rigid cross-grain battens
A batten screwed beneath a panel can resist cupping, but its fasteners still need slots. Similarly, do not glue solid-wood edging across the end of a wide panel unless the joint is designed for movement. Plywood and MDF are more dimensionally stable than solid lumber and can be useful when the design requires a broad, stable panel rather than visible solid wood.
6. Glue strategically and clamp with restraint
More glue does not make a movement problem safer. Glue long-grain joints that are intended to behave as one assembly: edge-jointed tabletop boards, mortise-and-tenon shoulders, and rail-to-stile joints. Do not glue a solid panel into grooves on all four sides or glue tabletop buttons into both the apron and the top.
Apply enough adhesive for a thin, continuous film and modest squeeze-out. Excessive clamp pressure can bow an assembly, starve a joint, or force parts out of square. Use cauls for wide glue-ups, alternate clamp positions above and below the panel, and check flatness while the glue is still wet.
When edge-gluing a top, arrange boards for appearance and grain flow rather than following a strict “alternate every growth ring” rule. Dry, stable stock and accurate milling matter more.
7. Apply finish evenly—but know its limits
Paint, varnish, oil, lacquer, and other coatings slow moisture exchange. None completely stops it. The USDA’s guidance on moisture control notes that protective coatings retard dimensional change rather than prevent it.
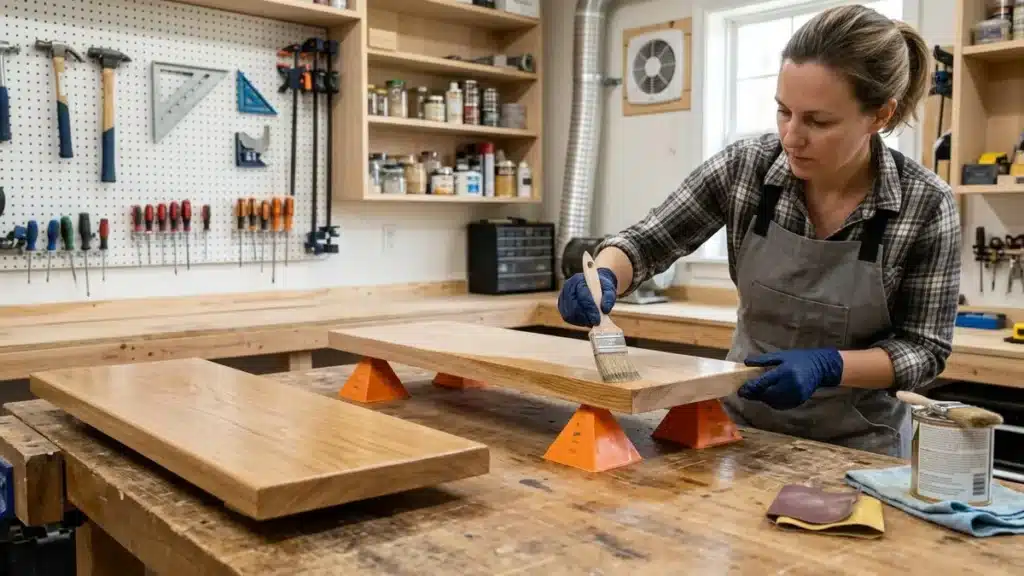
Finish the top, underside, edges, and end grain to a reasonably similar level. The unseen underside does not always need the same cosmetic build, but leaving it raw while heavily coating the top can encourage uneven moisture response. Pay special attention to end grain because it exchanges moisture faster than face grain.
Match the finish to the furniture’s actual use. Outdoor pieces also need suitable species, drainage, ventilation, corrosion-resistant fasteners, and a maintainable coating; use the planning ideas in our DIY outdoor furniture projects.
8. Control the furniture’s environment
Even well-built furniture can be stressed by an extreme location. Keep solid-wood pieces away from direct radiator heat, HVAC blasts, persistently damp walls, and long periods of intense direct sun. Use coasters and wipe spills promptly rather than allowing water to sit in joints or end grain.
Aim for indoor relative humidity that is comfortable and reasonably stable. A sudden seasonal swing is harder on furniture than a slow, moderate change. In a very dry heating season, a properly maintained humidifier may help; in a damp room, ventilation or dehumidification may be more appropriate. Avoid chasing a single exact humidity number without considering your climate and building.
Clean with minimal moisture and renew the finish according to its condition, avoiding silicone or harsh solvents unless the finish manufacturer recommends them.

Diagnosing movement after it appears
| Symptom | Likely cause | Practical response |
|---|---|---|
| Tabletop cups across its width | Uneven moisture exposure, unstable grain, or stock assembled too wet | Stabilize room conditions first; allow time before deciding whether to flatten or rebuild |
| Miter opens at the inner corner | Parts shrank after assembly or had mismatched moisture | Correct moisture conditions; remake the joint only after the parts stabilize |
| Wide panel splits near a screw | Rigid cross-grain fastening | Repair the split if practical and replace fixed holes with properly oriented slots |
| Cabinet door panel cracks | Panel was glued or fitted too tightly in its grooves | Rebuild or repair with a floating panel and adequate expansion space |
| Drawer binds only in humid months | Drawer or case parts swell seasonally | Improve humidity control; plane only after confirming the problem is not temporary |
| Breadboard end becomes proud | Normal seasonal width change in the main panel | Usually leave it alone unless the joint is loose or damaged |
Before repairing during extreme weather, record the distortion, check moisture and humidity, and observe it through a seasonal change. Planing a swollen drawer immediately can create a large dry-season gap.
Pre-build checklist
Before assembling your next piece, confirm that:
- Lumber moisture is close to the conditions where the furniture will live.
- Readings are consistent across several boards and locations.
- Parts have acclimated unwrapped, supported, and stickered.
- Critical boards are free from severe twist, active checks, and pith.
- Rough-milled parts rested before final milling and joinery.
- Wide solid panels have room to move across the grain.
- Tabletop attachments use clips, buttons, figure-eight fasteners, or slots.
- Door panels float rather than being glued on every edge.
- Breadboard ends and battens are fixed at one reference point but free elsewhere.
- Finish covers faces, edges, and ends consistently.
- The finished piece will not sit beside a strong heat, moisture, or sunlight source.
If you are choosing a first furniture build, these budget-friendly DIY wood furniture projects are easier to evaluate once you understand movement.
Frequently asked questions
Can sealing wood completely prevent warping?
No. A finish slows moisture exchange but does not create a permanent vapor barrier. Apply it consistently, then rely on dry stock, stable design, and sensible environmental control.
How long should lumber acclimate indoors?
There is no universal number of days. Species, thickness, starting moisture, airflow, and destination conditions all matter. Mill when repeated meter readings have stabilized near the destination environment.
Is quarter-sawn wood warp-proof?
No. Quarter-sawn stock is often more stable across its face than flat-sawn stock, but it can still move, bow, check, or react to uneven moisture. It reduces risk; it does not remove the need for correct joinery.
Should tabletop boards alternate growth-ring direction?
Not as an absolute rule. Alternating rings can merely produce an alternating washboard if every board cups. Prioritize dry, straight stock, compatible grain, balanced milling, and sound attachment methods.
Can a warped tabletop be fixed?
Sometimes. First stabilize the room and determine whether the top is temporarily responding to seasonal humidity. Minor movement may relax. Severe or permanent cup can require removing the top, releasing restrictive fasteners, flattening it, or rebuilding it from more stable material. Fix the cause before flattening, or the problem is likely to return.
About the author and this guide
Published by Saurav Samanta, founder of Home Decor Woodworking, this guide helps DIY builders avoid material failures. Technical claims were checked against the USDA Wood Handbook and Penn State Extension sources linked above. Images are digitally generated illustrations, not photographs of a tested build. No tool or finish brand paid for inclusion. Please report corrections.
Build for movement, not against it
Solid-wood furniture succeeds by moving predictably. Measure moisture, choose stable boards, mill patiently, and give wide parts freedom across the grain. Those habits prevent more cracks and warps than any miracle coating.