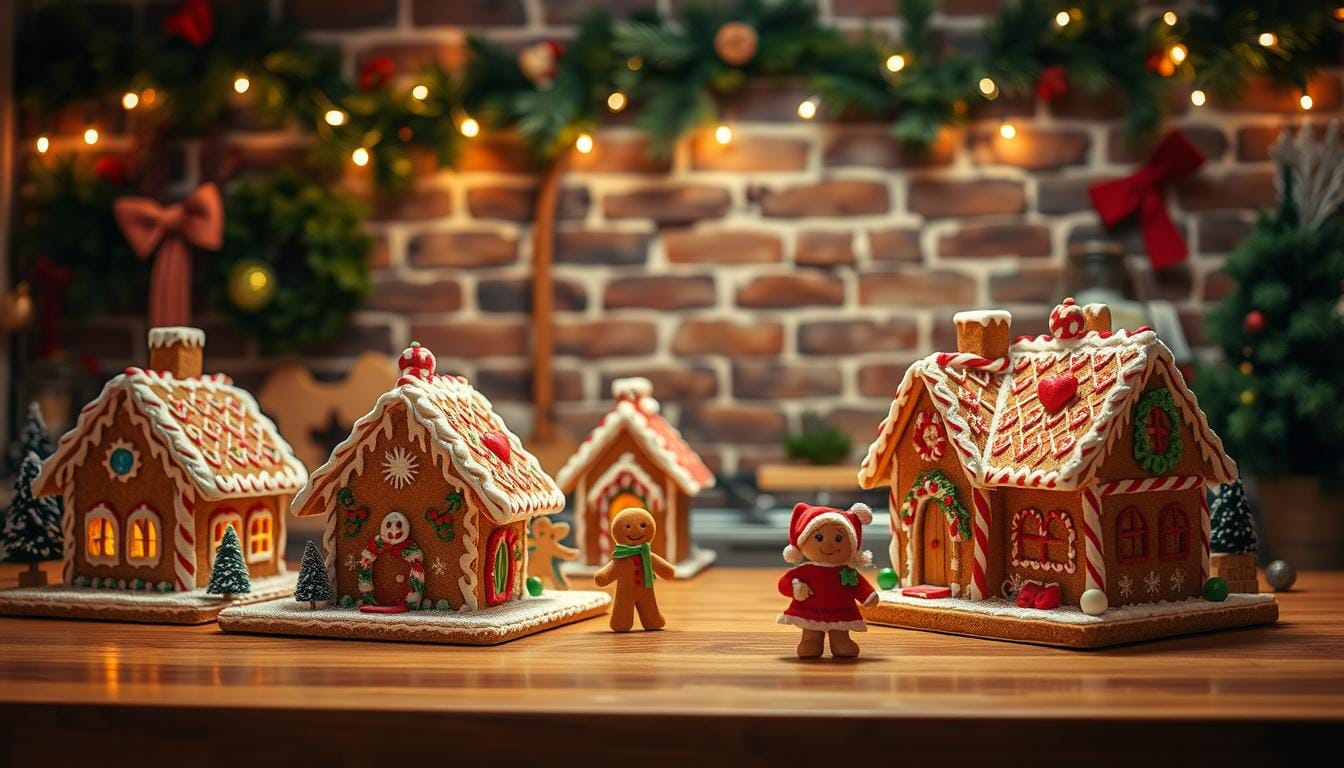
Welcome to our festive guide! If you love adding warmth to your space, you’re in the right place. I’m thrilled to share how a touch of seasonal charm can transform your home into a cozy retreat.
This time of year calls for creativity, and what better way to celebrate than with playful accents? Whether you prefer store-bought finds or handmade touches, there’s something magical about blending tradition with modern flair.
We’ll explore simple yet stunning ways to style trays, sink areas, and functional pieces. Soft lighting and thoughtful details can make all the difference. Let’s create a space that feels as joyful as the season itself!
Ready to get started? Follow along for inspiration that balances style and comfort—perfect for gatherings or quiet moments at home.
Introduction to Gingerbread-Themed Christmas Decor
My obsession with festive details began with a simple cookie jar years ago. Its whimsical design reminded me of childhood treats, and suddenly, I saw potential throughout home. What started as a nostalgic nod became a full-blown love affair with this timeless theme.

From farmhouse charm to sleek modern vibes, gingerbread accents adapt effortlessly. I’ve styled them in rustic kitchens with mason jars and in minimalist spaces with metallic touches. The key? Balancing playfulness with elegance—like a cinnamon-dusted ornament that whispers holiday without shouting it.
Annual holiday home tours fueled my creativity. Seeing how others layered textures and scents inspired me to experiment. Those warm, spicy aromas? They’re not just nostalgic—they’re decor themselves!
Later, we’ll dive into styling cookie jars and crafting DIY ornaments. But first, let’s explore why this theme feels so magical. Ready to fall in love with it too?
Why Gingerbread Decor is Perfect for Your Kitchen
Ever walked into a room and instantly felt its warmth? That’s the power of thoughtful styling. I love how this theme softens even the most modern spaces. Sleek countertops and stainless steel appliances suddenly feel inviting with a playful cookie jar or a cinnamon-scented candle nearby.
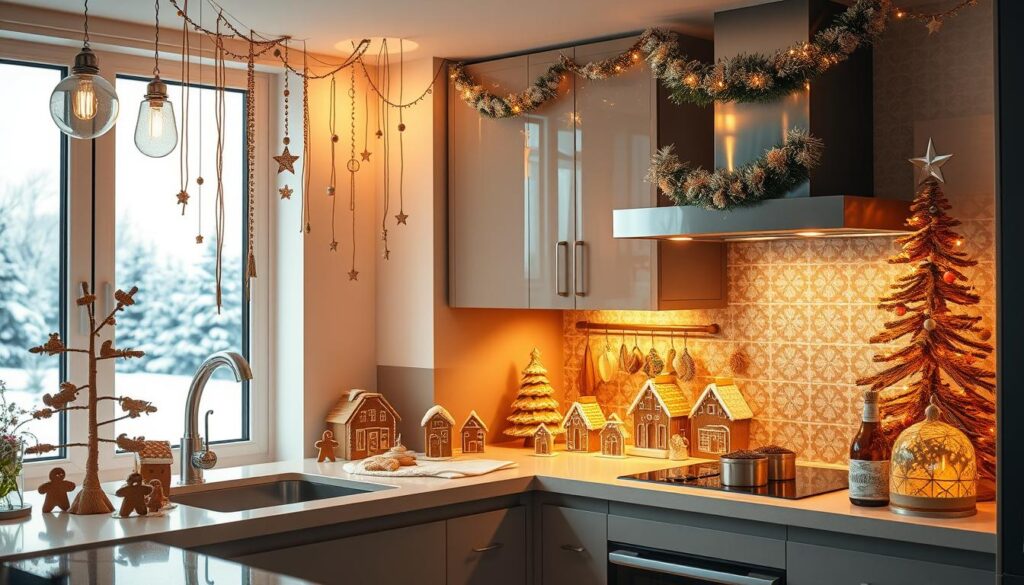
My favorite finds? A Target ceramic cottage and a HomeGoods wreath dotted with mini cookie cutouts. They’re proof that you don’t need a full overhaul to way add charm. Just one or two pieces can shift the whole vibe.
The magic lies in the details. Gingerbread decor isn’t just cute—it’s multi-sensory. Imagine the scent of baked spices paired with checkered ribbons or a vintage-inspired sign. It’s like wrapping your kitchen in a cozy blanket.
Families adore this theme too. Kids giggle at cookie-shaped ornaments, and parents appreciate durable materials (like wooden figurines). Plus, it’s easy to swap out yearly—think glittery accents for glam or burlap for farmhouse flair.
Whether your style leans rustic or modern, there are endless options. Try metallic cookie cutters for contemporary spaces or hand-painted mugs for cottagecore lovers. The best part? It all feels like a sweet nod to tradition.
Essential Gingerbread Decor Items to Start With
Building a festive space starts with a few key items. I’ve found that three elements—houses, figurines, and garlands—create an instant cozy vibe. Whether you’re shopping or crafting, these pieces set the foundation for a playful yet polished look.

Gingerbread Houses and Cottages
A gingerbread house isn’t just for desserts! Canadian Tire’s lighted version adds charm as a countertop piece or centerpiece. For small spaces, try mini cottages. Larger kitchens? Go bold with a tiered house as a focal point.
Gingerbread Men Ornaments
Walmart’s chip bag clips double as adorable gingerbread men decor. Hang them on cabinets or use them to seal snack bags—functional and festive! For a handmade touch, bake edible ornaments with cookie cutters.
Gingerbread Garland and Wreaths
A gingerbread garland adds whimsy above windows or cabinets. Store-bought options save time, but a felt DIY version (like this tutorial) costs half the price. Pair it with a wreath for a cohesive look.
- Pro tip: Mix sizes—small houses on shelves, large ones on tables.
- Use edible ornaments as gift tags or drawer pulls.
- Drape garlands along open shelving for depth.
Styling a Gingerbread-Themed Tray for Your Countertop
One of my favorite ways to add seasonal flair is with a themed tray display. A wooden tray anchors your vignette while keeping it tidy. Start with a lighted house (Canadian Tire’s version is my go-to) as the focal point.

Layer in a Target ceramic dish for height and a Walmart clip-on figurine for playfulness. For a cohesive look, mix textures like woven ribbon and a mini wreath. My last arrangement used a slate tray—its dark surface made the colors pop!
An easy way to refresh it? Rotate your display monthly. Swap the dish for a scented candle in January or add heart-shaped cookies for Valentine’s Day. Crumbs? A quick wipe with a damp cloth keeps it fresh.
- Pro tip: Enamel trays resist stains and add vintage charm.
- Use felt liners to protect surfaces from scratches.
- Group odd numbers of items (3 or 5) for balance.
Whether you choose rustic wood or sleek metal, a tray ties everything together. It’s the little details that make your space feel like home.
DIY Gingerbread Ornaments for a Personal Touch
Nothing beats the joy of creating handmade ornaments with a personal twist. I love how these little projects blend creativity with nostalgia—perfect for gifting or adorning your trees. Here’s how to make yours shine!

Materials You’ll Need
Gather these basics:
- Dough: 3 cups flour, 1 cup molasses, 2 tsp cinnamon (mix until firm).
- Metal straw (for hole-punching).
- Royal icing (1 lb powdered sugar + 3 egg whites).
- Food-safe sealant (like Mod Podge).
Step-by-Step Instructions
1. Roll & Cut: Flatten dough to ¼-inch thickness. Use cookie cutters for shapes—stars, houses, or classic men.
2. Bake & Punch: Bake at 325°F for 12 minutes. Immediately poke holes with a metal straw (wiggle gently to avoid cracks).
3. Decorate: Thin icing with water for piping. Pro tip: Add gel coloring for festive hues. Let dry overnight.
4. Preserve: Brush with sealant to prevent moisture damage. Hang with ribbon, twine, or even mini clothespins!
These ornaments last years if stored in a cool, dry place. Now, who’s ready to start baking?
Transforming Your Kitchen Sink into a Gingerbread Display
Who says your sink area can’t be part of the festive fun? I used to overlook mine until I realized it’s the perfect spot to way add charm. With a few tweaks, even dish duty feels joyful!
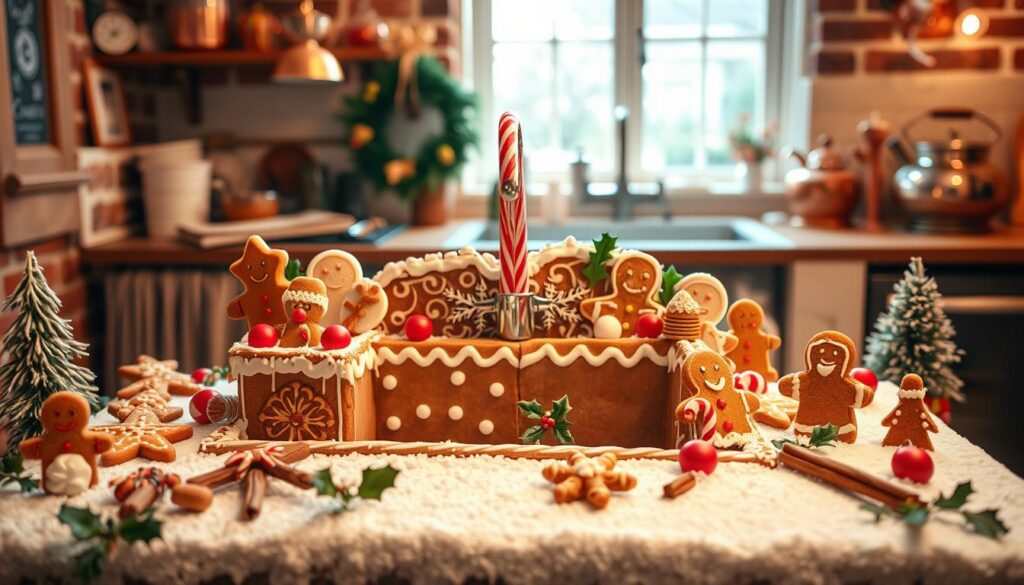
Start with a display upgrade: HomeGoods’ Mrs. Meyer’s soap dispensers (peppermint or cinnamon scent!) set the tone. Peel off labels for a clean look—just soak in warm water for 5 minutes. Pro tip: Match scrub brushes to your theme (red or green bristles pop!).
Elevate basics with a cake stand. Place a mini house or candle on it to create height. For greenery, try eucalyptus—it’s water-resistant and adds texture. Pair with seasonal scents like clove-orange for a cozy vibe.
- Turn chores into decor: Stack folded towels with a cookie-shaped ornament on top.
- Label hack: Use rubbing alcohol to remove stubborn soap residue.
- Color coordination: Tie ribbon around your faucet for a quick update.
Suddenly, your kitchen’s busiest corner becomes a conversation starter. Who knew a sink could spark so much joy?
Functional Gingerbread Decor: Combining Style and Use
Functional doesn’t have to mean boring—here’s how to blend charm with utility. I love pieces that multitask, like a gingerbread house-shaped cutting board or peppermint-striped spatulas. They’re playful yet practical, proving holiday spirit belongs in everyday tasks.
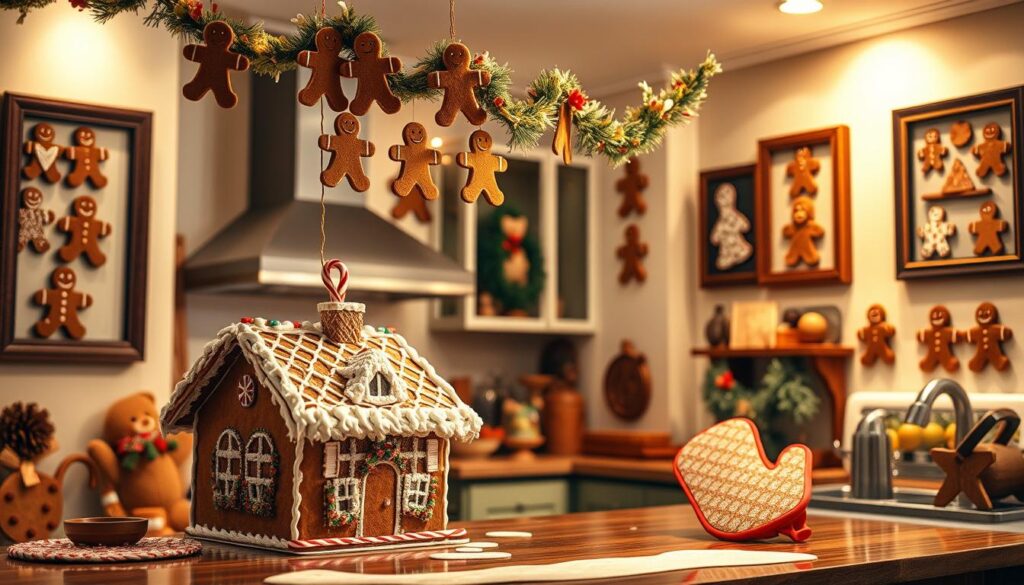
Gingerbread Cutting Boards and Utensils
HomeSense’s rolling pin doubles as decor when hung on a pegboard. For options, compare materials: wooden boards need oiling (try food-grade mineral oil), while ceramic resists stains. Season new boards with cinnamon oil for a festive scent!
- Pro tip: Use themed utensils year-round—swap holiday motifs for florals in spring.
- Clean carvings with a soft brush to preserve details.
Gingerbread Salt and Pepper Shakers
Upgrade shakers with colored salts (think paprika or turmeric). I found adorable cookie-shaped ones at Target—fill them with vanilla sugar for coffee bars! For a diy touch, paint plain shakers with food-safe markers.
- Label shakers with tiny cookie cutter charms.
- Store extras in a mini house-themed tray.
Whether prepping meals or setting the table, these touches keep the magic alive. Who says practicality can’t be delightful?
Gingerbread Artwork and Printables for Your Kitchen
Gallery walls don’t have to break the bank—printables make it easy and affordable. Last year, I refreshed my space with free designs from a blog post, and the result was stunning! A few frames and removable adhesive strips transformed blank walls into a festive showcase.
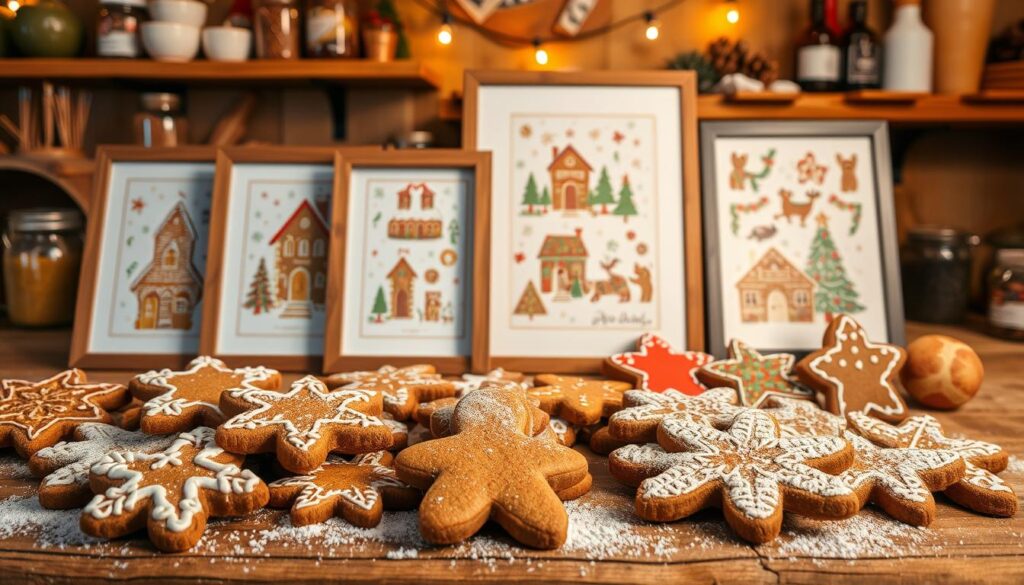
Pro tip: Mix sizes for visual interest. Try an 8×10″ centerpiece flanked by smaller 5×7″ prints. Target’s budget-friendly frames work perfectly, or thrift vintage ones for charm. For renters, washi tape or Command Strips keep walls damage-free.
Here’s how to style them:
- Kid-friendly twist: Offer coloring sheet versions—kids love personalizing their art!
- Layering magic: Pair printables with woven placemats or mini wreaths for depth.
- Seasonal swaps: Rotate prints monthly—snowflakes in January, hearts in February.
For more festive wall art ideas, check out our holiday decor guide. Whether you frame or clip to a string, these touches keep your decor fresh all year!
Festive Bowls and Jars Filled with Gingerbread Cheer
There’s something magical about opening a jar filled with holiday treats—it’s like unwrapping joy! I discovered this when I styled my first snowflake-rimmed bowl with cinnamon sticks. Now, these displays are my perfect way to add warmth to kitchen counters.

- Anchor bases with non-slip drawer liners (Walmart’s grippy sheets work wonders)
- Place heavier items like ceramic cookie jars against backsplashes
- Use cake stands with wide bases for tiered displays
Layer textures for depth—my current favorite combo:
- Faux frosted cookies at the bottom
- Real dried orange slices in the middle
- Fresh pine sprigs peeking over the rim
Want that bakery-fresh scent? Tuck a few drops of clove oil onto cotton balls hidden under filler. For edible displays, line bowls with parchment paper to catch crumbs. Pro tip: Swap contents weekly—candy canes in December, heart-shaped treats in February!
My Target ceramic jar does double duty storing actual cookies behind its festive facade. The secret? A hidden airtight container inside keeps treats fresh while the outer design sets the mood. Now that’s what I call sweet functionality!
Creating a Gingerbread Hot Chocolate Bar
Last winter, I turned my counter into a sweet retreat—here’s how you can too. A drink station blends function and festivity, perfect for chilly days. Start with a tray or cake stand to corral your supplies.

Storage solutions: Mason jars keep marshmallows and peppermints fresh. Label them with chalkboard tags or cookie-shaped ornaments. For holiday gatherings, use tiered stands to save space.
Pair mugs with your theme—Santa faces for whimsy or neutral ceramics for modern vibes. If you’re going for a rustic look, add twine-wrapped handles. Pro tip: Heat mugs with hot water first to keep drinks warmer longer.
- Layout: Place cups on the left, toppings in the middle, and a warming carafe on the right for easy flow.
- Safety: Use a crockpot on “warm” instead of open flames. Stir every 20 minutes.
- DIY stirrers: Dip cinnamon sticks in melted chocolate, then roll in crushed candy canes.
Allergy-friendly? Offer oat milk and dairy-free chocolate. Label toppings clearly. When it’s time to transition to New Year’s, swap gingerbread accents for gold confetti and champagne flutes!
This setup takes 30 minutes but feels like a hug in mug form. Ready to brew some joy?
Adding Twinkle Lights for a Cozy Glow
The soft glow of twinkling lights instantly transforms any space into a cozy retreat. I discovered this when I draped battery-operated strands along my open shelves—suddenly, my whole christmas decor scheme came alive without a single outlet nearby.
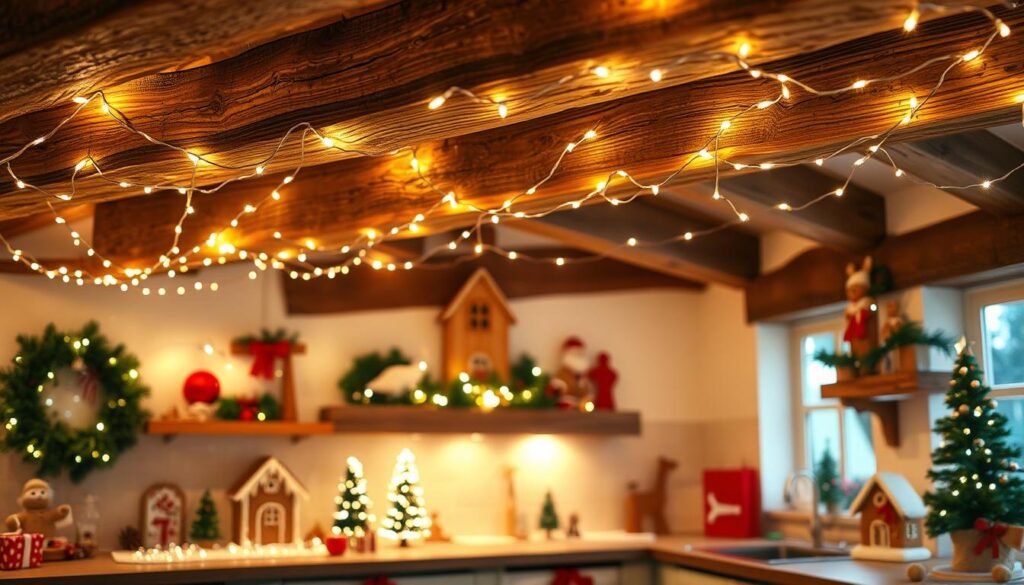
For flexibility, battery-powered lights win—no cords to hide! But plug-ins offer brighter look for focal points. My go-to? LED options from Target that last 100+ hours on 3 AA batteries. They’re perfect for glass jars or wreaths where cords would show.
Safety first! Keep lights 6+ inches from heat sources and use clips instead of nails. Under-cabinet strips create magical ambient lighting—I love how they highlight my gingerbread displays without glare.
Modern features make life easier. Remote-controlled strands let me adjust brightness during dinner parties. Daylight sensors automatically turn on at dusk—perfect for busy hosts. When January comes, I repurpose them in mason jars for year-round charm.
For scent without flames, try cinnamon-scented wax melts near lights. The warmth releases fragrance, creating that perfect seasonal atmosphere. Just remember to remove batteries before storage—learned that the hard way!
Gingerbread-Inspired Table Settings for Holiday Meals
Setting the table for holiday meals became my favorite ritual after discovering how small touches create big impact. My dining room transforms when I layer textures and scents—think checkered napkins with cinnamon sticks. Whether hosting family or enjoying quiet meals, these ideas blend function with festive charm.

Napkins and Coasters
I fell in love with diy felt coasters when Walmart’s holiday stock ran out. Here’s my no-sew method:
- Cut gingerbread shapes from wool felt (stain-resistant!)
- Hot-glue a cork backing to prevent sliding
- Personalize with fabric markers for kid-friendly fun
For napkins, I alternate between plaid cotton and burlap—both hide spills beautifully. Pro tip: Tuck a clove-studded orange into folds for subtle fragrance.
Gingerbread-Themed Plates and Mugs
Dishwasher-safe options make cleanup effortless. My go-tos:
- Target’s ceramic dessert plates (charming without being kitschy)
- Stoneware mugs with removable vinyl decals
- Clear glass chargers that let placemats shine through
For kids, I use melamine dishes with cookie motifs. They’re nearly indestructible! After meals, a quick wipe-down keeps everything fresh for the next gathering.
DIY Gingerbread Garland for a Whimsical Touch
A handmade garland adds instant charm to any space—here’s how to craft one that lasts. I perfected this diy project after my first attempt sagged within hours. Now, I’ll share the tricks that keep mine looking fresh year after year.

Royal icing acts as both glue and decoration. Use a piping bag with a #3 tip for precise application. Let each piece dry 24 hours before stringing—this prevents smudges. In humid climates, add 1 tsp cornstarch to your icing mix for extra hold.
Spacing makes all the difference. Measure 4 inches between each ornament for balanced draping. For stringing, try these alternatives:
- Fishing line: Nearly invisible and weather-resistant
- Burlap ribbon: Adds rustic texture
- Twisted baker’s twine: Holds knots securely
Broken pieces? Don’t panic! Mix equal parts icing and water to create a “glue” for repairs. For outdoor use, spray finished garlands with clear acrylic sealant. Just avoid direct sunlight—it can fade colors over time.
Store your creation flat in an acid-free tissue-lined box. Tuck silica gel packets between layers to prevent moisture damage. With proper care, your garland will become a yearly tradition!
Gingerbread Wreaths to Welcome Guests
A wreath isn’t just for the front door—it’s a year-round statement piece! I learned this after my first DIY project outlasted three holiday seasons. Whether you prefer rustic wood or sleek metal hoops, these touches add instant charm.
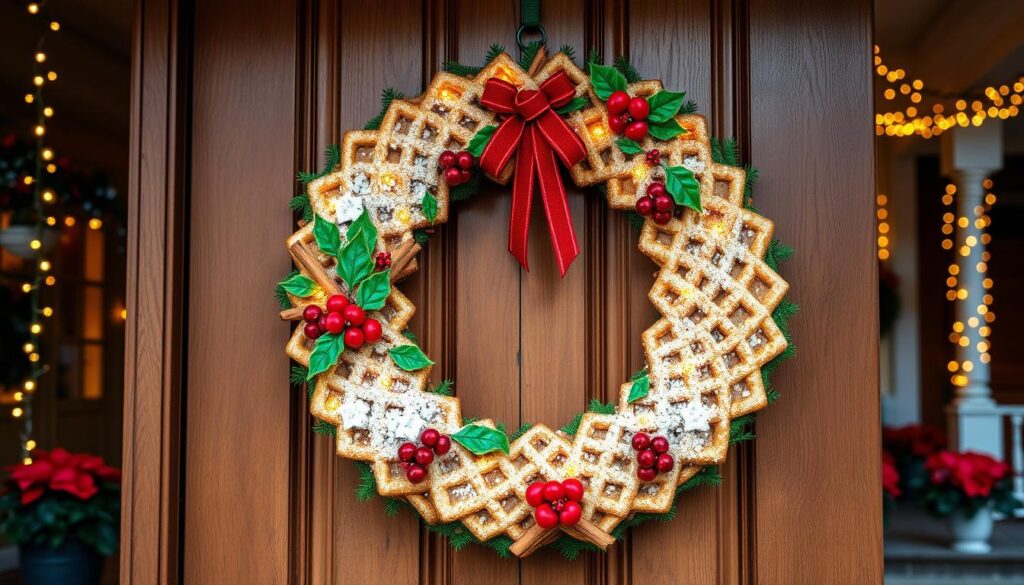
Round wreath hoops work best for balanced designs. For outdoor use, try grapevine or wire frames—they withstand weather. Indoors? Foam or fabric bases let you get creative without worrying about rain.
Here’s how to make yours stand out:
- Surprising spots: Hang mini wreaths on cabinet knobs or mirror frames for subtle cheer.
- Scent refresh: Tuck cinnamon sticks or clove sachets behind ornaments for a spicy aroma.
- Theft deterrent: Use zip ties instead of ribbon in high-traffic areas—they’re sturdy and discreet.
Want to keep yours fresh for years? Spray faux greenery with UV protectant. For edible versions, seal dough ornaments with food-grade varnish. My current favorite? A peppermint-striped ribbon that transitions effortlessly from winter to Valentine’s Day!
Gingerbread Snow Globe Village as a Centerpiece
Snow globes aren’t just for kids—they’re the secret to enchanting winter displays. I discovered this when I repurposed a vintage cake stand into a rotating village showcase. The glass dome keeps everything pristine while letting the magic shine through.

For the base, hunt flea markets for pedestal plates—their height creates drama. My favorite find? A 1970s milk glass stand that cost $8. If you’re going fresh, Target’s marble-look cake stands work beautifully too.
Assembly is simple:
- Arrange houses first (let icing dry 2 hours if stacking)
- Add “snow” last—fake flocking won’t melt like sugar
- Use tweezers to position tiny bottlebrush trees
Skip the mess with plastic snow from craft stores. It’s reusable and safe around pets. For monthly freshness, I rotate mini pinecones in January and heart confetti in February.
Transporting to parties? Try these tricks:
- Line the base with museum putty to prevent sliding
- Pack cotton balls between fragile pieces
- Bring extra “snow” in a ziplock for touch-ups
For more inspiration, browse these gingerbread centerpiece ideas. Whether you place yours near evergreen displays or as a dining table focal point, this whimsical village brings joy all season long!
Sweet Final Touches for Your Gingerbread Kitchen
The finishing details are what make a space feel complete—here’s how to add those magical final touches. I’ve found that these small upgrades take minutes but create lasting impact. Let’s make your home shine!
- Swap out hand towels for plaid or striped versions
- Add a cinnamon-scented candle near the entryway
- Drape a mini garland over window frames
Try unexpected accent colors like terracotta or sage. They pair beautifully with traditional reds and greens. My sage ribbon upgrade last year got so many compliments!
Create photo-worthy vignettes by grouping items in odd numbers. A trio of houses with varying heights looks dynamic. Place them on a cake stand for extra dimension.
Need hostess gifts? Jar up cookie mix with a gingerbread-shaped ornament tied to the lid. Attach baking instructions with twine—it’s the perfect way to share cheer.
When the season ends, remove items gradually. Start with perishables, then decor. I take down my garland first, keeping houses until January. It eases the transition!
These touches work for holiday gatherings or quiet nights in. Which idea will you try first?
Wrapping Up Your Gingerbread Christmas Kitchen
Looking back at this year’s projects fills me with warmth—each piece tells a story. My favorite? The DIY garland that now drapes my shelves. It’s proof that simple touches spark joy all season long.
I’d love to see your creations! Tag me in a post to share your spin on these ideas. Let’s inspire each other.
Next year, expect earthy tones and mixed textures to shine. Start saving cinnamon sticks and terracotta ribbons now!
For storage, wrap fragile items in tissue paper and label bins by theme. Tuck in a sachet of cloves to keep things fresh.
However you celebrate, may this time be filled with laughter and the sweetest moments. Happy creating!
