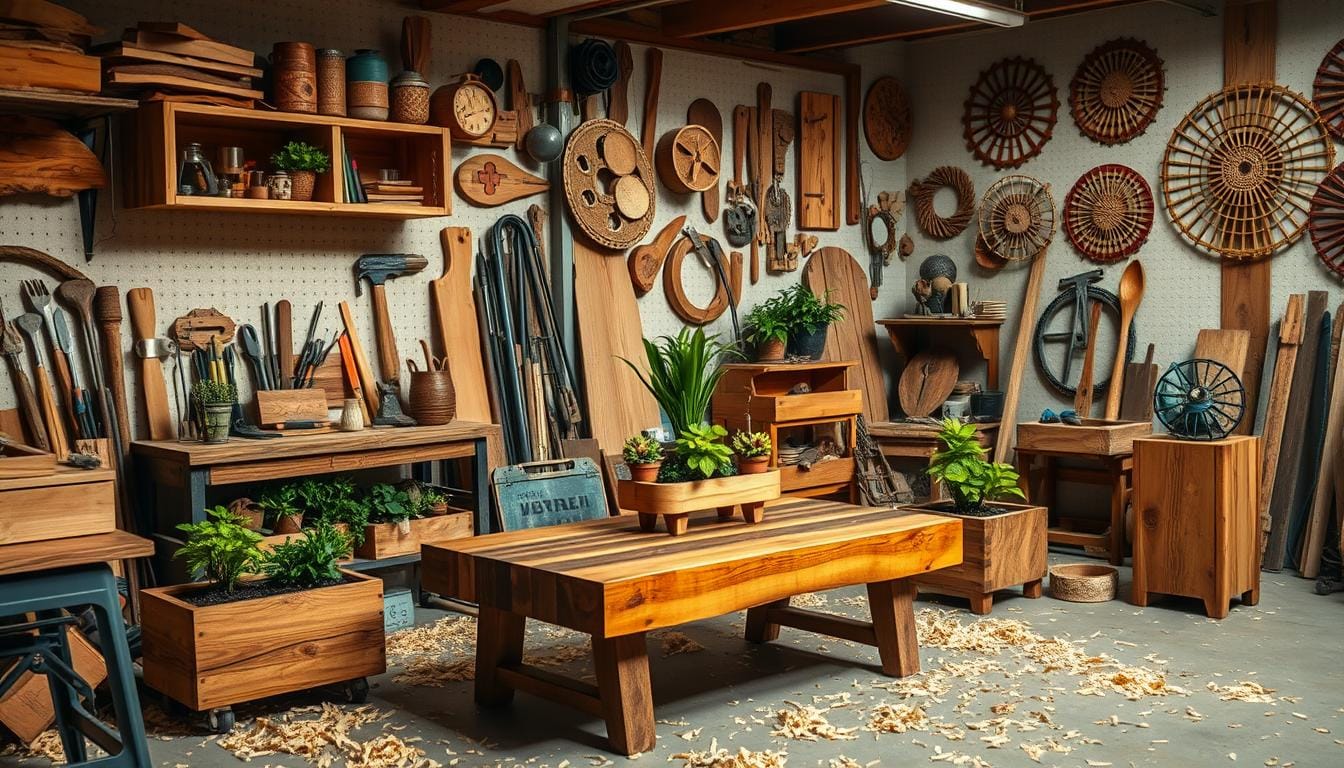
I’ve always loved turning useless wood scraps into beautiful home decor. From wall hangings to furniture, scrap wood is incredibly versatile. In this article, I’ll share 20 amazing DIY projects to inspire you.
These projects range from easy coasters to complex outdoor benches. They’re perfect for all skill levels and home styles. Plus, each project takes about an hour to finish, using tools you likely have. Let’s explore how to make wood scraps into valuable items that enhance your home.
Key Takeaways
- 20 creative DIY scrap wood projects are featured, ranging from home decor to functional furniture
- The projects are designed to be completed in around an hour each, using only basic power tools
- Instructions are provided for each project, making them accessible for beginners in woodworking
- Various types of practical and decorative items can be made from scrap 2×4 boards
- The text emphasizes the versatility of scrap wood and encourages creativity in DIY projects
Introduction to Scrap Wood Projects
Discover the hidden potential in your wood scraps and dive into the world of repurposed wood creations! Using scrap wood is good for the planet and your wallet. It cuts down on waste and breathes new life into old materials. Plus, many DIY projects with scrap wood are easy and quick, taking just 30 minutes or less.
Why Use Scrap Wood?
Scrap wood comes from various sources like leftover pieces, old furniture, or even reclaimed barn wood. These projects suit all skill levels, from simple crafts to complex furniture. By repurposing wood scraps, you can make unique items that show off your style and taste.
Benefits of DIY Projects
- Eco-friendly and budget-friendly approach to home decor
- Personal satisfaction in creating something unique
- Cost savings compared to purchasing ready-made items
- Ability to customize projects to fit your specific needs
Looking to organize your space, add rustic charm, or just get creative? Scrap wood projects have it all. From useful organizers to fun seasonal decor, using wood scraps is a fulfilling and green way to change your home.
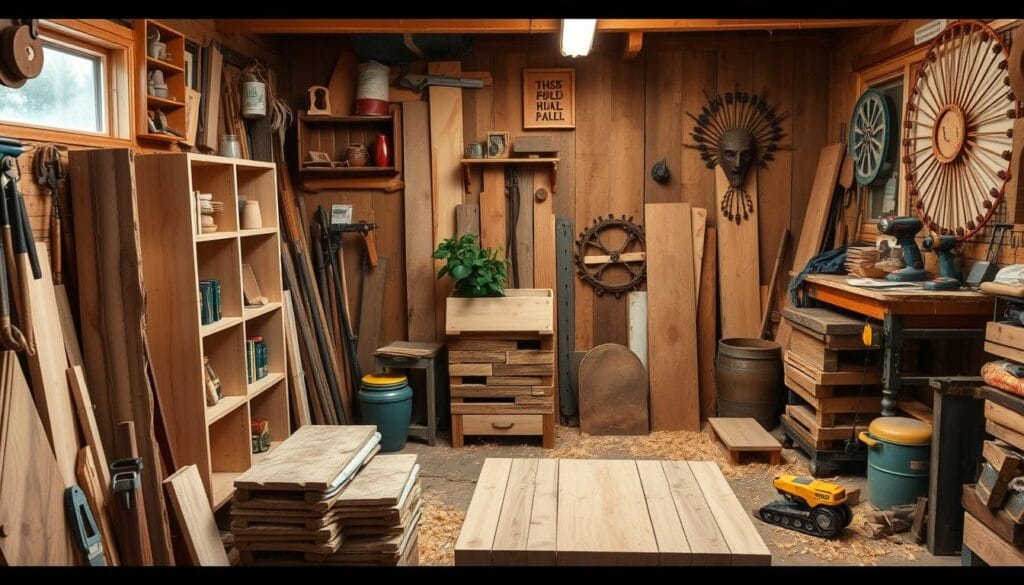
“Waste not, want not – that’s the motto of the scrap wood enthusiast!”
So, start exploring scrap wood projects and let your creativity shine. With a bit of imagination and basic tools, you can turn old materials into stunning, useful pieces that showcase your unique style.
Simple Scrap Wood Coasters
Making DIY scrap wood coasters is a great way to reuse wood and add charm to your home. These coasters are both useful and make great gifts. Let’s look at what you need and how to make your own wooden coasters.
Materials Needed
- Small pieces of scrap wood, about 4.5 inches square
- 1×2 lumber, needed for 12 pieces for four coasters
- Sandpaper (120 and 220 grit)
- Wood stain or paint (optional)
- Clear polyurethane or other sealant
- ⅜-inch round dowels, cut to 3.5 inches
Step-by-Step Instructions
1. Cut the 1×2 lumber into 4.5-inch squares for the coaster bases. Since a 1×2 is 1.5 inches wide, three together make a 4.5-inch square.
2. Sand the bases with 120 grit sandpaper, then 220 grit, for a smooth finish.
3. If you want, stain or paint half of the bases, leaving the other half natural.
4. Cut the dowels into 3.5-inch pieces for the coaster stands.
5. Seal all bases and stands with clear polyurethane or another sealant. Let them dry fully.
Finishing Touches
To make your coasters special, add wood-burned designs or paint unique patterns. These touches will make your coasters stand out.
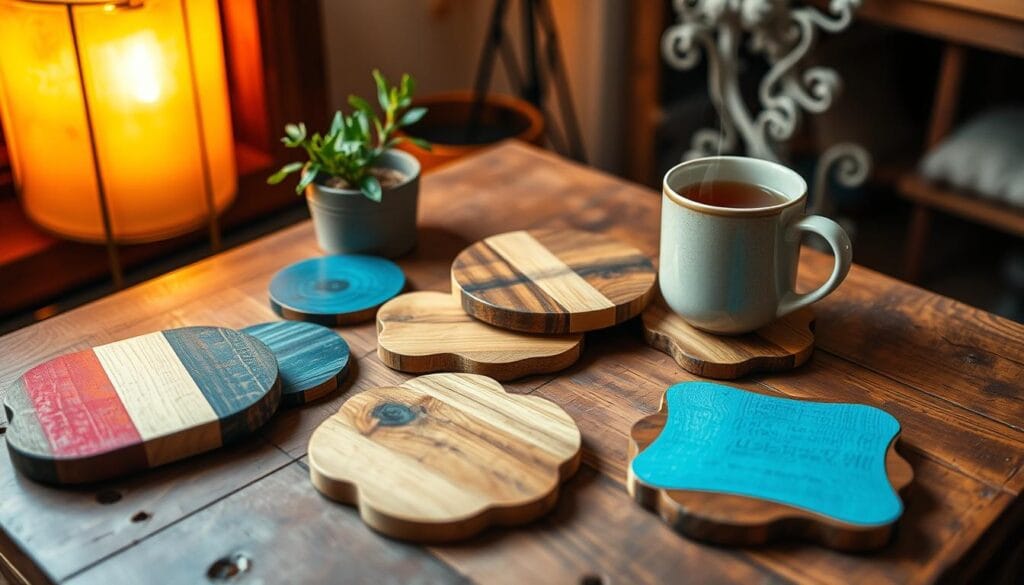
Enjoy your handmade scrap wood coasters. They show off your DIY skills and protect your surfaces from water rings and scratches.
Upcycled Pallet Furniture Ideas
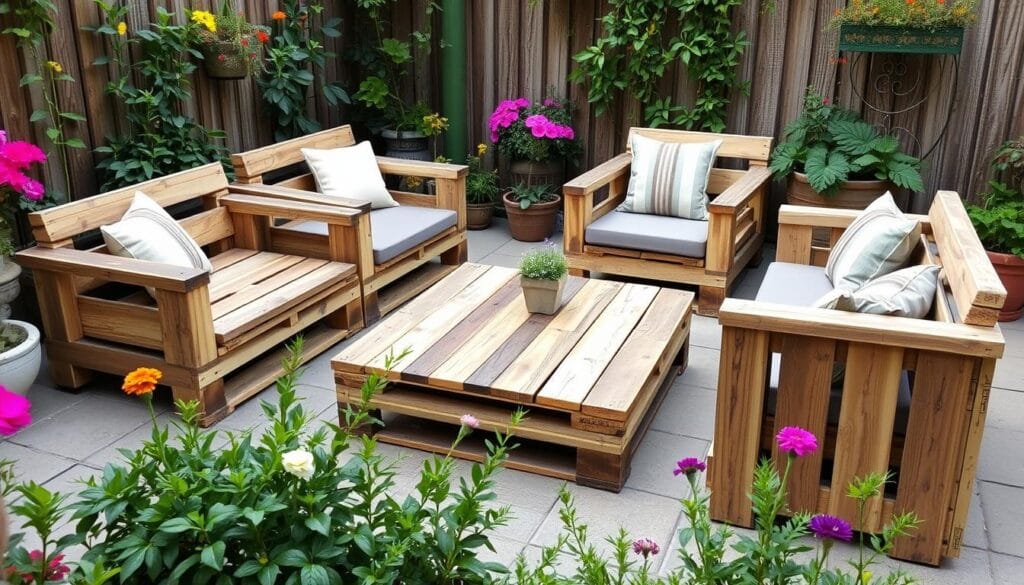
Pallets are versatile and affordable, making them great for creating furniture. You can make a rustic coffee table or comfy outdoor seating. Upcycled pallet projects are endless.
Choosing the Right Pallet
Look for pallets marked “HT” for your DIY projects. These are safer because they’re heat-treated, eliminating pests or chemicals. Stay away from “MB” marked pallets, as they’ve been treated with harmful methyl bromide.
Creating a Coffee Table
Making a DIY coffee table from pallets is popular. Disassemble, sand, and reassemble the pallet into a table shape. Adding casters makes it mobile. This rustic coffee table adds unique character to your living space.
Building Outdoor Seating
Repurpose pallets for outdoor seating. Stack them to make a bench and add cushions for comfort. It’s perfect for a cozy backyard or patio. Clean and sand the pallets to avoid splinters.
Upcycled pallet furniture turns waste into beautiful pieces. With creativity and basic tools, you can make unique furniture that shows your style and helps the environment.
| Project | Difficulty Level | Cost |
|---|---|---|
| Pallet Coffee Table | Moderate | $5-$15 |
| Outdoor Pallet Bench | Easy | $0-$10 |
| Pallet Wall Organizer | Intermediate | $7.50-$20 |
Whether you’re experienced or new to DIY, upcycled pallet furniture and upcycled wood projects are creative and budget-friendly. They can transform your living space.
Scrap Wood Wall Art
Turn your blank walls into beautiful art with scrap wood. Making your own recycled wood art adds a personal touch to your home. Use bed slats, small wood scraps, or leftover pieces to create unique wall hangings.
Designing Your Artwork
Let your creativity flow! Try different patterns, shapes, and designs for a unique piece. You can make anything from geometric shapes to whimsical scenes. Scrap wood of all sizes adds texture and interest to your walls.
Tools and Techniques
You’ll need some basic tools to make your art. A miter saw helps with clean cuts, and wood glue or a hot glue gun keeps it together. Mix in old buttons, drawer pulls, and glass beads for extra texture and interest.
Displaying Your Creation
After finishing your art, show it off! Hang it alone or group it with others for a gallery wall. Use keyhole hangers or wire for a sturdy display. Velcro command strips make hanging easy, supporting up to 4 kilograms.
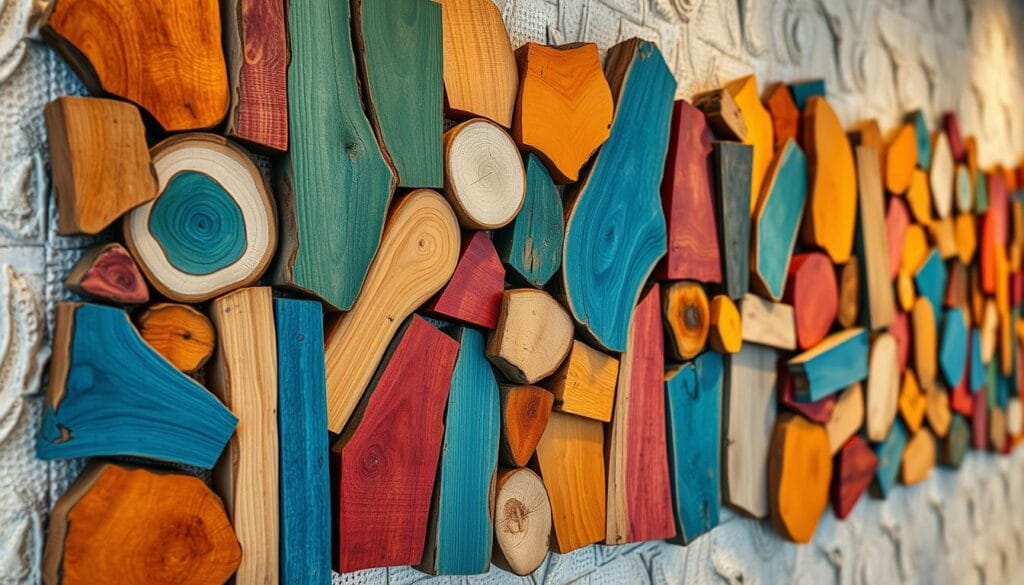 Upcycling scrap wood not only beautifies your space but also reduces waste. It’s a way to show off your unique style.
“Creativity is intelligence having fun.” – Albert Einstein
Rustic Picture Frames
Make your home more charming with DIY wood frames. These frames bring a cozy feel to any room, great for photos or mirrors. With basic supplies and creativity, you can make frames that show off rustic elegance.
Measuring and Cutting
Getting the frame right starts with accurate measurements. Measure your photo or mirror, then add extra inches for the frame’s edges. A miter saw helps cut wood at 45-degree angles for a pro look.
Assembly Process
After cutting your wood, it’s time to put the frame together. Use wood glue and small nails or brads to hold it in place. This simple step makes a strong, lasting frame.
Creative Painting Techniques
Bring out the rustic charm with creative painting. Try dry brushing light paint over dark stain for a weathered look. This method gives your frames a unique, aged feel that matches the wood’s natural beauty. You can also add twine, metal accents, or small trinkets for extra charm.
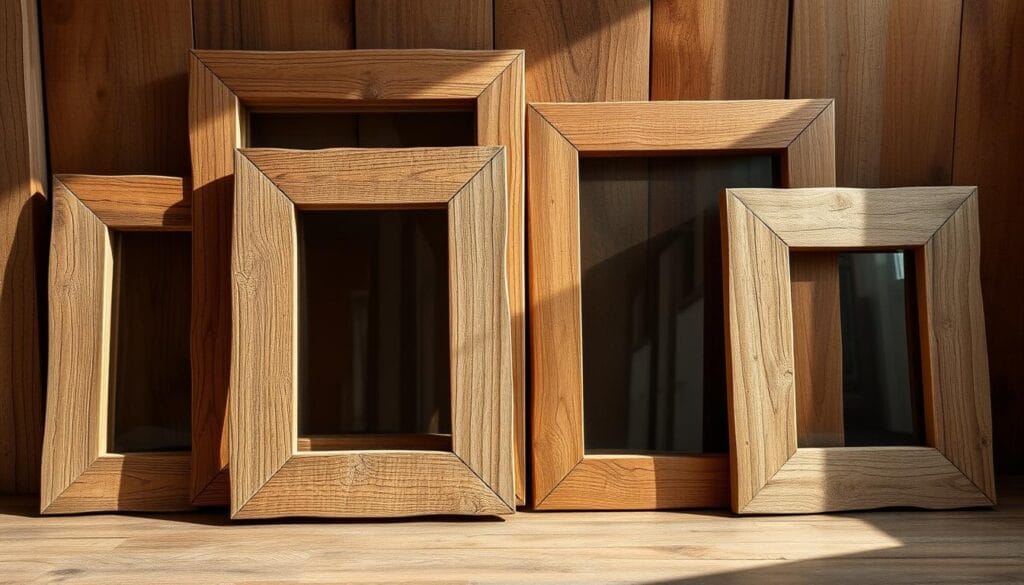
DIY wood frames are great for your home or as gifts. They’re easy to make, with a intermediate skill level and a cost of about $50. Let your creativity shine and turn ordinary photos and mirrors into beautiful, rustic pieces that impress everyone.
| Project Details | Value |
|---|---|
| Active Time | 1 hour |
| Total Time | 1 hour |
| Difficulty Level | Intermediate |
| Estimated Cost | $50 |
Scrap Wood Planter Boxes
Scrap wood planter boxes are a great DIY project for adding rustic charm to your outdoor space. They are perfect for patios, gardens, or indoor areas. By using leftover wood, you can make beautiful and useful planters.
Sizing Your Planter
The size of your planter box depends on the plants you want to grow. For small plants, aim for planters that are at least 10 inches long. For bigger plants or vegetables, use 2x4s or 2x6s for a larger planter.
Types of Wood for Durability
Choose wood that resists rot and weathering, like cedar or redwood. These woods will make your planter box last for years. For extra protection, line the inside with landscape fabric to help with drainage and prevent water damage.
Planting Tips and Tricks
After building your planter box, it’s time to plant! Use high-quality potting soil and add your plants, like herbs, flowers, or small vegetables. Add feet to the bottom to keep it off the ground and prevent rotting.
For a modern look, paint your planter with bright colors, or keep it natural for a rustic feel. Add decorative corner braces or other accents to make it your own.
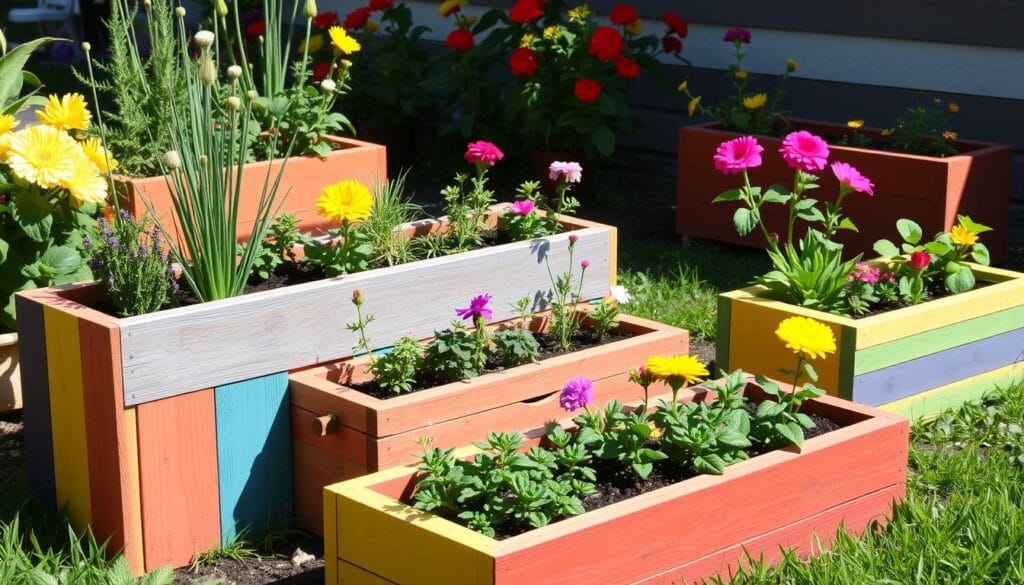
Scrap wood planter boxes bring nature’s beauty into your home while upcycling materials and showing off your DIY skills. With simple tools and creativity, you can turn leftover wood into beautiful planters. They will make your outdoor space look amazing.
Wood Shelves for Extra Storage
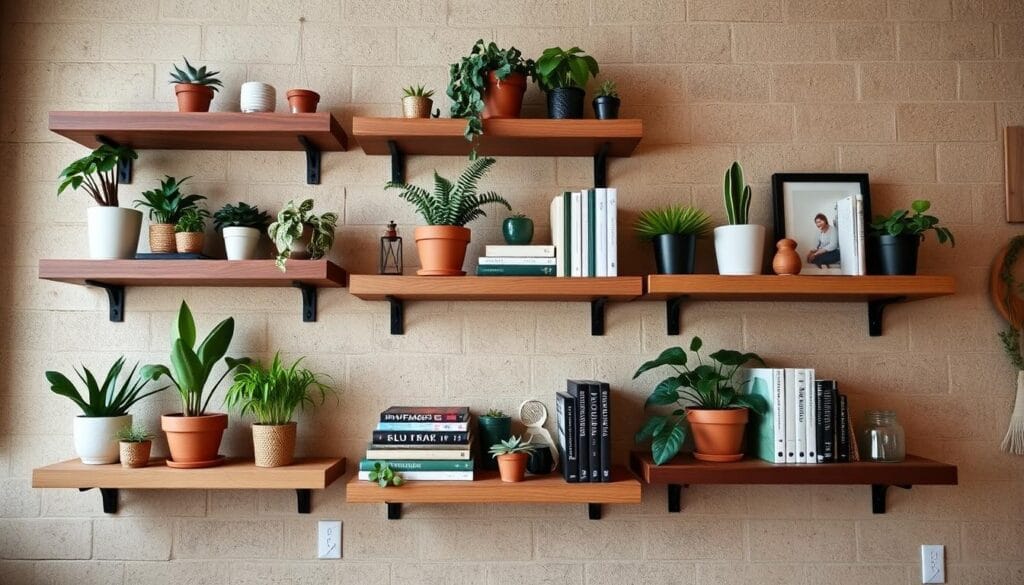
Scrap wood can be turned into useful and stylish storage for your home. DIY wood shelves are a great way to use leftover wood and add more storage. You can make everything from rustic floating shelves to sleek ladder-style units.
Types of Shelves to Build
Some popular DIY scrap wood shelf ideas include:
- Floating shelves – These shelves look like they’re floating on the wall, giving a modern, simple look. They’re great for showing off décor, books, or other items.
- Ladder shelves – Looking like a leaning ladder, this design adds interest and vertical storage. Perfect for bathrooms, living rooms, or entryways.
- Corner shelves – These shelves use unused corner space, making them perfect for small areas like kitchens or bathrooms.
Mounting and Installation
When making DIY wood shelves, it’s important to mount and install them right for safety and stability. Use a stud finder to find solid spots in the wall, and level the shelves for a professional finish. Add brackets or supports under heavy shelves for extra strength.
Best Places to Use Them
Scrap wood shelves are great in many rooms in your home. In the bathroom, they’re perfect for towels, toiletries, and décor. In the kitchen, they can hold spices, cookbooks, or small appliances. Living rooms and bedrooms are ideal for books, plants, and personal items. DIY wood shelves let you add storage and style to any room.
By turning scrap wood into custom shelving, you can make unique, affordable storage that fits your home’s style. Whether you like a rustic, farmhouse look or a sleek, modern one, scrap wood shelves can help transform your spaces.
Unique Candle Holders
Making your own wooden candle holders from scrap wood is fun and adds warmth to any room. These DIY projects are affordable and let you show off your creativity. You can make simple tea light holders or elaborate centerpieces using wooden candle holders from scrap wood decor.
Ideas for Design
First, think about the size of the candles you want to use. Taper candles need holders that are 3/4″ or 7/8″ in diameter. Tea lights need holders that are 1-5/8″ or 1-1/2″ in diameter. Candle diameters recommended for the holders: 3/4″ or 7/8″ for taper candles, 1-5/8″ or 1-1/2″ for tea lights
Consider how tall you want your holders to be. For varied sets, aim for a height difference of about 2 inches. For dining tables or mantels, make them the same height. Height variations for candle holders: suggested height difference of about 2 inches for varied sets; identical pairs for dining tables or mantels
You can use any wood for your holders, like pine 4 x 4 post, old fence post, or reclaimed wood. Wood options: any type of wood can be used for the candle holders, such as pine 4 x 4 post, old fence post, or reclaimed wood You’ll need a circular saw, a battery-operated drill, a spade-style drill bit, and 100-grit sandpaper. Tools required: circular saw with wood cutting blade, battery-operated drill, spade style drill bit, 100 grit sandpaper
Safety Precautions
Always prioritize safety when working with wood and candles. Never leave candles burning alone, and think about using battery-operated candles for safety. Safety reminder: never leave candles unattended, consider using battery-operated flicker candles for added safety
Smooth out the edges and apply a heat-resistant finish to the wood. Recommended protective measures: primer before painting, clear wax to seal stain, buffing wax to a soft sheen
Variations in Sizes and Shapes
Try different sizes and shapes to create unique candle holders. You can make simple tea light holders, pillar candle holders, wall-mounted sconces, or tiered designs. Usage possibilities: candle holders suitable for dining room tables, console tables, or as mantel decorations
These wooden candle holders made from scrap wood decor are great gifts and add warmth to any space.
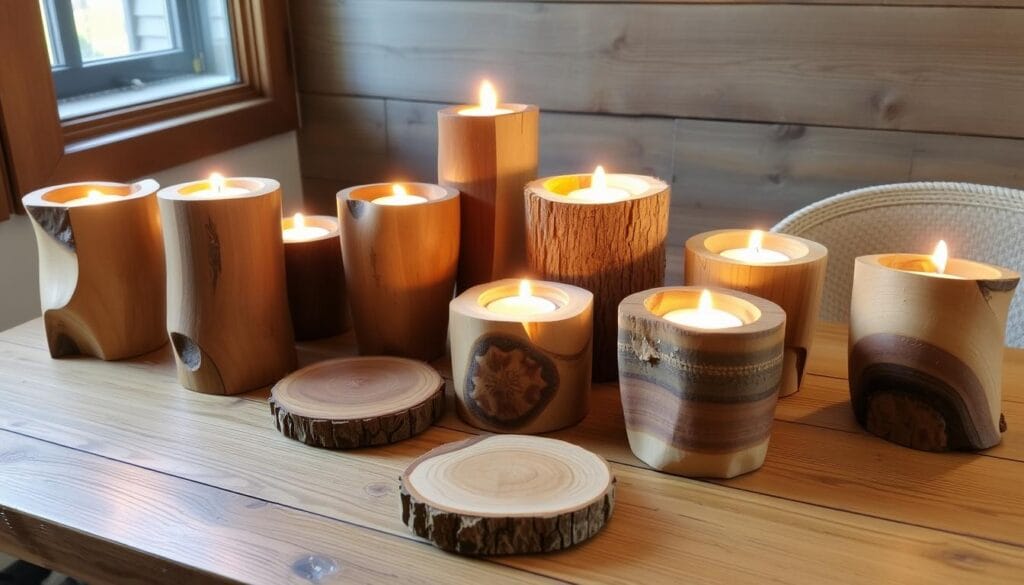
Remember, wood used in DIY projects might have chemicals. So, make sure the materials you use are safe. Chemical treatment is common on wood used in DIY household projects
By being careful and creative, you can turn scrap wood into beautiful, unique candle holders. These will make your home look and feel better.
“Crafting your own wooden candle holders from scrap wood is a delightful way to add warmth and character to any room.”
| Project | Time to Complete | Total Cost | Skill Level | Output |
|---|---|---|---|---|
| DIY Wooden Candle Holders | 3 hours | $10 | Beginner | 21 Wooden Blocks |
With the right tools, a few simple steps, and creativity, you can make beautiful wooden candle holders from scrap wood. Estimated time to make DIY wooden candle holders: around 45 minutes
Scrap Wood Birdhouses
Turning scrap wood into birdhouses is a fun DIY project. It gives new life to old materials. You can use leftover wood from a bedroom remodel to make these birdhouses. This shows how creative you can be with outdoor scrap wood projects.
Essential Tools for Building
To make a birdhouse, you’ll need some basic tools and materials. You’ll need wood for the different parts, glue, a nailer, and various saws. You’ll also need a drill, a square, a tape measure, and decorations like paint or stickers.
Step-by-Step Guide
This project is flexible, with no set size and your choice of finish. Start by marking the center of the wood for the front and back. Then, cut miters for the roof and make a bird hole with a forstner bit. Use a brad nailer and glue to put it all together. You can add a roof with materials like thin luan.
Painting and Decorating Your Birdhouse
After building the birdhouse, it’s time to get creative with painting and decorating. Choose non-toxic paints that are safe for the outdoors. The post shows different birdhouses with unique decorations to inspire you.
Building birdhouses is a great way to add charm to your outdoor space or have fun with the kids. So, let your creativity shine and turn old wood into homes for birds.
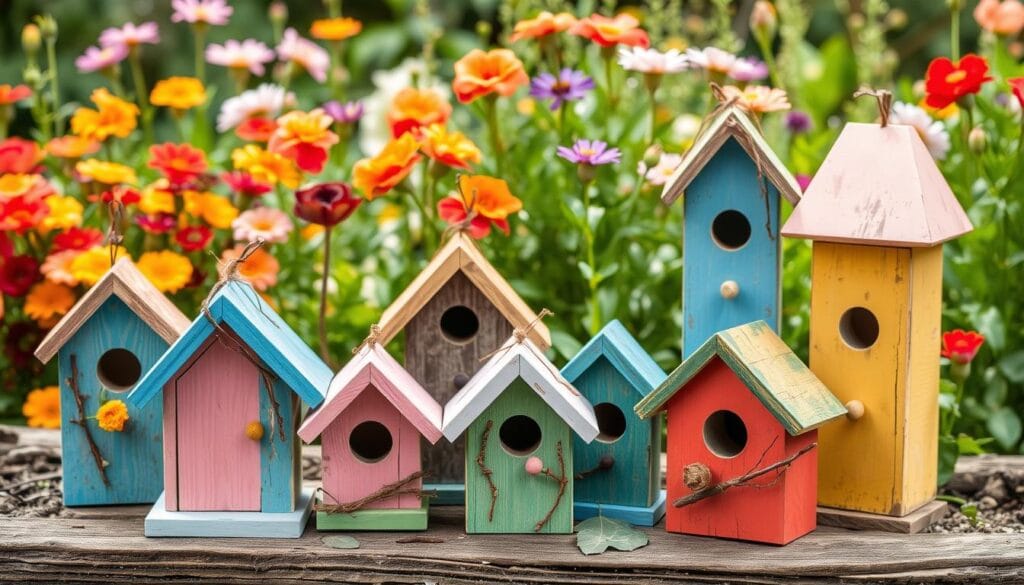
| Scrap Wood Birdhouse Components | Measurements |
|---|---|
| Front wall | 6 inches |
| Back wall | 7 1/2 inches tall |
| Base | 9 1/2 inches long, 9 inches wide |
| Roof | 8 3/4 inches long, 6 1/2 inches wide |
| Vertical back piece | 12 1/2 inches tall |
“Crafting DIY birdhouses from scrap wood is a rewarding and versatile endeavor. Unleash your inner artist and transform those leftover wood pieces into cozy havens for your feathered friends.”
Robins, cardinals, blue jays, and doves like nesting boxes. Hang birdhouses high to keep cats out. Trees in front of your house are great for protection, even in spring snow. Cleaning birdhouses after each nest is ideal, but not always possible. Seeing robins in your garden means spring is here, reminding us to enjoy nature through DIY birdhouse projects.
Scrap Wood Signs and Sayings
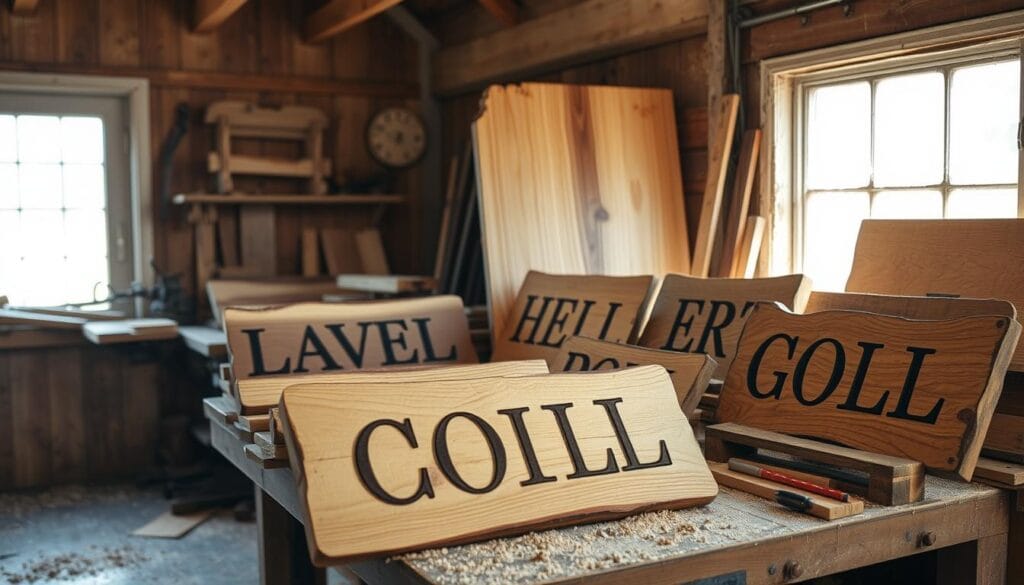
Get creative and turn scrap wood into beautiful home decor with personalized wooden signs. You can make a welcoming “Welcome” sign for your door or a cozy “Home” sign for your living room. Scrap wood projects are full of possibilities.
Choosing the Right Words
First, pick the right words or quotes for your sign. Think about inspirational messages, family names, or fun sayings that show your style.
Techniques for Lettering
Make your sign stand out with different lettering methods. Stenciling gives a sharp look, while freehand painting adds a personal touch. For a rustic vibe, use a wood-burning tool. Try out various fonts and sizes to match your style.
Hanging Your Sign
After finishing your sign, it’s time to hang it up. Use a sawtooth hanger for a modern look or a rope for a rustic feel. These signs can brighten up entryways, kitchens, bedrooms, or any room.
Making scrap wood signs is a fun DIY project. It lets you add unique wooden decor to your home. With some creativity and basic tools, you can turn simple scraps into beautiful, unique pieces that show off your style.
“Scrap wood projects let me show my creativity and add a personal touch to my home. Plus, they’re eco-friendly and budget-friendly.” – Jane Doe, DIY Enthusiast
So, let your DIY spirit shine and start making your own scrap wood signs and sayings today!
DIY Scrap Wood Bench
Making a bench from scrap wood is a fun DIY project. It adds a special touch to your home. Working with scrap wood lets you create something unique that shows off your style.
Planning Your Design
First, think about the size and shape of your bench. A simple design is often best. It should be comfortable and useful. Choose a size that fits well in your space, like an entryway or a cozy corner.
Material Selection
Choose strong woods like oak or pine for the base. You can also use different types of wood for a unique look. Reclaimed barn wood or pallet wood adds an interesting touch.
Build Process Overview
To build it, start with the seat, then add the legs and support braces. You might want a backrest for more comfort. Or, you could keep it simple. Sanding and staining or painting can make it look even better.
With basic tools and some creativity, you can make a beautiful bench from scrap wood. It’s not only cost-effective but also adds a personal touch to your home. Look for inspiration on Facebook, Pinterest, Instagram, HomeTalk, and YouTube to start your project.
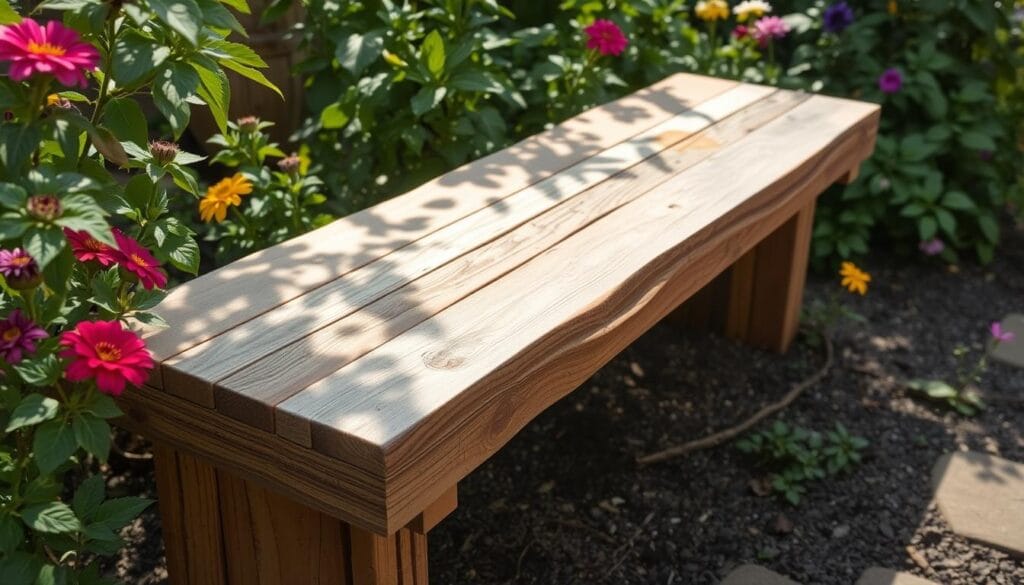
“Crafting a scrap wood bench is a wonderful way to upcycle materials and add a touch of rustic charm to your home. The process is surprisingly simple and the end result is a one-of-a-kind piece that reflects your personal style.”
Scrap Wood Jewelry Organizer
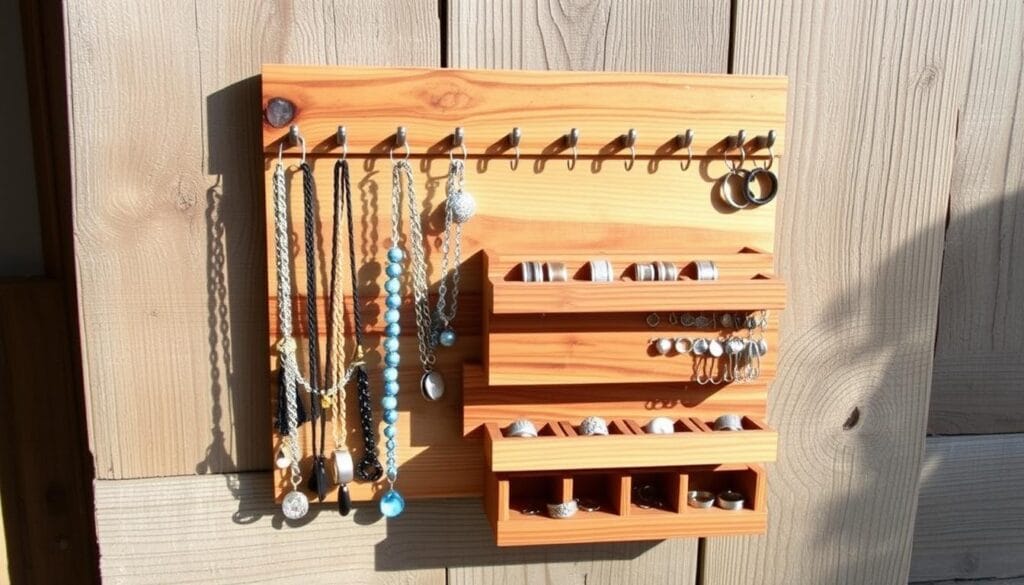
Organizing your jewelry doesn’t have to be hard. With scrap wood and some creativity, you can make a custom jewelry organizer. It keeps your accessories neat and easy to find. These DIY projects are not only useful but also add a special touch to your space.
Functional Design Ideas
A scrap wood jewelry organizer can be many things. You might make a wall-mounted board with hooks for necklaces, earrings, and bracelets. Or, you could create tiered stands or box-style organizers for rings, brooches, and small items. The important thing is to find a design that fits your jewelry and space.
Tools You’ll Need
To make your own jewelry organizer, you’ll need a few basic tools. You’ll need a saw to cut the wood, a drill for holes and mounting, and sandpaper to smooth it. With these tools, you can turn leftover wood into a useful and stylish piece.
Customization Options
One of the best things about a DIY jewelry organizer is how customizable it is. You can add different hooks, shelves, or even a mirror for looks and function. Plus, you can paint or stain the wood to match your room’s style. These personal touches make your project truly unique.
Making a scrap wood jewelry organizer is a great way to use your DIY skills. It’s a practical solution for your home. With a bit of creativity and basic tools, you can turn leftover wood into a beautiful, custom piece that keeps your jewelry organized and on display.
Scrap Wood Games for Family Fun
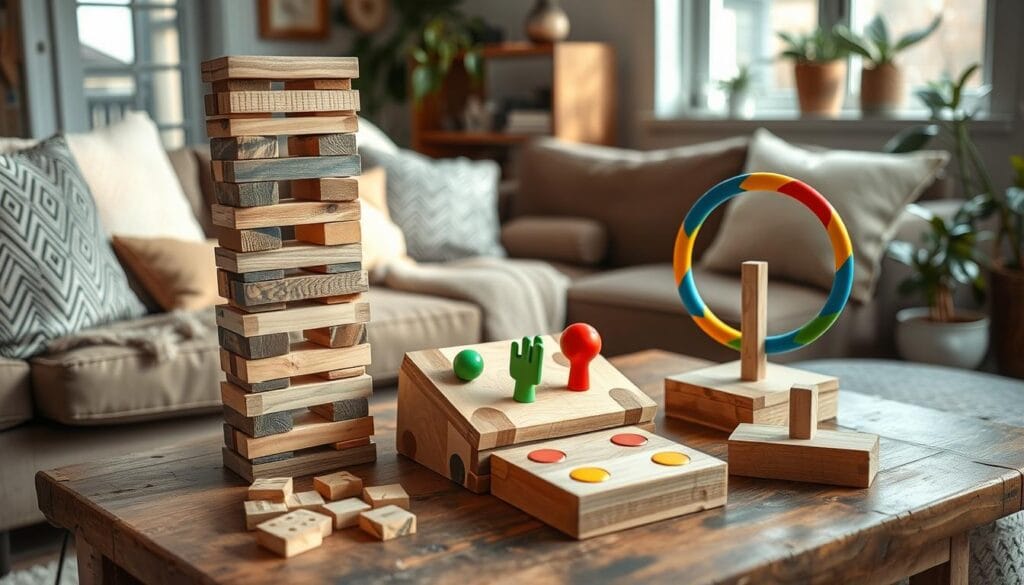
Get creative and bond with your family through DIY wooden games made from scrap wood. You can make everything from tic-tac-toe to giant yard dice. These projects are affordable and a great way to share fun moments.
Ideas for Classic Games
Bring back childhood memories with DIY versions of games like checkers and tic-tac-toe. For a tic-tac-toe board, just use small wood squares and paint Xs and Os on them. A checkerboard is easy to make with alternating light and dark wood squares. Try oversized yard dice for outdoor fun, made from large wood blocks and painted with dots.
How to Make Them
These projects are simple and fun. You’ll need basic woodworking tools, scrap wood, and creativity. Follow DIY guides or be creative to design your own game sets. You can make educational toys, dollhouses, and doll furniture, offering endless family craft projects.
Keeping Score
Add a chalkboard scoreboard to your DIY games for more fun. Use chalkboard paint on scrap wood to track scores and add rustic charm.
Enjoy family time and get creative with these scrap wood games. Whether it’s classic games or something new, these projects will create memories and fun for all ages.
| Game Idea | Materials Needed | Steps |
|---|---|---|
| Tic-Tac-Toe | Scrap wood squares, paint | 1. Cut wood squares 2. Paint Xs and Os 3. Assemble board |
| Checkers | Scrap wood, paint | 1. Cut light and dark squares 2. Assemble checkerboard 3. Paint pieces |
| Yard Dice | Large wood blocks, paint | 1. Cut wood blocks 2. Paint dots on sides 3. Enjoy outdoor gaming |
“Crafting DIY wood games is a fantastic way to bond with your family and create lasting memories.”
Scrap Wood Serving Tray
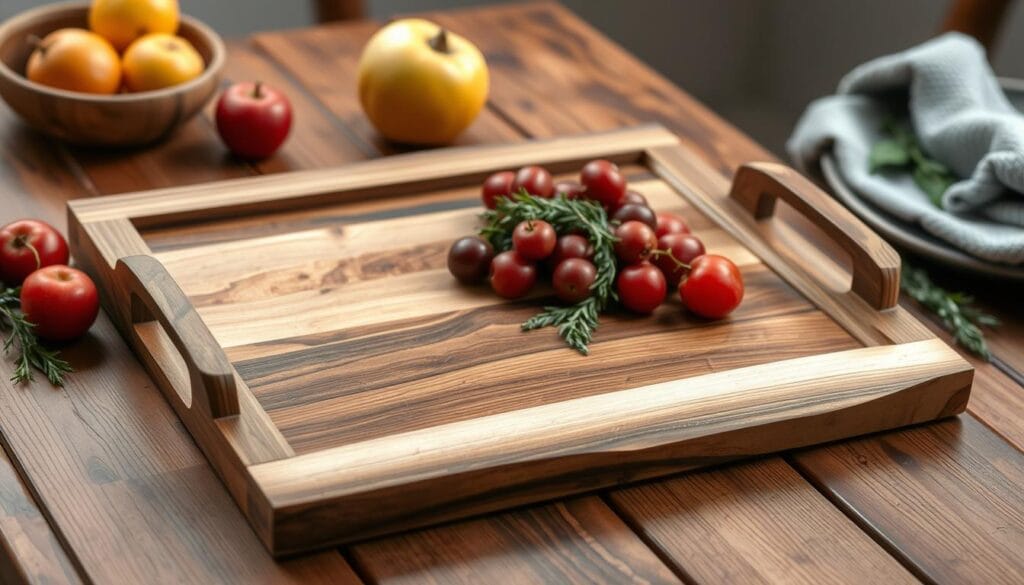
Want to make something useful and pretty for your home? Try making a DIY scrap wood serving tray! These trays are easy on the wallet and show off your upcycling talent. They turn old wood scraps into a beautiful upcycled home accessory.
Cutting and Assembly
Start by cutting the wood to the size you want. Measure and cut the sides, handles, and bottom panel. This will form the tray’s base.
Use wood glue and nails or screws to put it all together. Make sure it’s strong and lasts long. You can also add a fancy handle or shape to the tray’s ends for extra style.
Staining versus Painting
Choose between staining or painting the tray for your look. Staining keeps the wood’s natural look and gives it a rustic feel. Painting lets you try bold colors for a modern look. Pick a finish that fits your home’s style.
Fun Add-ons to Consider
Make your DIY wood tray even better with fun extras. Add tile inlays for elegance or rope handles for a nautical vibe. Metal accents, like corners or a metal trim, bring an industrial touch to your upcycled home accessory.
These scrap wood serving trays are great for drinks, organizing, or as a display piece. Show off your DIY skills and turn ordinary wood into something special for your home.
| Feature | Measurement |
|---|---|
| Final size of the tray | 19 inches long by 13 inches wide |
| Thickness of the sides | 1 1/2 inches tall over the 19-inch length and 3 3/4 inches tall at the ends |
| Thickness of all sides | 1/2 inch |
| Thickness of the bottom panel | 1/4 of an inch |
| Wood type | Rough sawn oak |
| Dimensions of the rails | 1 and 1/2 inches for the regular sides and 3 and 3/4 inches for the ends |
| Thickness of the resawed material | 1/2 inch for the sides, 1/4 of an inch for the bottom panel |
| Assembly method | Dovetails for the tray sides |
| Handle design | Decorative arch cut in the ends |
| Bottom panel groove | 1/4 inch |
| Router bit used | 1/4 inch up spiral bit |
| Finishing process | Sanding and application of finish |
This data gives a detailed look at making a DIY scrap wood serving tray. It shows the project’s main specs and techniques.
Stylish Scrap Wood Shelving Units
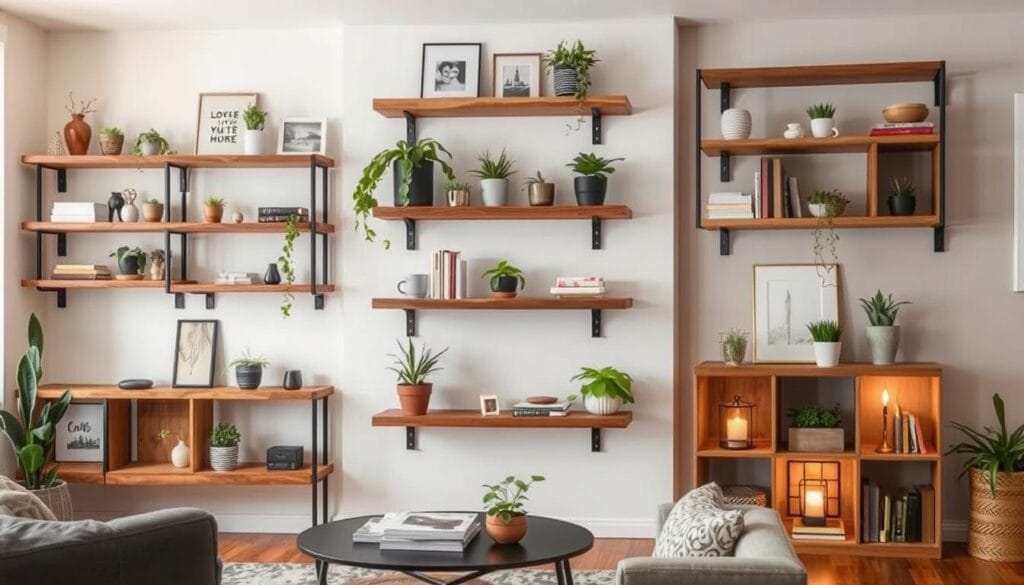
Make your home look better and more organized with DIY scrap wood shelving. These units are both useful and stylish. They let you show off your woodworking skills and use space well. You can pick from open shelves for a light feel or closed ones for hidden storage.
Open vs. Closed Shelving
Open shelving makes your space feel open and airy. It’s perfect for showing off your favorite things like books or decorations. Keep the shelves under 6 inches wide for stability.
Closed shelving, on the other hand, keeps things tidy. It’s great for hiding things like electronics or office supplies. This style gives a clean, organized look.
Design Inspirations
Scrap wood is a great base for many designs. You can go for a rustic, industrial, or modern look by choosing different woods, stains, and finishes. These projects let you match your shelves to your home’s style.
Maintaining Stability
To keep your shelves stable, use strong supports and anchor them to wall studs. The number of screws or anchors needed might change, but aim for at least one stud and a drywall anchor on the other side. This setup ensures your shelves can hold heavy items safely.
“These DIY scrap wood shelving units have been a game-changer for my home office. I love how I can customize the design to fit my space and display my favorite decor items.”
– Jane, DIY Enthusiast
| Shelf Dimensions | Drying Time | Shelf Width Recommendation |
|---|---|---|
| 3 inches x 24 inches, 6 inches x 24 inches | 24 hours for glue to dry | No wider than 6 inches for stability |
With creativity and basic woodworking skills, you can turn scrap wood into beautiful shelves. These units can make any room look better and more organized. Whether you prefer open or closed designs, they’re a great way to show off your DIY skills and use space wisely.
Scrap Wood for Garden Décor
Give your outdoor area a rustic charm with garden decor made from scrap wood. You can make whimsical wind chimes, useful garden stakes, and decorative fences. These projects make your garden feel more personal.
Wind Chimes
Make soothing wind chimes from scrap wood of different lengths. Drill holes at the top and thread fishing line through to hang them. Try out different wood types, shapes, and sizes for a unique sound.
Garden Stakes
Enhance your garden’s look with wooden stakes made from scrap wood. Use it for plant labels, decorations, or small trellises for vines. Apply a weather-resistant sealant to keep them lasting.
Decorative Fences
Make your flower beds or vegetable garden stand out with decorative fences from scrap wood. Paint or stain them to match your outdoor colors. Play with wood patterns and heights for a unique look.
Use natural materials to turn your garden into a special place that shows off your style. These projects are affordable and let you add your personal touch to your outdoor space.
Conclusion: Transforming Scrap Into Beauty
Scrap wood projects are full of creativity and sustainability. They let you make unique, personal items and cut down on waste. Woodworkers using scraps help save forests by not cutting down new trees. Making art from wood scraps is much better for the environment than using new wood.
Final Thoughts
Every piece of scrap wood can be used for something special. Jewelry needs wood that’s thin, from an eighth to a quarter of an inch. Using different woods adds interest and depth. Shapes like guitar picks and paddle board designs can also sell well.
Many crafters choose eco-friendly finishes and adhesives. This helps reduce their impact on the environment.
Encouragement for DIY Enthusiasts
Begin with simple projects and then try harder ones. These DIY projects need basic tools and creativity, not advanced skills. It’s a chance to explore and let your creativity shine.
The joy of making something beautiful from trash is unique. Keep trying new things and share your work. Happy crafting!
FAQ
What types of scrap wood can be used for these projects?
You can find scrap wood in many places. It might be leftover from other projects, old furniture, or even from reclaimed barns. You can use different types like cedar, redwood, oak, or pine.
What are the benefits of using scrap wood for DIY projects?
Using scrap wood is good for the environment and saves money. It gives old materials a new life. DIY projects also bring personal satisfaction and let you create unique items.
How can I create scrap wood coasters?
To make coasters, you need small wood pieces, sandpaper, and a finish. Cut the wood into squares, sand them, and apply your chosen finish. Seal them for extra protection. You can also add designs or patterns.
What should I consider when working with pallets for furniture projects?
Always choose pallets marked “HT” for safety. For a coffee table, disassemble the pallet, sand the boards, and reassemble. Add wheels for easy moving. For outdoor seating, stack pallets and add cushions. Clean and sand them well to avoid splinters.
How can I create scrap wood wall art?
You can make wall art with geometric patterns, landscapes, or abstract designs. Use a miter saw for precise cuts and wood glue for assembly. Mix different wood grains and colors for interest. You can make a gallery wall or a large piece.
What techniques can I use to make rustic picture frames?
Measure your photo and add extra for the frame’s edges. Use a miter saw for 45-degree cuts and assemble with glue and nails. For a weathered look, try dry brushing. Add twine or metal accents for extra rustic appeal.
What factors should I consider when building scrap wood planter boxes?
Size the boxes based on your plants’ needs. Cedar and redwood are good for outdoor use. Line the inside with landscape fabric for better drainage. Add feet to prevent water damage. You can paint them or leave them natural.
How can I create unique scrap wood shelves?
You can make floating, ladder, or corner shelves. Use a level and stud finder for secure mounting. Consider using brackets for support. These shelves are great in bathrooms, kitchens, or living rooms. You can mix wood types for a unique look.
What safety precautions should I take when making scrap wood candle holders?
Drill holes sized for your candles, ensuring they’re deep enough. Sand edges smooth and apply a heat-resistant finish. Keep wood away from direct flame. Create variations like pillar holders or tiered designs.
What should I consider when building scrap wood birdhouses?
You’ll need a saw, drill, and screws for birdhouses. Start with a simple box design and add a sloped roof. Include drainage holes and ventilation. The entrance hole size depends on the bird species. Use non-toxic paints for decoration.
