Every year, I look forward to transforming my home into a cozy, festive retreat. The key? Keeping it simple, personal, and stress-free. Whether you love DIY projects or prefer store-bought pieces, there’s a way to make your space shine without the overwhelm.
I’ve gathered 16 inspiring ways to elevate both indoor and outdoor areas—from porch lighting to creative card displays. The best part? Many of these touches can be reused or rearranged year after year.
Mixing handmade elements with ready-made finds adds charm while saving time. And don’t worry—I’ll share budget-friendly picks (some with affiliate links) that suit every style. Let’s create a warm, welcoming atmosphere together!
Ready to dive in? These ideas blend tradition with fresh twists, making your home feel merry and bright—without the hassle.
1. Transform Your Front Porch with Festive Flair
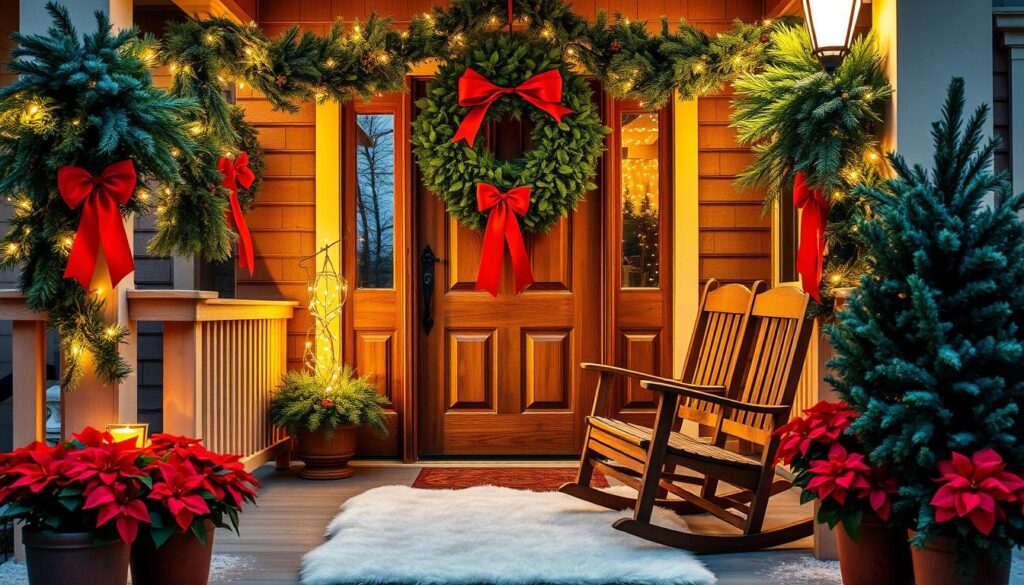
Nothing sets the holiday mood like a beautifully decorated front porch. I start with a Moravian star as the centerpiece—its geometric glow adds instant charm. Flanking the front door with twinkling LED trees creates symmetry without tangled wires. Bonus: They’re battery-operated!
Hang a Moravian Star and Twinkling LED Trees
I found this Moravian star casts the prettiest patterns at dusk. Pair it with these LED trees for a balanced look. Pro tip: Choose warm white lights for a cozy vibe.
Use French Blue Ribbon for a Charming Wreath Accent
Wire-edged ribbon (like this French blue one) holds its shape outdoors. I loop it through a trio of bronze bells for movement. For smaller wreaths, try 1.5″ ribbon—it’s just as eye-catching!
Every year, I update my wreath with new accents. If yours sells out, this wreath is a lovely backup. Match ribbon colors to your house trim for a polished finish. Quick refresh? Swap bows or add pinecone picks!
2. 10 Christmas Decor Display Ideas for a Festive Porch
Classic touches like bows and greenery instantly elevate your porch’s holiday appeal. I love mixing textures and reusable pieces for a look that lasts all season. Here’s how to create depth and warmth with two standout elements.

Oversized Red Bows for Classic Cheer
Nothing says classic christmas like a bold red bow. I use 3D wired ribbon—it holds shape in wind or rain. For waterproofing, spray the base with clear sealant. Pro tip: Layer two bows slightly offset for extra dimension.
Layer Garland with Pinecones and Berries
My go-to garland formula: pre-lit greenery + faux berries + pinecones. Command hooks keep it secure without damaging surfaces. For a full look, fluff each branch outward and tuck in picks every 12 inches.
Stick to warm-toned berries (cranberry, gold) against deep greenery for contrast. Pre-lit options save time, and battery-operated strands avoid outlet hassles. Best part? These pieces transition seamlessly into winter decor!
3. Light Up Indoors with Twinkle Lights and Candles
Soft lighting instantly makes any room feel magical during the holidays. I mix flameless candles and battery-operated strands for a safe, adjustable glow. Here’s how to layer them like a pro.
Remote-Controlled Flameless Candles on a Timer
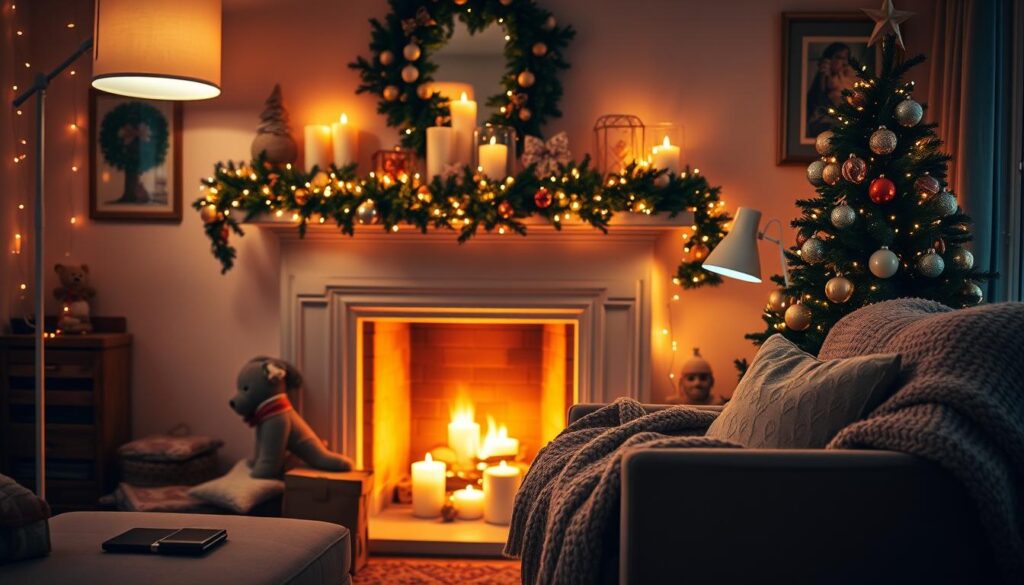
I swear by these remote-controlled candles—they flicker realistically and turn off automatically. Set them on a timer to glow from dusk until bedtime. My nightly ritual? Grouping three sizes (4″, 6″, 9″) on the mantel for depth.
Pro tip: Hide battery packs in small urns or behind books. For uneven surfaces, try adhesive putty to keep candles steady. Warm white light works best for a cozy vibe.
Drape Battery-Operated Lights on Fireplace Greenery
Twist these warm white lights into garland for a radiant fireplace display. I weave them loosely through branches, letting some bulbs peek out. Battery life varies—look for LEDs with 100+ hours (like these!).
Safety first: Keep lights away from heat sources. For extra sparkle, add a few candle clusters nearby. The combo of steady candles and twinkling lights? Pure magic.
4. Adorn Chair Backs with Simple Holiday Touches
Chair backs are the perfect canvas for adding subtle holiday charm. Last year, I gave my dining set a mini makeover with eucalyptus and gold berries—guests couldn’t stop snapping photos! Here’s how to recreate the look.

Bundle Eucalyptus and Gold Berries with Bows
I swear by this combo: wired eucalyptus stays fresh-looking for weeks. Tie a small bunch to each chair with velvet ribbon (this wine-red shade is my go-to). For extra sparkle, tuck in faux gold berry sprigs.
Pro tip: Use 18″ greenery stems for standard chairs. Secure with a double knot—no slipping! For kitchen chairs, opt for washable faux stems.
Tie Mini Ornaments or Mistletoe for Whimsy
Dainty ornaments or this faux mistletoe add playful flair. I loop fishing line through ornament tops and tie them to chair slats. Kid-friendly version? Swap glass baubles for wooden snowflakes.
For a cohesive look, match chair accents to your table runner or holiday ribbon ideas. Scented faux greenery? A drop of peppermint oil keeps it festive!
- Formal: Use mercury glass ornaments and silk ribbon.
- Casual: Jute twine + pinecones for rustic charm.
- Reusable: Save bows and picks for next year!
5. Style Tabletop Trees for Cozy Corners
Small spaces deserve festive magic too—here’s how tabletop trees bring cheer to every corner! I love using them to add warmth to shelves, countertops, and even bathroom vanities. Their petite size makes styling effortless, and they pack a big visual punch.
Flocked Trees for a Frosty Look
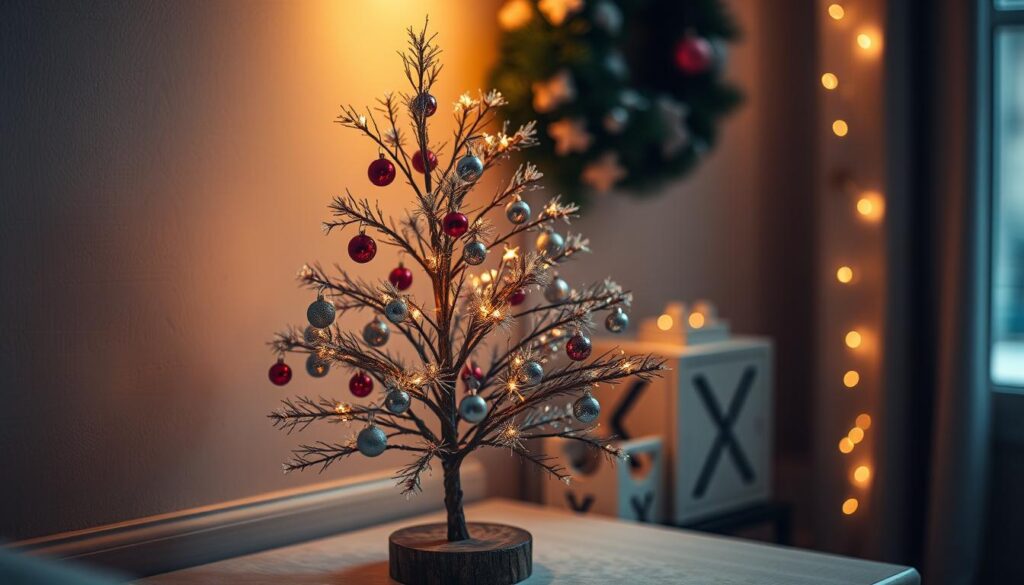
Flocking transforms any tree into a winter wonderland centerpiece. My favorite is this potted faux spruce—its medium-density snow coating looks realistic without shedding. For lighter dusting, try this option; it’s ideal for rustic themes.
- Place in low-humidity areas to preserve the frosty finish.
- Use a tree collar instead of a pot for stability on narrow surfaces.
- Pair with battery-operated fairy lights for a soft glow.
Decorate with Mini Ribbons and Ornaments
Tiny ornaments and ribbon accents make these trees shine. I thread 1/8″ satin ribbon through miniature baubles for a coordinated look. For pet-friendly homes, opt for shatterproof faux glass or wooden shapes.
My bathroom shelf experiment proved even a 12″ tree feels luxe when styled with:
- Gold berry sprigs tucked between branches.
- A burlap-wrapped base to wick away moisture.
- Themed ornaments (think: tiny snowflakes for guest rooms).
Want more inspiration? These holiday decorating ideas show how to blend trees seamlessly into your existing space.
6. Display Holiday Cards as Festive Decor
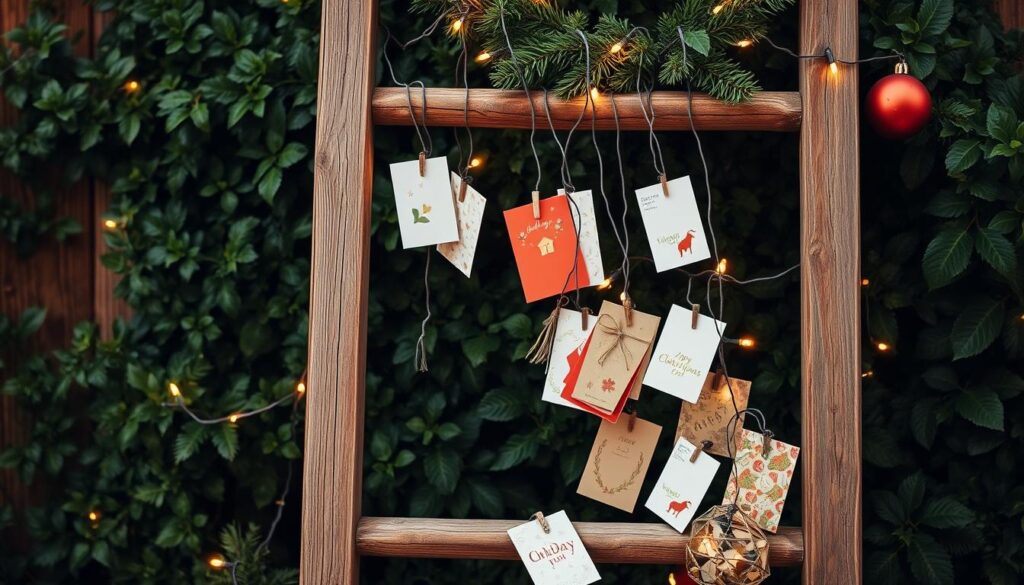
Those cheerful holiday cards piling up deserve more than a fridge magnet—let’s turn them into decor! Over five years, I’ve refined my approach from cluttered counters to a stunning ladder display that guests adore. The secret? Combining practicality with natural textures.
Clip Cards onto a Decorative Ladder
My 4-foot wooden ladder anchors our kitchen nook each season. Here’s what works best:
- Clipping methods: Gold binder clips add shine, while velvet ribbons soften industrial ladders.
- Stabilization: Lean against walls with rubber feet, or secure with clear museum putty.
- Rotation: Swap cards weekly—family photos up front, scenic ones in back.
For extra dimension, I wind this garland through the rungs. Pre-lit options save time, and battery packs tuck neatly behind the frame.
Pair with Faux Magnolia Branches for Texture
Faux magnolia stems bring organic contrast to structured displays. I tuck 3-5 branches beside the ladder’s base or weave them through the rungs. Their waxy leaves withstand kitchen humidity better than real greenery.
Pro tips for balanced arrangements:
- Leave 4-6″ between cards to avoid visual clutter.
- Mix fresh eucalyptus with dried lavender for scent and texture.
- Use the ladder year-round—hang towels in summer, photos in spring!
Prefer alternatives? Try creative card displays like floating shelves or twine grids. For sentimental keepsakes, frame special cards alongside holiday home accents.
7. Repurpose Outdoor Wreaths Indoors
Who says wreaths belong only outdoors? I love bringing their charm inside for unexpected holiday touches. With a few tweaks, outdoor wreaths can transform cabinets, mirrors, and even bedroom spaces—no extra budget needed!
Drape Over Tall Cabinets or Mirrors
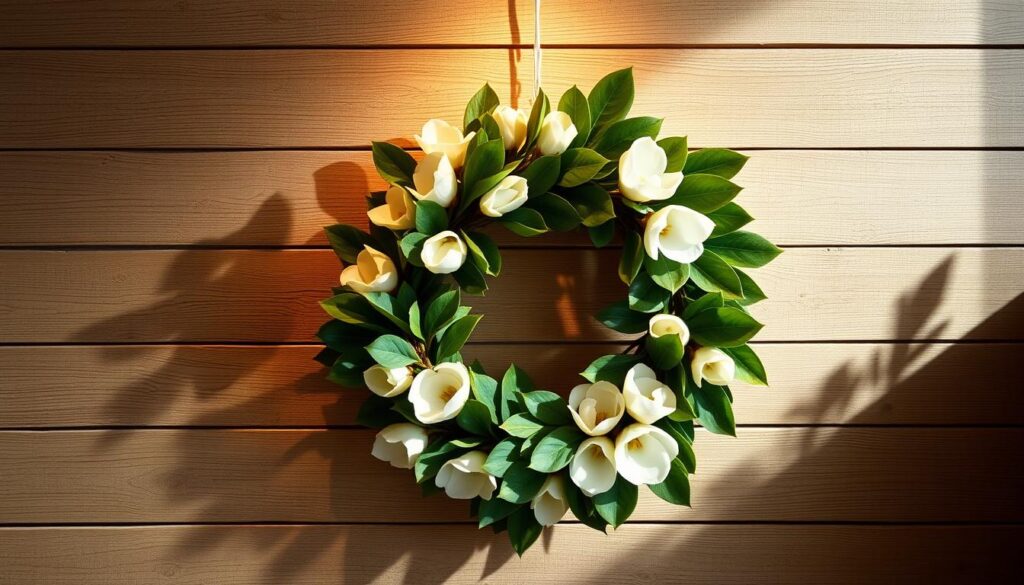
My go-to move: layering a magnolia wreath over a mirror for depth. The glossy leaves reflect light beautifully. For tall cabinets, choose wreaths 18–24″ wide—anything larger overwhelms the space.
Pro tips:
- Secure with clear adhesive hooks to avoid marks.
- Pair with velvet ribbon for luxe contrast.
- Add mini LED lights for evening glow (battery packs hide behind frames).
Hang on Bed Frames or Interior Doors
I rotate wreaths seasonally—outdoor ones transition indoors by swapping weatherproof bows for delicate fabrics. For doors, try suction cups or over-the-door hangers to prevent scratches.
Unexpected spots I’ve tested:
- Laundry room: A small eucalyptus wreath freshens the space.
- Closets: Hang a wreath on the inside for a surprise pop of joy.
- Fragrance boost: Mist real greenery with orange-clove oil.
Prefer store-bought? This wreath works indoors and out—just skip the glitter if it’s near bedding!
8. Showcase Ornaments Beyond the Tree
Why limit ornaments to just the tree when they can sparkle all around your home? I love repurposing them into eye-catching displays—here’s how to do it effortlessly.

Fill Bowls with Ornaments and Jingle Bells
My go-to trick: layer ornaments in a shallow bowl for instant holiday charm. Mix sizes and textures—think glossy baubles with matte jingle bells. For stability, place heavier items at the bottom.
Pro tips for standout bowls:
- Material matters: Wood adds warmth, glass amplifies light, and metal feels modern.
- Color themes: Group by hue (all gold) or go eclectic (rainbow vintage finds).
- Pet-safe: Avoid tiny breakables if pets roam—opt for fabric or wooden shapes.
Arrange in Decorative Shells or Trios
I repurposed this large decorative shell as a unique holder for mini ornaments. Nestle them in faux snow or moss for texture. For tight spaces, cluster three small shells with coordinating baubles.
Creative twists:
- Rotate displays weekly in high-traffic areas to keep them fresh.
- Highlight heirlooms by propping them on mini easels inside bowls.
- Dollar store hack: Spray-paint plastic ornaments for a luxe look.
Themed collections (sports, travel) tell personal stories. Last year, I filled a bowl with ski-themed vintage ornaments—guests loved the conversation starter!
9. Elevate Spaces with Festive Ribbon Accents
Ribbon is my secret weapon for instantly upgrading any space—here’s how I use it creatively. Whether dressing up pillows or adding drama to light fixtures, these touches cost little but make a big impact. The best part? Most techniques take under 10 minutes.

Wrap Bows Around Pillows and Pendants
I refresh my living room yearly by tying ribbon onto throw pillows. For a secure hold, loop wired ribbon through pillow seams and knot underneath. This velvet option stays put without slipping.
Kitchen pendants shine when wrapped with ribbon—try these gold ones as a base. My budget breakdown:
- Wired ribbon ($8/roll) holds shape better than non-wired ($5/roll).
- Use fabric glue dots for temporary adhesion near heat sources.
- Switch colors seasonally—burgundy for fall, mint for spring.
Use Velvet Ribbon for Luxe Chandelier Ties
Nothing elevates a dining room like chandelier bows. I use 2″ velvet ribbon for maximum drama. Here’s my foolproof tying method:
- Cut four 3-foot strands per light.
- Loop around arms and tie double knots.
- Fluff tails outward for balance.
Safety tip: Keep ribbons 6+ inches from bulbs. For extra luxe texture, mix velvet with satin ribbons in the same color family. Store rolls in hanging organizers to prevent wrinkles.
Unexpected spots I’ve decorated with ribbon:
- Napkin rings (sheer ribbon + sprigs of rosemary)
- Gift toppers (layer two contrasting patterns)
- Bookmark tassels for holiday reading nooks
10. Create Sweet Displays with Apothecary Jars
Apothecary jars bring nostalgic charm to any space—here’s how I style them for the holidays. Whether filled with peppermints or ribbon candy, they add a playful yet elegant touch to kitchen counters or dining tables. Best part? You can reuse them year-round!

Fill with Peppermints or Gingerbread Cookies
I alternate between peppermints and cookies every few days to keep displays fresh. For cookies, toss in a silica packet to control humidity. Pro tip: Layer colors—red and white candies create a festive stripe effect!
Prefer non-edible fillers? Try these:
- Mini ornaments: Shatterproof ones for pet-friendly homes.
- Faux snow: Adds texture without the mess.
- Pinecones: Spray with cinnamon oil for scent.
Add Ribbon Candy for Vintage Charm
Nothing beats vintage-style ribbon candy for nostalgic flair. I stack jars at varying heights for visual interest. Label them with calligraphy tags for a personalized touch—this set works perfectly.
Safety note: Acrylic jars are lighter and safer for kids, while glass offers clarity. For a holiday Eve surprise, hide a small gift at the bottom of a jar—it’s a fun reveal!
11. Illuminate Lanterns with Sparkly Ornaments
Lanterns are my year-round secret for adding instant ambiance—here’s how I give them holiday sparkle. Whether lining a staircase or flanking a fireplace, they create warmth with minimal effort. The key? Choosing the right fillers and placements for each space.
Outdoor Lanterns Filled with Gold Baubles
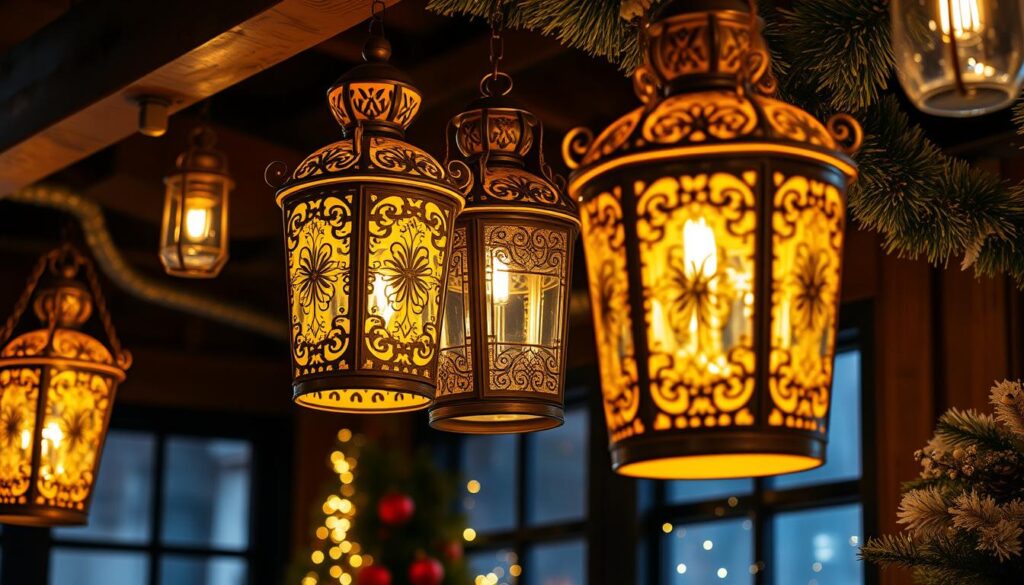
I swear by these outdoor lanterns for weathering winter storms. Here’s my tested approach:
- Material matters: Acrylic ornaments won’t shatter in wind, while plastic resists fading.
- Waterproof with clear sealant spray—focus on metal hinges and seams.
- Group in odd numbers (3-5) near entryways for balanced impact.
For theft prevention, I use lanterns with locking doors or secure them with discreet zip ties. Battery-operated candles (these last 200+ hours) eliminate fire risks.
Indoor Lanterns by Fireplaces or Stairs
Near the fireplace, I mix glass baubles with pinecones for texture. On the staircase, staggered heights create rhythm—try 12″, 18″, and 24″ lanterns.
My favorite combos:
- Rustic: Burlap-wrapped jars + wooden ornaments
- Glam: Mercury glass lanterns + crystal picks
- Transitional: Swap holiday fillers for seashells in January
Pro tip: Place lanterns near mirrors to double the glow. For high-traffic areas, secure lids with museum putty to prevent spills.
12. Add Cranberries for Holiday Entertaining
Cranberries aren’t just for sauce—they’re my secret weapon for festive tablescapes! These ruby gems add pops of color that last through multiple gatherings. I’ll share my favorite ways to use them, from elegant centerpieces to practical buffet solutions.
Float in Hurricane Vases with Greenery
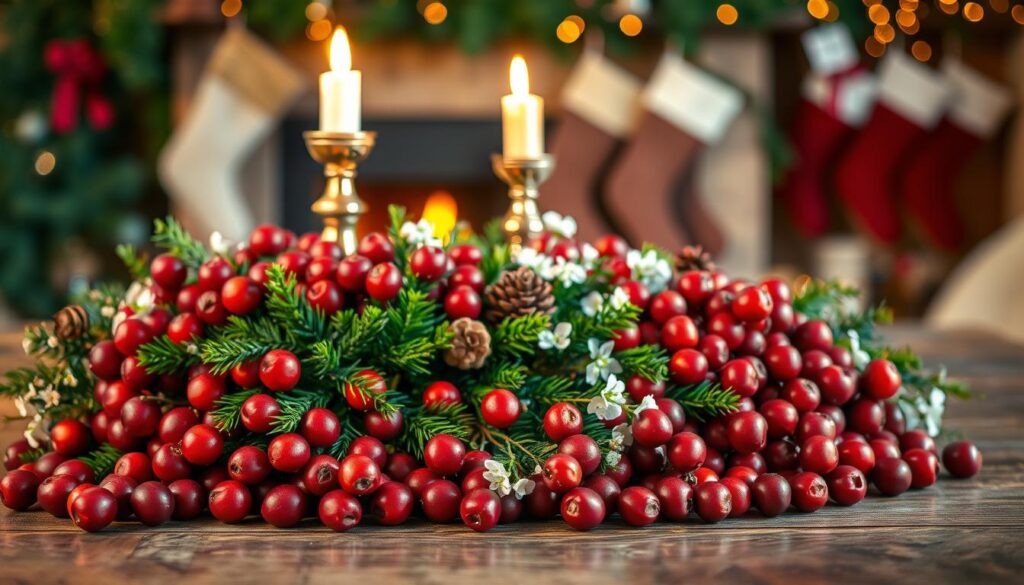
I swear by this simple trick: fill hurricane vases with water and fresh cranberries. Add greenery sprigs like eucalyptus or pine for texture. The berries stay vibrant for 3-4 days—just change the water daily.
For longer displays, try these alternatives:
- Faux berries: Look for realistic plastic ones that won’t bleed color
- Preserved: Soak fresh cranberries in glycerin for 2 weeks
- Frozen: Float frozen berries for chilling drinks (they thaw beautifully)
Pro tip: Nestle a floating candle atop the berries for evening glow. Use these LED tea lights near fabrics—no wax worries!
Scatter on Platters for Buffet Color
Nothing elevates cheese platters like cranberry confetti. I arrange them in clusters around brie wheels or mix with vintage silverware. For non-edible displays, spray berries with clear acrylic to prevent stains.
My timeline for fresh berry use:
- Day 1: Whole berries as garnishes
- Day 2: Halved for salads or cocktails
- Day 3: Simmer into sauce (zero waste!)
For photo-worthy place settings, line runner trays with cranberries and rosemary. The contrast makes dishes pop! Post-party, compost berries or freeze for future crafts.
13. Frame Windows with Garland and Wreaths
Windows become magical focal points when dressed for the season—here’s how I transform mine. Whether you own or rent, these ideas add charm without damage. I combine garland and wreaths for layered texture that works indoors and out.
Evergreen Garlands with Twinkle Lights
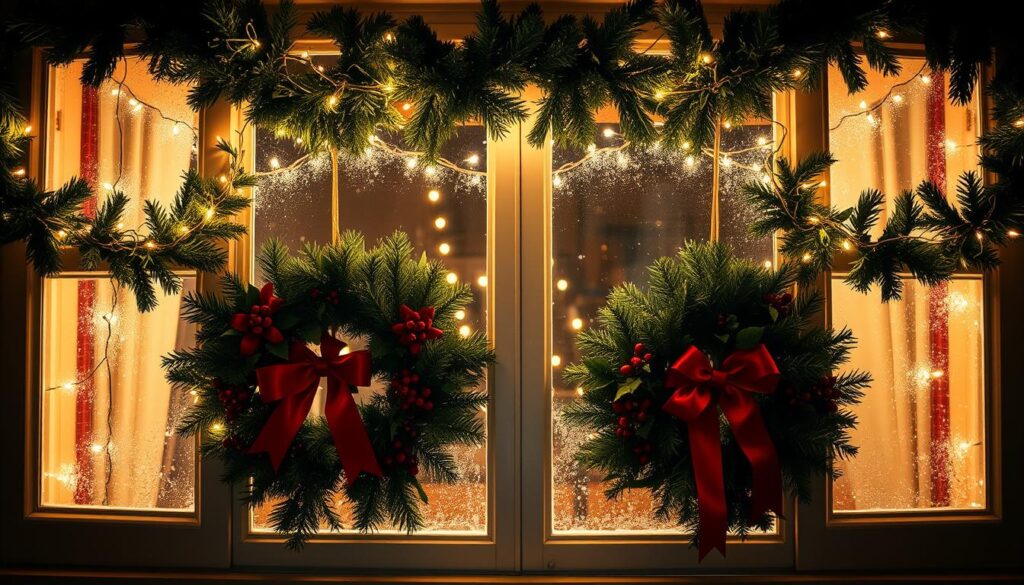
After testing 5 brands, I swear by Rejuvenation’s pre-lit garland for large windows. Its battery pack lasts 120 hours—perfect for month-long displays. For uneven window counts, I use these tricks:
- Weight distribution: 6-foot garlands need 3 hooks (top/middle/bottom)
- Light spacing: 12-inch gaps prevent dark spots
- Rental hack: Adhesive hooks hold 3 lbs—lighter than Anthropologie’s cedar garland
Pro tip: Drape garlands slightly loose—they tighten in cold weather. For bay windows, connect strands with these extenders.
Mini Wreaths Suction-Cupped to Glass
My suction cup tests revealed Elle Decor’s set stays put through snowstorms. Here’s how I style them:
- Clean glass with vinegar for maximum stick
- Alternate wreath sizes (8″ and 12″) for rhythm
- Add ribbon tails for movement in breezes
For privacy, cluster wreaths at eye level with greenery peeking through. Post-season, reuse them as cabinet accents—just swap bows!
14. Mix Metallics for Sophisticated Sparkle
I used to avoid mixing metals until discovering these simple rules for elegant coordination. Now, combining gold, silver, and copper accents creates depth without chaos. The trick? Balancing warm and cool tones while repeating textures throughout your space.

Gold and Silver Ornaments on Tablescapes
My go-to formula: 60% dominant metal (usually gold), 30% secondary (silver), and 10% accent (copper). Brushed finishes blend better than polished ones—they’re forgiving of imperfect pairings. For wood tables, I scatter ornaments alongside vintage brass pieces to bridge the gap between modern and traditional.
Reflection-enhancing placements:
- Near candlelight: Metals glow when placed beside flickering flames
- Under cloches: Group mini metallics under glass for museum-worthy displays
- With greenery: Eucalyptus or magnolia leaves soften shiny surfaces
Metallic Ribbon on Stockings and Garlands
Wired ribbon transforms basic stockings into heirloom-worthy pieces. I weave 1″ gold and silver strands through garland, securing every 12 inches with floral wire. For kid-friendly versions, use glitter-free vinyl ribbon that won’t shed.
My favorite budget upgrades:
- Spray paint pinecones with metallic finishes (test on one first)
- Wrap inexpensive ornaments with ribbon stripes using double-sided tape
- Drape beaded garlands over existing greenery for instant luxe
Pro tip: Store metals with anti-tarnish strips in zippered bags. Come January, simply swap holiday ornaments for geometric shapes—the metallics transition beautifully into winter decor!
15. Dress Up Dessert Stations with Festive Details
The secret to a showstopping dessert table? Combining texture and height strategically. I discovered that weaving natural elements through cake stands creates dimension, while coordinating ornaments with existing decor ties everything together. These touches turn any dessert station into a conversation piece.
Weave Branches Around Cake Stands
My foolproof method: secure eucalyptus or pine branches to stand bases using floral wire. For stability, I alternate fresh and faux stems—real greenery adds scent, while artificial pieces last all season. Vary heights by stacking stands or using holiday kitchen decor like vintage books as risers.
Crumb-catching solutions:
- Place doilies or slate slabs under fragile cookies
- Use textured cake stands (hammered metal hides crumbs)
- Opt for dark-colored plates with patterned edges
Match Ornaments to Wreath Ribbons
I pull colors from my wreath ribbons to style the dessert area. Last year’s navy velvet bows inspired these tricks:
- Dangle shatterproof baubles from tiered stands
- Fill glass cloches with coordinating mini ornaments
- Use ribbon scraps as napkin ties
For allergy-friendly displays, I swap food items for:
- Felted wool “cookies”
- Resin faux candies
- Metallic-painted pinecones
Pro tip: Photograph your table at night—holiday lights make desserts glow! Change displays quickly by keeping pre-styled trays ready to swap.
16. Final Touches for a Holiday-Ready Home
The finishing details make all the difference in creating a welcoming space. Here’s my streamlined approach to ensure your home feels complete without last-minute stress.
Start with a safety sweep—secure loose cords and test candle timers. A drop of vanilla or cinnamon oil in a simmer pot adds instant coziness. Keep a touch-up kit handy with extra ribbon, glue dots, and batteries.
Prioritize focal points like entryways or the dining table. A spritz of linen spray refreshes upholstery, while clustered tea lights revive tired corners in minutes. Remember: imperfections add charm!
Most importantly, infuse joy into your final touches. Whether it’s a handwritten note or a family ornament, personal beats perfect every time.

tq77qs