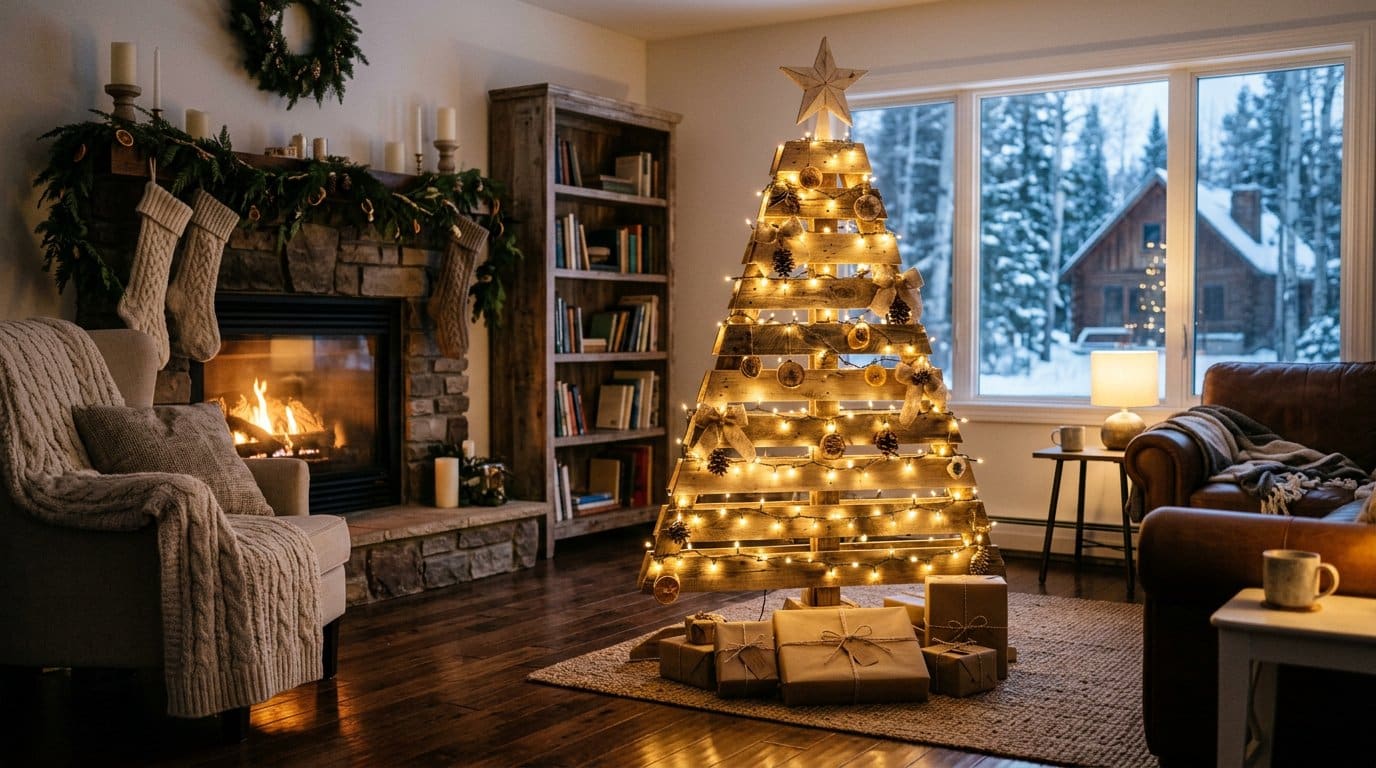
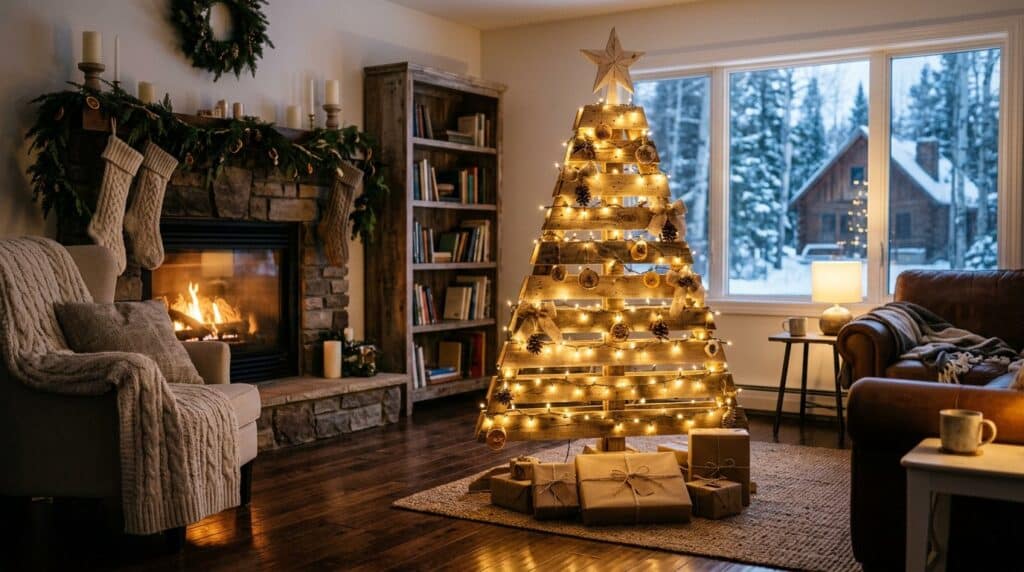
Real Christmas trees are lovely until you are hauling one through a doorway in the rain and vacuuming needles until Easter. A handmade wooden Christmas tree solves all of that: it costs almost nothing if you use a pallet or scrap pile, stores flat in a closet, never sheds, and looks better every year. Whether you want a full-size living-room statement piece, a wall-mounted tree for a small apartment, or a tabletop version for the mantel, there is a build here for your space, tools and skill level. This guide gives you twelve proven designs with cut lists, plus the base, finishing, lighting and safety details most tutorials skip.
Quick answer: for a first build, make the classic pallet plank tree (Build 1) — graduated pallet boards screwed to a 2×2 spine, about 3–4 feet tall, 2–3 hours, and free if you already have a pallet. No pallet? A wall-mounted slat tree (Build 3) needs only five pine boards and some brackets and is the best apartment option. Want something in an afternoon on a side table? The slot-together plywood tree (Build 4) is a 15–18 inch tabletop piece cut from one half-sheet of ½-inch plywood. Whatever you build: make the base at least a third of the tree’s height, use LED lights only, and never put a real flame on a wooden tree.
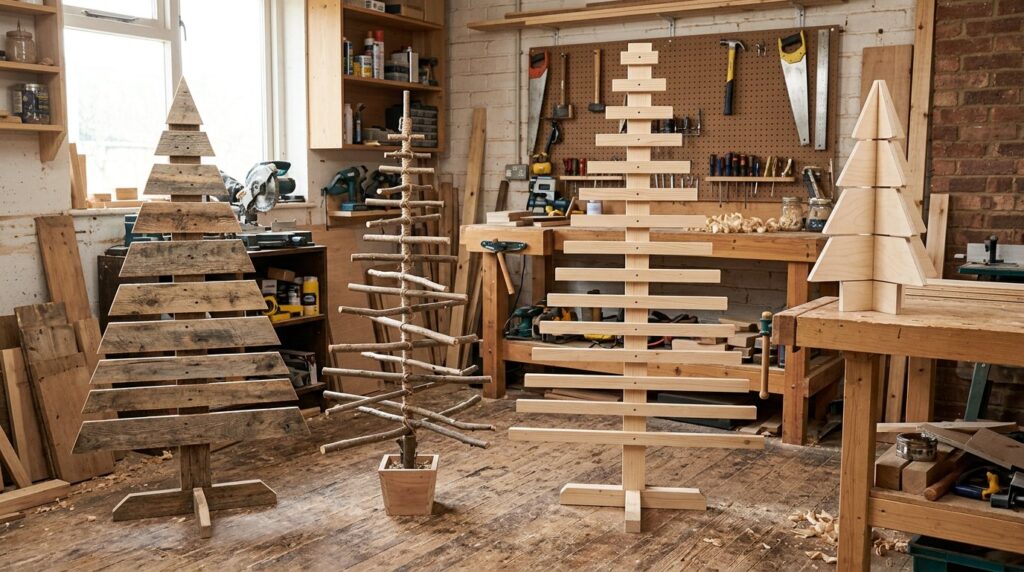
12 wooden Christmas tree designs at a glance
Pick by space first, tools second, looks third. Full cut lists for each build are in its section below; this table is the decision-maker.
| # | Design | Size | Material | Time | Difficulty | Best for |
|---|---|---|---|---|---|---|
| 1 | Classic pallet plank tree | 3–5 ft | Free pallet + 2×2 spine | 2–3 h | Beginner | Living room statement piece |
| 2 | Scrap branch / dowel tree | 2–4 ft | Scrap branches + dowel | 2 h | Beginner | Rustic look, zero cost |
| 3 | Wall-mounted slat tree | up to 6 ft wide span | 5–7 pine boards + brackets | 1–2 h | Beginner | Apartments, no floor space |
| 4 | Slot-together plywood tree | 15–18 in | ½″ plywood half-sheet | 1 h | Beginner | Mantel, side table, kids’ room |
| 5 | Ladder / A-frame tree | 5–6 ft | 2×2s + rungs | 3–4 h | Easy | Porch, kids’ playroom |
| 6 | Outdoor 2×4 A-frame | 4–6 ft | One 2×4/2×6 + exterior paint | 1–2 h | Beginner | Yard, driveway |
| 7 | Floating shelf tree | 4–6 ft span | Shelves, hidden brackets | 2 h | Easy | Modern look, tiny spaces |
| 8 | Stacked star tree | 2–3 ft | Plywood stars, graduated | 2 h | Easy | Unique modern decor |
| 9 | Wood-slice ornament tree | 12–18 in | Wood slices + dowel | 1–2 h | Beginner | Tabletop, shelf |
| 10 | Geometric pallet tree | 3–4 ft | 2–3 pallets | 3–4 h | Intermediate | Modern farmhouse |
| 11 | Foldable accordion wall tree | 4–5 ft, folds to 4 in | 1×2 frame, hinges | 3 h | Intermediate | Storage-challenged homes |
| 12 | Layered plank (shingle) tree | 3–5 ft | Overlapping planks | 3–4 h | Intermediate | Deep 3D shadow effect |
Build 1: the classic pallet plank tree (best first project)
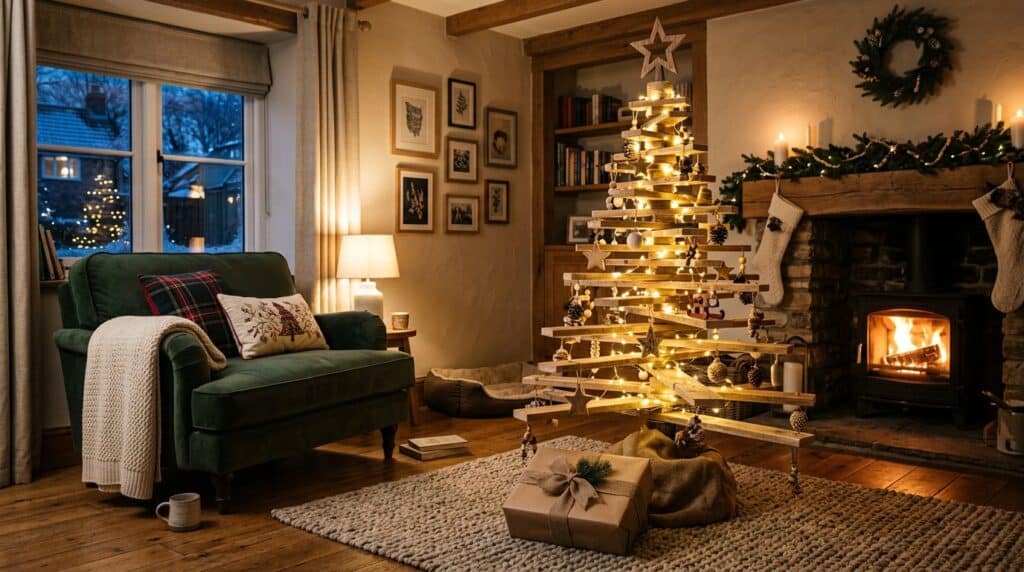
Break down one pallet carefully — wear gloves, pallet splinters are vicious, and pull every nail and staple with a pry bar. Sort the straightest boards. Cut a vertical 2×2 spine to your tree height, then cut planks in graduated lengths: for a 4-foot tree, start at 36 inches at the bottom and step down 2 inches per row (36, 34, 32 … down to 6), giving 16 rows. Screw each plank to the spine from the back with 2-inch screws so no fasteners show from the front, centering each plank on the spine. Space rows about 2 inches apart vertically so lights and small ornaments sit between them.
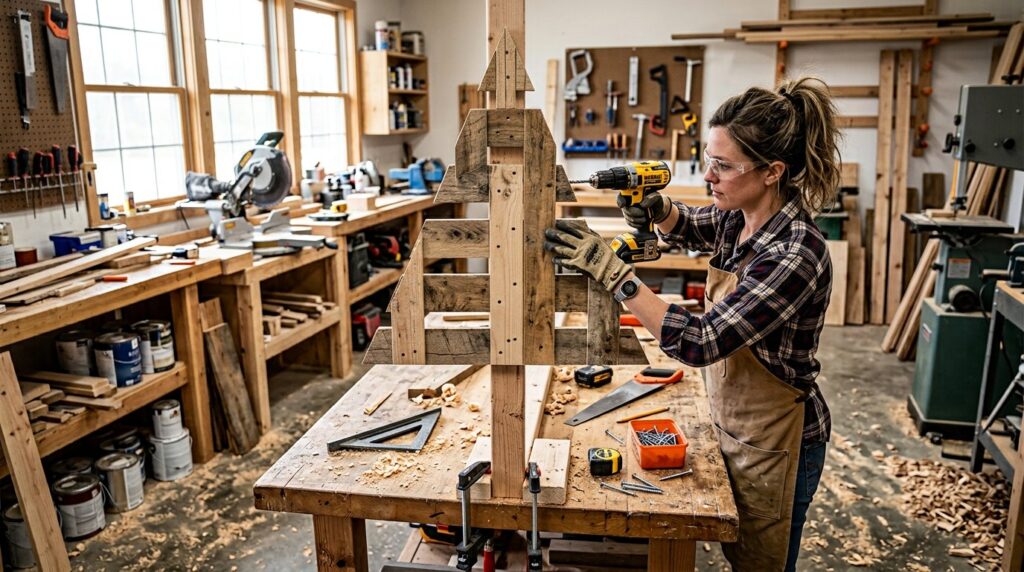
Cut list cheat sheet: 3 ft tree = planks 24″ down to 4″ (11 rows), spine 36″. 4 ft tree = 36″→6″ (16 rows), spine 48″. 5 ft tree = 48″→8″ (21 rows), spine 60″. Add a 2×4 foot at the bottom (see the base section) and a small wooden star or dowel topper. Total cost if you have the pallet: about $5–10 in screws; in lumber instead of a pallet, one 8-foot 2×2 plus five 8-foot 1×4s runs about $25–40.
Build 2: scrap branch tree (the zero-cost rustic one)
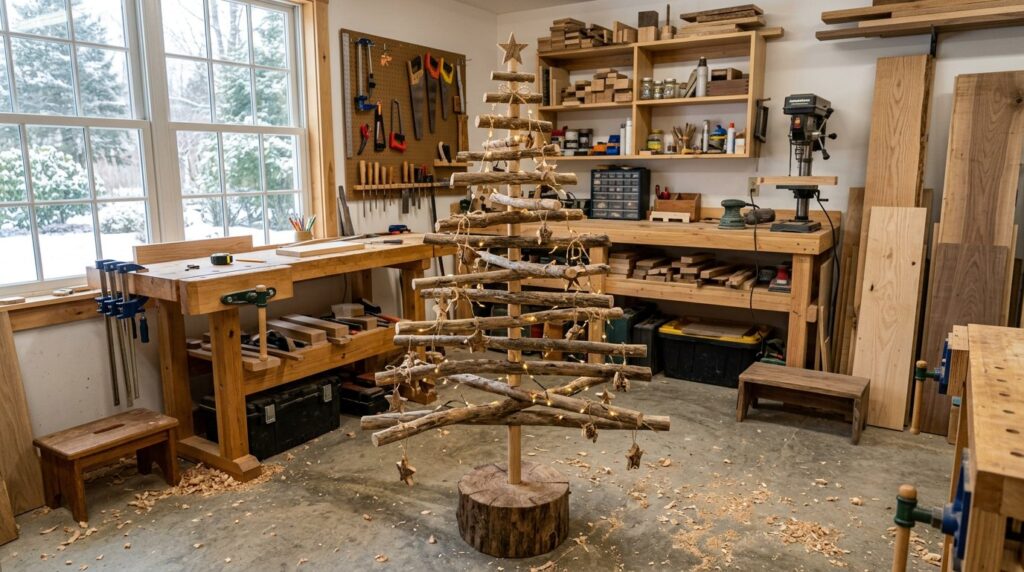
Collect fallen branches and sort them by length. Drill a hole through the center of each branch, then thread them onto a vertical ¾–1 inch dowel, longest at the bottom (up to 3 ft) stepping down to 6 inches at the top, spaced 4 inches apart. A branch tree is top-light, so the base matters: stand the dowel in a flower pot filled with concrete, sand or pebbles, or in a wooden block with a drilled hole. This is the build our scrap wood Christmas projects guide pairs with — every offcut in the bin becomes a branch.
Build 3: wall-mounted slat tree (the apartment winner)
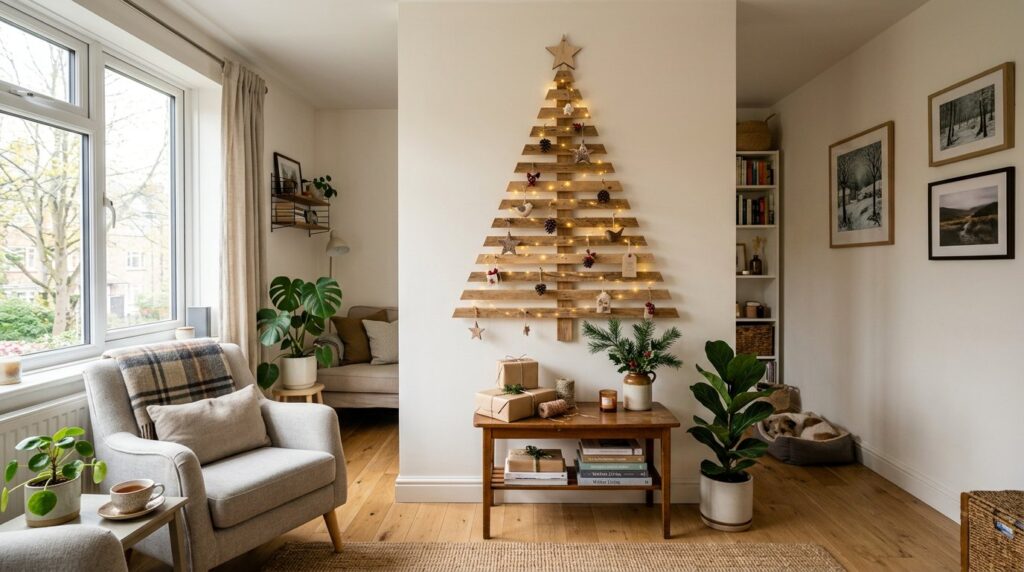
No floor space needed. Cut 5–7 pine boards from 48 inches down to 12 inches in 6-inch steps, mount them horizontally on the wall with hidden shelf brackets or strong wall anchors, longest at the bottom, centered on the same vertical line, spaced 8–10 inches apart. The triangle silhouette reads instantly as a tree, and the wall does the structural work — no base, no tipping risk, nothing to store but the boards. Hang a string of lights from the top bracket and you are done.
Build 4: slot-together tabletop plywood tree (one afternoon)
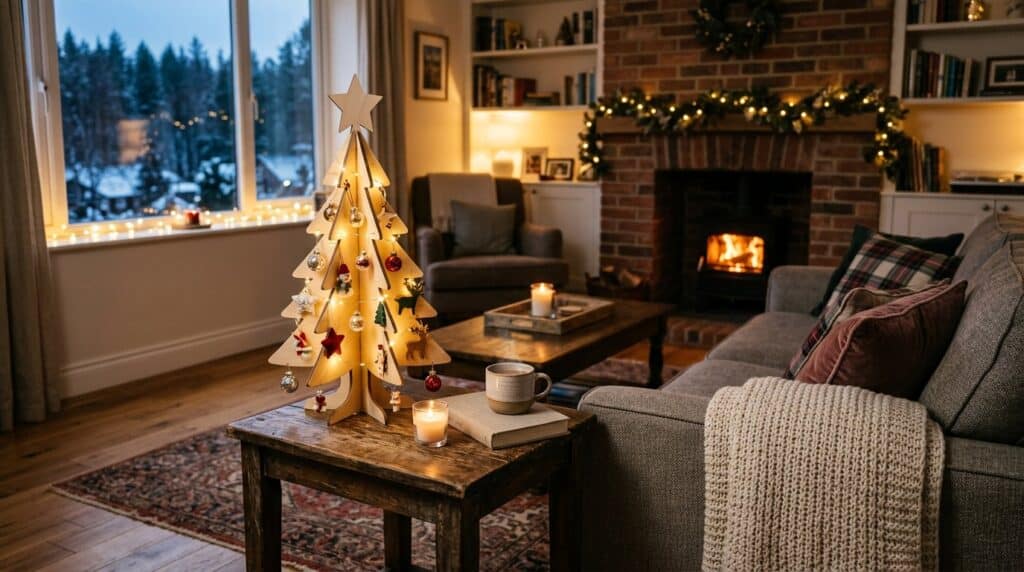
Cut two identical triangles from a half-sheet of ½-inch plywood (18″ tall × 15″ wide is a good mantel size; scale up or down as you like). Cut a ½-inch-wide slot halfway up from the bottom of one piece, and halfway down from the top of the other. Sand everything, round the edges slightly, then slide the two pieces together at the slots — they lock into a standing 3D tree with no glue or screws. Paint, stain or leave natural. Perfect for a mantel, side table, kids’ room or office desk, and it packs flat into a drawer after the holidays.
Builds 5–6: ladder tree and outdoor A-frame
The ladder tree is a 5–6 foot 2×2 A-frame with rungs every 10 inches, each rung progressively shorter toward the top — build the A-frame first, then screw rungs on. It is the most kid-friendly design: low, wide, and impossible to tip if the legs are splayed. The outdoor version uses a single 2×4 or 2×6 cut into a triangle silhouette (or an A-frame), painted with exterior paint and anchored with a ground spike or heavy base — pair it with our outdoor Christmas woodworking projects for wreaths, lanterns and porch pieces around it.
Builds 7–12: the quick specialty designs
- Floating shelf tree: mount five shelves (48″ down to 12″ in 6″ steps) with hidden brackets — the “floating” look, same silhouette as Build 3 but sturdier shelves you can load with ornaments.
- Stacked star tree: cut 5–7 plywood stars from 24″ down to 6″ and stack them on a dowel, rotating each slightly — a striking modern piece.
- Wood-slice tree: slice a log into rounds of varying diameter, drill centers, thread on a dowel — the “ornament tree” look at tabletop scale.
- Geometric pallet tree: cut pallet boards at 30° on both ends into diamonds/triangles, layer with 2″ overlap, glue + screw from the back onto a plywood backing.
- Foldable accordion tree: hinged 1×2 triangular panels that fold to 4 inches — built for closets.
- Layered plank (shingle) tree: overlapping planks like shingles create deep shadow lines — the most photogenic of the twelve.
The base: where wooden trees succeed or tip over
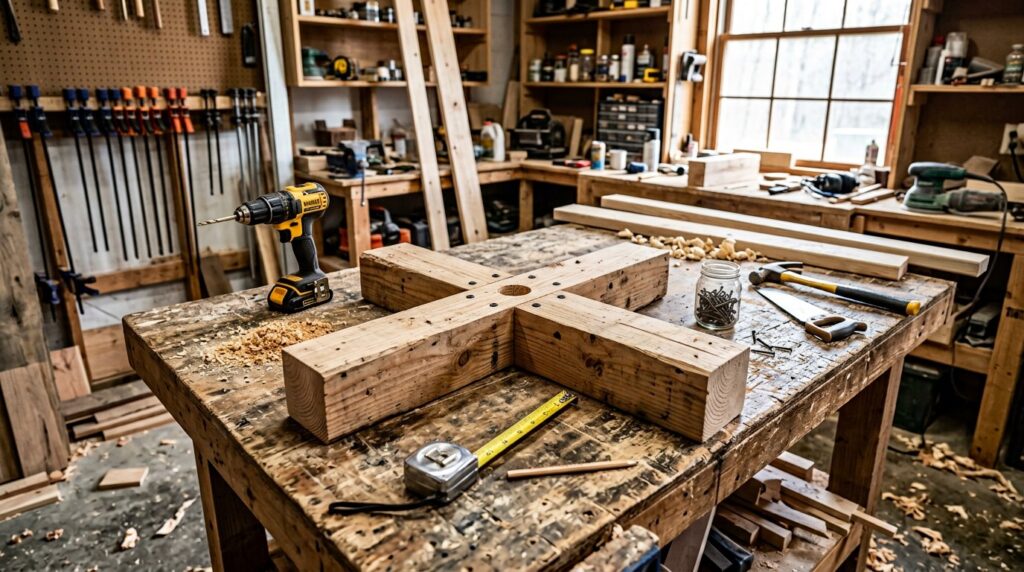
A wooden tree is stiff and top-heavy when decorated, so the base is not optional. Rule of thumb: base width ≥ one-third of the tree’s height — a 6-foot tree wants a base at least 24 inches across. For the pallet plank tree, screw a cross foot of two 2×4s (each about the base width) under the spine, or build a 25×25 inch square frame from four 2×4s in a spiraling pattern and screw the spine into its center. Add weight if kids or pets are around: sandbags, concrete blocks or a plywood plate under the cross. If the tree stands near a walkway, anchor the top to the wall with a thin wire and an eye hook — cheap insurance. Never place any tree, wooden or real, where it can block an exit, and keep light cords out from under the base where they get pinched.
Sanding, painting and sealing
Pallet and scrap wood need real prep: knock off splinters, sand 80 → 120 → 220 grit (our sanding and finishing guide has the full grit ladder), and wipe off dust. Then choose the look: natural (clear coat only), whitewash (thin white paint wiped back with a cloth for farmhouse grain), painted (primer then two thin coats — thin coats dry harder and do not drip), distressed (paint, then sand edges and high spots to fake years of wear), or ombre (blend 5–7 shades from dark at the bottom to light at the top). Outdoor trees need exterior paint plus a clear exterior sealant; indoor trees are fine with water-based polyurethane. Battery-operated candles and LEDs only — see the safety section.
Decorating and lighting safely
- LED lights only. Incandescent bulbs run hot and are a genuine fire risk on dry wood; LEDs stay cool. Use indoor-rated or outdoor-rated as appropriate, and check cords for damage each year.
- No real flames, ever. No candles on a wooden tree — use battery-operated candles.
- Wrap lights before hanging ornaments, weaving the string between planks rather than over the front face, so ornaments sit on top.
- Heavy ornaments low and close to the spine; light ornaments on the outer tips. This is the same tipping math as a real tree.
- For a natural look: string lights + wooden ornaments (our wooden ornaments guide has ten you can cut in an afternoon) + a wooden star topper.
- Keep the plug accessible and off the floor; one power strip with a switch for the whole tree.

Cost and time comparison
| Build | Material cost | Build time | Stores as |
|---|---|---|---|
| 1. Pallet plank (free pallet) | $0 / ~$5–10 in screws | 2–3 h | Flat, or upright in garage |
| 1. Pallet plank (buy lumber) | ~$25–40 | 2–3 h | Flat |
| 2. Branch tree | ~$0–3 | 2 h | Dowel + branches bagged |
| 3. Wall slat | ~$18–35 | 1–2 h | Boards stacked flat |
| 4. Plywood tabletop | ~$5–10 | 1 h | Drawer |
| 5. Ladder tree | ~$18–30 | 3–4 h | Flat |
| 6. Outdoor A-frame | ~$4–10 + exterior paint | 1–2 h | Garage/yard |
FAQs
How do I build a wooden Christmas tree from a pallet?
Break down the pallet, pull all nails, and cut the straightest boards into graduated lengths (36″ down to 6″ in 2″ steps for a 4-foot tree). Screw them centered onto a vertical 2×2 spine from the back, add a cross-foot base, sand, paint, and light with LEDs. Full cut list in Build 1 above.
What is the best wooden Christmas tree for a small apartment?
The wall-mounted slat tree (Build 3) or floating shelf tree — they use zero floor space, cannot tip, and still read as a full tree. If you have a mantel or side table, the slot-together plywood tree (Build 4) is the other small-space winner.
Can a wooden Christmas tree be used outdoors?
Yes — use exterior-grade paint or sealant, pressure-treated or cedar lumber if possible, a weighted base or ground spike, and outdoor-rated lights. Build 6 is designed for it. Bring tabletop versions inside in heavy rain.
How tall should a DIY wooden Christmas tree be?
Match your ceiling and furniture: 3–4 feet suits most living rooms as a secondary tree, 5–6 feet works as a main tree in a standard 8-foot-ceiling room, and tabletop 15–18 inches is for mantels and shelves. Remember the base rule: base width at least one-third of tree height.
Do I need special tools to build one?
A circular saw or handsaw, a drill, sandpaper and clamps cover every build here. A miter saw makes angled cuts faster; a jigsaw is needed only for star or geometric shapes. No table saw required — our tools guide lists the twelve essentials if you are starting from zero.
Is it safe to put lights on a wooden Christmas tree?
Yes, with cool-running LED lights and undamaged cords — never incandescent bulbs, and never real candles. Keep the plug accessible, cords out from under the base, and the tree away from heaters and fireplaces. Our safety guide covers the shop side of the build.
How do I store a wooden Christmas tree after the holidays?
Most designs disassemble flat: unscrew the planks from the spine, stack the boards, and store them in a closet or garage — dry, off the floor. Wall trees just come off the wall. Tabletop plywood trees go in a drawer. Refresh the paint every couple of years if it gets scuffed.
Can I sell wooden Christmas trees I make?
Yes — pallet and tabletop trees sell well at markets and online because they are light, shippable (flat) and photograph beautifully. Price on materials + time; our Christmas projects to sell guide covers pricing, and the last-minute projects list has quick sellers for December.
Start this weekend
Pick Build 1 if you have a pallet in the garage, Build 3 if you live in an apartment, Build 4 if you want a finished tabletop piece by tonight. Grab the cut list, cut everything in one session, and assemble the next day — glue and screws both like a dry fit first, which our joints guide explains. Then make the ornaments to hang on it from the wooden ornaments guide, the star from the same techniques, and the plans habit from our Christmas plans for beginners post if you want to go further. And if the tree is a gift, pair it with something from the handmade wooden gift ideas list.