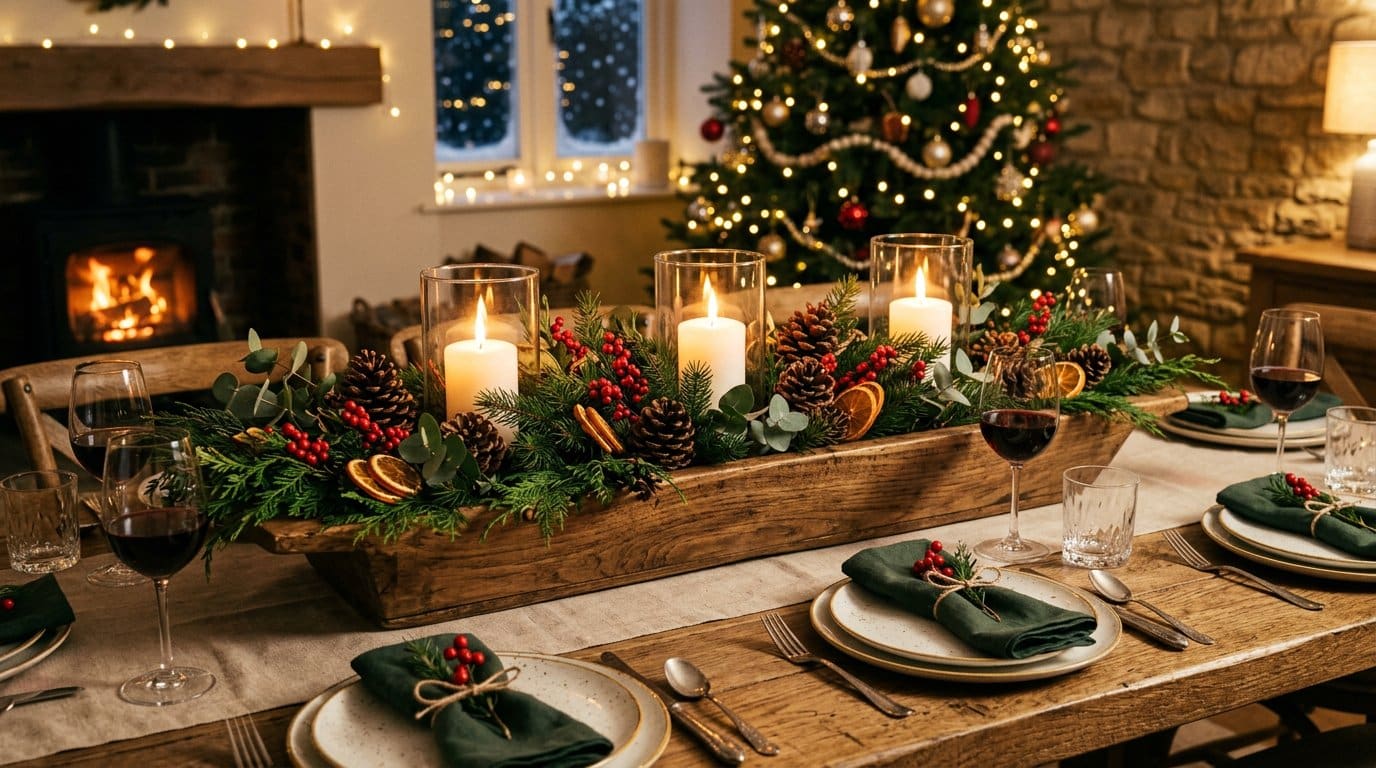
A Christmas table needs something in the middle of it, and the shop-bought answer is either a $60 arrangement that dies in a week or a plastic garland that looks worse every year. A wooden centerpiece box fixes both problems: one board, five cuts, an hour of work, and you have a container you refill with fresh greenery every December for the next two decades — and with lemons and eucalyptus in July, pumpkins in October, if you feel like it.
This guide covers six wooden Christmas centerpiece builds, with a complete cut list for the classic long trough that suits most dining tables, the sizing maths that stops you building something too tall to see over, and the candle and greenery rules that keep it safe when there is an open flame in the middle of the table.
Quick answer: build the long 1×6 trough — around 30–36 inches long, 7 inches wide and 5 inches deep, from a single 1×6×8. It fits a 60–72 inch table, takes three pillar candles and a full run of greenery, and costs $15–$25 in materials. Keep the finished height under 12 inches so guests can see across it, line the inside before anything wet goes in, and if you use real candles keep 3 inches clear between flame and greenery — or use LED candles and stop worrying.
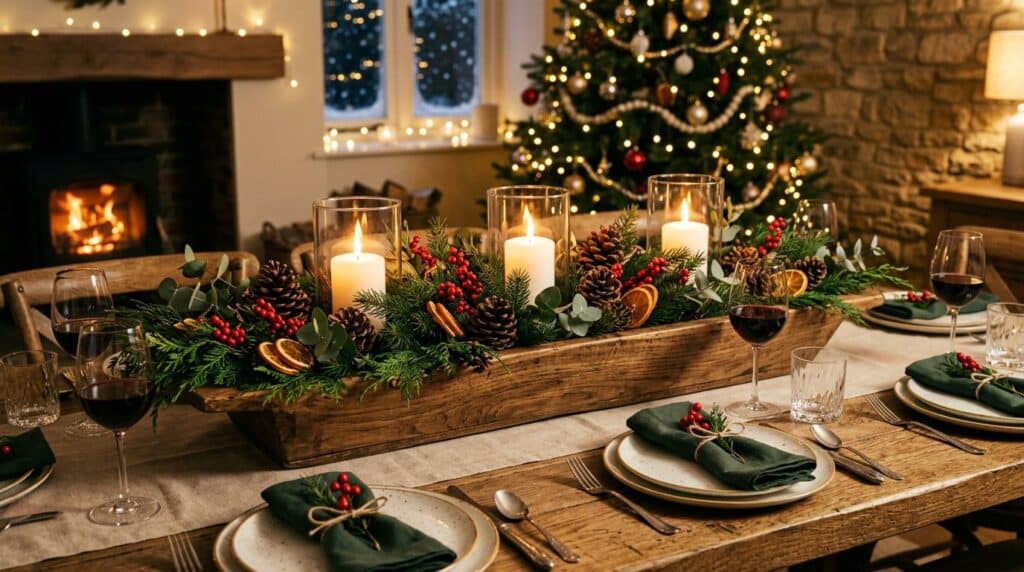
The six builds at a glance
| Build | Finished size | Material | Difficulty | Time | Cost | Best for |
|---|---|---|---|---|---|---|
| 1. Long candle trough | 30″ × 7″ × 5″ | 1×6 pine | Beginner | 1 hour + finish | $15–$25 | Most dining tables; the one to build first |
| 2. Two-tier tray | 14″ + 9″ rounds | 1×8 + dowel | Beginner | 45 min | $12–$20 | Round or small tables, buffets, sideboards |
| 3. Log-slice candle runner | 24″ × 8″ board | Scrap + branch slices | Beginner | 1 hour | $0–$12 | Rustic tables, using up branch wood |
| 4. Riser board with cradles | 24″ × 7″ | 1×8 + 1×2 | Beginner | 40 min | $8–$15 | Big pillar candles; minimal look |
| 5. Mini tree trio in a box | 18″ × 6″ | 1×6 + scraps | Beginner | 1.5 hours | $10–$18 | Kitchen islands, console tables, gifts |
| 6. Handled serving tray | 20″ × 12″ | 1×6 + 1×2 | Beginner+ | 1 hour | $12–$22 | Doubles as a serving board through the meal |
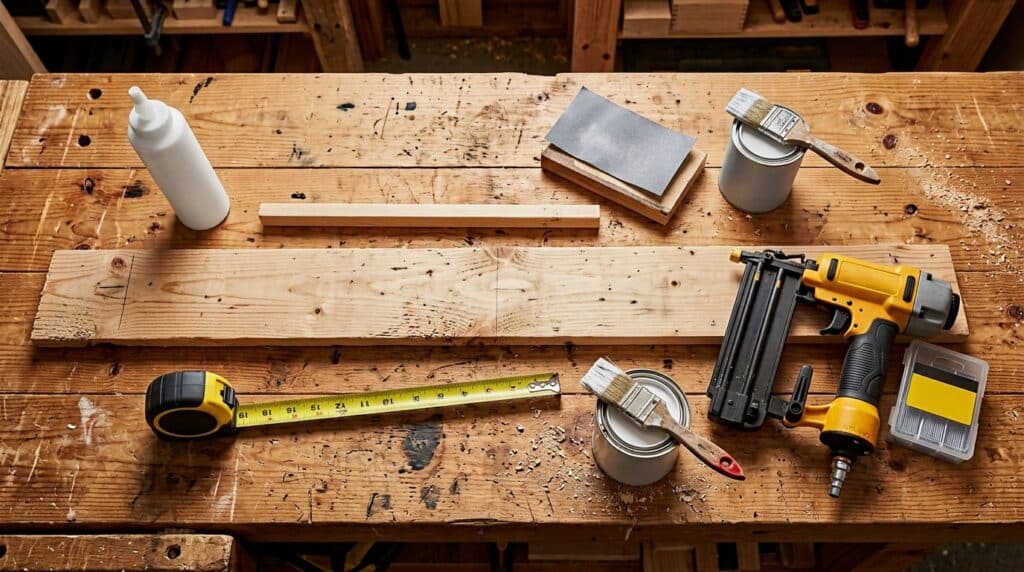
Build 1: the long candle trough
Everything comes out of one 1×6×8. The cuts below give you a box 28½ inches long outside, 7 inches wide and 5½ inches deep — add 6 inches for a longer table by cutting the two long sides at 36½ inches and the base at 35 inches.
| Part | Qty | Cut size | Notes |
|---|---|---|---|
| Long sides | 2 | 28½″ (from 1×6) | Cut both from the same board with one setting |
| Base | 1 | 27″ × 5½″ | Rip a 5½″ strip if your 1×6 is wider |
| Short ends | 2 | 5½″ × 5½″ | Cut square — these set the box width |
| Riser rails (optional) | 2 | ¾″ square dowel × 7⅛″ | Lifts the base off the table and hides the joint |
| Riser feet (optional) | 4 | ¾″ square dowel × 3″ | Run front-to-back under the rails |
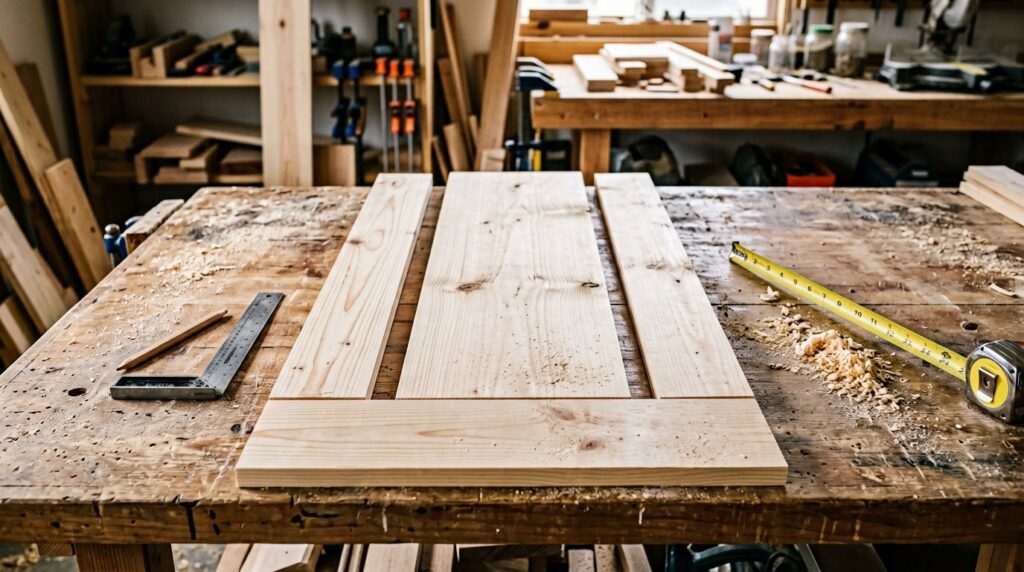
Step by step
1. Cut everything from one board, clamped together. Clamp the board and cut both long sides at the same setting so they are identical — a 1/16 inch difference shows up as a rocking box on a flat table. Cut the short ends square, then the base slightly narrower than the outside width so it sits inside the box rather than proud of it.
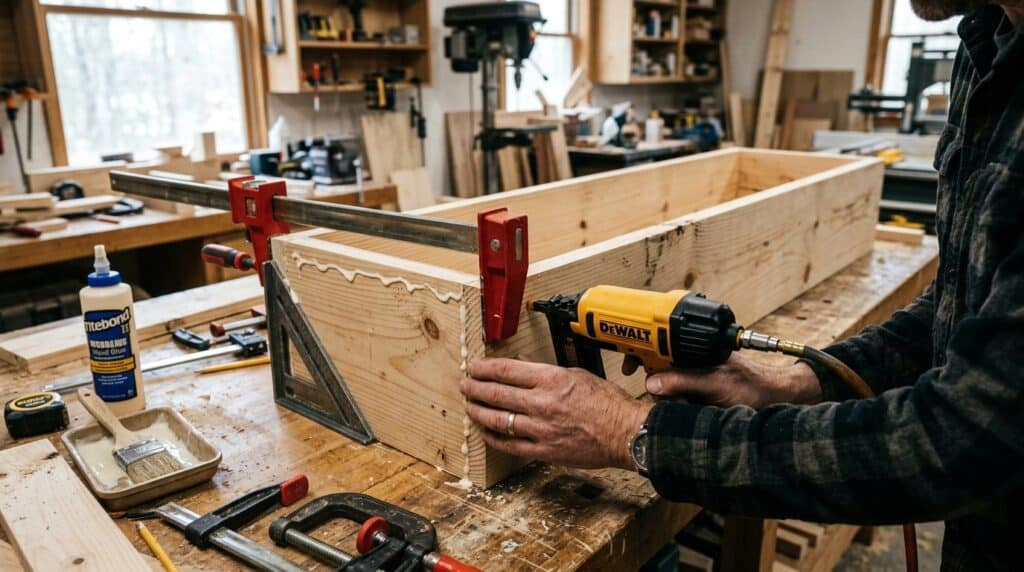
2. Assemble with glue and brads. Glue the short ends to the base first, then glue and nail the long sides on so they cover the ends. Check the box for square with a diagonal measurement before the glue grabs, and wipe the squeeze-out immediately — dried glue on pine takes the stain unevenly.
3. Sand and break the edges. 120 grit on the flats, 180 on the joints, and a light 220 pass over every top edge. Rounded edges survive being handled every December; sharp ones chip.
4. Fit a liner. This is the step people skip, and it is the one that decides whether the box lasts. Greenery cups, wet floral foam and spilled water will stain and eventually swell raw pine. Drop in a thin metal tray, a plastic sheet cut to size, or seal the inside with two coats of polyurethane and let it cure for a week.
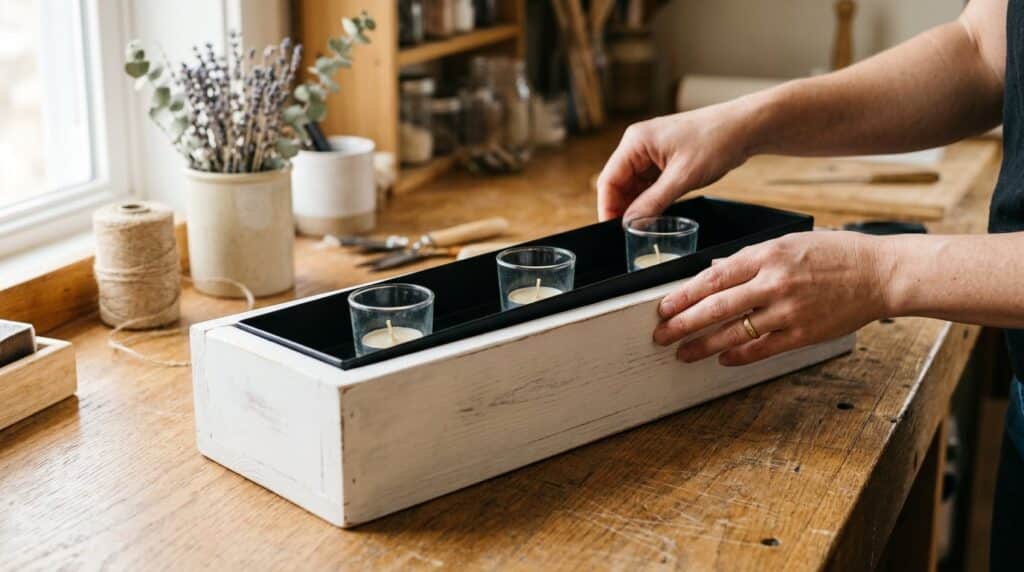
5. Add the risers, then finish. Glue the two rails under the base and the four feet under those, so the box sits ¾ inch off the table. Then paint, stain or wax. Chalk paint and a wax topcoat is the cheapest finish that looks intentional; a dark walnut stain with a satin poly suits a traditional room.
6. Plan the candle positions before you decorate. Mark three evenly spaced points along the centre line. Glass cylinder vases or glass votive cups sitting on the base are the safest arrangement — they catch wax, they stop greenery touching a flame, and they can be lifted out to clean.
Sizing it to your table
| Table length | Centerpiece length | Candles | Notes |
|---|---|---|---|
| 4 ft (48″) | 24″ | 2–3 | Leave 12″ clear at each end for place settings |
| 5 ft (60″) | 30″–36″ | 3 | The sweet spot for most homes |
| 6 ft (72″) | 36″–42″ | 3–4 | Anything longer stops reading as one arrangement |
| Round table, 48″ | 14″–18″ | 1–3 | Build the two-tier tray instead of a trough |
The rule that matters more than length is height. A centerpiece taller than about 12 inches blocks the people opposite you, and a table where nobody can see anyone else is a table where the conversation dies. If you want height, get it from one tall element at the centre — a single pillar candle or a branch — and keep the rest low.
Candles: the one thing to get right
A wooden box full of dry greenery and paper ribbons, with three open flames in the middle, is not a theoretical fire risk. Work to these rules:
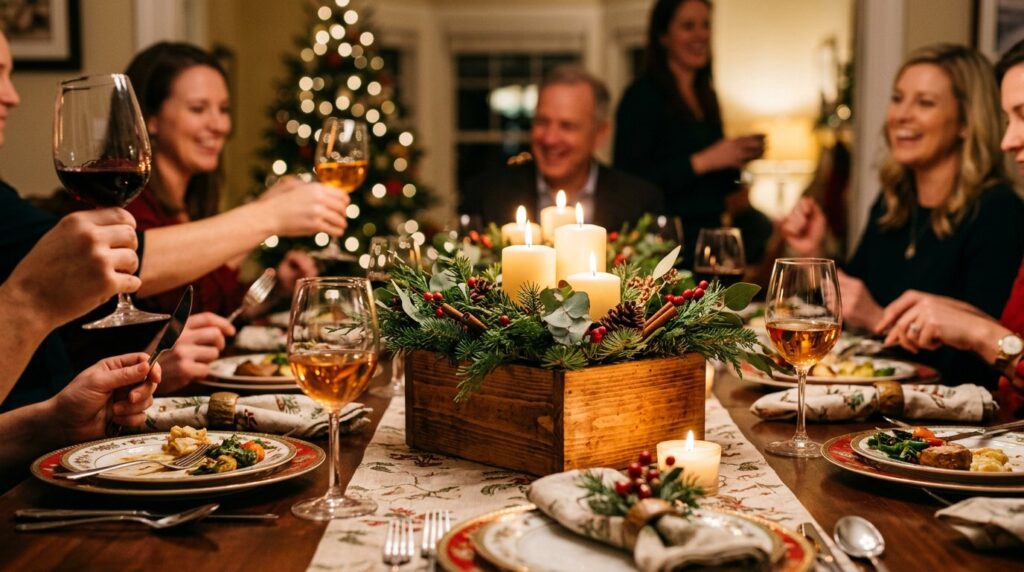
• Three inches minimum between any flame and the nearest greenery or ribbon. Six is better.
• Glass, not bare wood. Every candle goes in a glass cylinder, votive cup or metal holder — never straight onto the painted base.
• Keep the flame below the greenery line. Tall candles with overhanging cedar above them is the classic mistake.
• Never leave it lit unattended, and blow candles out before the plates are cleared.
• Battery LED candles with a timer solve all of it, look convincing now, and are the right choice if there are children at the table or the box is on a sideboard you walk past.
If you want real flame and greenery in the same arrangement, put the greenery behind and below the candles rather than around the top of them, and use a glass hurricane for anything taller than 6 inches.
Dressing it with greenery
Fresh greenery looks better than faux and smells like Christmas, but it needs a water source to last more than a few days. Two workable approaches:
Wet foam or water picks. Small soaked floral-foam cups, or water picks, tucked into the box where they cannot be seen, with stems inserted into them. Fresh cedar, pine and boxwood will hold 5–7 days this way in a cool room.
Faux with a mixed finish. Real branches at the front, faux at the back, plus pine cones, dried orange slices and berries for texture. No water, no wilting, and it can be packed away in a box each January.
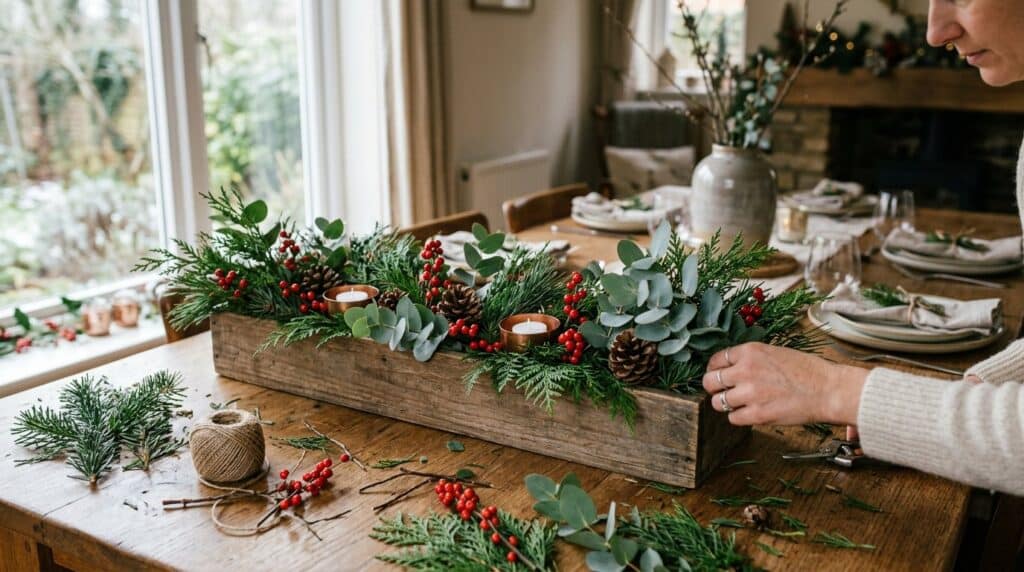
Layout order that always works: long branches first, running past the ends of the box so it reads wider than it is; then a second, lighter green for contrast; then the candles; then the small pieces — cones, berries, baubles — in odd numbers. Keep the height at the ends lower than the middle.
The other five builds
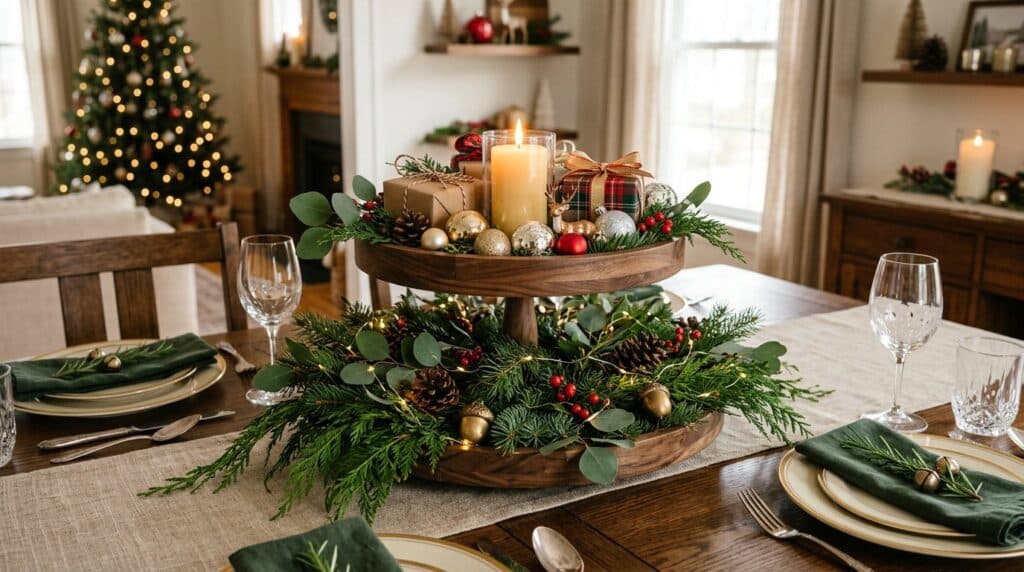
2. Two-tier tray. Two rounds — 14 inches and 9 inches — cut with a circle jig or a jigsaw from 1×8 stock, joined by a 3-inch length of 1¼ inch dowel centred between them. Small gifts and ornaments on top, greenery spilling from the lower tier. Best on a round table where a long trough looks wrong.
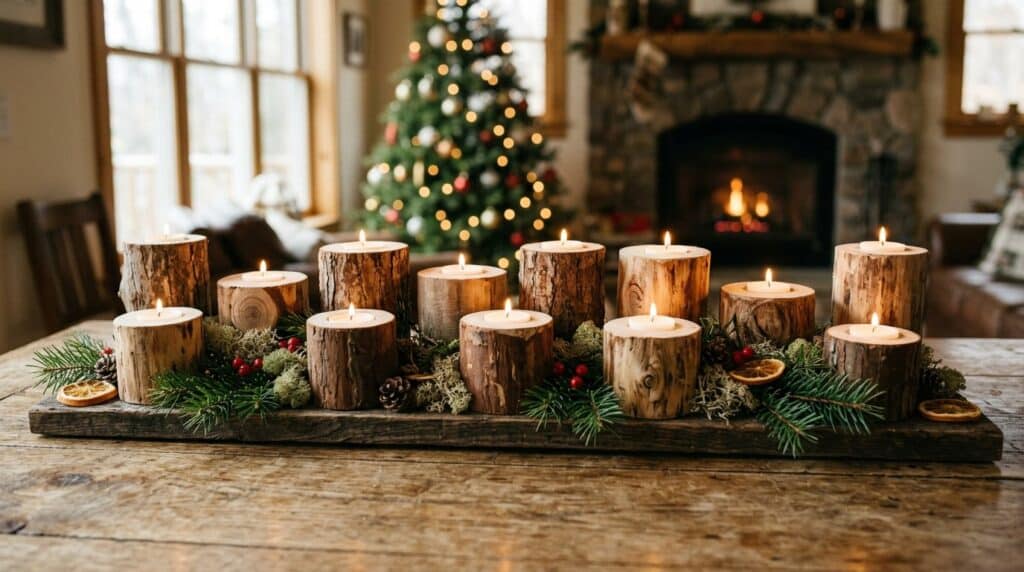
3. Log-slice candle runner. A 24 × 8 inch board from scrap, with three to five branch slices 2–4 inches thick screwed up through the board from underneath. Bore a 1½ inch hole in each slice for a tea light cup, or sit a votive on top. Sand the top of each slice to 220 and leave the bark on.
4. Riser board with cradles. A 1×8 board with two 1×2 cradles screwed on top, notched to hold pillar candles horizontally. Simplest of the six and the most modern-looking; stains beautifully in walnut.
5. Mini tree trio in a box. A small 18 × 6 inch box, into which three triangular trees of decreasing height — 10, 8 and 6 inches — are glued in a row. Paint the trees green and the box white, add a star and a few tiny baubles, and it becomes a gift.
6. Handled serving tray. A 20 × 12 inch tray with 1×2 rails and two cut-out handles, finished with a food-safe oil. It holds candles before dinner and a cheese board after, which is the most useful thing on this list.
Five looks that work this year
The box is the constant; the styling is what changes. These five combinations are the ones that photograph well and are easy to shop for:
| Look | Greenery | Candles | Accents | Best in |
|---|---|---|---|---|
| Classic red and green | Cedar, pine, boxwood | 3 white pillars in glass | Red berries, pine cones, tartan ribbon | Traditional dining rooms |
| Nordic white | Eucalyptus, spruce tips | Battery LED tapers | Dried orange slices, white baubles, linen ribbon | Scandi or minimalist homes |
| Woodland natural | Pine, moss, bare twigs | Tea lights in log slices | Pine cones, cinnamon sticks, faux mushrooms | Cabin, farmhouse, rustic tables |
| Gold and greenery | Magnolia leaves, spruce | Gold pillar candles | Brass baubles, gold-dipped cones, velvet ribbon | Formal Christmas Eve table |
| Fruit and foliage | Eucalyptus, bay, rosemary | Unscented white pillars | Pomegranates, pears, cranberries, whole nuts | A table that doubles as dessert |
Two styling rules that make any of them work: keep everything at odd numbers (three candles, five cones, seven sprigs) and repeat the same three materials rather than adding a fourth. A centerpiece that uses four greens, three metals and two ribbon patterns reads as clutter from two metres away.
Mistakes that waste the build
Building it too tall. The most common error, and the least fixable — you end up with a beautiful box nobody can see over. Test the height with books before you cut anything: stack them to 10 inches in the middle of the table and sit down opposite someone.
No liner. Wet greenery in raw pine leaves grey water stains that no amount of sanding removes, and the base will start to cup by February. Line it before the first December.
Cutting the long sides separately. Two independent cuts give you two different lengths; the box rocks, the joints gap, and you cannot fix it without recutting. Clamp the board and cut both at one setting, every time.
Finishing before test-fitting the candles. Glass cylinders come in odd diameters. Buy the candles and holders first, then mark the base and cut nothing else until you know they fit with three inches of clearance.
Putting it away dirty. Sap, wax and greenery residue left in a box over the summer attract insects and stain deeper. Ten minutes with a scraper and a damp cloth in January saves the box.
Where it works beyond the dining table
The same 30-inch trough — made 6 inches shorter — works on a sideboard, a console table in a hallway, or a kitchen island, and it is the easiest way to make an entryway feel decorated with no wall fixings. On a narrow console, drop to a 20-inch box and one candle. In a hallway, keep everything low and use battery candles, because people brush past.
Outside, the same box style works as a small porch planter if you build it from cedar rather than pine, drill drainage holes in the base, and skip the paint in favour of an exterior stain. That is a different project from this one, but the cut list barely changes.
What it costs
| Item | Typical U.S. cost | Notes |
|---|---|---|
| 1×6×8 pine board | $10–$16 | One board makes the whole trough |
| ¾″ square dowel, 3 ft | $3–$5 | Risers and feet |
| Glue, brads, sandpaper | $5–$10 | Already in most workshops |
| Paint or stain + wax/poly | $8–$15 | One tin lasts years |
| Liner tray or plastic sheet | $3–$8 | The step that makes it last |
| Greenery and candles (seasonal) | $15–$35 | Free if you cut clippings from the tree |
| Total, first year | $25–$45 excluding greenery | Bought arrangements run $50–$90 for one December |
Storing it, and using it all year
Empty the greenery, wipe the liner, and store the box somewhere dry — a damp garage will warp a pine box in one winter. Then reuse it: lemons and eucalyptus in spring, dried wheat and small pumpkins in autumn, plain candles the rest of the year. A centerpiece box that only appears in December is a waste of a good build.
If you are working through a Christmas build list, this pairs naturally with a wooden advent calendar for the countdown, a wooden Christmas tree for the corner, wooden ornaments for the tree itself and a stocking holder for the mantel. Rustic Christmas wood decor ideas has more styling directions, scrap wood Christmas projects covers the zero-cost builds, and the wooden Christmas village display guide is the mantel equivalent of this project. If you want it to look shop-bought, the finishing detail in the ornament guide and the joinery in the joints guide both apply directly.
Frequently asked questions
What size should a dining table centerpiece be?
Roughly a third to a half of the table’s length: 24 inches for a 4-foot table, 30–36 inches for a 5–6 foot table. Leave about 12 inches clear at each end for place settings, and keep the total height under 12 inches so guests can see across.
What wood should I use for a centerpiece box?
1×6 pine or poplar — cheap, straight, and it takes paint and stain well. Avoid construction-grade 2× material, which is thicker and heavier than you need, and avoid MDF anywhere the box might get wet.
How do I stop the greenery staining the wood?
Line the box. A thin metal tray, a cut plastic sheet, or two coats of fully cured polyurethane will do it. Raw, unfinished pine will stain within a day of wet greenery sitting in it.
Are real candles safe in a wooden centerpiece?
Yes, with discipline: every candle in a glass or metal holder, three inches minimum from any greenery or ribbon, the flame below the plant line, and never left unattended. With children at the table, use LED candles instead.
How long does fresh greenery last in a centerpiece?
Five to seven days in a cool room if the stems are in water (wet foam or water picks) and away from a radiator. Cedar and pine last longest; boxwood and eucalyptus droop first. Mist the greenery daily to slow it down.
Can I use this centerpiece for other seasons?
That is the point of building one. Swap the greenery for lemons and eucalyptus in spring, dried stems and small pumpkins in autumn, or candles and a shallow bowl of ornaments in January. The box itself is season-neutral.
Do I need a brad nailer?
No — glue and 1¼ inch finish nails or 1¼ inch screws will hold a box this size, especially with the base fitted inside. Clamps matter more than the fastener: you need square joints, not strong ones, for a centerpiece.
How much greenery do I need to fill a 30-inch box?
Roughly two to three bunches of mixed evergreen, or a generous armful of clippings from the tree. Cut the pieces 8–12 inches long so they can run past the ends of the box and make it look wider than it is.
Costs are typical U.S. retail for materials at the time of writing and will vary. Cut lists assume dressed lumber dimensions and nominal board sizes; check your actual boards before cutting. Never leave candles burning unattended, and follow the safety instructions on any finish you use.