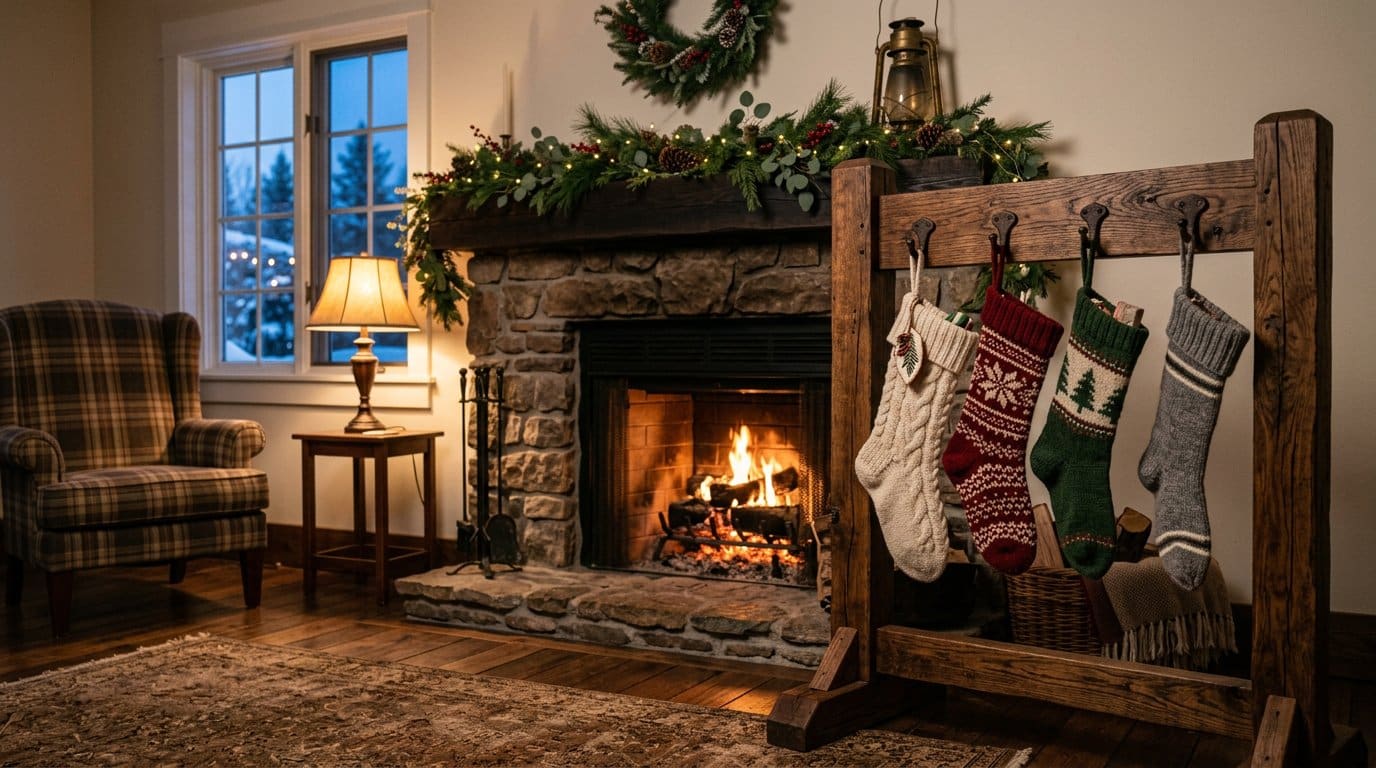
Every December the same problem shows up on the mantel: five stockings, four hooks, nowhere to put the fifth, and a set of screw holes in a shelf you would rather not drill. Stocking holders solve it in an afternoon of woodworking, cost less than a set of store-bought metal ones, and — unlike the weighted brass jobs — they do not slide off the shelf the moment a stocking is actually full of presents.
This guide covers six wooden stocking holder builds, with cut lists for the two that most people want: a freestanding post stand that needs no drilling at all, and a mantel board that replaces loose hooks with one solid piece. It also covers the two numbers that decide whether yours looks right and holds up — hook spacing and base footprint — because a stocking holder that tips over on Christmas morning is worse than no holder at all.
Quick answer: build the freestanding 4×4 post stand if you have a tiled or stone mantel you cannot drill, or a small living room. Build the 1×8 mantel board if you have a wooden shelf and want five stockings in a neat row. Space hooks 10–12 inches apart for adult stockings (8 inches is fine for children’s), set the base footprint to at least a third of the height, and use two hooks or a longer base if a stocking will weigh more than about 5 lb.
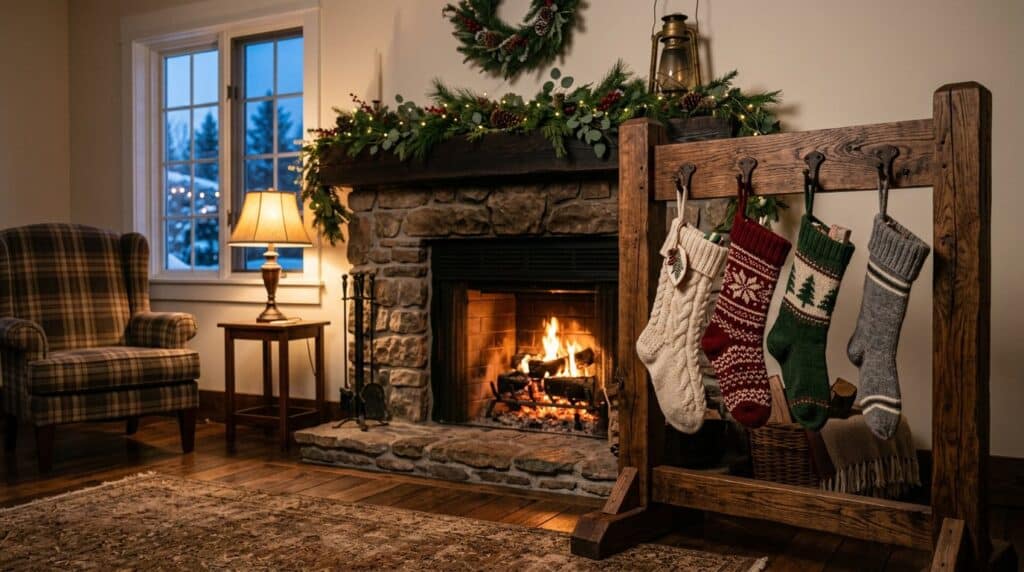
The six builds at a glance
| Build | Size | Stockings | Difficulty | Time | Material cost | Best for |
|---|---|---|---|---|---|---|
| 1. Freestanding post stand | 42″ tall, 12″ base | 4 | Beginner | 2 hours | $25–$40 | No drilling; tile or stone mantels; small rooms |
| 2. Mantel board | 48″–60″ × 7½″ | 4–6 | Beginner | 1–2 hours | $20–$35 | Wooden mantel shelf; the classic look |
| 3. Wall plank rack | Length to suit | 3–6 | Beginner | 1 hour | $15–$30 | No mantel at all; entryways and stairwell walls |
| 4. Leaning ladder stand | 48″ tall, 16″ rungs | 3–5 | Beginner | 2 hours | $20–$30 | Floor space beside a fireplace or tree |
| 5. Weighted single holders | 5″ × 3½″ blocks | 1 each | Very easy | 20 min each | $3–$6 each | Bookshelves, sideboards, scattering around the room |
| 6. Village box with removable hooks | 30″ × 8″ × 5″ | 4–5 | Intermediate | 3–4 hours | $30–$50 | Hiding a string of lights; a statement piece |
Build 1: the freestanding post stand
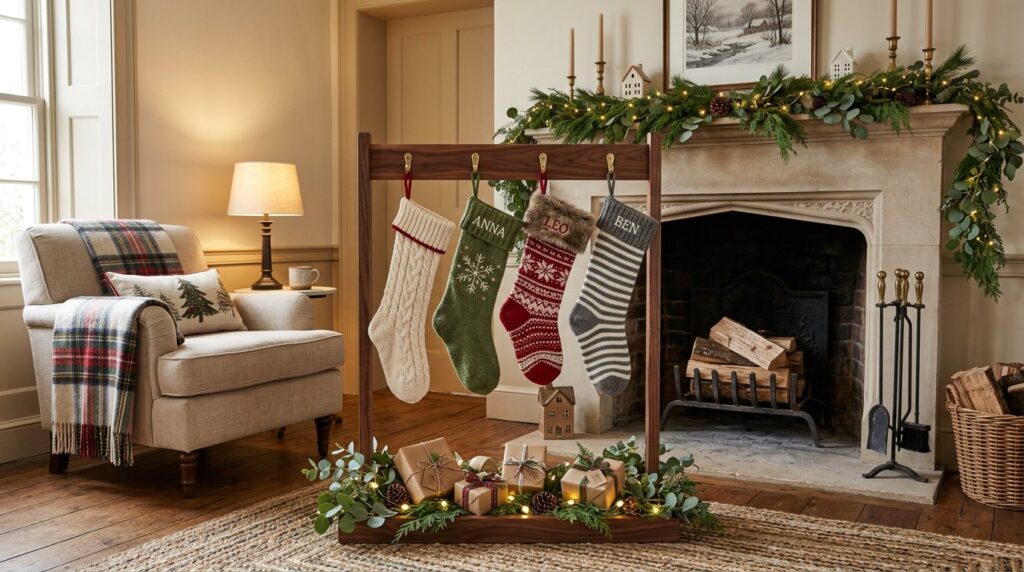
This is the one to build when you cannot or will not put a screw into the mantel. A post on a wide base, four hooks, and it comes apart for storage if you build the base in two layers and bolt rather than glue the top layer.
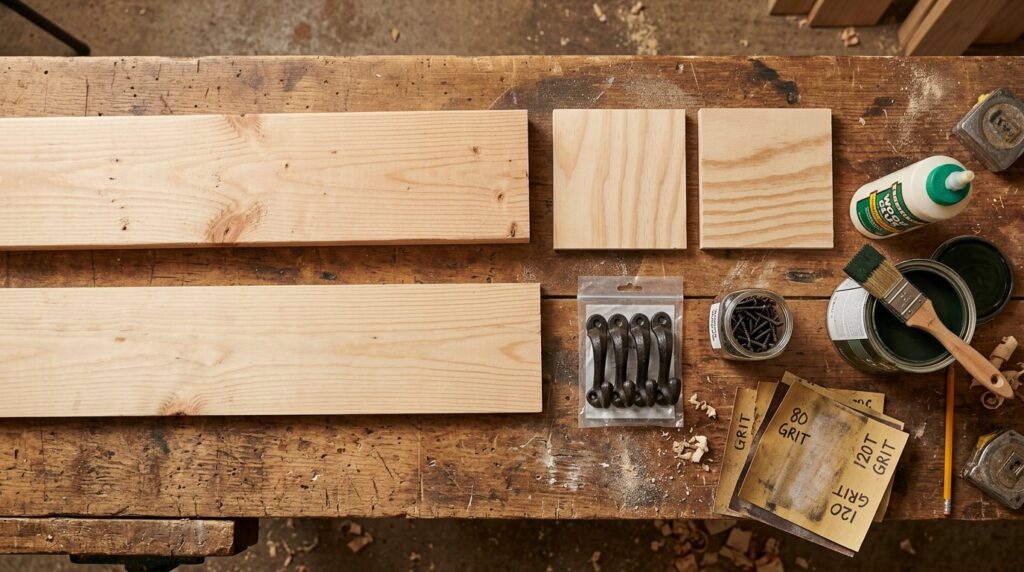
Cut list
| Part | Qty | Material | Cut size |
|---|---|---|---|
| Post | 1 | 4×4 (actual 3½″ × 3½″) | 42″ long |
| Base, bottom layer | 1 | 3/4″ plywood | 12″ × 12″ |
| Base, top layer | 1 | 3/4″ plywood | 8″ × 8″ |
| Corner braces | 4 | 1×2 | 5″ long, ends cut at 45° |
| Cap / finial block | 1 | 1×4 | 5″ long (optional) |
| Robe hooks | 4 | Cast iron or steel | 2½″–3″ projection |
Step by step
1. Cut and sand the base. Two stacked layers — 12-inch and 8-inch squares — give you a stepped plinth that looks deliberate and adds 25% more footprint than a single 10-inch square. Glue and screw them together from underneath, then sand the edges round.
2. Fix the post to the base. Centre the 4×4 on the 8-inch square, glue it, then drive four 3-inch screws up through the base into the post. Add the four 45° corner braces for the load path — a full stocking pulls sideways, and the braces are what stop the joint opening up over a season.
3. Set the hook heights. Mark four positions: two on the front face at 38″ and 24″ from the floor, and one on each side face at 31″. Staggering them means the stockings do not bunch and the stand stays visually balanced from any angle. Drill pilot holes, then screw the hooks in by hand until they are firm — a wrench on a small hook shears the screw shank.
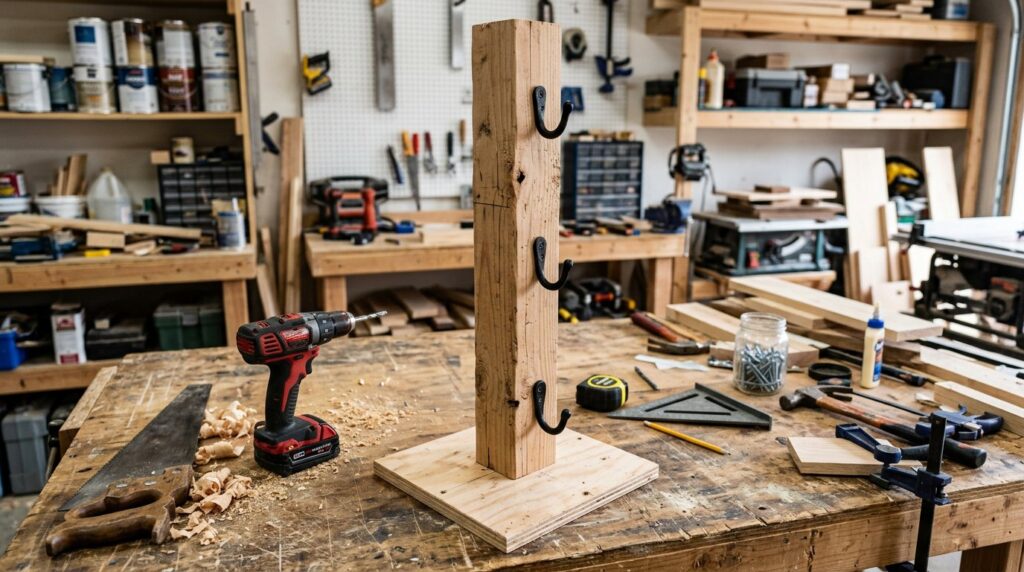
4. Check the tipping point before you paint. Hang your heaviest stocking, fully loaded, from the top hook and nudge the stand. If it lifts a foot, widen the base to 14 inches or add weight — a 2 lb sandbag inside a fabric base cover, or a steel plate screwed under the plinth, fixes it in five minutes.
5. Finish and cap. Paint or stain the whole thing, and add a small cap block on top if you want it to read as a piece of furniture rather than a length of 4×4. Two coats, sanded between, and a water-based poly on the base because it will get kicked.
Capacity note: four stockings on a 42-inch post is comfortable. Six is not — the hooks crowd, the stockings overlap, and the load at the top hook starts to act like a lever.
Build 2: the mantel board
One board with hooks in it, sitting on or just behind the mantel shelf, so the stockings hang in a clean row and nothing touches the wall. No holes in the mantel, and it stores flat.
Cut list
| Part | Qty | Material | Cut size |
|---|---|---|---|
| Main board | 1 | 1×8 (actual 7¼″) | 48″ long for 4 stockings, 60″ for 5 |
| Back cleat | 1 | 1×2 | Board length − 2″ |
| End returns (optional) | 2 | 1×3 | 5½″ long |
| Robe hooks | 4–5 | Brass, cast iron or matte black | 2½″–3″ projection |
| Wall brackets (if hanging) | 2–3 | Steel L-bracket | 2″ |
Spacing maths, done for you. Leave 4 inches at each end, then divide the remaining length by (number of hooks + 1):
| Stockings | Spacing | Minimum board length | Notes |
|---|---|---|---|
| 3 | 10″ | 28″ → use 30″ | Children’s stockings can go tighter, 8″ |
| 4 | 10–11″ | 38″ → use 40″–48″ | The most common family size |
| 5 | 11″ | 52″ → use 54″–60″ | Check the mantel length first |
| 6 | 10″ | 58″ → use 60″ | Go with a double row or a stand instead |
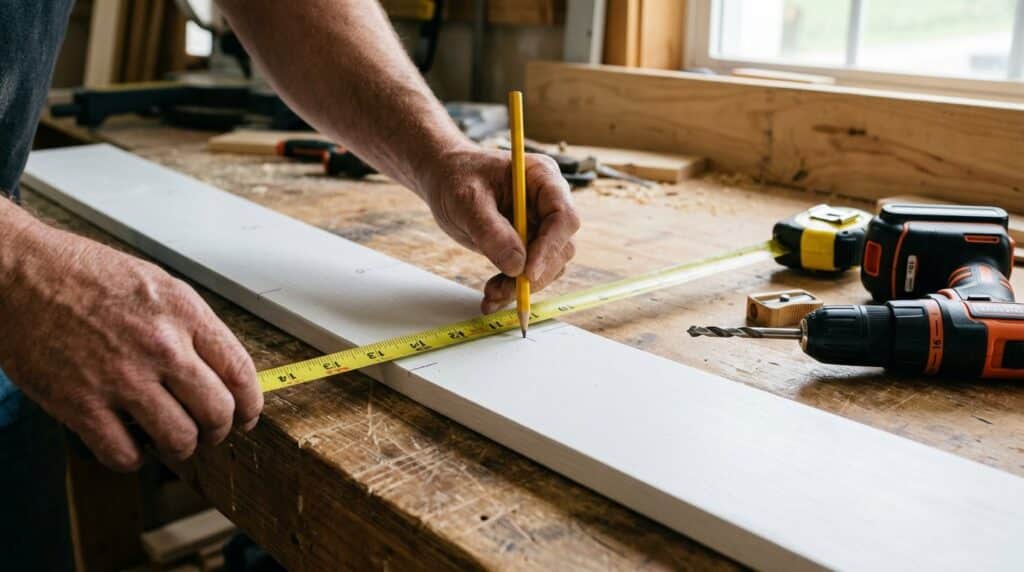
Making it. Cut the board, sand the edges with a 3/8″ roundover if you have one, and mark your hook positions from the maths above — measure from one end, never from both, or the middle drifts. Drill pilot holes with a bit one size smaller than the hook screw, then fit the hooks. Glue and pin the back cleat under the rear edge so the board cannot tip forward when a stocking is pulled, and screw the optional end returns on for a more finished look.
Mounting. If the board sits on a shelf, the cleat is enough — the board’s own weight plus the cleat stops it sliding. If it hangs above the mantel, use two or three L-brackets into studs, and put the hooks at 60–66 inches above the floor so adult stockings hang clear of whatever is below.

Build 3: the wall plank rack
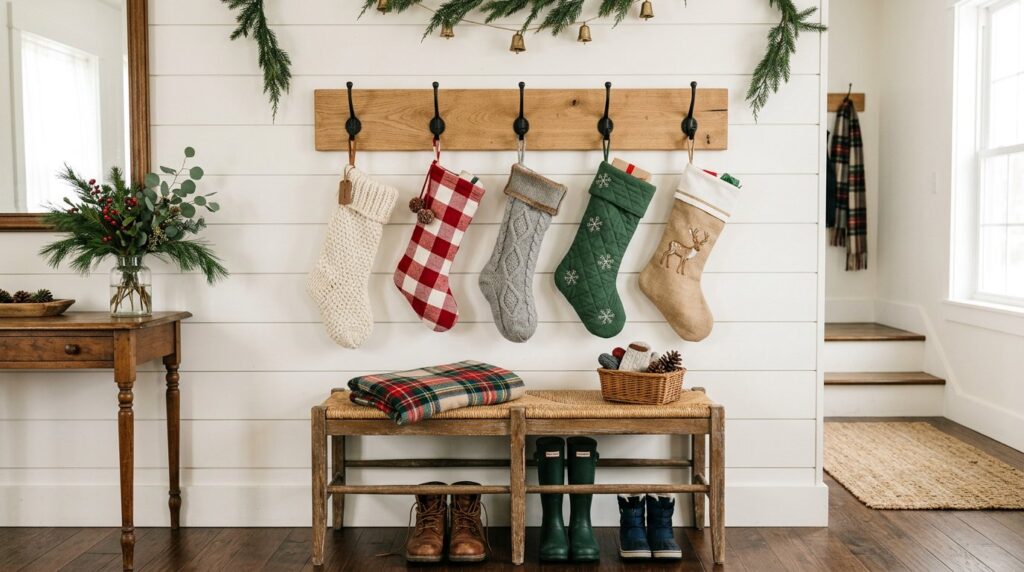
For houses with no mantel. A straight 1×6 between 36 and 60 inches long, hooks every 10–12 inches, mounted into studs with 3-inch screws. Add a 1×2 ledge along the top so it can hold a sprig of greenery or a few cards, which is what stops a plain hook rack looking like a coat rail.
Two things matter: find the studs (a magnet or a stud finder, then confirm with a fine drill bit), and keep the hooks at least 60 inches off the floor. A rack loaded with six stockings plus small gifts is carrying 15–25 lb, and six screw-in hooks in drywall will not hold that.
Build 4: the leaning ladder stand
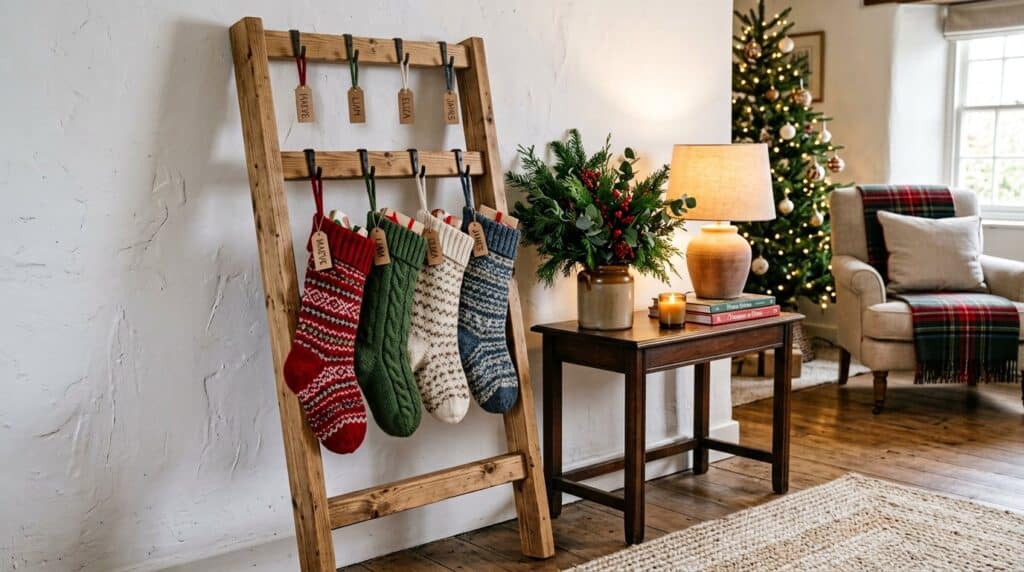
Two 2×4 rails at 48 inches, three 2×4 rungs at 16 inches, angled back against the wall like a decor ladder. Hooks go under the rungs, so the stockings hang in the gap rather than over the rail. Lean it at about 15° and either felt the feet or fit a small strap at the top — a ladder with stockings on it is exactly what a child will try to climb.
The one design rule: the bottom rung must be high enough that a 20-inch stocking does not touch the floor. If your stockings are long, cut the rails at 54 inches and space the rungs at 15 inches.
Build 5: weighted single holders
The five-minute version, and the one to make in batches for shelves and sideboards. Each holder is two scraps of 1×8: a 5-inch back and a 3-inch foot, screwed together in an L, with a robe hook on the face. Sand, wax, done. Make six in an hour from one offcut.
These are for light stockings and small gifts only — a 5-inch base will not hold two kilos of chocolate. If you want them on a smooth surface without slipping, glue a square of felt or thin cork to the underside.
Build 6: the village box
A shallow open box with a plywood silhouette of houses and trees glued to the front, hooks on removable clips behind it, and a string of LED lights hidden inside so the windows glow. Cut the silhouette with a scroll saw or a jigsaw; keep the base 8 inches deep and 5 inches tall so the lights have room and the stockings hang free of the front panel.
How much weight a hook actually carries
| What hangs on it | Typical weight | Fixing needed |
|---|---|---|
| Empty knitted stocking | 200–400 g | Any robe hook; shelf weight is enough |
| Stocking with sweets and small gifts | 1–2 kg (2–4 lb) | Screw-in hook into solid wood or plywood at least 3/4″ thick |
| Stocking with a book, tools or a bottle | 2–4.5 kg (5–10 lb) | Two hooks, a wider base, or a wall fixing into studs |
| Six loaded stockings on one rack | 7–15 kg (15–33 lb) | Wall rack only: fixings into two studs minimum, 3″ screws |
Two rules follow from that table. On a freestanding stand, keep the heaviest stocking on the lowest hook — the same logic as putting heavy ornaments low on a tree. On anything that hangs, assume every stocking will be pulled sideways at some point, and size the fixing for twice the weight you expect.
Finishing and personalising
Chalk paint or a stain-and-wax finish both work; the board is decorative, so you do not need a hard film finish. Let oil-based finishes cure for several days before hanging stockings against them — uncured oil will transfer a smell, and occasionally a dark mark, onto knitted fabric.
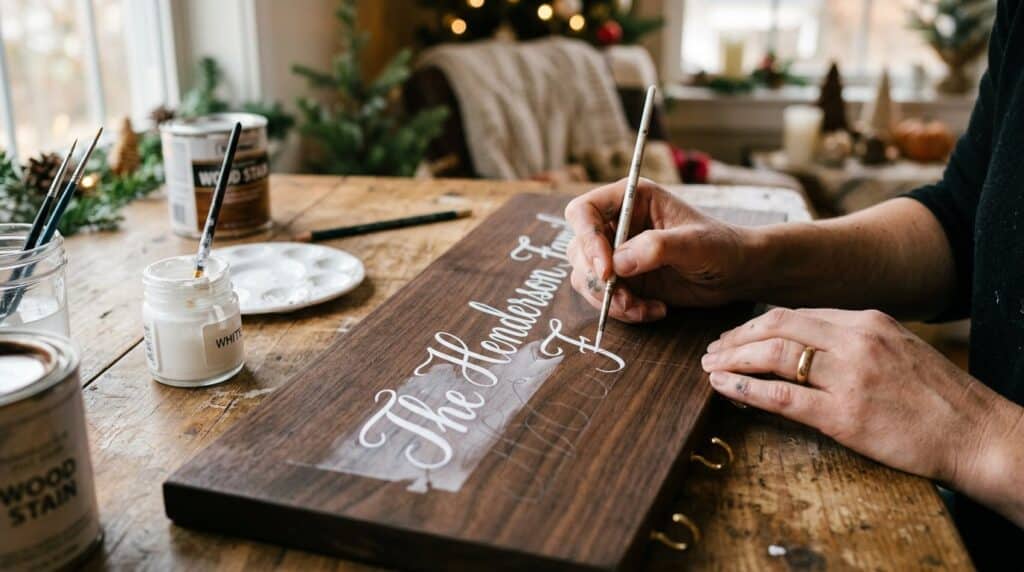
For names, three methods that survive use: paint with a fine brush over a pencil guideline; adhesive vinyl lettering sealed with a clear coat; or a wood-burned script if you are comfortable with a pyrography pen. Small brass name plates screwed to the front are the neatest option if you want it to look shop-bought. Number the hooks instead of naming them and the holder stays current as the family grows.
Keep the palette to two colours plus the wood tone — cream and forest green, white and black, or bare wood with one accent — and it will sit with almost any stocking decor scheme.
Safety around the fireplace
Stockings are fabric, often polyester-blend, and they are the most flammable thing people hang near a fireplace. Keep every holder at least three feet from any heat source, never hang stockings across the opening of a working fireplace, and never put a candle on a mantel directly beneath hanging fabric. Battery or plug-in LED only. If you have a real fire going, move the stockings to the wall opposite or the tree side of the room, and only bring them to the mantel on Christmas morning.
Also consider the small humans: a freestanding stand at 42 inches is at exactly the height a toddler grabs, so either weight the base or put the stand behind a piece of furniture. And apply the usual workshop safety rules while building — these are small parts cut at speed, which is where fingers get close to blades.
Four mistakes that ruin a stocking holder
1. Hooks too close together. A 48-inch board with six hooks looks generous in the workshop and crowded the moment stockings go on — knitted stockings are 8–11 inches wide at the cuff, not the 6 inches you imagine. Lay the actual stockings out on the board before you drill.
2. Hooks too low. Hanging hooks at 48 inches means a stocking finishes at knee height, in front of a hearth or on top of a floor vent. Set the hooks so the bottom of the longest stocking clears whatever is below by at least 4 inches, and measure with the stocking in your hand rather than guessing.
3. Screwing into the end grain of a post. Hooks driven into the narrow end grain of a 4×4 will work loose in a season. Keep every hook on a face, at least 1½ inches in from any edge, and pre-drill.
4. Building to the mantel instead of the room. A 60-inch board on a 54-inch mantel overhangs and looks wrong; a 36-inch board on a 72-inch mantel looks lost. Measure the shelf, subtract 6 inches, and if that number will not take your family’s stockings, go vertical with the post stand or the ladder instead.
Adapting the builds
Renters. Build the post stand and skip the wall builds entirely. If you do want a rack, use a French cleat and a single pair of small screw holes you can fill in ten minutes at the end of the tenancy.
Small living rooms. The post stand at a 12-inch base is the least intrusive option, and the weighted single holders let you spread stockings across a bookshelf instead of hanging them all in one place. A wall plank rack at 36 inches with three hooks is the third route.
Big families. Do not build one 84-inch board — build two 48-inch boards and hang them at different heights, or use a ladder stand next to a mantel board. Two shorter pieces always look better than one long one, and they store more easily.
Heavy stockings. If your family tradition involves anything with a bottle or a tool kit in it, put two hooks per stocking and treat a pair as one hook position: drill them 4 inches apart, at the same height, and hang the stocking across both. It doubles the holding capacity and stops the cuff stretching into a point.
Costs, and what to build next
| Item | Typical U.S. cost | Notes |
|---|---|---|
| 4×4 post, 8 ft | $12–$18 | One board makes one stand plus scraps |
| 1×8 board, 6 ft | $10–$16 | One board per mantel board, 48″–60″ |
| 3/4″ plywood offcuts for bases | $0–$8 | Half a sheet offcut covers several stands |
| 4 robe hooks | $8–$16 | Cast iron costs more than zinc, and looks better |
| Paint / stain + wax | $8–$15 | One tin lasts years |
| Total, post stand | $25–$40 | Store-bought wooden stands run $30–$70 for the same capacity |
If you are building your way through December, this pairs well with a DIY wooden advent calendar for the countdown, a wooden Christmas tree if you want a second tree without the needles, and wooden ornaments for the tree itself. The scrap wood Christmas projects round-up has more zero-cost builds, last-minute Christmas woodworking projects is the one-evening list, and rustic porch signs cover the outside of the house. If you are new to pocket screws, the joints guide covers the joinery used here, and the beginner tool list explains the four tools these builds actually need.
Frequently asked questions
How far apart should hooks on a stocking holder be?
10–12 inches for adult stockings and 8 inches for children’s. Leave 4 inches clear at each end of the board, then divide what is left by the number of hooks plus one — a 48-inch board with four hooks gives 8-inch spacing, so use a 54–60 inch board if you want genuinely generous gaps.
What height should stocking hooks be at?
60–66 inches above the floor for a wall or mantel board, so a 20-inch stocking hangs clear of furniture. On a freestanding stand, keep the top hook at 36–40 inches and stagger the rest down the post.
How do I hang stockings without drilling into my mantel?
Use a freestanding post stand, a leaning ladder stand, or a weighted single holder block. If you want the row look without holes, build the 1×8 mantel board with a back cleat — it rests on the shelf, and the cleat stops it tipping forward when a stocking is pulled.
Will a stocking holder hold a heavy stocking?
A single screw-in robe hook in solid wood or 3/4-inch plywood comfortably holds 4–5 lb, which covers most stockings. For anything heavier, use two hooks or a wider base, and never rely on a weighted store-bought holder on a polished shelf.
How wide should the base be on a freestanding stand?
At least a third of the stand’s height — a 42-inch post needs a 14-inch footprint for a confident margin, and 12 inches if you add weight or keep the heaviest stocking low. Test with a loaded stocking before you finish it.
What hooks are best for a wooden stocking holder?
Robe hooks with a 2½–3 inch projection and a screw thread at least an inch long. Cast iron holds more and looks better; brass suits a traditional room; matte black zinc is the cheapest option that still looks intentional.
Can I use this outside on a porch?
Yes, if you use exterior-rated hardware and a marine-grade or exterior polyurethane finish, and keep it out of direct rain. Stockings themselves should stay indoors — outdoor stockings are decorative props, not fabric you want to re-wash.
How do I store a stocking holder between Christmases?
Unscrew the hooks and bag them, then store the board or post flat and dry — not a damp garage, where solid wood will cup and plywood edges will swell. Label the bag with the year and the room it goes in; you will not remember in eleven months.
Costs are typical U.S. retail for materials at the time of writing and vary by region. Cut lists assume dressed lumber dimensions; check your actual boards before cutting, and follow the safety instructions for every tool you use.