As the holiday season gets closer, I enjoy making my home cozy for family and friends. Using wooden elements in my decor adds a warm touch. With a few DIY projects, you can make your home feel welcoming and rustic for the holidays.
These holiday wood projects are great for both experienced crafters and beginners. You can make stunning wooden ornaments or impressive centerpieces. In this article, we’ll show you 15 festive DIY christmas decor ideas with wood. They’ll help you create a cozy home for the holiday season.
Introduction to DIY Wood Christmas Decor
Decorating your home for Christmas with your own creations is special. It’s even more so with DIY rustic Christmas ornaments and homemade wood Christmas decor.
Making your own easy DIY Christmas wood decorations adds a personal touch. It’s also a fun activity for the whole family. With simple tools and creativity, you can make beautiful, unique pieces.

For more ideas on farmhouse Christmas decor, check out 51 Best Farmhouse Christmas Decor Ideas. It has many styles and ideas to decorate your home.
DIY wood Christmas decor is for everyone, whether you’re experienced or new. It includes everything from classic ornaments to rustic centerpieces. Wood decorations add warmth and coziness that’s unique.
Benefits of Using Wood for Christmas Decor
Wood is a key material for Christmas decorations, bringing warmth and elegance. It’s a great way to add a personal touch. Plus, it offers many benefits.
Eco-Friendliness
Wood is eco-friendly, being a natural and renewable resource. Choosing wooden decorations supports green practices and cuts down on carbon emissions. For more wooden Christmas decoration ideas, check out DIY projects that use wood.
Durability
Wooden Christmas decorations are durable. They last longer than glass or ceramic ornaments. With the right care, they can be family treasures for years.
Customization
Wooden decorations can be customized. You can pick from different wood types, stains, and finishes. This lets you match your style or enhance your decor.

Adding wooden elements to your Christmas decor makes your space warm and welcoming. Whether making your own or buying from local artists, wooden decor makes the holiday season special.
Rustic Wooden Christmas Trees
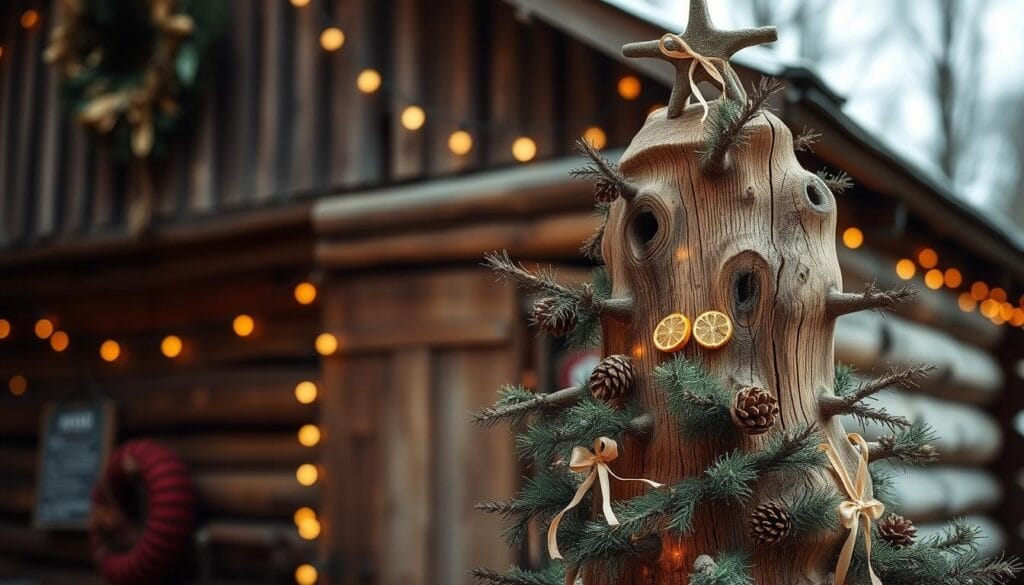
Making a rustic wooden Christmas tree is a fun DIY project. It can become a special holiday tradition. Standing wooden trees are great for tables or mantels, adding a minimalist touch while keeping the holiday spirit alive.
Materials Needed
To begin, gather a few basic materials. You’ll need:
- Reclaimed or rustic wood (like old pallets, barn wood, or wooden planks)
- Saw (circular or handheld)
- Sandpaper
- Wood glue
- Nails or screws
- Decorative items (optional)
Pick wood that matches your rustic style. Reclaimed wood gives your tree character and history.
Step-by-Step Instructions
Here’s how to make your rustic wooden Christmas tree:
- Cut the Wood: Cut your wood into different heights to form a triangular shape, like a real Christmas tree.
- Assemble the Tree: Use wood glue and nails or screws to put the wood pieces together into a stable tree.
- Sand the Tree: Sand the whole tree to make it smooth and remove any rough edges.
- Decorate: After assembling and sanding, decorate your tree with lights, ornaments, or festive items.
Decorating Tips
To make your tree stand out, try these decorating tips:
- Add Lighting: String lights or fairy lights can give your tree a warm glow.
- Use Natural Elements: Add natural items like pinecones, holly, or eucalyptus to enhance the rustic look.
- Personalize: Add personal touches like family photos, handmade ornaments, or special mementos to make it unique.
By following these steps and tips, you can create a stunning rustic wooden Christmas tree. It will be the centerpiece of your holiday decor. Enjoy your DIY project!
Wooden Ornaments for a Personal Touch
Making your own wooden ornaments can add a special touch to your Christmas tree. A set of wooden ornaments can turn a simple tree into a festive wonder. With a bit of creativity, you can make ornaments that show off your style.

Types of Wood to Use
Choosing the right wood for your ornaments is key. Balsa wood is perfect for beginners because it’s soft and easy to work with. Birch wood offers a smooth finish and a classic look. For a rustic feel, try reclaimed wood or cedar.
Crafting Techniques
Making wooden ornaments is a fun and rewarding hobby. You can use wood burning to add designs or carving for unique shapes. For easier designs, use a scroll saw or jigsaw to cut out shapes.
- Cut out your ornament shape from the wood.
- Sand the edges to smooth them out.
- Add any decorative elements using your chosen technique.
Painting and Finishing Options
After making your ornaments, you can add a personal touch with paint or a finish. Use acrylic paint for bright colors or a natural stain to keep the wood’s look. Finish with a clear coat for protection and shine.
By following these steps, you can make beautiful wooden ornaments. They will make your Christmas tree truly special.
Holiday-Inspired Wooden Signs
Wooden Christmas signs are a timeless tradition that instantly sets the mood for the holiday season. They can be personalized with your favorite holiday messages. This makes them a unique addition to your Christmas decor.

Ideas for Signage
Creating holiday-inspired wooden signs offers endless possibilities. You can choose a classic “Merry Christmas” sign or something more unique like “Joy to the World” or “Happy Holidays.” For more ideas, check out various designs online.
- Choose a sign that reflects your personal style, whether it’s rustic, modern, or vintage.
- Consider the size of your sign and where you’ll be placing it in your home.
- Think about the message you want to convey – it could be a simple greeting or a more elaborate holiday wish.
Tools Required
To create your own wooden sign, you’ll need a few basic tools. These include a saw, sandpaper, paint or stain, and a brush. You may also want to invest in a stencil or lettering guide for a professional-looking finish.
- Cut your wood to the desired size using a saw.
- Sand the surface to smooth out any rough edges.
- Apply paint or stain to your sign, using a stencil or freehand technique.
DIY Installation Tips
Once your sign is complete, it’s time to hang it up! Here are a few tips for a secure and level installation:
- Use a level to ensure your sign is straight.
- Choose a sturdy nail or screw to hang your sign, depending on its weight.
- Consider adding a coat of varnish to protect your sign from the elements if it will be displayed outdoors.
By following these steps, you can create a beautiful holiday-inspired wooden sign. It will welcome guests to your home during the Christmas season.
Unique Wooden Advent Calendars
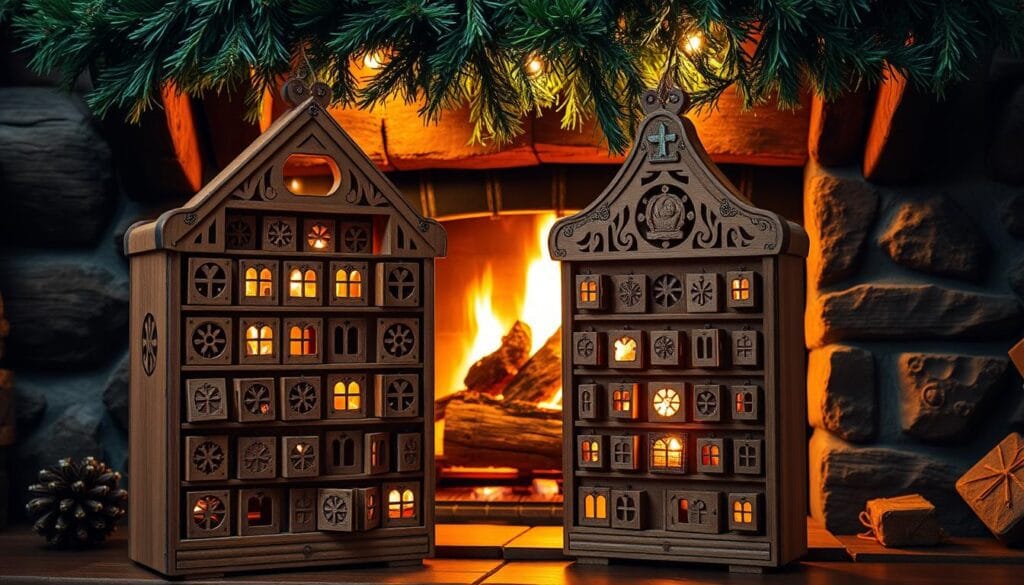
A wooden advent calendar is a beautiful and functional way to build anticipation for the holiday season. Counting down the days to Christmas is a beloved tradition, making it special for kids who eagerly wait.
Designing Your Calendar
When designing your wooden advent calendar, think about the look you want. You can choose a simple design or something more elaborate. Consider the size, wood type, and number of compartments you need.
Here are some ideas to get you started:
- Use a combination of woods, like pine and cedar, for a rustic look.
- Add decorative metal ornaments or engravings for a personal touch.
- Consider a calendar with drawers or doors that open to reveal a surprise.
For more inspiration, check out these wooden advent calendar ideas on Pinterest.
Filling It with Surprises
The fun part of creating a wooden advent calendar is filling it with surprises. You can include:
- Chocolates or small candies.
- Small toys or trinkets.
- Activity cards with holiday-themed games or tasks.
- Make a hot chocolate.
- Sing a Christmas carol.
Tips for a Personal Touch
To make your wooden advent calendar even more special, add a personal touch. You can:
- Engrave the names of family members on each compartment.
- Add a special message or the year on the calendar.
- Use a family photo or a favorite holiday image on the front.
By following these steps, you can create a unique and meaningful wooden advent calendar that becomes a cherished holiday tradition.
Wooden Wreaths for Festive Vibes
Making a wooden wreath is a great DIY project for the holidays. It’s a beautiful way to welcome the festive season. Plus, it adds a personal touch to your home decor.

Materials and Tools
To make your wooden wreath, you’ll need a few basic things. These include:
- Wooden dowels or branches
- Wire or foam wreath frame
- Decorative items like evergreen branches, pinecones, and ribbons
- Hot glue gun
- Wire cutters
Assembly Instructions
Assembling your wooden wreath is easy. First, cut your wooden dowels or branches to the right length. Then, attach them to the wire or foam wreath frame with hot glue or wire. After that, decorate your wreath with evergreen branches, pinecones, and ribbons for a festive look.
For more DIY Christmas decoration ideas, check out our guide on DIY Christmas ornaments. It’s full of inspiration for your holiday decor.
Seasonal Decorations for Wreaths
Wooden wreaths are versatile. You can decorate them in many ways. Here are some ideas:
- Adding evergreen branches and pinecones for a traditional look
- Using ribbons and bows in holiday colors
- Incorporating ornaments or fairy lights for extra sparkle
By following these steps, you can make a stunning wooden Christmas wreath. It will add festive charm to your home. Whether you like simple designs or something more elaborate, your wreath will be unique and beautiful.
Handcrafted Wooden Centerpieces
Handcrafted wooden centerpieces add a special touch to any holiday table. They can be the centerpiece of your decor, bringing warmth and character to your gatherings.

Creative Ideas for Centerpieces
Creating a stunning wooden centerpiece is all about your imagination. You can choose a simple design or something more elaborate. Here are a few ideas to get you started:
- Use a wooden candle holder as the base and surround it with evergreen branches, pinecones, and ribbons.
- Create a wooden tray centerpiece filled with seasonal fruits, nuts, and ornaments.
- Design a wooden Christmas tree or village scene to be the centerpiece of your table.
These ideas can be customized to fit your personal style and holiday theme, making your centerpiece truly unique.
Sourcing the Right Wood
The type of wood you choose greatly impacts your centerpiece’s look. Consider reclaimed oak or pine for a rustic look, or maple or cherry for something modern.
Think about the texture, color, and durability you need. You can find wood at local stores, craft stores, or online.
Arranging Your Centerpiece
Once you have your wood, it’s time to arrange it. Start with the largest piece in the center, then add candles, greenery, or ornaments.
Balance your arrangement to avoid overwhelming the table. Your centerpiece should be a focal point, not a distraction. Try different layouts until you find the perfect one.
With these tips and ideas, you’re ready to create a handcrafted wooden centerpiece. It will be the highlight of your holiday decor. Happy crafting!
Vintage Wooden Crates for Displays
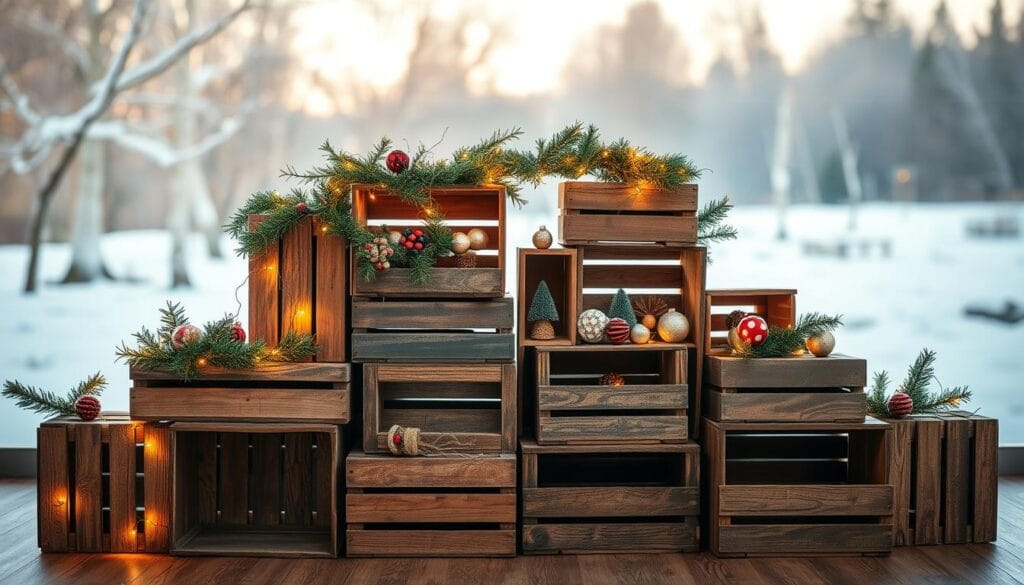
Vintage wooden crates are perfect for a rustic holiday display. They add a unique charm to your Christmas decorations. This makes your holiday display even more festive.
Finding Crates
To find the right crates, check local antique shops, thrift stores, or online. Websites like Craigslist or Facebook Marketplace are good places to look. You can also ask local farmers or artisans if they have crates to sell.
Look for crates with interesting textures or finishes. This adds character to your display.
Decorating Suggestions
Once you have your crates, it’s time to decorate. Here are some ideas:
- Fill the crates with evergreen branches, pinecones, and candles for a cozy look.
- Display your favorite Christmas decorations, like vintage ornaments or festive figurines.
- Add twinkling lights or fairy lights for a magical feel.
- Combine crates with old lanterns or metal containers for a unique display.
For more DIY Christmas decor ideas, visit https://homedecorwoodworking.com/50-diy-apartment-christmas-decor-ideas/.
Year-Round Uses
Vintage wooden crates are great for more than just Christmas. They can add a rustic touch to your home all year. Here are some ideas:
- Use them as planters for outdoor plants or herbs.
- Fill them with seasonal flowers or greenery to match your decor.
- Store books, magazines, or other items in the crates to keep your living room tidy.
- Create a unique coffee table or side table by stacking crates and adding a glass top.
You can also display your favorite decorative items, like vintage vases or sculptures. The possibilities are endless!
Handmade Wooden Candle Holders
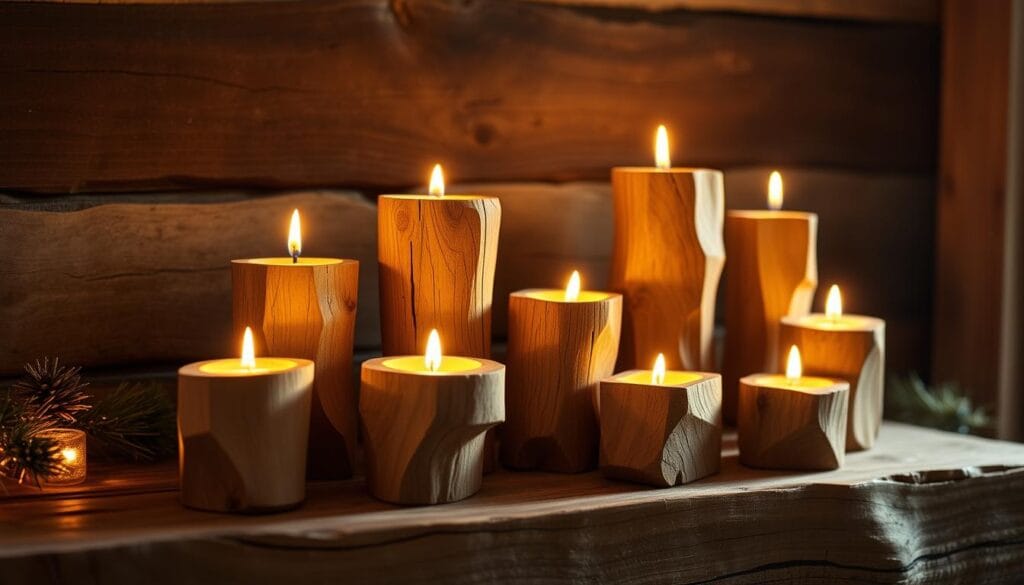
Handmade wooden candle holders are a great addition to holiday decor. They bring a cozy feel to your home. Lighting candles during the holidays is special, and these holders make it even more magical.
Safety Tips When Working with Wood
Before starting, let’s talk about safety with wood. Always wear safety glasses and a dust mask. This helps prevent injuries from sawdust and debris.
- Use proper lifting techniques to avoid straining your back.
- Keep your workspace well-ventilated to prevent inhaling wood dust.
- Use a push stick or other safety device when operating power tools.
Decorative Finishes
After making your candle holders, it’s time for a decorative finish. You can stain or paint them to match your decor. Or, leave them natural for a rustic look.
Some popular finishes include:
- Minwax stain for a rich, warm color.
- White paint for a clean, modern look.
- Natural wax for a subtle, textured finish.
Placement Ideas
Now, let’s talk about where to put your candle holders. You can use them as a centerpiece on your dining table. Or, place them on a mantel to brighten up your living room.
Try grouping multiple holders for a dramatic look. Or pair them with evergreen branches and pinecones for a festive display.
Enjoying your handmade wooden candle holders is even more special when you leave out cookies and milk for Santa. They create a warm, welcoming atmosphere for your holiday celebrations.
Wood Slice Coasters for Holiday Gatherings
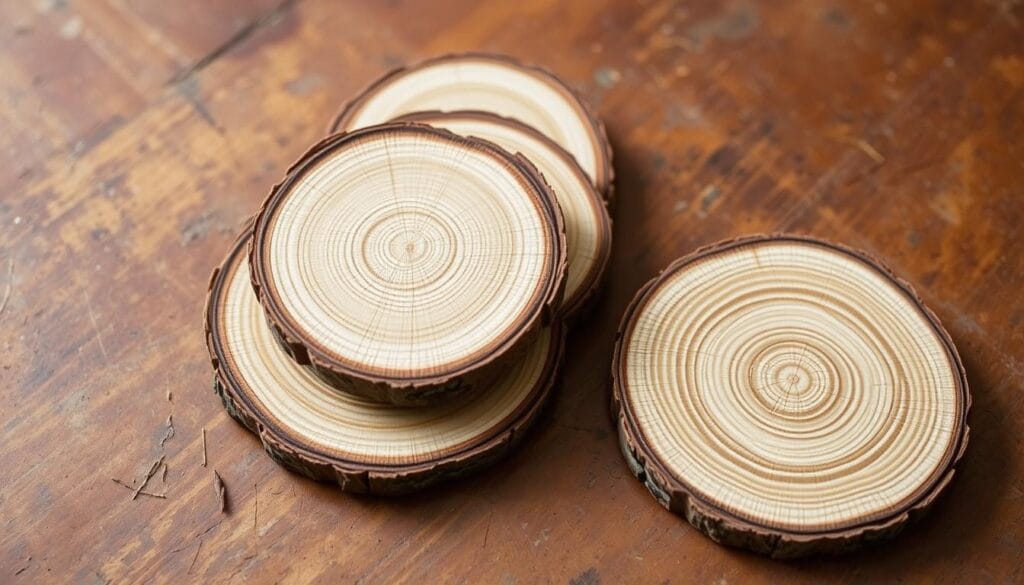
Wood slice coasters are both practical and beautiful for holiday gatherings. They protect your furniture and add rustic charm. I’ll show you how to make your own.
Sourcing and Slicing Wood
First, find the right wood for your coasters. Choose hardwoods like maple, walnut, or cherry. They are dense and less likely to warp.
You can buy pre-cut wood slices or cut your own. Use a bandsaw or wood lathe for slices about 1/4 inch thick.
Finishing Techniques
After cutting your wood, apply a finish. Use varnish or polyurethane to protect and enhance the wood. Follow the manufacturer’s instructions for application.
For a rustic look, leave the wood unfinished or stain it. Always seal with a clear coat to prevent dryness or cracking.
Usage during Festivities
Your wood slice coasters are great for holiday gatherings. They protect furniture and add warmth to your decor. Use them as bases for small centerpieces, like holiday candies or nuts.
Consider personalizing your coasters with a name or holiday message. A wood burning tool can add a special touch. They make thoughtful gifts for friends and family.
DIY Wooden Stockings Holders
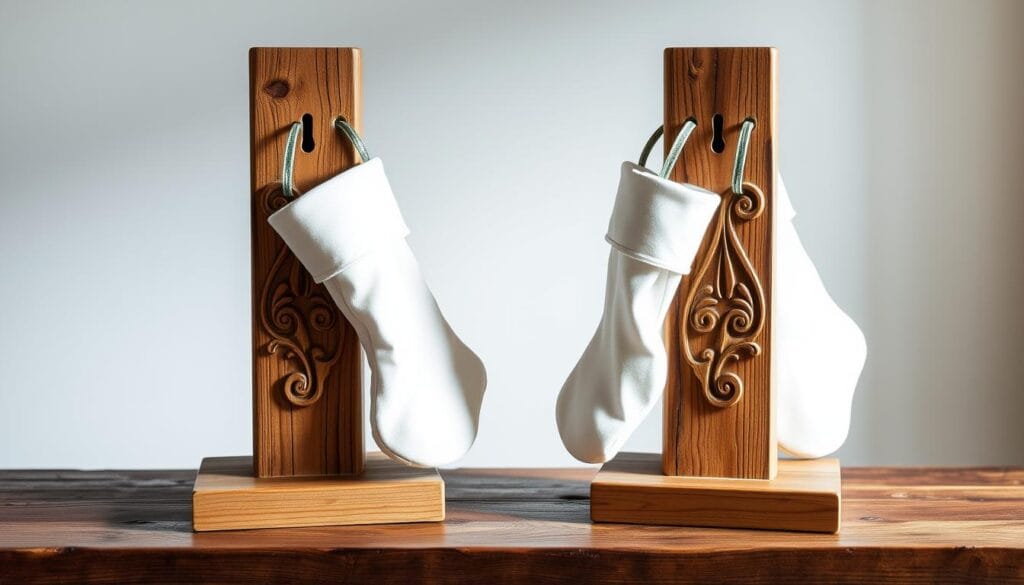
Making a wooden stocking holder is a fun way to personalize your holiday decor. It’s easier than you might think. With basic materials and DIY skills, you can craft a beautiful holder that will become a holiday tradition.
Different Designs to Consider
There are countless designs for wooden stocking holders. You can pick from modern, sleek styles or rustic, traditional ones. Using reclaimed wood or adding decorative trim can make your holder stand out.
- Simple and minimalist designs that fit with a modern aesthetic
- Rustic and distressed finishes that add a cozy touch
- Ornate and decorative designs that feature intricate carvings or trim
Steps to Create Your Holder
Building your wooden stocking holder is a rewarding DIY project. Here’s a step-by-step guide to help you get started:
- Cut your wood to the desired length and width for your holder
- Assemble the pieces using wood glue and nails or screws
- Add a decorative trim or finish to give your holder a personalized touch
- Attach hooks or a rod to hang your stockings
You can hang your stockings from a banister with garland. Use floral wire or zip ties to hide them in the greenery. This adds a beautiful, festive touch to your home.
Adding Holiday Flair
After making your wooden stocking holder, it’s time to add holiday flair! Think about adding festive decorations like:
- Garlands or swags made from evergreen branches or holly
- Red or green ribbons or bows to add a pop of color
- Pinecones or ornaments to add a touch of whimsy
With these tips, you can make a beautiful, functional wooden stocking holder. It will become a cherished holiday tradition.
Wooden Snowflakes for Wall Decor
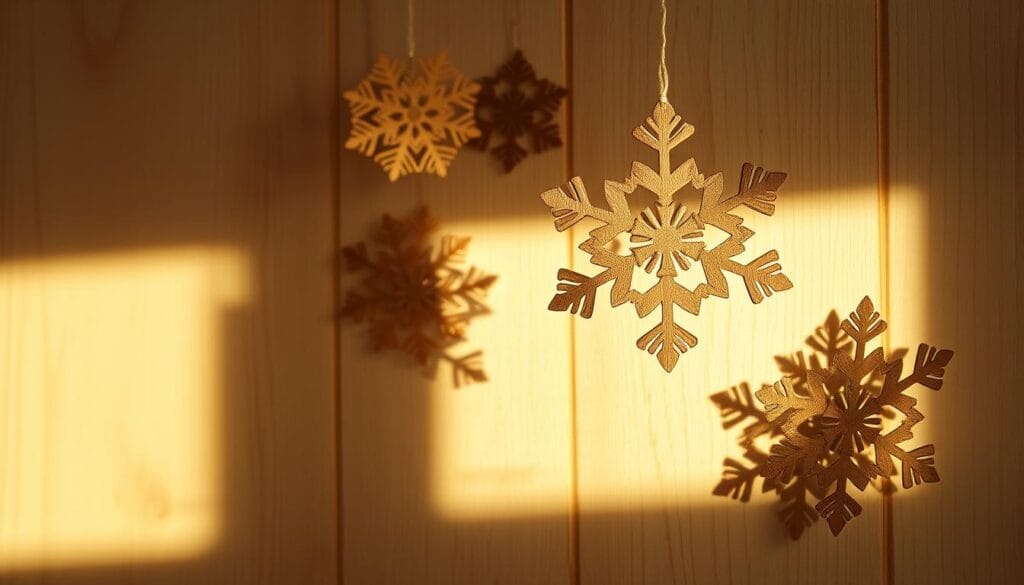
As the holiday season comes near, I’m excited to share a fun DIY project with you. Wooden snowflakes can add magic to your home decor. This project is great for crafters of all levels.
Let’s dive into designing snowflake patterns. You can make your own designs or use templates. Feel free to draw inspiration from nature or shapes for unique snowflakes.
Designing Snowflake Patterns
Here are some tips for designing snowflakes:
- Start simple if you’re new to woodworking or crafting.
- Try different shapes and sizes for a unique look.
- Use graph paper for symmetrical patterns.
For detailed designs, mix patterns or add glitter or paint. Remember, the most important thing is to have fun and be creative!
Cutting Tips and Techniques
Now, let’s cut out your wooden snowflakes. Here are some tips for precise cuts:
- Use a coping saw or a jigsaw with a fine-tooth blade.
- Sand the edges for a smooth finish.
- For complex designs, a scroll saw is best.
Hanging Ideas
Now, let’s display your wooden snowflakes. Here are some hanging ideas:
- Hang them from the ceiling or a window with thread or fishing line.
- Make a garland by stringing multiple snowflakes together.
- Attach a small nail or hook for wall hanging.
You can also decorate your snowflakes with paint, glitter, or other embellishments. This DIY project adds festive charm to your home. It creates a rustic ambiance perfect for the holiday season.
Creating a Wooden Christmas Village
Imagine a charming wooden Christmas village on your mantel or windowsill. It’s filled with miniature houses and twinkling lights. This adds a personal touch to your holiday decor and creates a cozy atmosphere. Your family and friends will love it.

Sourcing Miniature Structures
The first step is to find the miniature structures. You can look at craft stores, online, or make your own. Look for houses, churches, and shops that fit your theme. Make sure they match in scale and style.
Think about the look you want for your village. Do you like a traditional or modern style? Pick structures that show off your personal style and holiday decor.
Assembly and Placement
After getting your structures, it’s time to set them up. Start by arranging them on a flat surface like a mantel or side table. Try different layouts until you find one that looks good.
To make your village interesting, use different textures and heights. Use wooden crates or boxes to add levels. Adding greenery like small pine branches or holly makes it feel more festive.
Lighting Up the Village
Lighting is key to making your village come alive. Use LED candles or fairy lights for a warm glow. They highlight your structures and make the room cozy.
Start with the background lights and move forward. Wrap fairy lights around trees and buildings. Place LED candles in windows or on doorsteps. Make sure to keep cords organized for a clean display.
Building a wooden Christmas village is a fun DIY project. It can become a special holiday tradition. With creativity and planning, you can make a beautiful holiday display that will be the heart of your home decor.
Personalized Wooden Gift Tags
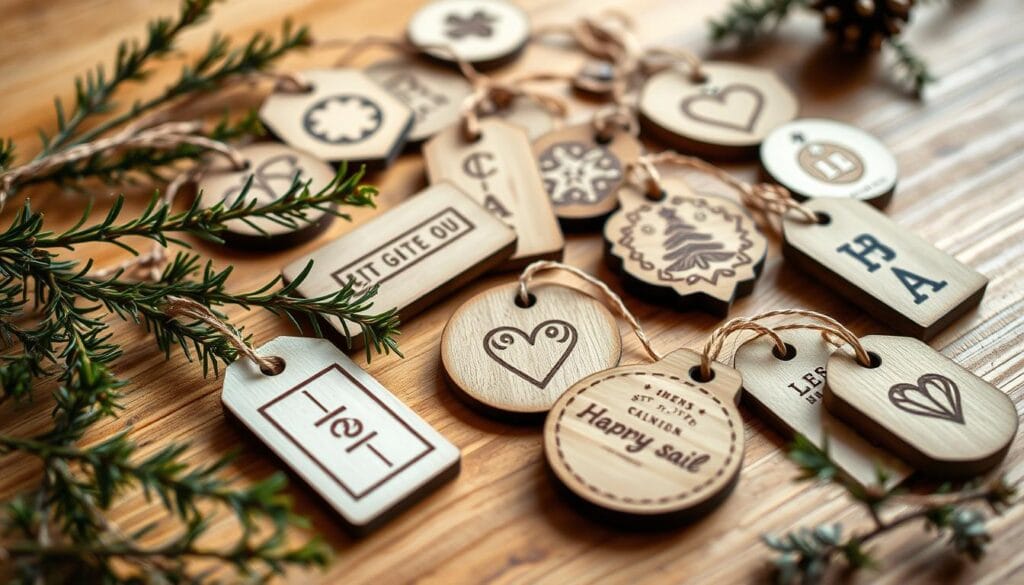
Add a personal touch to your gifts with handmade wooden gift tags this Christmas! Gift-giving is a cherished tradition during the holiday season. Customizing your gifts with personalized tags can make them even more special.
When it comes to creating wooden gift tags, the type of wood you choose is important. It greatly impacts the overall look and feel. Let’s explore some popular wood options for your gift tags.
Wood Types for Gift Tags
Different types of wood offer unique characteristics that can enhance your gift tags. Here are a few options to consider:
- Balsa Wood: Soft and easy to work with, balsa wood is perfect for beginners.
- Birch Wood: A popular choice for its light color and fine grain, birch wood is ideal for intricate designs.
- Cedar Wood: Known for its aromatic scent and natural beauty, cedar wood adds a touch of warmth to your gift tags.
Crafting Instructions
Crafting your own wooden gift tags is a fun and rewarding DIY project. Here’s a simple step-by-step guide to get you started:
- Cut your chosen wood into desired shapes and sizes.
- Sand the edges to smooth them out.
- Add a personal message or the recipient’s name using a marker or engraver.
- Finish with a coat of varnish or oil to protect the wood.
Customization Ideas
To make your wooden gift tags truly special, consider adding a personal touch. You can:
- Add a special message or the recipient’s name.
- Use different shapes and sizes to match your gift wrapping.
- Incorporate other materials like ribbons or twine for added texture.
By following these simple steps and ideas, you can create beautiful, personalized wooden gift tags. They will make your holiday gifts stand out. Happy crafting!
Opting for a Wooden Nativity Scene
Creating a wooden Nativity scene is a unique and heartfelt holiday project. It’s a beautiful and meaningful addition to any holiday decor. Making one can be a fun and rewarding experience.

Sourcing Plans or Kits
To start, find plans or kits for your wooden Nativity scene. Look online or in craft stores. For example, check out this DIY wood block Nativity tutorial for a unique idea. Choose a plan or kit that matches your skill level and materials.
Crafting Tips
With your plans or kits in hand, it’s time to craft. Here are some tips:
- Use high-quality wood and materials for a durable Nativity scene.
- Follow instructions carefully and take your time for each piece.
- Add a personal touch, like a special finish or decorations.
Enhancing Your Nativity Display
To make your Nativity display better, add some decorations. Consider:
- A festive holiday backdrop, like a red or green cloth.
- Candles or fairy lights for a warm ambiance.
- Evergreen branches or holly for natural beauty.
By following these tips and adding your own touch, you can create a beautiful wooden Nativity scene. It will become a treasured holiday tradition.
Unique Wooden Wall Art for the Holidays
Add warmth to your holiday decor with unique wooden wall art. A well-crafted wooden piece can make a room cozy and inviting. We’ll look at different themes and the tools and techniques to create your own masterpiece.
Themes to Explore
The theme of your wooden wall art is key. You can choose classic Christmas symbols like trees and stars. Or, go for something unique with abstract designs or personalized messages.
- Geometric patterns made from reclaimed wood
- Customized family names or dates
- Intricate wooden snowflakes or other festive motifs
Consider decorating a door or window frame with stars. It’s a simple yet impactful way to add holiday charm.
Tools and Techniques
To make your own wooden wall art, you’ll need basic tools and creativity. Choose the right wood, like pine or cedar, for your design. Then, use cutting, sanding, and assembling to bring your design to life.
You’ll need a jigsaw or circular saw for cutting, sandpaper for smoothing, and a drill for holes. Adding a finish can protect the wood and enhance its look.
Placement Ideas
After making your wooden wall art, think about where to display it. Place it above a mantel or fireplace for a focal point. Or, hang it on a large wall or staircase for drama.
Choose a spot where you can enjoy it all holiday season. With creativity and basic DIY skills, you can make a beautiful piece of wooden wall art.
Conclusion: Embrace DIY Wood Christmas Decor
We’ve explored 15 unique wooden Christmas projects together. These ideas will help you create a warm and cozy home. Your family and friends will love it for years.
DIY wood Christmas decor is more than just decorating. It’s about starting a holiday tradition that shows your style. Whether you’re new to crafting or experienced, dive into wooden Christmas crafts. Make them your own and enjoy the festive spirit.
Now, grab your tools and choose your favorite crafts. Start making your home festive. Happy crafting!
