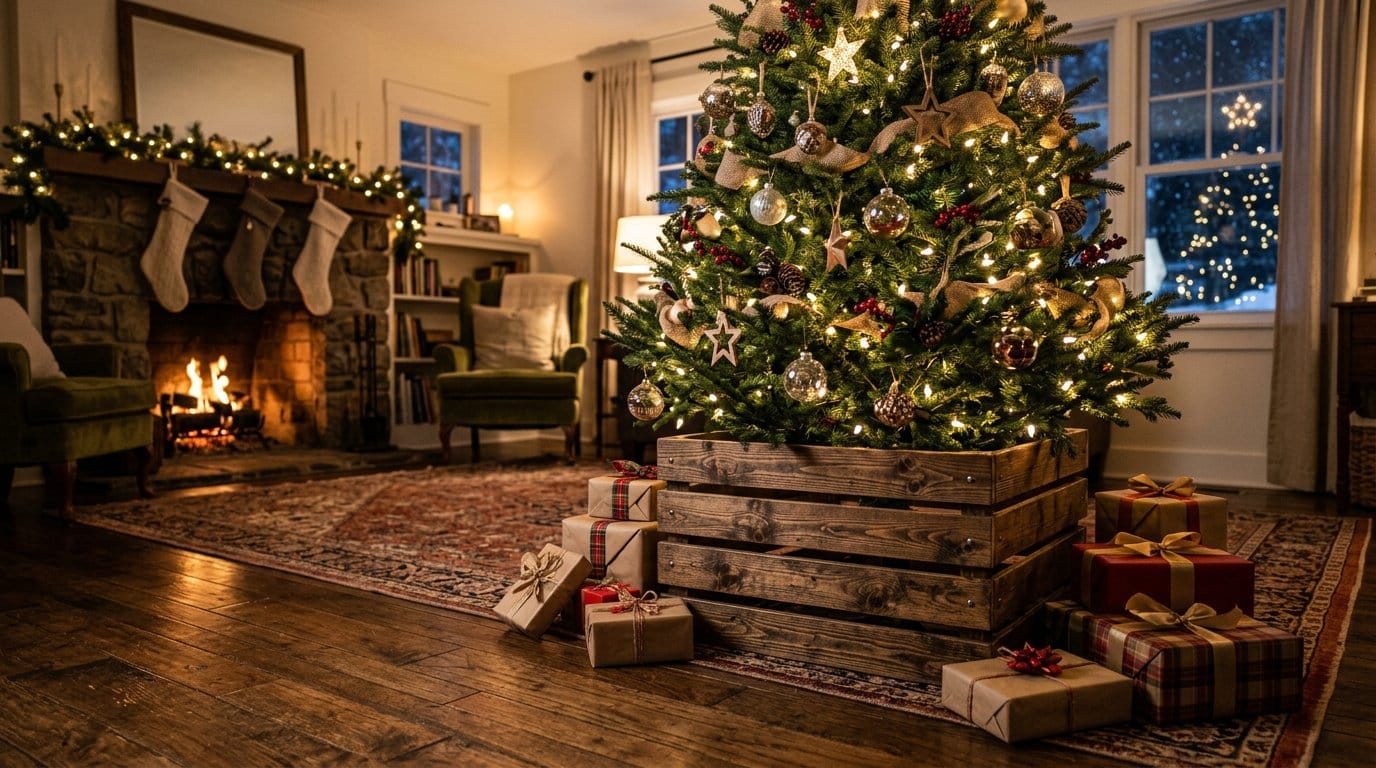
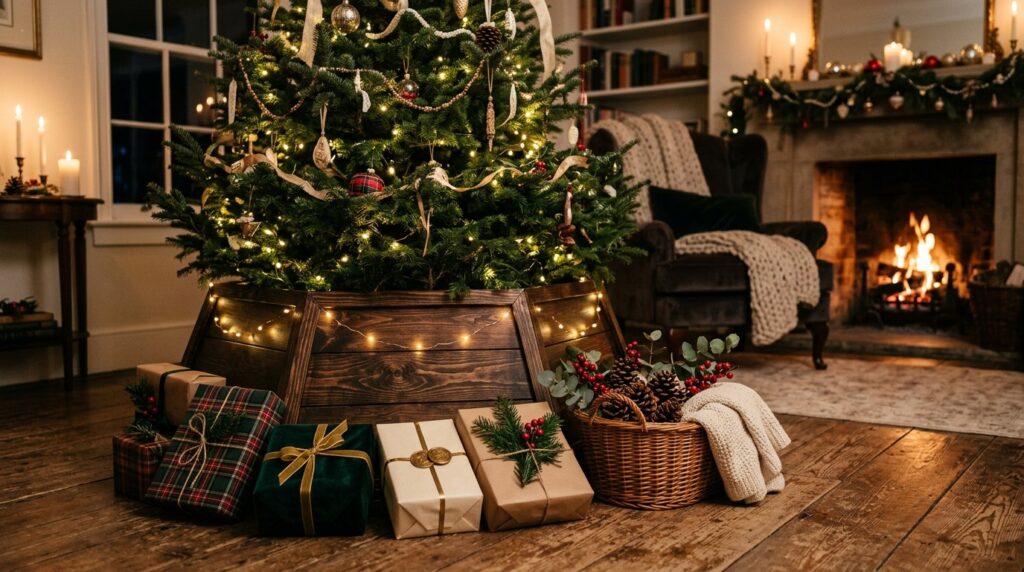
A tree collar does one unglamorous job better than any fabric skirt: it hides the metal stand, the extension cord and the water tray, and then stays exactly where you put it for six weeks. Fabric skirts get kicked, creased and covered in pine needles. A wooden collar looks like furniture.
Building a DIY wooden Christmas tree collar also solves the two problems that make people give up on buying one. The catch is sizing and price. Store-bought wooden collars run $60–$150 for a 26–30 inch box, and they still may not fit your stand or clear your lowest branches. Building one takes an afternoon, costs $35–$60 in lumber, and lets you cut it to your own tree.
This guide gives you three builds with full cut lists — a slatted crate collar, a solid four-board box, and a fold-flat hinged version you can store under a bed and open without lifting the tree — plus the three measurements you must take before you buy a single board, the finishing schedules, and the cord-and-watering details that decide whether it is practical or just decorative.
Quick answer: measure the widest span of your tree stand (leg to leg, corner to corner) and the floor-to-lowest-branch height. Build the collar inside at least 1 inch wider than the stand and at least 1 inch shorter than the lowest branch. For most 7–7.5 ft trees that lands on an outside footprint of 26½ × 26½ inches and 11 inches tall. Cut the front and back panels to stand span + 2½ inches, the sides to 1½ inches shorter than that, and you have a box that drops straight over the stand.
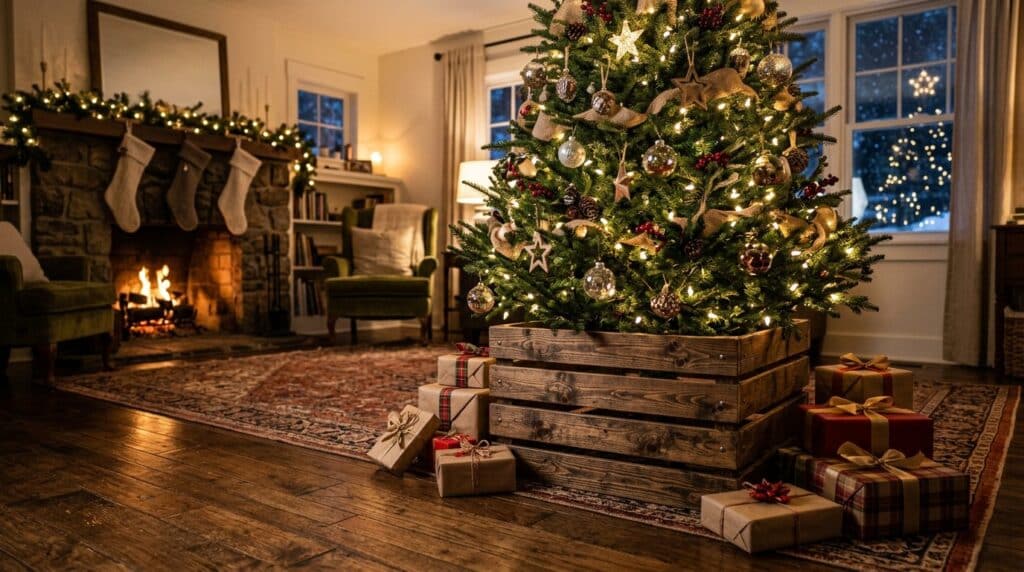
Why a wooden collar instead of a fabric skirt
Both hide the stand. Only one of them stays looking the way you set it up.
- It holds its shape. Nothing to straighten every time someone walks past, and no fabric hem for a toddler or a cat to drag.
- It hides more. A 10–11 inch box covers the stand, the water tray and the first loop of cord. A skirt mostly covers the floor around them.
- It is a surface. Gifts stack against it, a basket of spare bulbs sits inside it, and a nativity or a lantern sits on top if you build it with a flat lid option.
- It is reusable. Solid pine, stained or painted, holds up for a decade. It also stores flat if you build the hinged version.
- It matches the rest of the room. Stain it to your floor, paint it to your trim. A fabric skirt only ever matches Christmas.
What it will not do: cushion a hard floor, hold a pile of gifts on soft carpet, or let you water a live tree without a plan. Those are solvable — see the watering section below.
Measure first: three numbers before you buy lumber
Almost every failed DIY wooden Christmas tree collar is one built to the wrong measurement. The width of the tree’s branches is irrelevant. You are fitting a box around the stand.
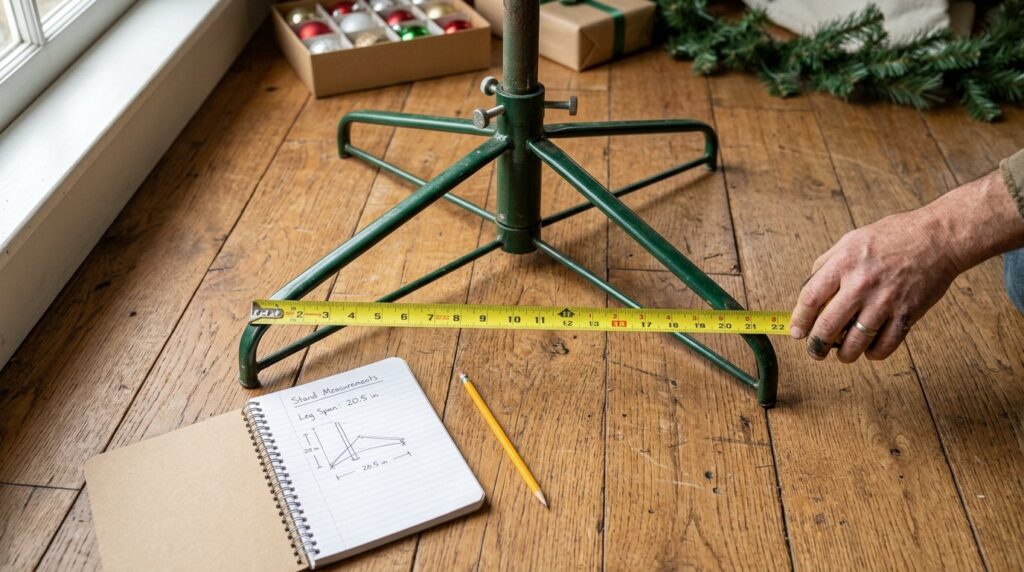
- Stand span. Set the tree up and measure the widest distance across the stand’s legs or base plate — corner to corner on a square stand, leg tip to leg tip on a four-leg stand. This is your critical number.
- Floor to lowest branch. Measure from the floor straight up to the lowest branch tips, with the tree decorated. Your collar has to be shorter than this or the branches will sit on the rim and splay.
- Water tray size and access. Note how far the tray sticks out and which side faces the room. If you have a live tree, you need to reach the tray with a watering can without disassembling anything.
| Stand’s widest span | Minimum inside width (span + 1″) | Front & back panels | Side panels |
|---|---|---|---|
| 18″ | 19″ | 20½” | 19″ |
| 22″ | 23″ | 24½” | 23″ |
| 24″ | 25″ | 26½” | 25″ |
| 28″ | 29″ | 30½” | 29″ |
| 32″ | 33″ | 34½” | 33″ |
The formulas behind that table, so you can size any tree: front and back = stand span + 2½” (1″ clearance plus two ¾” panel thicknesses), and sides = front/back − 1½” because the side panels butt between them. For height, use the nearest stock board at or under your lowest-branch measurement: a 1×10 is 9¼” actual, a 1×12 is 11¼” actual. Nobody ever regretted a collar that was one inch shorter.
Build 1: the slatted crate collar (about $35, 90 minutes)
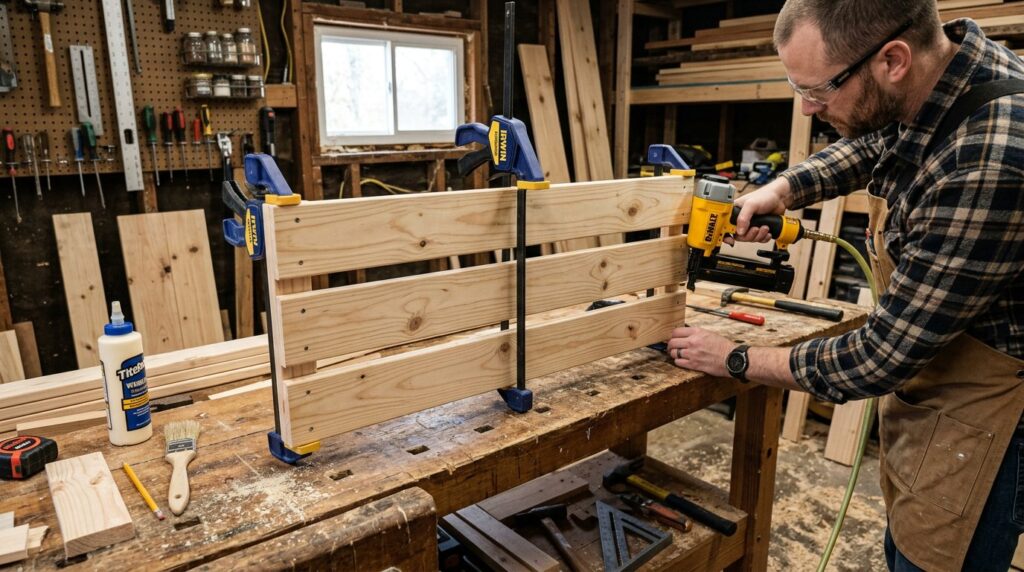
The cheapest build and the one that reads most “farmhouse”. Three horizontal slats per panel with a ¼” gap between them, nailed to vertical cleats at each end, then the four panels joined into a box. Panel height is 11″ — three 3½” slats plus two ¼” gaps.
Sized for stands up to 24″ span (26½” × 26½” outside, 11″ tall).
| Part | Material | Cut | Qty |
|---|---|---|---|
| Front/back slats | 1×4 | 26½” | 6 |
| Side slats | 1×4 | 25″ | 6 |
| Corner cleats | 1×2 | 11″ | 8 |
Shopping list: 4 × 1×4 × 8 ft pine (about $7.50 each), 1 × 1×2 × 8 ft (about $4.50), 1¼” brads or 1¼” screws, wood glue, 1¼” screws for panel-to-panel joints, sandpaper, finish.
Steps
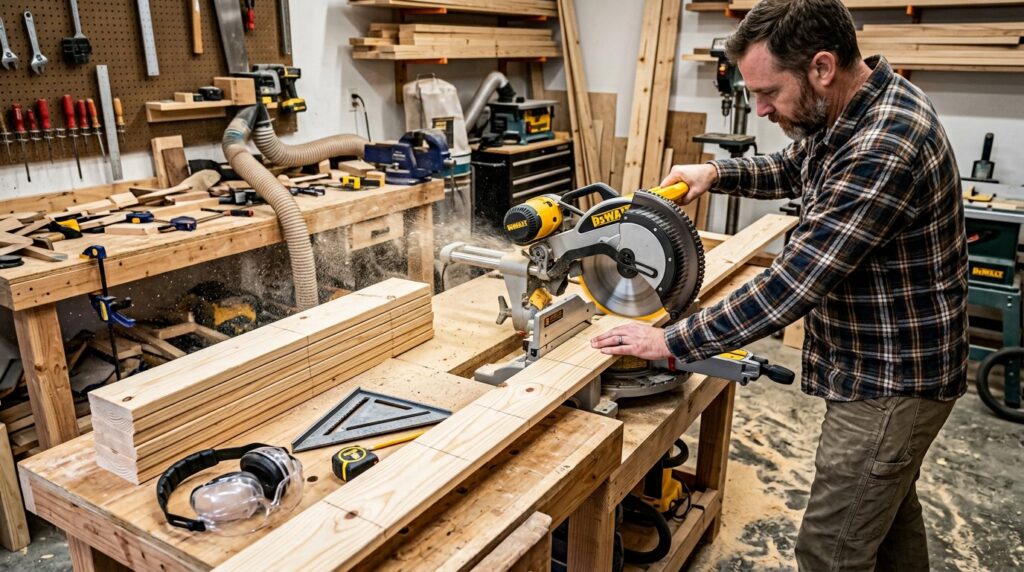
- Cut all slats and cleats. Set a stop block on the miter saw so all six front/back slats and all six side slats come out identical — mismatched slats are what makes a crate collar look homemade in the bad way.
- Lay out one panel face down. Three slats, ¼” spacers between them (a scrap of ¼” ply or two business cards). Check the panel is square by measuring both diagonals.
- Glue and nail the cleats. Two cleats per panel, flush with the panel ends, 1¼” brads through the cleat into each slat. Glue first, nails second, and keep the nails away from the slat ends so nothing splits.
- Build all four panels the same way — two at 26½”, two at 25″.
- Assemble the box. Stand the panels up with the sides butting between the front and back, clamp the corners, predrill, and drive 1¼” screws through the cleat of one panel into the edge of the next. Two screws per corner is plenty.
- Sand the cut edges, fill the nail holes and finish (see the finishing section).
Build 2: the solid four-board box (about $44 in lumber, 30 minutes)
A DIY wooden Christmas tree collar does not have to mean slats and gaps. Four pieces of 1×12, butt-jointed into a box, get you there in half an hour. No slats, no gaps, nothing to line up — the fastest build here and the one that suits a modern or painted room.

Sized for stands up to 28″ span (30½” × 30½” outside, 11¼” tall).
| Part | Material | Cut | Qty |
|---|---|---|---|
| Front / back | 1×12 | 30½” | 2 |
| Sides | 1×12 | 29″ | 2 |
| Corner braces | 2½” steel angle | — | 4 |
Shopping list: 2 × 1×12 × 8 ft common board (about $20–$24 each), 4 corner braces, ¾” screws, wood filler, sandpaper, paint or stain. Note that 1×12 boards are often sold as “common board” and can cup — pick straight ones and store them flat for a day before cutting.
Steps
- Cut the four panels — two at 30½”, two at 29″. Square every cut; a box that is out of square by ⅛” will not sit flat on the floor.
- Sand the faces and edges before assembly. It is much easier flat than assembled.
- Butt-joint the box on a flat floor: front and back full width, sides between them. Glue the joints, clamp, and fix each corner with a brace screwed on the inside with ¾” screws.
- Optional taper. For a slimmer silhouette, mark ¼”–5⁄16″ in from each side at the top edge and rip a gentle taper on the table saw with the blade tilted about 7.5°. Do this before assembly, not after.
- Fill, sand, finish. Two coats of paint or one coat of stain plus polyurethane.
Build 3: the fold-flat hinged collar (storage plus watering access)
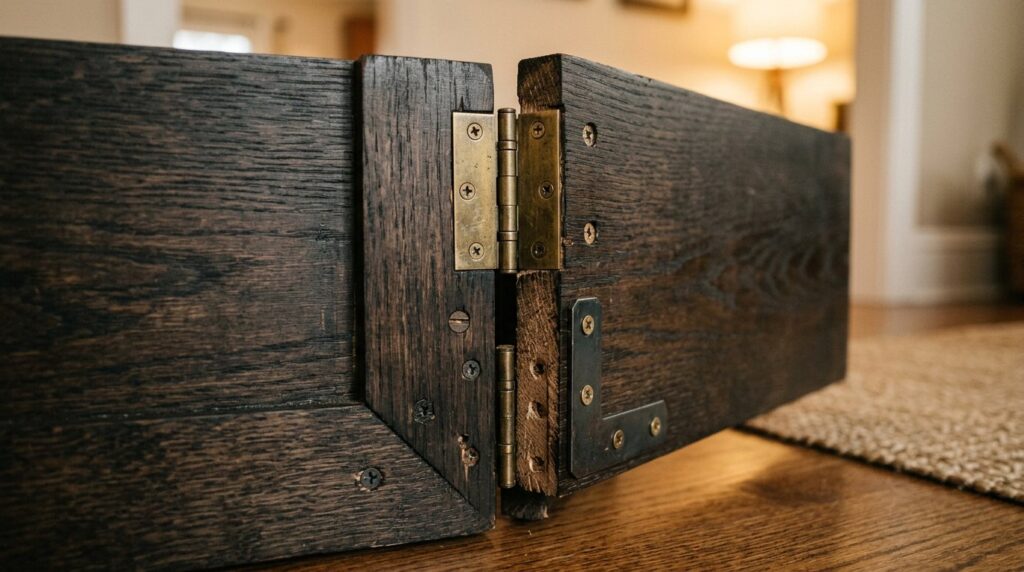
This DIY wooden Christmas tree collar uses the same panels as Build 2, with the corners joined by hinges instead of glue. Two opposite corners get hinges; the other two get small hasps or hook-and-eye catches. Undo the hasps and the box opens into two L-shapes, so you can lift it off, water a live tree, or store it flat — 30½ × 11¼ × about 2 inches.
| Part | Cut / spec | Qty |
|---|---|---|
| Front / back panels | 30½” (1×12) | 2 |
| Side panels | 29″ (1×12) | 2 |
| Hinges | 2″ brass butt hinges | 4 |
| Hasps or hook-and-eye | 1½”–2″ | 2 |
| Felt pads | 1″ self-adhesive | 8 |
Steps
- Cut and finish all four panels first. Hinges are far easier to fit on finished, flat panels than on an assembled box.
- Mark the hinge positions 1½” down from the top edge and 1½” up from the bottom edge on the inside faces, then mortise or simply surface-mount the hinges. Surface mounting is fine on ¾” pine and takes ten minutes.
- Hinge two opposite corners — front-left and rear-right, for example. Fit both hinges, then fold the box closed and check the corners meet flush before doing the other two corners.
- Fit the hasps on the remaining two corners, on the outside so they are easy to reach under a low branch.
- Add eight felt pads to the bottom edges. They protect the floor, let the collar slide instead of scraping, and give a 1/16″ air gap that stops the bottom edge marking a damp floor.
For a live tree, the hinged version is the one to build. Two hasps and the front half lifts away — no lifting the tree, no dragging a heavy box across the floor with a water tray inside it.
Three more shapes worth knowing
If you want your DIY wooden Christmas tree collar to look nothing like a box:
- Round slatted collar. Cut two rings from ½” plywood — the bottom ring 1″ wider than the stand, the top ring 3–4″ smaller for a taper — join them with four spacer blocks, then nail 1½”–2″ wide slats around the outside. Count slats by dividing the top ring’s circumference by the slat width plus a small gap: a 19″ diameter top ring has a 59.7″ circumference, so about 40 slats at 1½”.
- Laced tapered collar. Twenty-four identical boards, each tapered about ¼” per side and drilled 1½” in from each end for 3 mm cotton cord; lace them together, knot the ends inside, staple. It folds up like a slatted blind and looks handmade in the best sense. This is the version to build if you have a drill press and patience.
- Hexagonal collar. Six panels mitered at 30° for a more contemporary look. More cutting, no corner hardware needed, and it hides a round stand beautifully.
Finish: paint, stain or bare wood
| Look | Finish schedule | Best for | Drying time |
|---|---|---|---|
| Farmhouse white | Primer, 2 coats satin enamel, light sand between coats | Crate and box builds, bright rooms | 24 h between coats, 72 h before use |
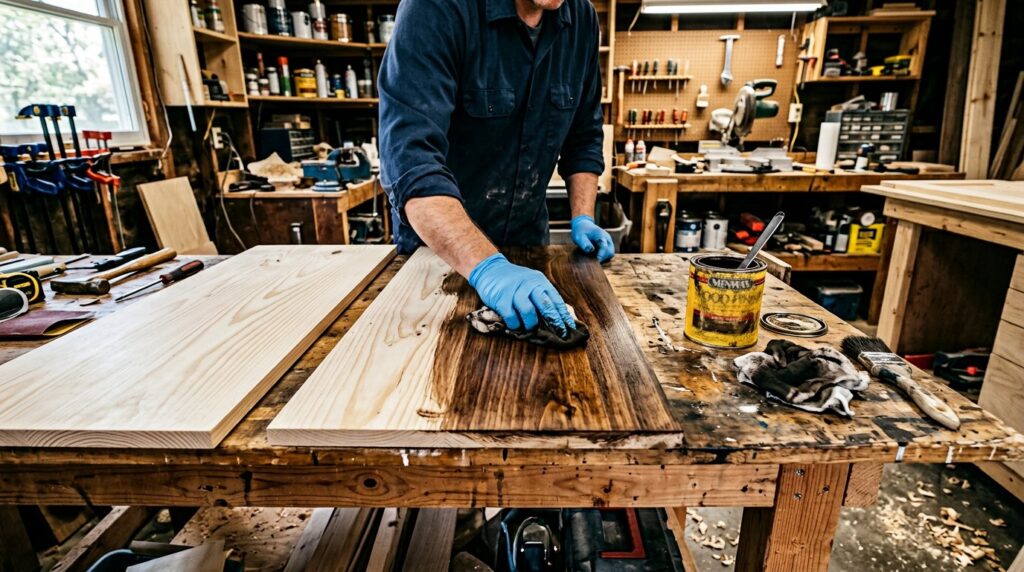
| Dark walnut | Pre-stain conditioner, stain, 2 coats wipe-on poly | Solid box, trays, dark floors | 24 h stain, 2 h between poly coats |
| Rustic two-tone | Stain, then chalk-finish paint, sand through the edges, wax | Crate build, vintage styling | 24 h between stages |
| Bare wood + wax | Sand to 220, one coat clear wax | Pine 1×12 boxes, Scandi rooms | 30 min buff, 12 h before use |
Two rules matter more than the schedule when you finish a DIY wooden Christmas tree collar. Use a pre-stain conditioner on pine — without it, stain goes blotchy across the growth rings and no amount of sanding fixes it. And finish before you assemble, or at least finish the inside faces first: the inside of a collar is where the water tray splashes, and bare pine stains black within one season. If you want the woodworking detail, our guides on choosing wood for woodworking and sanding and finishing cover species choice and grit sequence.
Tree stand fit, watering and cord safety
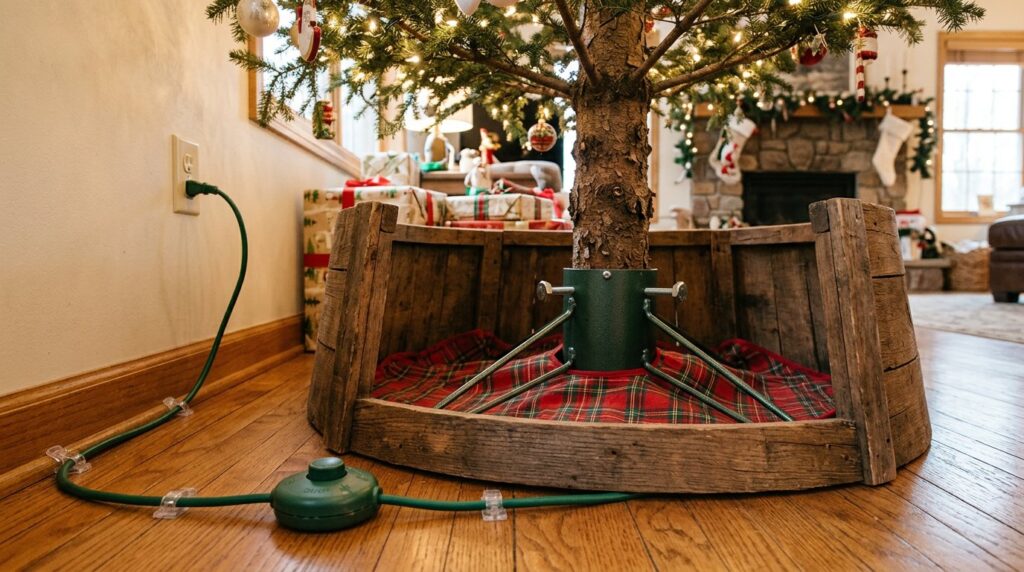
Once your DIY wooden Christmas tree collar is in place, it is a box around an electrical appliance standing in a tray of water. Handle it deliberately.
- Cut a watering notch. A 3″ × 3″ notch in the bottom edge of one panel, or the hinged front on Build 3, lets you fill a live tree’s tray without removing anything. Put the notch where you can reach it from the room, not against the wall.
- Keep the cord out of the water tray. Route the lead along the floor beside the stand and clip or tape it to the underside of the collar’s bottom edge, well clear of the tray. Never let a connection sit inside a tray that gets topped up.
- Put the switch outside. A foot switch or a short power strip on the floor outside the collar saves crawling underneath every evening. Inside the collar, keep the strip off the floor if the tree is real.
- Don’t pinch anything. Leave a small gap where the cord passes under the collar edge rather than trapping the cable — a pinched lead is a fire risk and a pinched cord will also lift one side of the collar off the floor.
- LED lights only near the wood, and keep any bulb away from dry pine needles and from paper or fabric decorations. If you use a real candle in a lantern on top, put it on a metal or glass tray, never directly on the wood.
- Floor protection. Felt pads under a painted or stained box; a sheet of greaseproof paper or a plastic tray under the stand if you water a live tree, so a spill doesn’t wick into the collar’s bottom edge.
What it costs
| Build | Lumber | Hardware | Finish | Total (2026, US big-box) |
|---|---|---|---|---|
| Crate collar (26½”) | $35 (4 × 1×4, 1 × 1×2) | $6 (brads, screws, glue) | $12 | about $53 |
| Solid box (30½”) | $44 (2 × 1×12) | $5 (corner braces) | $12 | about $61 |
| Fold-flat hinged (30½”) | $44 | $19 (hinges, hasps, pads) | $12 | about $75 |
| Round slatted (23″ base) | $38 (plywood offcuts + 1×12 for slats) | $6 | $12 | about $56 |
| Store-bought comparison | — | — | — | $60–$150 (up to $200 for large sizes) |
A DIY wooden Christmas tree collar at these prices pays for itself against a store-bought collar the first season. Prices are for 2026 US retail and move by region; a scrap pile and a can of finish you already own can take the crate build under $20. Building two collars from the same boards — one for your tree, one as a gift — is where the maths gets genuinely good, because the second one costs lumber only.
Five mistakes to avoid
- Sizing to the tree instead of the stand. Branches spread; the stand does not. The collar has to clear the stand’s widest span with an inch to spare.
- Building it too tall. A collar that touches the lowest branches pushes them up and outward, and the tree suddenly looks shorter and fatter. Stay at least an inch under the lowest branch.
- No clearance inside. A box that touches the stand transfers every wobble to the collar and marks the finish. One inch of clearance, minimum.
- Nailing ¾” pine without predrilling. Slat ends split, especially near a board’s end grain. Predrill near every end, or use brads at an angle into the cleat.
- Treating it as a step. A collar is a decorative box, not a base for a child to climb or a heavy basket of logs to rest on. If pets or toddlers are in the room, use the solid box build — it has no gaps for small fingers.
Care, storage and next season
- Wipe, don’t soak. A damp cloth removes dust and sticky pine resin; a wet collar will swell at the joints.
- Dry it before storage. If the collar got splashed, let it sit in a dry room for two days — storing a damp box is how you get mould and warped panels. Our guide to preventing warping and cracking explains why flat storage matters.
- Store it flat and off the floor. The hinged build folds to about 2 inches; the solid box stores on its side against a wall with cardboard between panels.
- Touch up the finish each year if you painted it. One light coat keeps it looking new for a decade.
- Re-measure if you change trees. A new stand is the one thing that can retire a perfectly good collar — check the span before you assume it still fits.
If you are building a whole set this season, the collar works best alongside the rest of the series: the wooden Christmas tree build for a small table tree, the advent calendar for December, the stocking holder for the mantel, and the centerpiece builds for the table. All four use the same handful of 1× boards, so a single lumber run covers the set.
Frequently asked questions
How do I size a DIY wooden Christmas tree collar?
Measure the widest span of your tree stand — leg tip to leg tip, or corner to corner — and add 1 inch of clearance for the inside. Cut the front and back panels to stand span + 2½ inches, and the side panels 1½ inches shorter than that (the sides butt between the front and back). Height should be at least 1 inch under your lowest branch, which usually means a 1×10 (9¼”) or 1×12 (11¼”).
Wooden tree collar or fabric tree skirt — which is better?
A wooden collar hides more (the stand, the water tray and the first loop of cord), stays exactly where you put it, and doubles as a surface for gifts. A skirt is cheaper, softer underfoot and easier to store. If you water a live tree, build the hinged collar or cut a watering notch, and keep a plastic tray inside.
Will a wooden tree collar fit a live tree?
Yes, as long as you plan for water access. The stand’s tray needs to be reachable without lifting the box, so use the fold-flat hinged build, or cut a 3″ × 3″ notch in the bottom edge of the front panel. Keep the tray on a plastic liner and never let the light cord’s connections sit in the water.
What is the cheapest DIY wooden Christmas tree collar to build?
The slatted crate collar: four 1×4 boards and one 1×2, about $35 in lumber, plus brads, glue and finish. With scrap wood and a can of finish you already own, it can come in under $20 — well under the $60–$150 a store-bought collar of the same size costs.
How tall should a tree collar be?
Tall enough to cover the stand and the water tray, short enough to clear the lowest branches. For most 7–7½ ft trees that is 10–12 inches. Measure floor to lowest branch and subtract at least an inch; a collar that touches the branches makes the tree look shorter and wider.
Can I put gifts or decorations inside the collar?
Light ones, yes — spare bulb boxes, a small basket, wrapped gifts leaning against it. Do not stand on it, stack heavy items on top of a slatted build, or block the watering notch. A solid box build handles more weight than a slatted one because there are no gaps to spread the load.
How long does it take to build one?
The solid four-board box takes about 30 minutes of cutting and assembly plus finishing time. The slatted crate collar takes about 90 minutes because there are 12 slats and 8 cleats to cut and nail. Add an hour of sanding and two days of finish drying before it goes under the tree.
Do I need special tools?
A miter saw, a drill/driver, a tape measure and a square will build all three versions. A brad nailer speeds up the crate build, a table saw is only needed for the optional taper or ripping slats for the round collar, and clamps help at every stage. Sandpaper, wood filler and a brush or rag for the finish complete the list.
Your weekend plan
- Set the tree up first and take the three measurements — stand span, floor to lowest branch, tray position. Everything else follows from those numbers.
- Buy lumber cut to the table above, plus 10% spare. Have the store cross-cut an 8-footer in half if you are transporting it in a car.
- Cut, assemble and sand on Saturday, finish on Saturday evening, and let it cure overnight or longer before it goes near the tree.
- Fit it on Sunday, route the cord, add felt pads, and check that the branches clear the rim.
Do that once, and your DIY wooden Christmas tree collar stops being the part of the setup you apologise for.