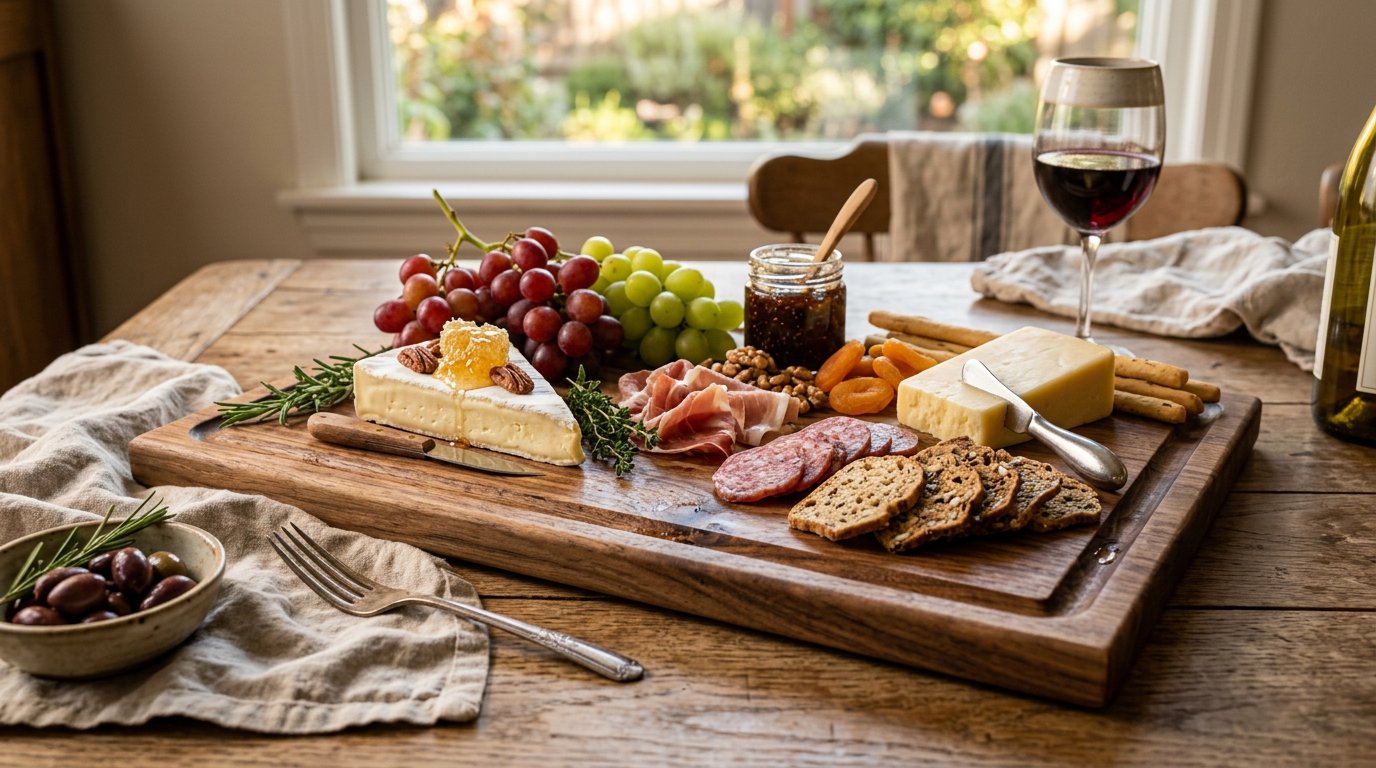
A DIY wooden serving tray or charcuterie board is the simplest useful thing you can build in a workshop: one glue-up, a few routed edges, and a finish that costs less than a rupee of your time to explain. It is also the most expensive thing in the kitchen aisle for what it is — an 18 × 12 inch maple board retails for $40–$80, and a hardwood handled tray for $60–$120, when the material is about $15–$22.
This guide covers three builds with cut lists for a DIY wooden serving tray and charcuterie board: a handled serving tray, a juice-groove charcuterie board, and a three-board gift set cut from a single panel. Along the way are the two things most DIY board guides get wrong — which woods are actually safe to serve food on, and what “food-safe finish” really means beyond “rub some oil on it”.
Quick answer: build from hard maple, walnut, cherry or beech — dense, closed-grain hardwoods. Avoid pine (too soft, it gouges), red oak (open pores hold food), and anything oily or unknown. Thickness ¾ inch for serving boards, 1–1½ inches if the board will be chopped on. Finish with food-grade mineral oil, three to five coats, then a board butter of 1 part beeswax to 4 parts mineral oil. Never polyurethane, varnish, lacquer, boiled linseed oil or cooking oil on a food surface.
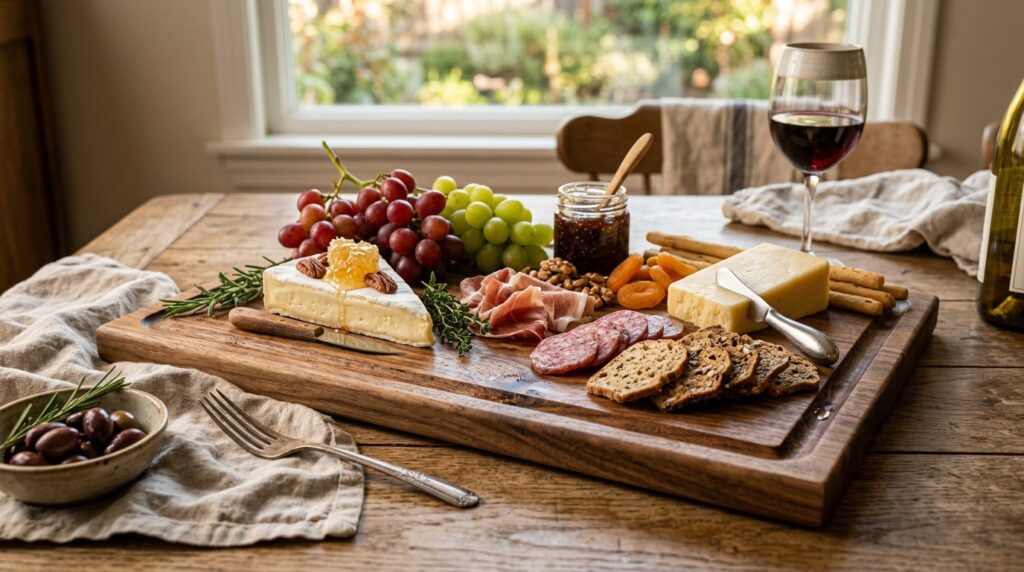
Why build instead of buy
- Cost. Roughly $15–$22 in hardwood for an 18 × 12 board, against $40–$80 bought. A gift set of three comes out around $8.50 a board.
- Size. You can build to your table, your drawer and your fridge shelf instead of the three sizes a shop decided to stock.
- Finish. You know exactly what is on the surface — which matters more on a food-contact item than on any other project in the shop.
- Gifts. One weekend’s glue-up covers several December presents, and a board with a tin of board butter attached is a genuinely good gift rather than another candle.
Choose the wood first — this is the safety decision
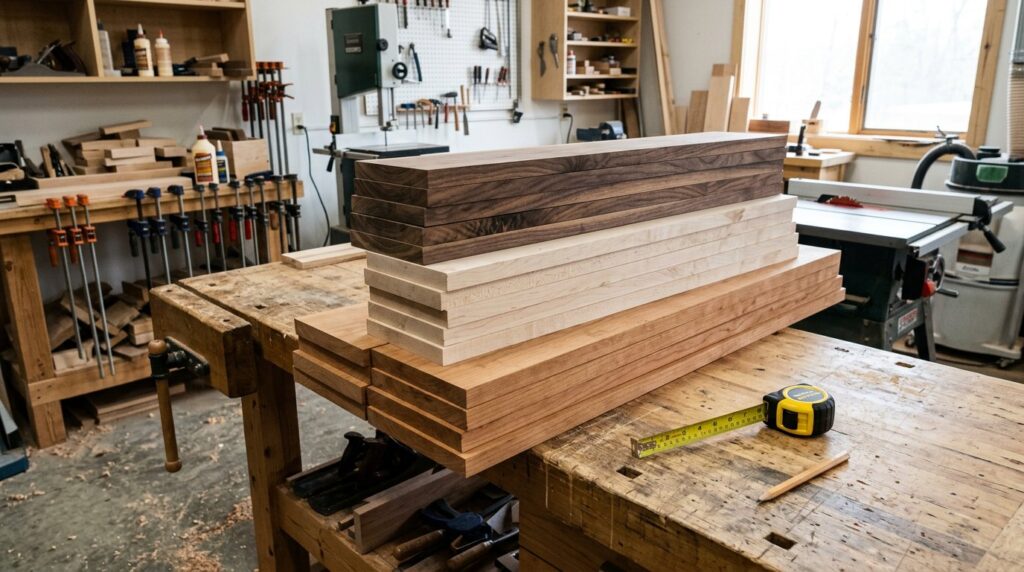
Choosing the wood is the first decision in any DIY wooden serving tray, and it is a safety decision before it is an aesthetic one. “Food-safe wood” means two things at once: a species that behaves well around food, and a finish that is safe to eat off. A perfect finish on the wrong species is still the wrong board.
| Species | Grain | Looks like | Verdict |
|---|---|---|---|
| Hard maple | Very tight, closed | Pale, even, cream-white | The default. Hard, dense, hides knife marks, takes oil beautifully |
| Black walnut | Closed | Deep chocolate, dramatic grain | Excellent for serving boards; softer than maple so not ideal for heavy chopping |
| Cherry | Closed | Warm reddish-brown, darkens with age | Beautiful for trays and gift boards; easy to work |
| Beech | Fine, closed | Pale pink-tan, subtle | Cheap, dense and honest — the budget workhorse |
| White oak | Closed-pore (unlike red oak) | Pale with strong ray fleck | Fine for trays and bread boards; heavy for a hand-held board |
| Pine / spruce | Open, soft | Pale, knotty | Avoid. Knives gouge it, resin bleeds, it stains fast |
| Red oak | Open pores | Warm, coarse grain | Avoid for food contact — the pores trap juices and particles |
If you are buying dressed boards, look for 4/4 stock (¾ inch finished) in the hardwood section rather than construction lumber. One more note on thickness: a serving or charcuterie board only carries food, so ¾ inch is right. If the board will be used for actual chopping, build at 1 to 1½ inches or glue two layers together.
The glue-up (shared by all three builds)
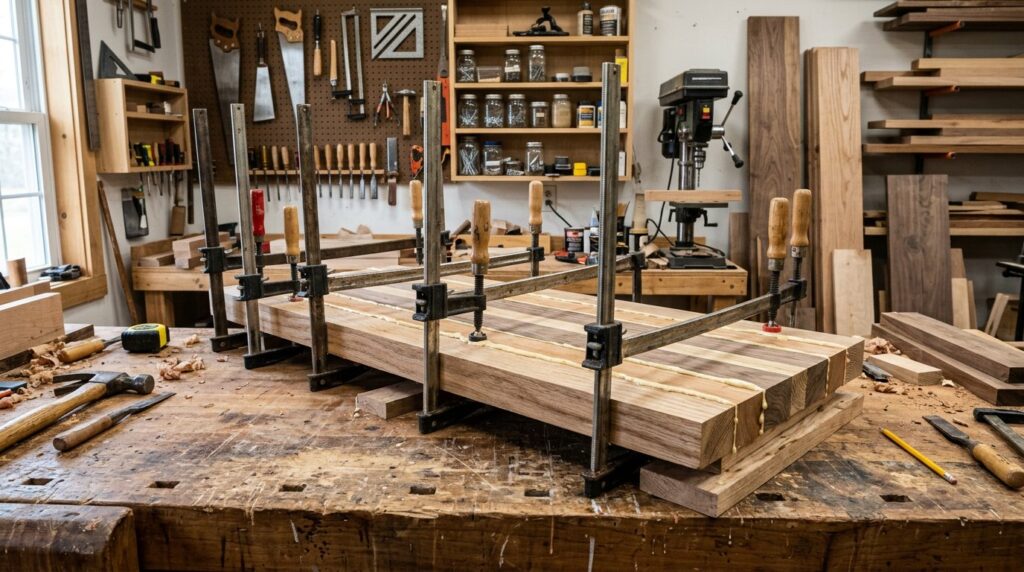
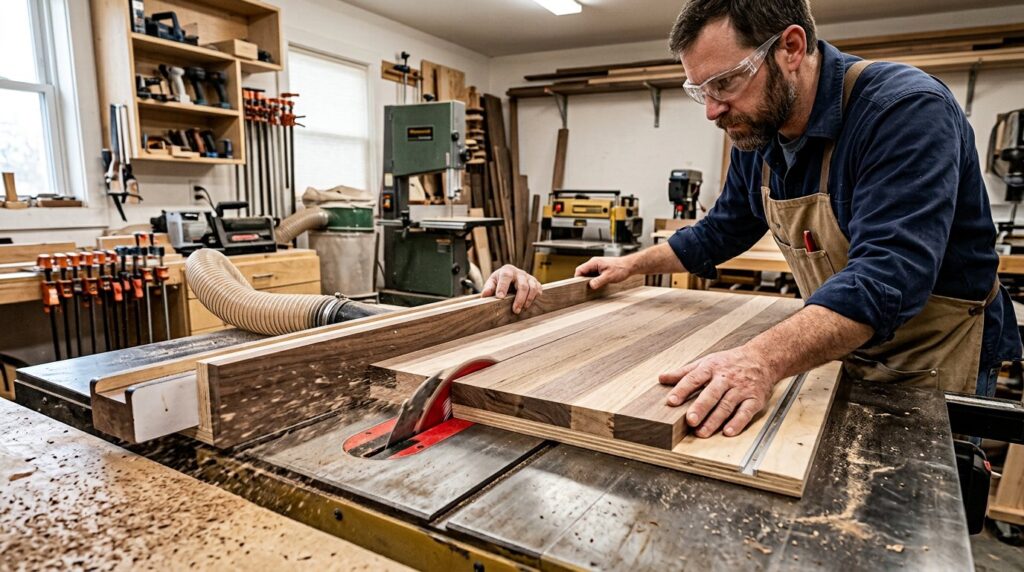
Every DIY wooden serving tray in this guide starts the same way. For anything wider than 6 inches you will be edge-gluing two or three boards into a panel. Four rules make the difference between a board that lasts and one that splits in February:
- Joint the edges properly. Glue lines fail on gaps, not on glue. If your edges are not jointed straight, run them over the jointer or use a straight edge and a router.
- Alternate the grain. Flip every second board end-for-end so the growth rings alternate up-down. This balances the panel against cupping.
- Use enough clamps. One clamp every 6–8 inches, alternating above and below the panel, with cauls to keep it flat.
- Let it cure 24 hours before you flatten or cut it. A panel that is planed while the glue is still green will move.
Glue spread should be even and thin, with a little squeeze-out along every joint. Wipe the squeeze-out with a damp cloth after 20 minutes, not after it cures.
Build 1: the handled serving tray
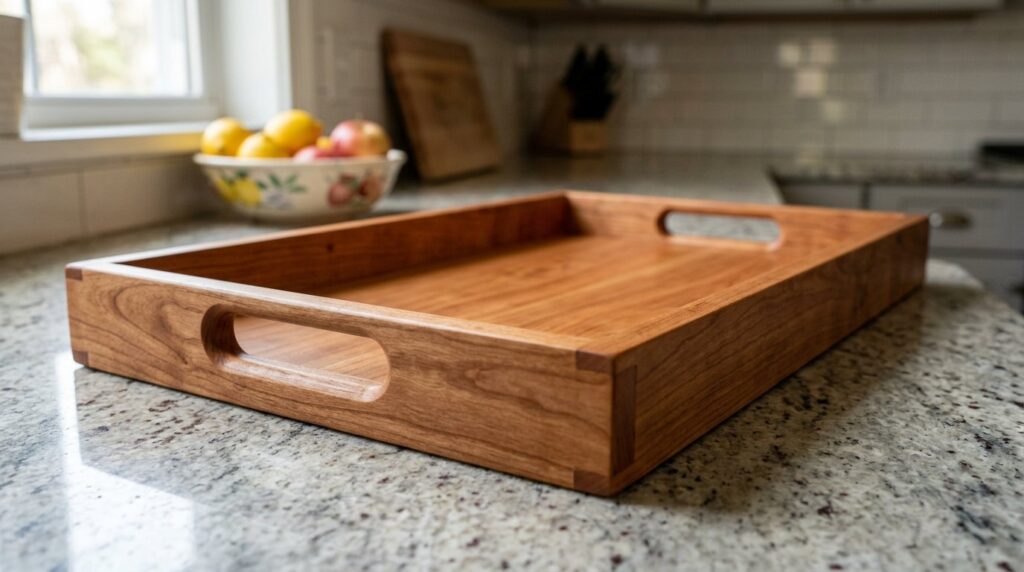
A DIY wooden serving tray with a ¾ inch base, 2½ inch rails around it and a routed handle in each end. Overall 18 × 12 × 2½ inches.
| Part | Material | Cut | Qty |
|---|---|---|---|
| Base panel | ¾” hardwood, glued up to 12″ wide | 18″ × 12″ | 1 |
| Long rails | 1×3 (2½” actual) | 18″ | 2 |
| End rails | 1×3 (2½” actual) | 10½” | 2 |
| Handle cutouts | — | 4″ × 1″, centred, ¾” down from the top edge | 2 |
| Feet | Felt pads or ¾” square blocks | — | 4 |
Steps
- Glue up and flatten the base, then cut it to 18 × 12 and check it sits flat on the bench — a tray base with a twist will rock forever.
- Cut the rails and the handle openings. Mark the 4 × 1 inch opening on each end rail, drill 1 inch holes at both ends with a Forstner bit, and join them with a jigsaw or a flush-trim router bit. Sand the inside of the opening now — it is much harder once assembled.
- Rout the rail profiles. A ⅜ inch roundover on the top outside edge of every rail and a ⅛ inch roundover on the handle openings.
- Assemble dry first. Long rails flush with the base’s long edges, end rails between them. Check the diagonals are equal before any glue goes on.
- Glue and screw from underneath. Wood glue plus 1¼ inch screws driven up through the base into the rails, countersunk, two per rail end. Clamp and leave overnight.
- Sand and finish per the sections below, and fit the felt pads under the four corners.
Handle placement matters more than it sounds: ¾ inch of rail above the opening is enough to stop the tray flexing when loaded, and any less will split when someone lifts it full of glasses.
Build 2: the juice-groove charcuterie board
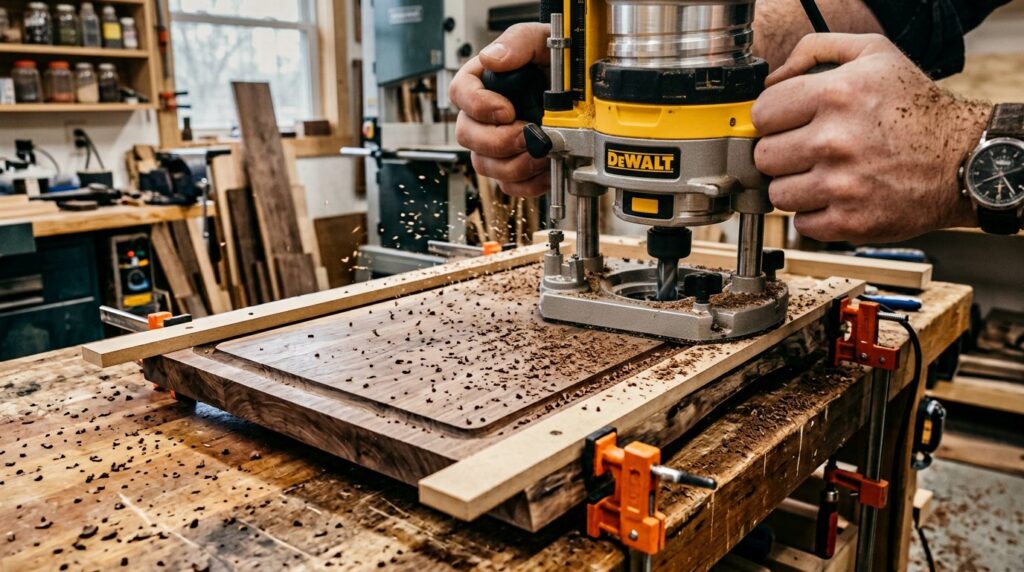
An 18 × 12 × ¾ inch serving board with a routed juice groove, a ⅛ inch roundover on the top edge, and a ¼ inch chamfer underneath so it is easy to pick up.
| Feature | Specification | Why |
|---|---|---|
| Groove distance from edge | 1″ from the board edge, measured to the groove centreline | Far enough in to keep the edge strong, close enough to catch juices |
| Groove width | ⅜” round-nose (core box) bit; ½” for a bolder look | ⅜” catches juice without cutting the usable surface in half |
| Groove depth | ⅛” first pass, ¼” second pass — never more than ¼” | Deep grooves weaken the board and are hard to clean |
| Top edge | ⅛” roundover | Removes the sharp corner without eating the groove |
| Bottom edge | ¼” chamfer | Fingers can get under it; also lifts the face off a wet counter |
Steps
- Flatten and cut the panel to 18 × 12. Sand to 120 before routing — routing over an unsanded surface drags grit into the bit.
- Build a simple jig. Four straight strips of MDF or ply clamped around the board with a 1 inch spacer between the strip and the board edge. The router’s base rides against the strips, so the bit stays exactly 1 inch from the edge all the way round.
- Set the bit depth to ⅛ inch and go clockwise, keeping the router base hard against the guide. Two shallow passes beat one deep pass, which burns the corners and can snatch.
- Re-set for ¼ inch and repeat. Keep moving at a steady speed through the corners — stopping in a corner is what causes burn marks.
- Soften the groove’s inner corners with a scraper or a sanding block wrapped in 180 grit, then roundover the top edge and chamfer the bottom.
- Sand, raise the grain, sand again, then oil — the groove holds finish and water differently from the flat surface, so give it an extra coat.
Whether you are building a DIY wooden serving tray or a grooved charcuterie board, route before you do the final sanding — the router leaves marks that need 180 and 220 grit afterwards. If you do not own a router, skip the groove and cut a shallow recess with a Forstner bit and a chisel, or build the board as a plain serving platter. The board still works; the groove is a convenience, not a requirement.
Build 3: the three-board gift set

One glue-up, three presents. Glue a panel 36 × 12 inches and cut it straight across into three boards — no waste, no offcuts.
| Board | Size | Detail | Good for |
|---|---|---|---|
| Large | 16″ × 12″ × ¾” | Juice groove, ⅛” roundover | Cheese and charcuterie for a family table |
| Medium | 12″ × 12″ × ¾” | Finger notch in one end, chamfered underside | Bread, fruit, serving small plates |
| Small | 8″ × 12″ × ¾” | Rounded corners, no groove | One person’s cheese plate, or a utensil rest |
Cut the 36 inch panel into 16, 12 and 8 inches, and every board keeps the full 12 inch width. From 2¼ board feet of hardwood — roughly $22 at $10 a board foot — you get three gifts at about $8.50 a board including finish. Add a small tin of board butter and a printed care card, and it is a better present than most things in the same price bracket.
Sanding: stop at 220, and raise the grain
Sanding is where a DIY wooden serving tray stops looking homemade.
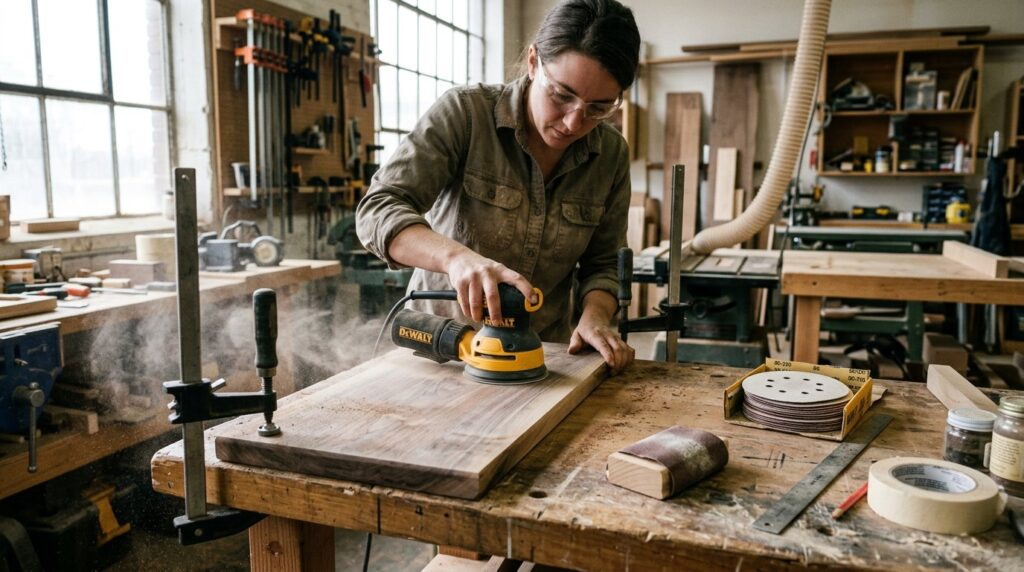
- 80 grit to flatten and remove machining marks — only if needed, and always with the grain.
- 120 grit to remove the 80 grit scratches.
- Wipe with a damp cloth and let it dry. The fibres swell and stand up — this is “raising the grain”, and skipping it means the first coat of oil feels rough.
- 180 grit, then 220 grit. Stop there.
Do not sand a food board past 220. Over-polished wood closes its pores and the oil stops penetrating, so the board looks finished but the protection sits on the surface and wears off within weeks. Break every edge by hand with a block — a sharp 90 degree edge on a wooden board dents the moment it meets a sink.
The food-safe finish
| Finish | Food-safe? | Best use | Reapply |
|---|---|---|---|
| Food-grade mineral oil (USP/white) | Yes — the standard | Every board, first treatment and upkeep | Every 2–4 weeks with use |
| Board butter (beeswax + mineral oil, 1:4) | Yes | Sealing after oiling; gives a satin sheen and water resistance | Every 4–6 weeks |
| Pure tung oil (100%, fully cured) | Yes, once fully cured (5–15 days) | Boards that take heavy use and need durability | Every 3–4 months |
| Walnut oil | Yes — but a nut allergen | Only where no one has a nut allergy | Every 4–6 weeks |
| Polyurethane / varnish / lacquer | No on a food surface | Nothing that touches food — the film chips into what you are eating | — |
| Boiled linseed oil | No — metallic driers | Never near food | — |
| Olive / vegetable / coconut cooking oil | No | Never — these go rancid and smell | — |
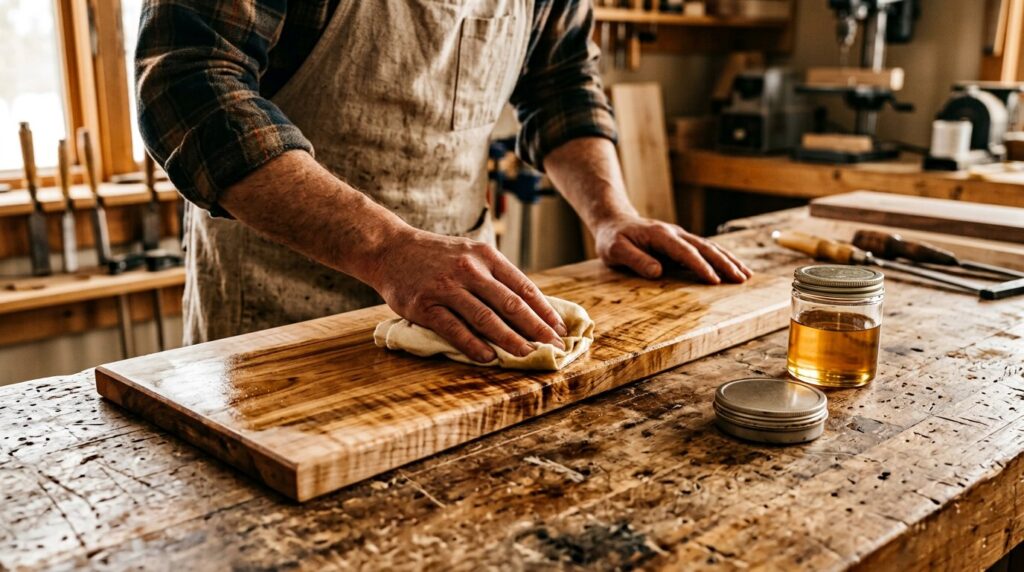
A DIY wooden serving tray is only as good as its finish, because this is the layer that touches food. The method:
- Warm the board slightly and pour on mineral oil — enough to sit wet on the surface.
- Let it soak 20 minutes, then wipe off the excess with a clean cloth. New boards often take three to five coats before they stop drinking; do them over consecutive evenings, not in one sitting.
- Finish with board butter. Melt 1 part beeswax into 4 parts mineral oil in a double boiler, stir, and let it cool to a soft paste. Rub on thin, wait 15 minutes, buff with a clean cloth.
- Oil the groove, the end grain and the handle cutouts twice. End grain drinks far more than face grain, and it is where boards crack first.
- Let it sit overnight before the first use, and wipe with a dry cloth before serving.
Food-grade mineral oil and beeswax are the two finishes with the clearest regulatory backing for food contact, which is why they are the safe recommendation for anything you are giving away. If you want the wider finishing context — grits, oils, topcoats and when each belongs — our sanding and finishing guide covers it, and the wood species guide goes deeper on grain and workability.
Care instructions to give away with the board
- Hand wash only — warm water, a little soap, a quick scrub, rinse and dry standing on edge. Never soak it and never put it in a dishwasher; one cycle is usually enough to wreck a glued panel.
- Dry upright, not flat. Water sitting on one face is what causes cupping and cracks.
- Re-oil when water stops beading — monthly for a board in daily use, every 4–6 weeks with a wax finish.
- Keep it away from the hob and the sink’s soaking zone, and store it on edge or in a rack rather than flat against a counter.
- Light knife marks are normal. A quick sand with 220 and a re-oil brings the surface back.
What these builds cost
| Build | Hardwood | Other materials | Total | Typical retail |
|---|---|---|---|---|
| Handled tray (18 × 12″) | 2¼ bf — about $22 | 1×3 rail board $9, screws and glue $4, finish $1.50 | about $36 | $60–$120 |
| Charcuterie board (18 × 12″) | 1½ bf — about $15 | Finish $1.50 | about $17 | $40–$80 |
| Gift set of three | 2¼ bf — about $22 | Finish $3 | about $25 ($8.50 a board) | $120–$200 |
A DIY wooden serving tray at these numbers costs about a third of the shop version, and the gift set brings it to under $9 a board. Hardwood prices vary by region and species — maple and beech sit at the lower end, walnut at the top. The finish is almost free per board: 16 oz of mineral oil plus 1 lb of beeswax makes enough board butter for twenty boards or more.
Five mistakes that shorten a board’s life
- Building from red oak or pine. Open pores and soft fibres make a board that stains, gouges and never quite comes clean.
- Sanding to 400 grit. It feels lovely and it blocks the oil. 220 is the ceiling for a food board.
- One coat of oil. A new board needs three to five until it stops absorbing. One coat is a wipe, not a finish.
- Gluing up without alternating grain. The panel cups within a season, and no amount of clamping later fixes it.
- Giving a board away without care instructions. Most ruined boards were put in a dishwasher by someone who did not know better. Print the card.
Frequently asked questions
What is the best wood for a DIY wooden serving tray or charcuterie board?
Hard maple is the best all-round choice: dense, closed-grain, pale enough to show food well, and hard enough to resist knife marks. Walnut and cherry are excellent for serving boards where looks matter more than chopping, and beech is the budget option. Avoid pine, spruce, red oak and any oily or unidentified exotic.
Is mineral oil really food-safe?
Food-grade (USP or white) mineral oil is the standard food-contact finish for wooden boards. It is odourless, tasteless, inert and does not go rancid. Buy oil explicitly labelled “food grade”; the industrial version sold for machinery is not the same product. Beeswax blended into it at roughly 1 part wax to 4 parts oil gives a longer-lasting, more water-resistant finish.
Can I use olive oil or coconut oil instead?
No. Cooking oils go rancid inside the wood, smell stale and leave a sticky film that attracts dust and bacteria. Mineral oil, board butter or fully cured pure tung oil are the three finishes worth using.
How deep should the juice groove be?
⅛ to ¼ inch, routed in two passes with a ⅜ or ½ inch round-nose bit, about 1 inch in from the board edge. Deeper grooves weaken the board, trap crumbs and are difficult to clean properly.
How thick should a serving board be?
¾ inch for a board that only carries food, which is most serving and charcuterie boards. If the board will be chopped on, build it at 1 to 1½ inches, or laminate two layers with alternating grain so it stays flat.
How do I stop a board from warping or cracking?
Alternate the grain direction when you glue up, let the panel cure 24 hours before flattening, finish both faces and all edges equally, and never soak or dishwash it. Boards crack when one face dries faster than the other, which is why storing them flat on a wet counter is the most common cause.
How often should a wooden board be re-oiled?
Every two to four weeks for a board in daily use with mineral oil, or every four to six weeks if you finished with a beeswax blend. The test is simple: sprinkle a few drops of water on the surface. If they bead, it is fine; if they soak in darkening the wood, it needs oil.
How many boards can I make as gifts from one shop trip?
From a single 36 × 12 inch glue-up you get three boards — 16 × 12, 12 × 12 and 8 × 12 — at roughly $8.50 each including finish. Three or four glue-ups in one weekend covers a family’s worth of presents, and the offcuts from trimming make good cheese markers or trivets.
Your weekend plan
- Saturday morning: buy 4/4 hardwood (maple or cherry), a 1×3 rail board for the tray, and food-grade mineral oil plus beeswax if you do not have them.
- Saturday midday: joint the edges, glue up the panel with alternating grain, clamp, and leave it alone for 24 hours.
- Sunday: flatten and cut to size, rout the groove and the roundovers, sand 120 → 180 → 220 with a grain-raise in between.
- Sunday evening: first two coats of oil; then one coat a night for the next three nights, finishing with board butter.
- Next week: print care cards, cut a batch of board butter into tins, and wrap. Done before December.
A DIY wooden serving tray is one of the few builds that gets used every week for years, and it costs less than a takeaway for four. If you are making a set for the holidays, the same afternoon’s work pairs well with the wooden centerpiece builds for the table it will sit on, and the tree collar for the corner.