Creating a wooden growth chart ruler is more than just a simple DIY project; it is about crafting a timeless heirloom that captures the fleeting moments of childhood. As children grow at an astonishing rate, having a dedicated, portable place to record their height becomes a cherished tradition for many families. Unlike marks on a door frame that stay behind when you move, a wooden growth chart travels with you. In this comprehensive guide, we will explore every detail of creating a high-quality, professional-looking ruler that adds a rustic or modern aesthetic to your home decor. Whether you are a seasoned carpenter or a weekend hobbyist, this project is accessible and deeply rewarding. A well-crafted growth chart serves as a functional piece of art that documents the physical journey of your children over many years. To get started on your journey, you might want to look at our other woodworking guides for additional inspiration.
Key Takeaways for Your Growth Chart Project
- Durability is essential: Choose high-quality hardwoods or premium softwoods like Select Pine for a lasting finish.
- Accuracy matters: Use a reliable tape measure and a speed square to ensure all markings are perfectly horizontal and evenly spaced.
- Safety first: Always sand the edges thoroughly to prevent splinters in a child’s environment.
- Portability: Designing the chart as a hanging board ensures you can take your family memories with you if you move.
- Finishing touches: Using the right sealant ensures that the ink or paint used for measurements won’t fade or bleed over time.
Phase 1: Selecting the Right Materials and Tools
The success of your DIY growth chart depends heavily on the quality of your raw materials. Choosing the right board is the first critical step in ensuring your ruler doesn’t warp or twist over time. For a standard growth chart, you typically want a board that is 6 feet tall, as it allows you to start the measurements at 6 inches or 1 foot off the ground to account for baseboards. Most experts recommend a 1×8 or 1×6 board, providing enough width for both the ruler marks and the child’s name or decorative elements. You can learn more about the technical properties of various wood species from the USDA Forest Products Laboratory.
Essential Tools List
To achieve a professional result, you will need a specific set of tools. A miter saw is ideal for getting a perfectly square cut at the top and bottom of your board. You will also need a random orbital sander with various grits (80, 120, and 220) to smooth the surface. Precision marking requires a high-quality tape measure, a carpenter’s square, and a sharp pencil. If you plan to engrave the numbers, a small palm router with a V-groove bit is necessary; otherwise, high-quality paint pens or vinyl decals will suffice. Always ensure your tools are in good working condition before starting any project. For those who prefer professional assistance with material preparation, our custom woodworking services are always available.

Phase 2: Preparing the Wood Surface
Before you even think about marking your measurements, the wood must be perfectly prepped. Sanding is not just about making the wood feel smooth; it is about opening the pores for even stain absorption. Start with 80-grit sandpaper to remove any mill marks or stamps from the lumber yard. Progressing through the grits to 220 ensures a glass-like finish that will be safe for little hands to touch. According to Wikipedia’s entry on woodworking, surface preparation is often the most time-consuming but important part of any build. Make sure to wipe away all sawdust with a tack cloth before applying any stain or paint.
Choosing Stains and Finishes
The color of your growth chart should complement the room’s decor. Dark walnut or espresso stains offer a classic, rustic look, while weathered gray provides a more modern farmhouse vibe. If you prefer a natural look, a simple clear polyurethane or a natural oil finish will highlight the wood grain’s inherent beauty. Always apply a pre-stain wood conditioner if you are working with softwoods like pine to prevent blotchiness. This step is vital for achieving a uniform color across the entire 6-foot length of the board. The finish you choose will protect the wood from UV rays and moisture for decades to come.
Phase 3: Precise Measurement and Layout
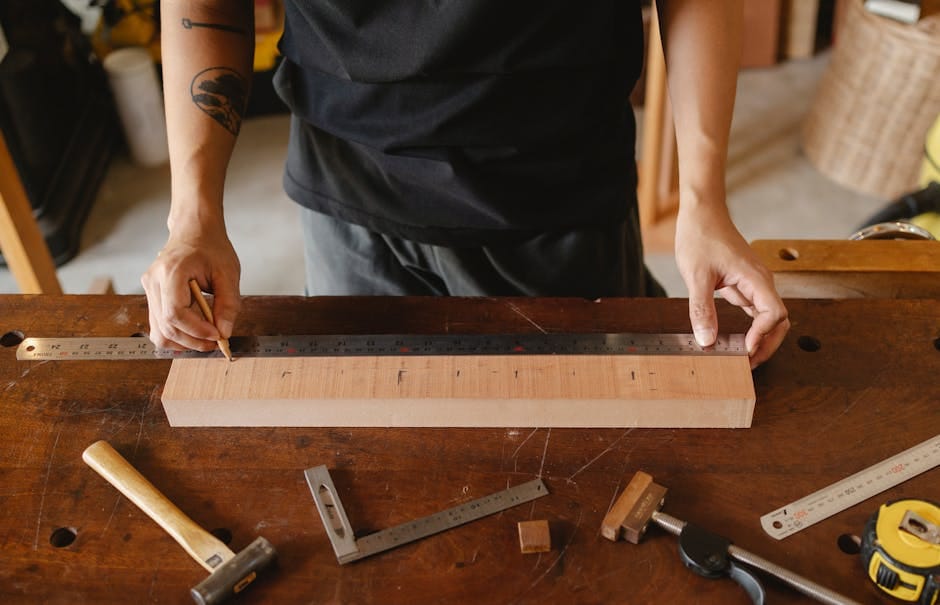
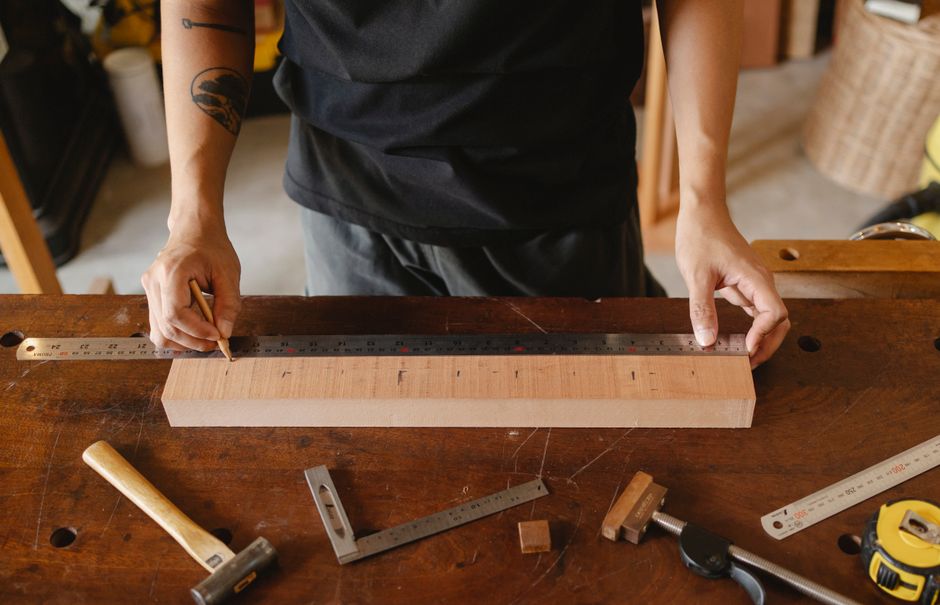
This is where the “ruler” part of the growth chart comes to life. Accuracy is the difference between a functional measurement tool and a decorative piece of wood. Most growth charts start at the 6-inch mark to allow for mounting above the baseboard. Use your tape measure to mark every inch, and use a speed square to draw horizontal lines of varying lengths. Typically, the foot marks are the longest (about 2-3 inches), the half-foot marks are medium (1.5 inches), and the inch marks are the shortest (0.75 inches). Double-check your total height measurement twice before committing to paint or engraving. You can find more detailed tips on precision measurement at Fine Woodworking.

Applying Numbers and Lines
Once your layout is penciled in, it is time to make it permanent. If you are using paint pens, opt for oil-based versions as they are more durable and provide better coverage than water-based ones. For a more professional, “3D” look, you can use wooden or plastic numbers glued onto the board. Stenciling is another great option for those who may not have the steadiest hand for freehand lettering. Ensure that the numbers are aligned vertically and are large enough to be read from a distance. This stage requires patience and a steady hand to avoid smudging the ink before it dries.
Phase 4: Personalization and Aesthetic Details
A growth chart is a personal item, and adding a name or a family motto makes it truly special. Consider adding the child’s name at the very top or a phrase like “Watch Me Grow” in a stylish script font. You can also incorporate different colors for the lines or numbers to match the nursery theme. Adding a small icon, like a mountain range or a floral vine, can turn a simple ruler into a work of art. If you’re looking for inspiration on nursery themes, many home decor experts at Bob Vila suggest integrating wood tones with soft pastels. The customization possibilities are limited only by your imagination and the space available on the board.
Phase 5: Final Finishing and Sealing
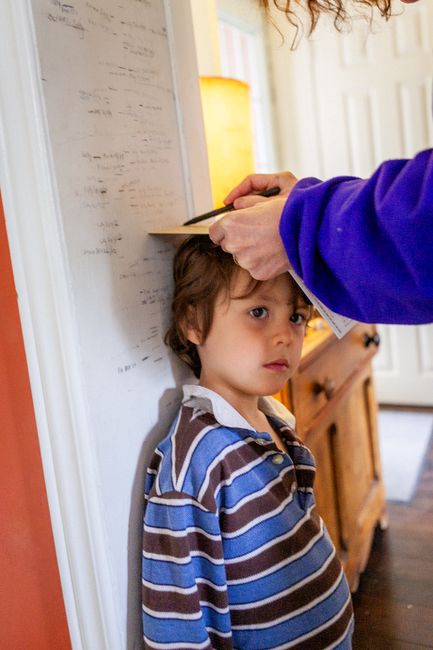
After all the paint and stain have completely dried—usually after 24 hours—it is time for the final protective coat. A spray-on or wipe-on satin polyurethane is the best choice for protecting the markings without adding too much shine. Apply at least two coats, sanding lightly with 320-grit sandpaper between them for the smoothest possible surface. This protective layer ensures that as you mark your child’s height with a permanent marker, the ink won’t bleed into the wood fibers. Choosing a high-quality sealant is a tip frequently mentioned in Popular Mechanics for long-term DIY projects. A well-sealed board is easy to clean and resistant to the wear and tear of a child’s bedroom environment. If you run into any issues during the finishing phase, don’t hesitate to contact our team for advice.
Phase 6: Safe and Secure Installation
Mounting the growth chart safely is the final and most important step. Because these boards can be heavy, you must secure them to a wall stud or use high-quality drywall anchors. Remember to hang the board at the exact height your measurements started at—if you started the ruler at 6 inches, the bottom of the board must be exactly 6 inches from the floor. Using D-rings or heavy-duty sawtooth hangers on the back of the board provides a clean, hidden mounting solution. For extra safety, you can use a small amount of mounting putty at the bottom of the board to prevent it from swinging or being pulled off the wall by a curious toddler. Safety should never be compromised when hanging heavy items in a child’s room.
Conclusion: A Legacy in Wood
Building a wooden growth chart ruler is a beautiful way to combine woodworking skills with family sentiment. Every mark you make on this board will represent a milestone, a birthday, and a memory that your family will cherish for decades. By following the steps outlined in this guide—from wood selection to final installation—you have created a piece of decor that is both functional and deeply meaningful. Woodworking allows us to build things that last longer than we do, and a growth chart is the perfect example of that enduring quality. We hope this guide has inspired you to pick up your tools and start creating. For more professional woodworking tips, be sure to visit our homepage for the latest updates in home decor and craftsmanship. Your child’s growth is a journey; thank you for letting us help you document it in wood.