

DIY Wooden Christmas Decorations for Beginners: Easy Ideas & Step-by-Step Guide
The holiday season brings a unique sense of warmth, and nothing encapsulates that cozy feeling quite like DIY wooden Christmas decorations. Whether you are a seasoned crafter or picking up a saw for the first time, working with wood offers a tactile satisfaction that plastic alternatives simply cannot match. Creating your own holiday decor allows you to infuse your home with a personalized, rustic charm while building valuable hand-tool skills. In this comprehensive guide, we will explore everything from basic tools to advanced finishing techniques to ensure your home looks like a winter wonderland this year.

The Appeal of Working with Natural Wood for the Holidays
Wood is one of the oldest materials used in human history for both utility and art. According to Wikipedia, woodworking is the activity or skill of making items from wood, and it has been central to seasonal celebrations for centuries. The natural grain patterns and earthy scents of cedar, pine, and oak provide an organic backdrop that complements traditional red and green holiday palettes. When you choose to make your own decorations, you are opting for sustainability over mass-produced consumption, which is a key trend in modern home styling.
Moreover, woodworking is a meditative practice that helps reduce stress during the often-hectic holiday season. Focusing on the texture of the wood and the rhythm of the sanding block allows you to slow down and appreciate the craftsmanship involved in holiday home improvement. If you are new to this hobby, our beginner woodworking guides offer a great starting point for understanding material selection and project planning.
Essential Tools and Materials for Your Holiday Workshop
Before you dive into the projects, you must assemble a basic toolkit. You do not need a professional workshop to create stunning DIY wooden Christmas decorations. A few fundamental tools will allow you to complete almost any beginner-level project with precision and ease.
- Hand Saw or Miter Saw: For making clean, straight cuts in boards.
- Electric Drill: Essential for creating holes for hanging ornaments or joining pieces.
- Sandpaper (various grits): 80-grit for rough shaping and 220-grit for a smooth finish.
- Wood Glue: A high-quality PVA glue is vital for strong, invisible bonds.
- Measuring Tape and Square: Accuracy is the difference between a professional look and a lopsided project.
Safety should always be your top priority when working with sharp tools and airborne sawdust. The CDC provides excellent guidelines on maintaining a safe workspace to prevent injury. Always wear safety goggles and a dust mask to protect your eyes and lungs from debris during the cutting and sanding phases. For a deeper look at workspace organization, check out our article on woodworking safety essentials.
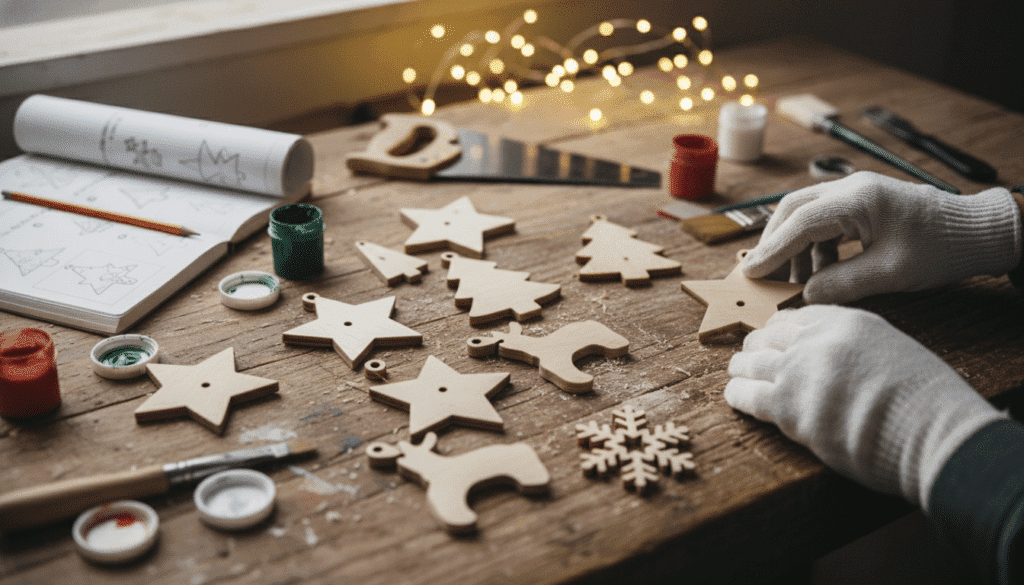
Project 1: Rustic Wood Slice Ornaments
Wood slice ornaments are the quintessential beginner-friendly Christmas craft. They require minimal cutting and offer a blank canvas for creativity. These ornaments are perfect for those who want to practice their painting or wood-burning skills without committing to a massive construction project.
Step 1: Selecting and Preparing Your Slices
You can find pre-cut wood slices at craft stores, but cutting your own from fallen branches adds an extra layer of authenticity. Choose branches that are roughly 2 to 4 inches in diameter and ensure they are completely dry to prevent the wood from cracking over time. If you are cutting your own, use a fine-tooth hand saw to create slices about 1/4 inch thick. Sanding the surface until it is buttery smooth is the most important step for achieving a professional finish.
Step 2: Designing and Decorating
Once your slices are prepped, the design possibilities are endless. You can use acrylic paints to create miniature winter landscapes, or use a wood-burning pen (pyrography) to etch permanent designs like snowflakes or family names. Applying a thin coat of clear sealant after painting will protect the wood and make the colors pop for years to come. For more inspiration on design layouts, you might find our tool recommendation page helpful for finding the best wood burners on the market.
Project 2: The Minimalist Scrap Wood Christmas Tree
If you have leftover bits of lumber from previous home projects, this is the perfect way to upcycle them. The scrap wood Christmas tree is a modern, geometric take on the traditional evergreen that fits perfectly on a mantel or a side table. This project introduces the concept of scale and layering in rustic wood design.
Construction Steps
Start with a central vertical spine, usually a 1×2 board cut to about 12 inches. Cut several horizontal pieces in descending lengths—for example, 8 inches, 6 inches, 4 inches, and 2 inches. Using wood glue and small finish nails, attach these horizontal ‘branches’ to the spine to create a triangular silhouette. To add stability, create a simple cross-base using two 4-inch pieces of wood joined at the center. A dark walnut stain can give these trees a sophisticated, high-end look that mimics expensive boutique decor.
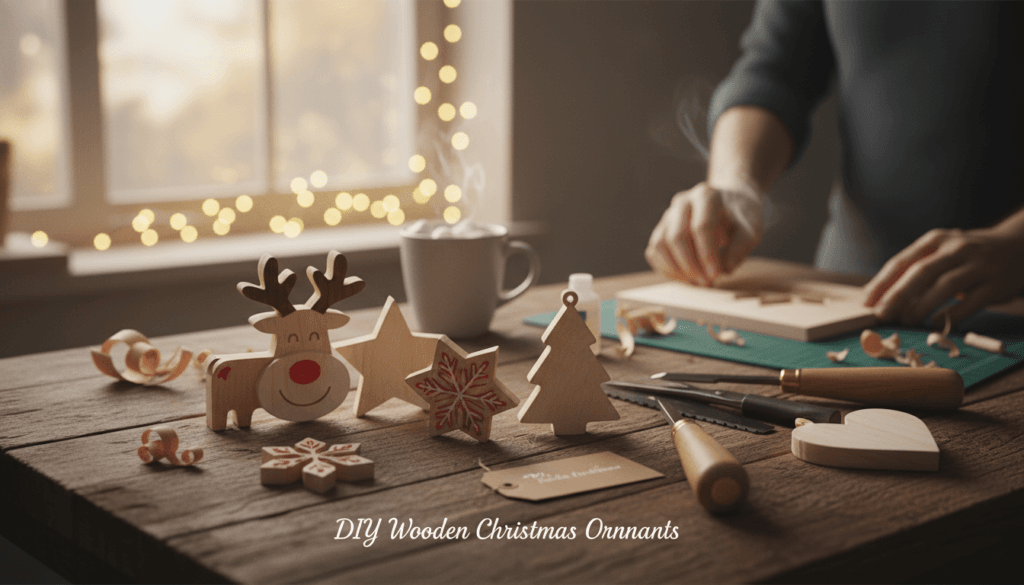
Project 3: Whimsical Reindeer Log Figures
This project is a favorite for kids and beginners alike because it uses the natural shape of logs to create character. Reindeer log figures are an excellent way to practice joinery basics like drilling angled holes. You will need one large log for the body (about 6 inches long) and a smaller one for the head (about 3 inches long).
For the legs and neck, find straight twigs or dowels. Drill four holes into the bottom of the body log at slight outward angles to ensure the reindeer stands securely. Ensuring the legs are the exact same length is the secret to a stable figure that won’t wobble on your porch. Add small twigs for antlers and a red bead for the nose to complete the look. These figures are remarkably durable and can be used as outdoor decorations throughout the winter months.
Key Takeaways for Beginner Woodworkers
- Start Small: Focus on ornaments and small tabletop items before moving to larger furniture pieces.
- Prioritize Sanding: A well-sanded piece takes paint and stain much better than a rough one.
- Use Reclaimed Materials: Pallets and fallen branches are cost-effective and add character.
- Safety First: Never compromise on protective gear like goggles and masks.
- Personalize Everything: Wood is easy to engrave, paint, or stain to match your specific style.
Project 4: The Pallet Wood Advent Calendar
Advent calendars are a staple of the holiday season, and making one from pallet wood adds a rugged, heirloom quality to the tradition. Pallet wood is often weathered and textured, providing a perfect ‘shabby chic’ aesthetic for holiday countdowns. Organizations like the Smithsonian Institution often highlight the history of handmade holiday traditions, and a custom advent calendar is a great way to build your own family legacy.
Construct a large flat board by joining three or four pallet slats together with back-braces. Sand the front surface thoroughly to avoid splinters, but leave some of the natural imperfections for character. Screw in 24 small brass hooks in a grid pattern. You can hang small burlap bags or even wooden tags with the dates painted on them. This project not only serves as a decoration but also becomes an interactive part of your family’s daily holiday routine.
Finishing Techniques for a Professional Look
How you finish your DIY wooden Christmas decorations will determine their longevity and visual appeal. Beginners often skip the finishing phase, but it is the most critical part of the process. A high-quality finish protects the wood from humidity changes and enhances the natural beauty of the grain.
Staining vs. Painting
Staining is ideal if you want to showcase the wood’s texture. Use a rag to apply the stain, let it sit for a few minutes, and wipe away the excess. For a more vibrant, modern look, chalk paint is an excellent choice as it adheres well to wood and offers a matte, velvety finish. If you are planning to keep your decorations outside, ensure you use an exterior-grade polyurethane or spar urethane. This clear coat acts as a barrier against snow and moisture, preventing rot and discoloration.
Adding Hardware and Accents
Don’t forget the details. Adding twine, plaid ribbons, or metallic bells can elevate a simple wooden shape into a professional-grade ornament. Hardware choice is often overlooked, but using antiqued bronze or copper screws can add a touch of elegance to your rustic projects. For more tips on selecting the right hardware, visit our comprehensive hardware guide.
Project 5: Decorative Wooden Candle Holders
Wooden candle holders are elegant, simple to make, and bring a warm glow to any holiday dinner table. Using a 4×4 timber post is the easiest way to create substantial, pillar-style candle holders with minimal effort.
Cut the 4×4 post into varying heights, such as 4, 6, and 8 inches. Use a Forstner bit—a type of drill bit that creates flat-bottomed holes—to drill a recess in the top of each block that matches the size of a tea light or votive candle. Precision drilling is key here; ensure your drill is perfectly vertical so the candle sits level. You can leave the wood raw for a Scandinavian look or stain it a deep ebony for a more formal aesthetic. Always ensure that the wood is protected from direct flame by using glass inserts or battery-operated candles.
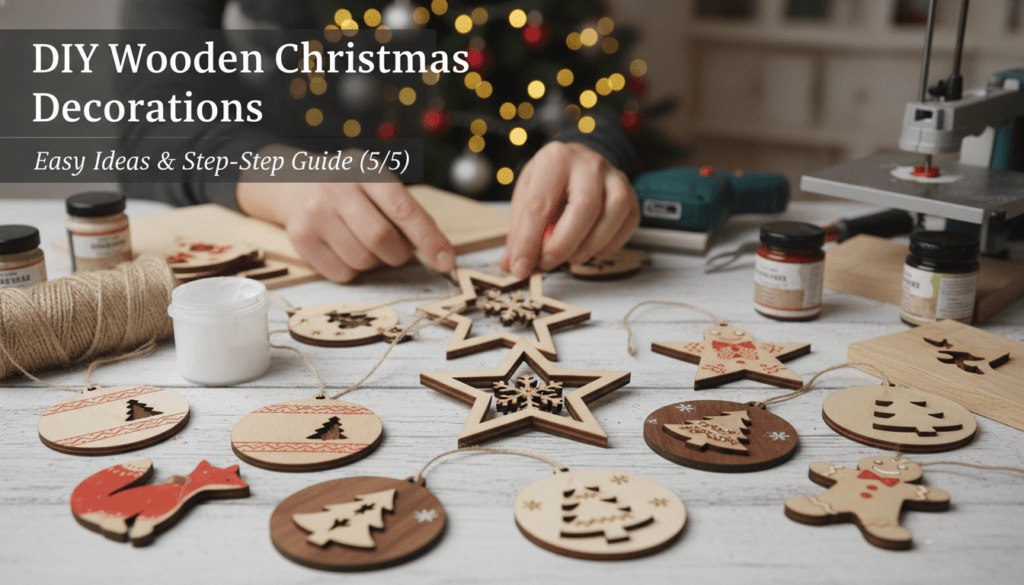
Managing Your Woodworking Workspace
Even small holiday DIY projects can create a lot of mess. Efficiency in your workspace leads to better results and a more enjoyable crafting experience. If you are working in a garage or basement, make sure you have adequate lighting. Wood Magazine suggests that proper lighting is essential for spotting imperfections in your sanding and finishing before they become permanent. Keep your tools organized and your surfaces clean to avoid accidents and ensure that your measurements remain accurate.
If you find yourself running out of space, consider building a simple folding workbench. A dedicated area for your woodworking projects will encourage you to keep creating long after the Christmas season has ended. Building your own shop furniture is a natural next step after mastering beginner holiday decorations.
Advanced Tips for the Ambitious Beginner
Once you have mastered basic cutting and gluing, you might want to try some more advanced techniques. Incorporating ‘joinery’—the art of connecting wood without just using nails—will take your projects to the next level.
- Mitered Corners: Instead of butt joints, try cutting 45-degree angles for a cleaner, picture-frame look on boxes or signs.
- Wood Inlays: Use a chisel to carve out a small area and fill it with a contrasting wood or even colorful resin.
- Distressing: Use a chain or a hammer to lightly dent the wood before staining to give it an ‘antique’ appearance.
These techniques require more patience, but the results are stunning. The hallmark of a great woodworker is the ability to hide imperfections and turn mistakes into design features. If you want to see how these techniques are applied in professional settings, Better Homes & Gardens often features homes that use these high-end rustic touches.
Conclusion: Celebrating Your Handcrafted Holiday
Creating DIY wooden Christmas decorations is about more than just saving money; it is about the joy of creation and the pride of displaying something you made with your own hands. From simple wood slice ornaments to complex advent calendars, each project adds a story to your holiday home. As you gain confidence, you will find that woodworking becomes a lifelong skill that allows you to customize every aspect of your living space.
This holiday season, embrace the sawdust, the smell of pine, and the satisfaction of a job well done. Your handmade decorations will likely become cherished family heirlooms, passed down through generations as a reminder of the time you spent crafting a more beautiful home. For more project ideas and expert advice, continue exploring our site for all your woodworking needs.