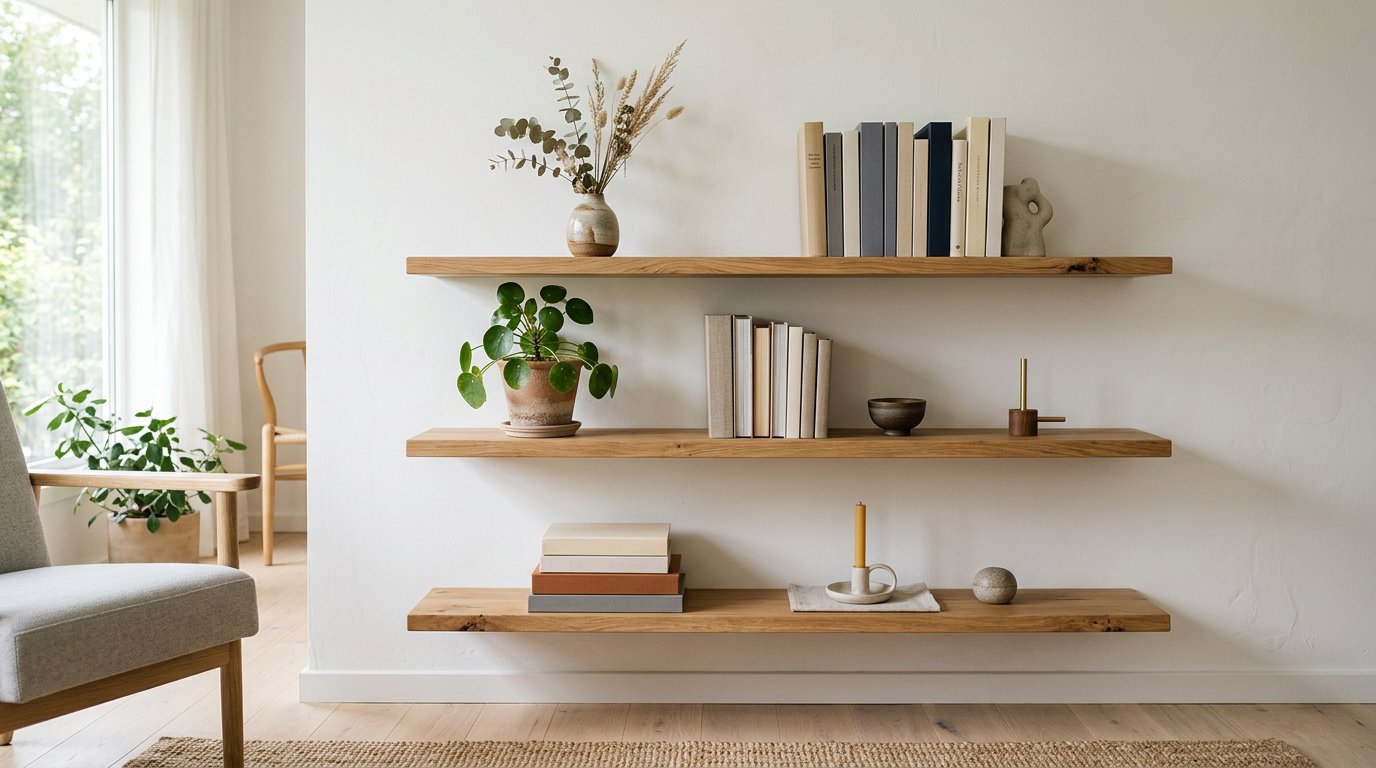
DIY floating shelves are the highest-value-per-hour project in home woodworking. A three-shelf column of oak in a shop costs $200–$400 installed; the same thing built from 1× stock and a sheet of plywood costs $60–$90 and takes an afternoon. No visible brackets, no shelf standards, nothing to dust around.
The catch is that “floating” is a structural trick, not a look, and it is where most DIY floating shelves go wrong. All the weight goes through a hidden cleat or a pair of steel rods into your wall studs, and a shelf fixed only to plasterboard will pull out the first time someone leans on it. Get the fixing right and everything else — depth, span, finish — is easy.
This guide covers three builds with cut lists: a hollow box shelf that is the cheapest and most forgiving, a chunky slab shelf on steel rods that looks like a single piece of timber, and a shallow ledge shelf for plates and picture frames. Plus the three numbers to decide before you cut anything, how much weight each method actually holds, how far a shelf can span before it sags, and what to do when the studs are not where you need them.
Quick answer: decide length, depth and clearance first. Fix every shelf into two studs minimum — never plasterboard alone — and keep a ¾ inch shelf to 36 inches between supports if it will hold books. Use a cleat and a hollow box for the cheapest result, steel rods epoxied into a thick slab for the best look, and a shallow ledge where you only need to lean plates or frames against a wall.
Decide three numbers before you cut a board
Every set of DIY floating shelves starts with the same three measurements, and getting them wrong is far more expensive than getting the finish wrong.
| Number | Typical choice | What it decides |
|---|---|---|
| Length | 30–36″ for a single shelf; 48″ only with three studs or a thicker board | How many studs it reaches, and whether it sags |
| Depth | 8–10″ general; 10–12″ kitchen; 3½–4″ for a plate ledge | Whether books and plates fit, and how much leverage the front edge has |
| Clearance | 12″ between shelves for books; 10″ for paperbacks; 15–18″ above a worktop | Whether it is usable or just decorative |
Two practical notes on sizing. Standard 1×10 is 9¼ inches wide and 1×12 is 11¼ — both make good shelves with no ripping. And measure your books before you set the gaps: a 12-inch clearance looks generous until a 9½-inch cookbook needs to slide in under the shelf above.
Find the studs, or the shelf fails
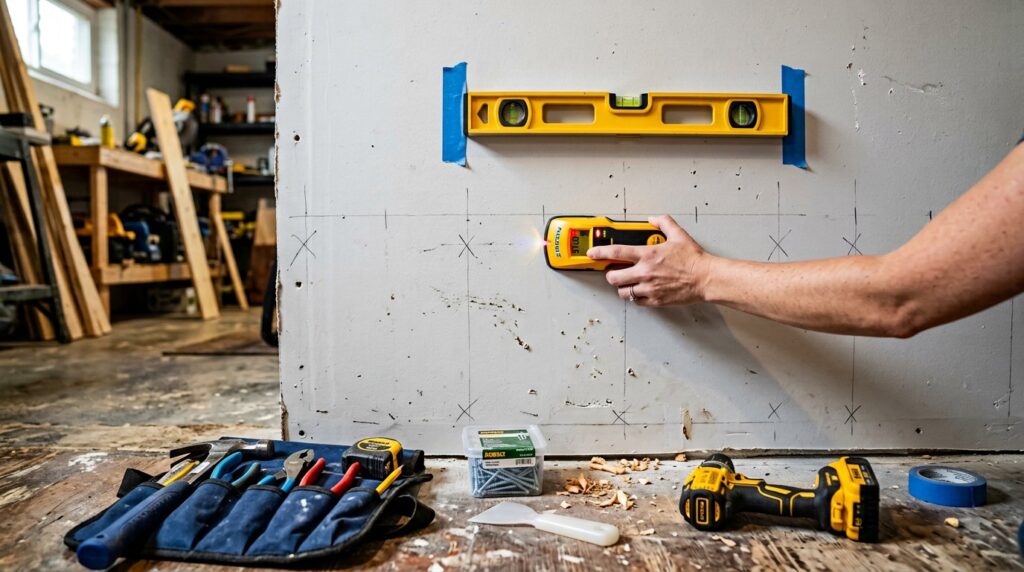
Everything in this guide assumes the shelf is screwed into wall studs or a masonry wall. That single decision is the difference between a shelf and a lawsuit.
- Find the studs with a stud finder, or by tapping, or with a magnet that finds the drywall screws. Studs are usually at 16″ or 24″ centres — check the actual spacing rather than assuming.
- Mark both edges of each stud in pencil, then re-check with two passes. Stud finders lie near pipes, cables and double studs.
- Plan the shelf around the studs, not the other way round. If the studs fall badly for the length you wanted, shorten the shelf by an inch or move it — do not “make it work” with one fixing.
- Two studs is the minimum for anything 36 inches or shorter. A 48-inch shelf holding books needs three.

What you need for all three builds
The tool list for DIY floating shelves is short, and none of it is specialist:
- Stud finder (or a magnet for drywall screws) — the one tool you cannot skip.
- Drill/driver with a countersink bit, plus a ½ inch bit long enough for the rod build.
- Circular saw or table saw to cut the plywood, and a miter saw or handsaw for the 1×2.
- Brad nailer or hammer and 1¼ inch nails for the boxes.
- Long spirit level or a laser level — a small torpedo level is not accurate enough across 36 inches.
- Clamps, wood glue, 2½–3 inch structural screws, and 1¼ inch screws for fixing from underneath.
- Finish: primer and paint for boxes, oil or stain for slabs, plus edge banding if you are painting plywood.
Build 1: the hollow box shelf (about $26 each)
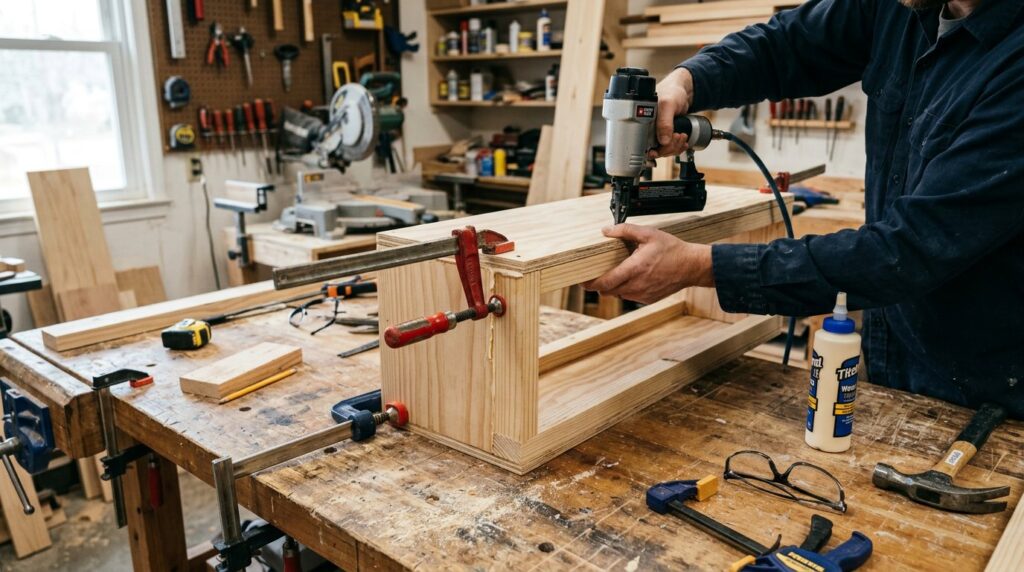
This is the version most people picture when they say DIY floating shelves: a box built from plywood top and bottom with a 1×2 core, slipped over a cleat screwed to the studs. It is the cheapest way to get the floating look, it goes together in under an hour, and it is light enough to install on your own.
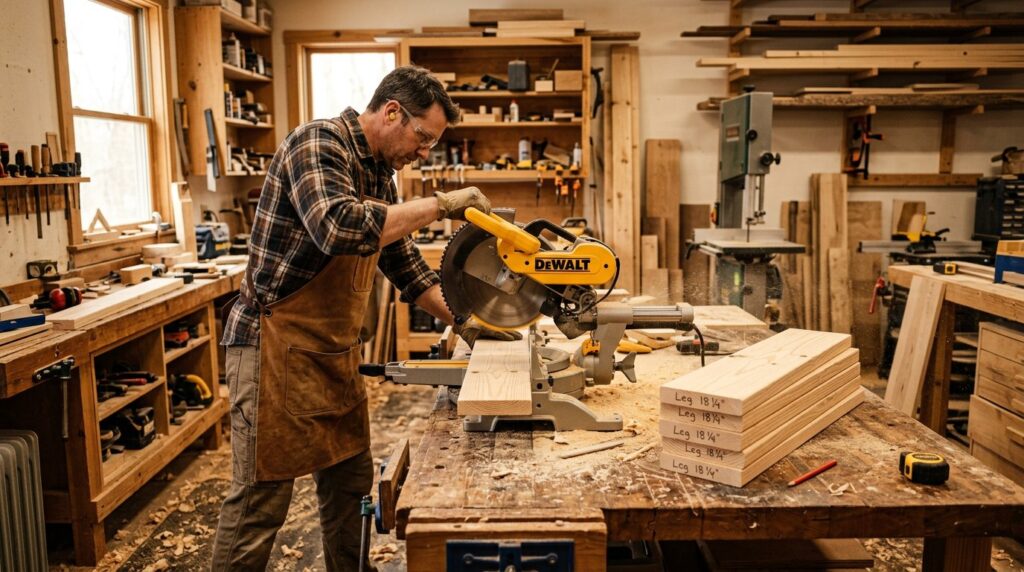
Finished size: 36″ long × 9¼” deep × 2½” thick.
| Part | Material | Cut | Qty |
|---|---|---|---|
| Top | ½” plywood | 36″ × 9¼” | 1 |
| Bottom | ½” plywood | 36″ × 9¼” | 1 |
| Front rail | 1×2 | 36″ | 1 |
| Back rail | 1×2 | 36″ | 1 |
| End blocks | 1×2 | 8¼” | 2 |
| Wall cleat | 1×2 | 34½” | 1 |
Steps
- Cut the ply top and bottom to size and sand the edges. Plywood edges need sanding more than the faces or they will show through paint.
- Build the core. Lay the bottom panel face down. Glue and nail the front rail 1 inch back from the front edge, the back rail flush with the back edge, and the two end blocks between them. Brads or 1¼ inch screws, and keep them clear of where the cleat will sit.
- Fit the top, glue and nail, and check the box is square by measuring both diagonals before the glue sets.
- Cap the front edge. Iron-on edge banding is quickest; a ¼ inch strip glued on looks better on painted shelves. Sand flush.
- Fix the cleat to the wall. Level it, screw it into the studs with 2½–3 inch screws, two per stud, countersunk.
- Slide the box over the cleat, check the reveal at both ends, then screw up through the bottom of the shelf into the cleat — two screws per stud. That last step is what stops it sliding off.
The clearances in step 2 matter: the gap between the back rail and the front rail has to match your cleat, and the box interior (1½ inches) has to be the same as the cleat’s thickness. Build the cleat first, then size the box around it.
Build 2: the chunky slab shelf on steel rods (about $48)
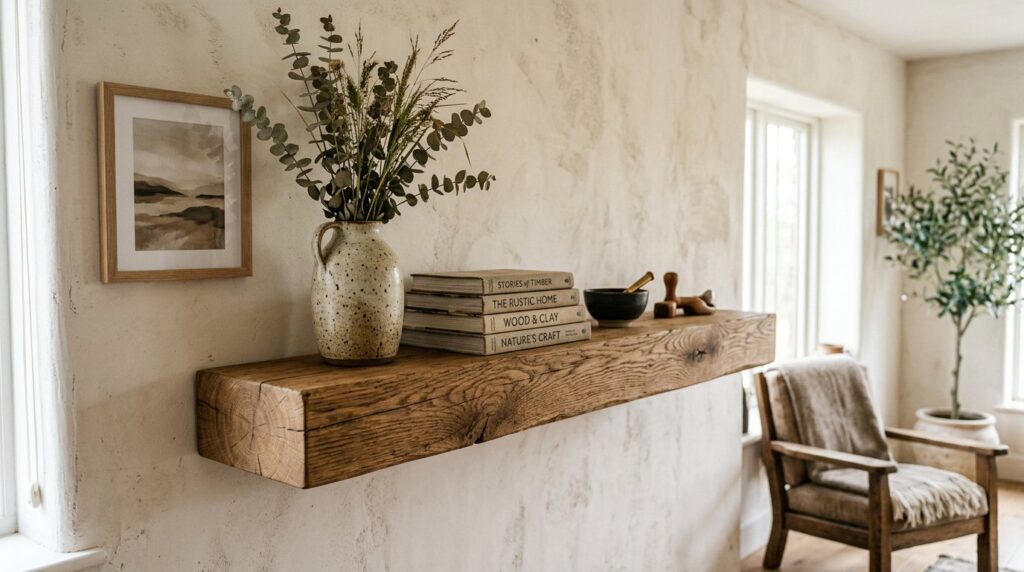
For the look that stops people mid-sentence, this is the DIY floating shelf to build: a slab that appears to grow out of the wall. A 1½ inch slab with two ½ inch steel rods epoxied into the back edge, pushed into holes drilled in the studs. Heavier, stronger, and the most satisfying version if you own a drill that will take a long bit.
Finished size: 36″ long × 9¼” deep × 1½” thick.
| Part | Material | Cut | Qty |
|---|---|---|---|
| Shelf slab | 1½” thick stock — a 2×10 dressed, or two ¾” boards laminated | 36″ × 9¼” | 1 |
| Steel rods | ½” plain steel rod (not stainless — epoxy keys better) | 10″ long, holes 6″ into the shelf and 3″ into the wall | 2 |
| Epoxy | Two-part structural epoxy | — | 1 |
Steps
- Mark the stud centres on the wall and transfer those positions to the back edge of the slab. The rods must land in studs, so the shelf length is decided by where the studs are.
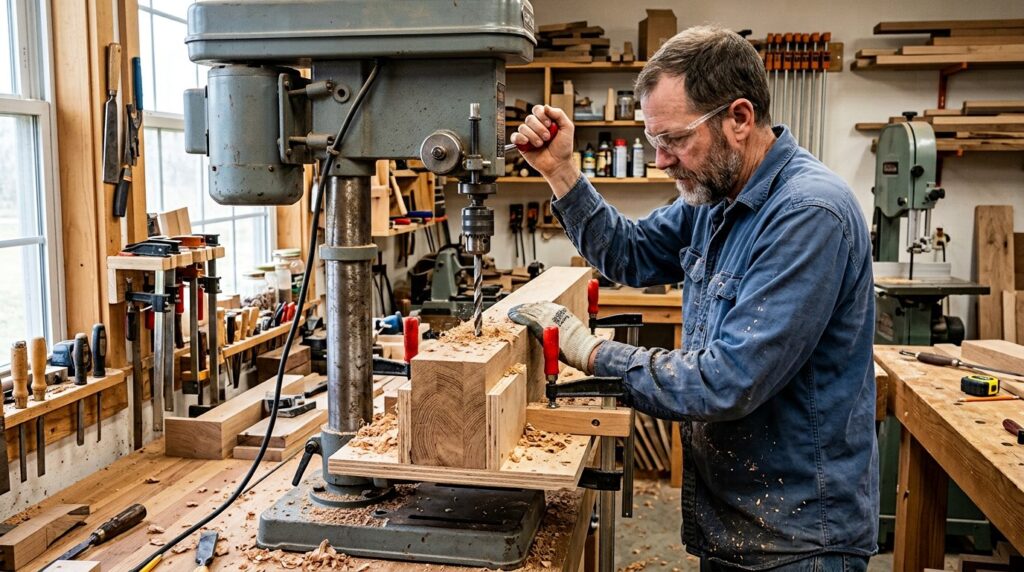
- Drill ½ inch holes 6 inches deep into the back edge, centred on the slab’s 1½ inch thickness. A drill press or a guide block keeps them parallel — a hole that wanders breaks out of the top face and ruins the slab.
- Test-fit the rods, clean them with sandpaper and degreaser, and epoxy them into the shelf. Wipe the excess immediately. Cure for 24 hours.
- Drill ½ inch holes 3 inches deep into the studs, using the protruding rods as your drilling guide — mark through them onto the wall.
- Dry-fit the shelf before any epoxy goes in the wall holes. This is where you discover a stud is ⅛ inch off.
- Epoxy the rod ends into the wall, push the shelf home, and prop it level with a batten and clamps until the epoxy sets. Do not hang anything on it for 24 hours.
If the stud spacing does not suit two rods, use a steel ledger plate screwed to the studs and screw the rods into that instead. It costs an extra $10 and solves the most common installation headache.
Build 3: the ledge shelf for plates and frames (about $18)
A 3½ inch deep shelf with a small upstand, for leaning plates, chopping boards and picture frames against the wall. It is the fastest build here, needs one stud, and turns a blank kitchen wall into something useful in half an hour.
| Part | Material | Cut | Qty |
|---|---|---|---|
| Shelf | 1×4 (3½” actual) | 48″ | 1 |
| Upstand lip | 1×2 (1½” actual) | 48″ | 1 |
| Cleats | 1×2 | 22″ | 2 |
| End caps | 1×2 | 3½” | 2 |
Steps
- Cut the shelf and lip, sand both, and glue and pin the lip to the front edge of the shelf, flush at the ends.
- Fit the two cleats to the wall, one at each end where a stud falls, level with each other. Two 22 inch cleats share the load across four fixing points.
- Fix the end caps between cleat and shelf so the ends look solid, then screw the shelf down through the cleats from underneath.
- Seal the top surface if it is going in a kitchen — a wipe-clean finish matters more than looks within a metre of a hob.
How much weight each method holds
| Method | Fixed into | Realistic load (spread evenly) | Best length |
|---|---|---|---|
| Hollow box on a cleat | 2 studs | 30–40 lb (14–18 kg) | Up to 36″ |
| Hollow box on a cleat | 3 studs | 50–60 lb (23–27 kg) | Up to 48″ |
| Chunky slab on rods | 2 studs, epoxied | 40–50 lb (18–23 kg) | 36–48″ |
| Ledge shelf on cleats | 2 studs | 15–20 lb (7–9 kg) — decorative only | Up to 60″ |
| Any shelf on drywall anchors | Plasterboard only | 10–15 lb (5–7 kg) | Light décor, not books |
Those figures assume an evenly spread load and a shelf at least 8 inches deep. A point load at the front edge — someone leaning on it, a heavy vase in the middle — is far harsher than the same weight spread across the length, which is why a shelf rated for 40 lb of books is not rated for a 40 lb child.
How far can a shelf span before it sags?
| Thickness | Light décor | Books / heavy items | Note |
|---|---|---|---|
| ½” panel (hollow box) | 36″ | 30″ | Fine at 36″ if the box is stiff and the load is light |
| ¾” solid board | 48″ | 30–36″ | The everyday standard |
| 1½” slab | 60″ | 48″ | Add a third fixing past 48″ |
Sag scales viciously with span — double the distance between supports and you get roughly eight times the deflection for the same load. If a shelf visibly bows when you press the middle, it is already overloaded; add a third bracket or shorten it rather than waiting for a permanent curve.
Installing DIY floating shelves level, in the right order
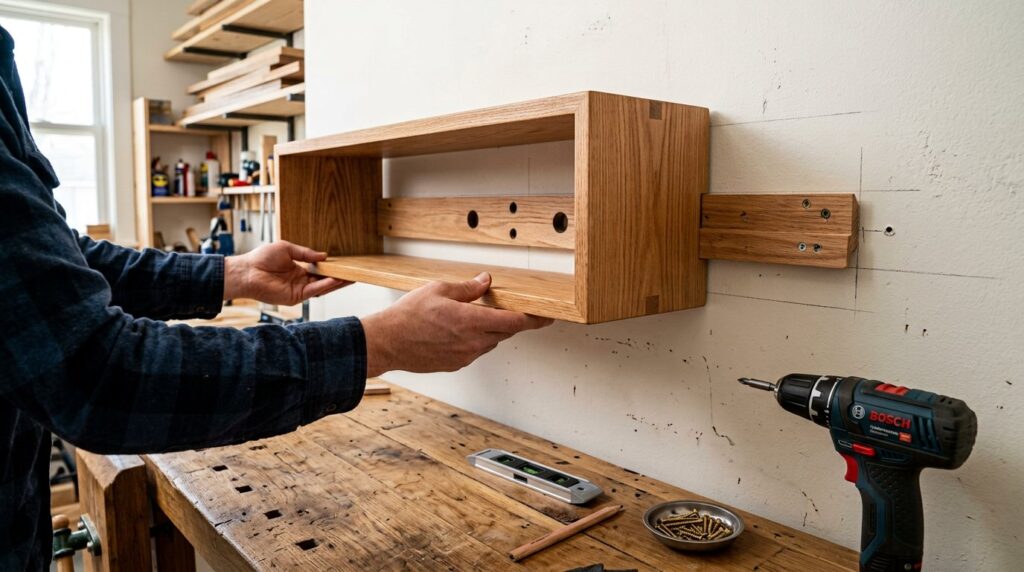
- Draw one level line for the whole run with a laser or a long spirit level — not a small torpedo level, which is where wavy shelf rows come from.
- Mark the stud centres on that line and pilot-drill before driving anything.
- Fix all the cleats first, then check the reveal with a straight edge across them.
- Dry-fit every shelf before final fixing, especially on the rod build.
- Screw from underneath, through the shelf into the cleat, two screws per stud.
- Fill, sand and touch up the fixing holes if the shelf is painted.
Walls that are not studs
- Drywall/plasterboard: fine for display shelves up to about 10 kg with proper heavy-duty toggle anchors, never for books. Better: cut a length of ply into the wall and fix the shelf to that.
- Brick or block: actually the best-case scenario — sleeve anchors or chemical anchors hold far more than studs. Use a masonry bit and drill on hammer, slowly, to avoid blowing the face.
- Old lath and plaster: crumbles. Find the timber studs behind it and ignore the plaster entirely.
- Tiled walls: drill through the tile with a tile bit at low speed, without hammer, or the tile chips.
Finish: paint or stain
Hollow box shelves read better painted — the ply edges and the front band disappear. Solid slabs read better oiled or stained, because the grain is the reason you built them. For painted shelves, prime the cut edges first or the ply soaks up paint unevenly; for stained ones, sand to 180 and use a pre-stain conditioner on pine. The full sequence is in our sanding and finishing guide, and species choice is covered in the wood guide.
What these builds cost
| Build | Materials | Cost per shelf | Shop comparison |
|---|---|---|---|
| Hollow box, 36″ | ½” ply offcut, 1×2, edge banding, screws | about $26 | $45–$90 |
| Chunky slab, 36″ | 1½” slab, 2 × ½” rods, epoxy | about $48 | $90–$180 |
| Ledge shelf, 48″ | 1×4, 1×2, pins and screws | about $18 | $35–$70 |
| Set of three box shelves | One ½” sheet plus 1×2 stock | about $65 for three | $150–$270 |
Building three sets at once is where DIY floating shelves make real financial sense: one 4×8 sheet of ½ inch ply makes six 36 × 9¼ tops and bottoms, and 1×2 stock is cheap in 8-foot lengths. Cut everything at once, paint everything at once, install in one session so the level line is set once.
Five mistakes that end with a shelf on the floor
- Fixing to plasterboard only. Drywall anchors hold 5–7 kg at best. Studs, or nothing.
- One fixing point. A single cleat screwed into one stud lets the shelf pivot the first time weight lands off-centre.
- Ignoring sag. A ¾ inch board with books over a 48 inch span will bow within months. Shorten it or thicken it.
- Cutting before you find the studs. Studs decide the length. Measure, then cut.
- Forgetting the clearance. Shelves spaced 8 inches apart look fine empty and unusable once the first book arrives.
Frequently asked questions
How do DIY floating shelves attach without brackets?
Two ways. A hollow shelf slides over a timber cleat that is screwed into the wall studs and is then screwed to that cleat from underneath, so nothing shows. A solid slab sits on steel rods epoxied into the back edge, with the rods pushed into holes drilled in the studs. Both put the load into the studs behind the plasterboard.
How much weight can a floating shelf hold?
A 36 inch hollow box shelf fixed into two studs holds roughly 30–40 lb (14–18 kg) spread evenly, and 50–60 lb if it reaches three studs. A 1½ inch slab on epoxied rods holds 40–50 lb. Drywall anchors alone hold 10–15 lb and should only carry light décor.
Can I put floating shelves on a drywall wall without studs?
Only for light items. Use heavy-duty toggle anchors, keep the shelf short, and expect a 10–15 lb limit. For anything holding books, cut a plywood backer into the wall between studs and fix the shelf to that — it is hidden behind the plasterboard and gives you a solid fixing anywhere.
How deep should floating shelves be?
8–10 inches for general living-room and bedroom shelves, 10–12 inches in a kitchen, and 3½–4 inches for a plate ledge. Deeper shelves look heavier and put more leverage on the fixings, so go deeper only where you need the space.
What is the maximum span for a floating shelf?
About 30–36 inches between supports for a ¾ inch board carrying books, up to 48 inches for light décor, and 48–60 inches for a 1½ inch slab. Sag increases roughly with the cube of the span, so a third support is always the cheaper fix than a thicker board.
Do I need a stud finder to install floating shelves?
Practically, yes. You need to know where the studs are before you decide the shelf length, and guessing from the skirting board or from electrical sockets is unreliable. A cheap electronic finder or a magnet that locates drywall screws is enough.
Can I use MDF for floating shelves?
For a hollow box, yes — MDF paints beautifully and is stable. But MDF slabs sag more than plywood or timber at the same thickness and they do not hold screws well at the ends, so keep spans shorter and use cleats rather than rods.
How long does it take to build and install a set of three?
Cutting and assembly about 2 hours, painting or oiling plus drying overnight, and installation about an hour for three shelves once the level line and stud marks are on the wall. The chunky rod version takes longer because the epoxy needs 24 hours between the shelf and the wall stages.
Your weekend plan
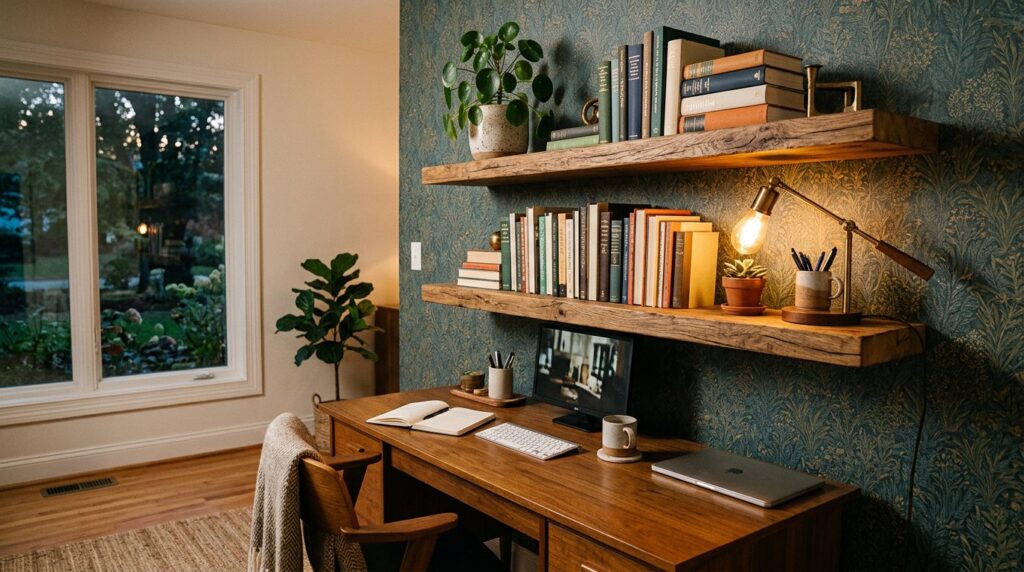
- Saturday morning: find the studs, decide the length of each shelf, and buy one ½ inch sheet plus 1×2 stock.
- Saturday afternoon: cut and assemble the boxes, fill and sand the edges, and get the first coat on.
- Sunday: second coat in the morning, install in the afternoon — cleats first, level line set once, all three shelves from the same marks.
- Then leave them empty for 24 hours, so you can see whether anything moves before it is loaded.
Three DIY floating shelves, one afternoon, and the wall stops being a wall. If the room needs more than shelves, the same 1× stock builds the serving boards for the table and the mirror frames for the wall above.