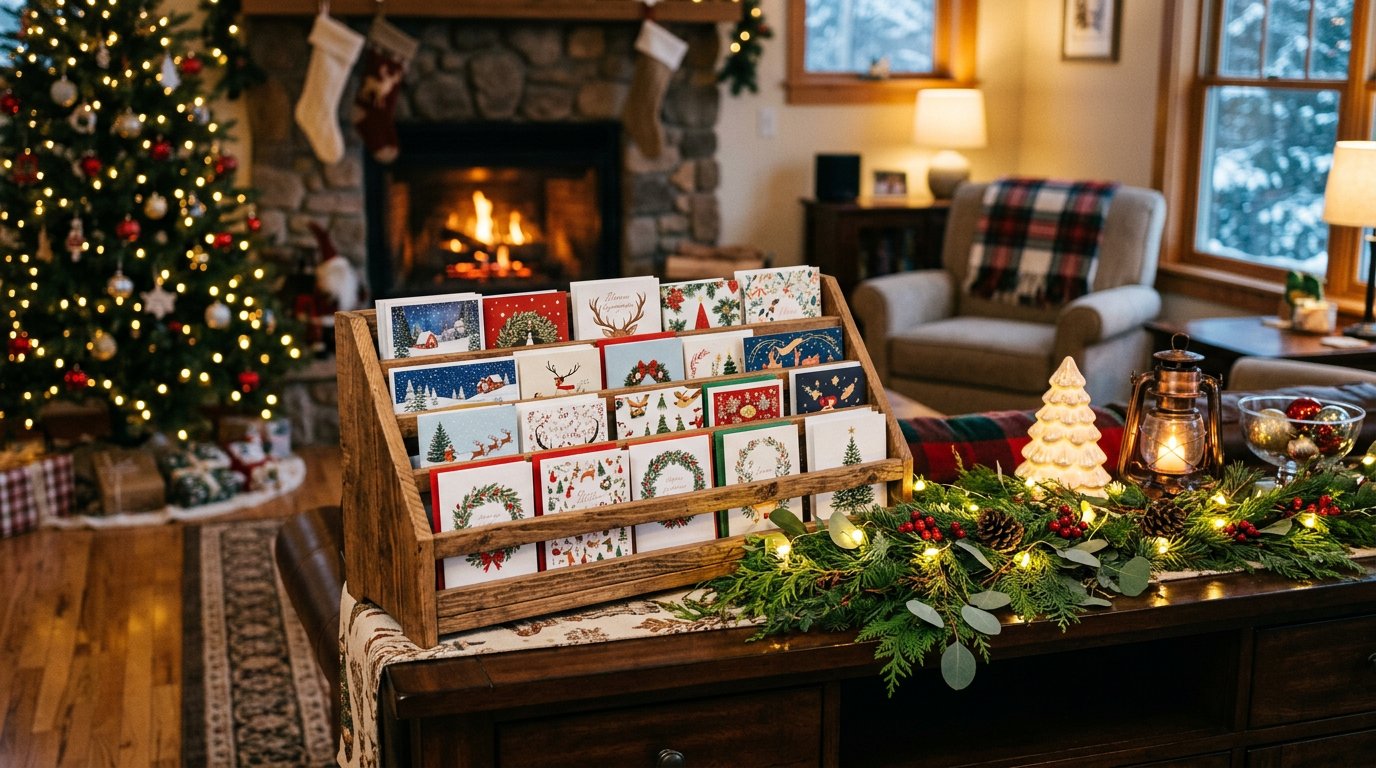
Every December the same thing happens on the same counter: cards arrive one or two a day, get propped against a fruit bowl, slide down behind the toaster, and by the 20th you have a small pile of bent envelopes and no idea where the photo card from your cousin went.
A DIY wooden Christmas card holder fixes that in an afternoon. It is also the cheapest useful build in the whole Christmas set — around $15–$30 in lumber against $25–$60 for the shop versions, most of which hold about a dozen cards and are sized for a mantle rather than a real December postbag.
This guide gives you three builds with cut lists: a slatted rack that holds cards standing in a row, a peg-and-twine board that hangs on a wall and takes three rows, and a free-standing A-frame ladder that handles the whole haul and packs flat. Plus the sizing maths that decides which one you should build, the finishes that survive being handled, and the mounting details that keep it on the wall when a card is pulled out.
Quick answer: count your cards first, then allow 2½ inches of length per card in a single row. A 36-inch rack holds about 14, a 48-inch holds about 19, and anything past 20 cards wants either two rows or the ladder build. All three builds are 1× stock, need only a saw, a drill and screws, and finish in a single evening plus drying time.
What every one of these builds needs
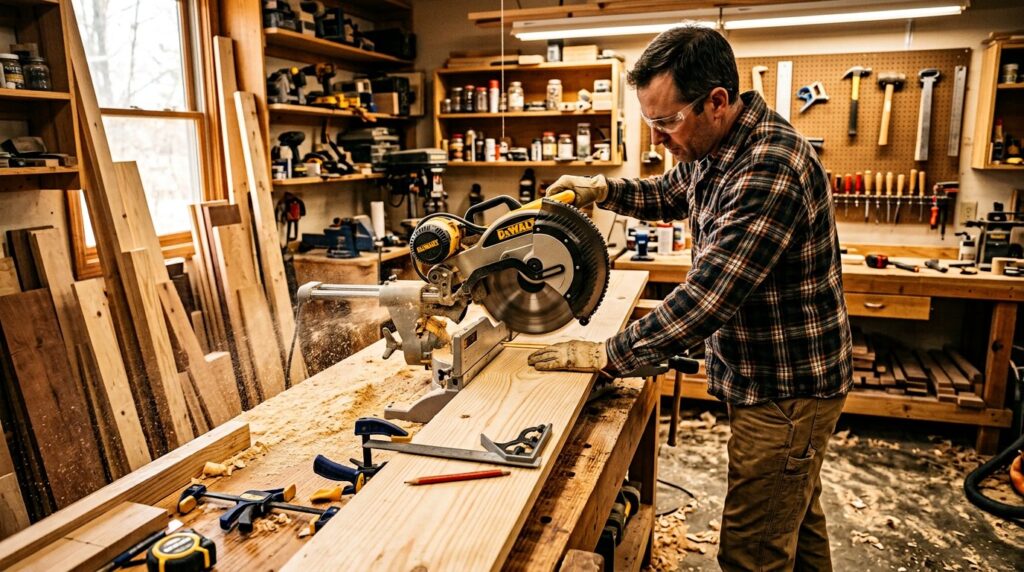
All three are 1× stock projects, which is why they suit a first Christmas build. The tool list is deliberately short:
- Saw — a miter saw makes repeat cuts easy, but a handsaw and a square will do.
- Drill/driver with a countersink bit, plus a ¾ inch Forstner or spade bit for the peg board.
- Tape measure and square. Square cuts matter more than any other skill on a build this small.
- Sandpaper in 120 and 180 grit.
- Clamps — two is enough.
- Finish: paint, stain or wax, plus a brush or rag.
- Fixings: 1¼ inch screws, wood glue, felt pads, and D-rings with wall anchors if it is going on a wall.
A DIY wooden Christmas card holder does not need a router, a dado stack or a shop full of clamps. The only fiddly operation in the whole set is drilling six dowel holes for the peg board, and a taped bit works as a depth stop.
Count your cards before you cut a board
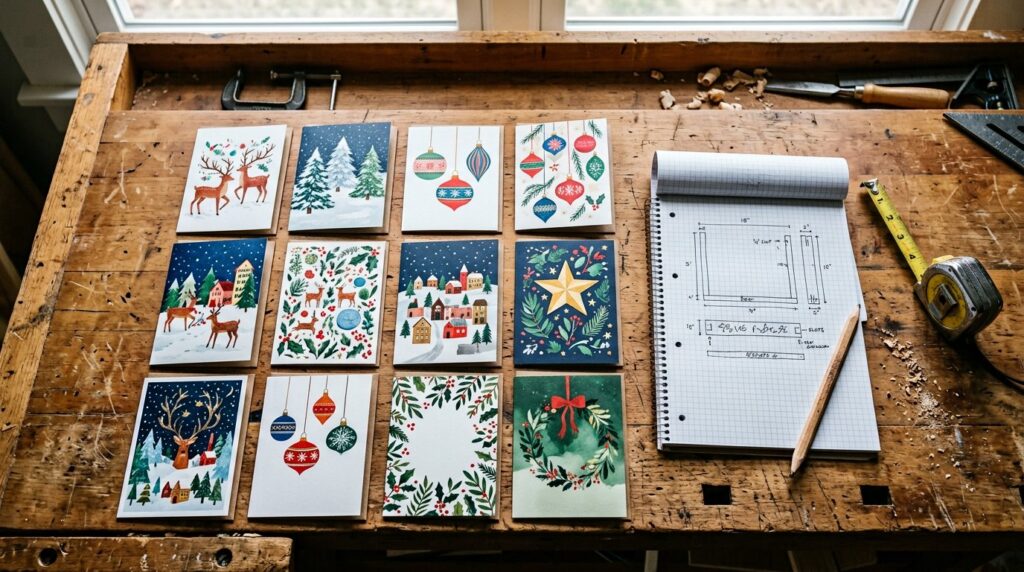
This is the step everyone skips, and it is the reason card holders end up too small. A standard A6 greeting card is about 4¾ × 6½ inches, and it will not stand upright on its own — it needs a slot, a lean or a clip.
| Cards you usually receive | Single-row rack length | Better option |
|---|---|---|
| Up to 10 | 24″ (holds ~9) | Build 1, slatted rack |
| 10–15 | 36″ (holds ~14) | Build 1, slatted rack |
| 15–20 | 48″ (holds ~19) | Build 1 at 48″, or Build 2 |
| 20–35 | — | Build 2, peg & twine board (3 rows) |
| 35+ | — | Build 3, A-frame ladder |
Two more numbers to note before you buy lumber: the deepest card you expect (a 5×7 photo card is taller and heavier than a standard card, and needs a deeper lean), and where the holder will live. A 48-inch rack over a 42-inch console looks wrong; two 24-inch racks flanking a lamp looks deliberate.
Build 1: the slatted card rack (the easiest DIY wooden Christmas card holder)
This DIY wooden Christmas card holder is three boards and two gussets. Cards lean back against the back board and sit behind a front lip, which is what stops the whole row sliding forward when someone pulls one out.
| Part | Material | Cut | Qty (36″ version) |
|---|---|---|---|
| Back board | 1×6 (5½” actual) | 36″ | 1 |
| Base | 1×4 (3½” actual) | 36″ | 1 |
| Front lip | 1×2 (1½” actual) | 36″ | 1 |
| End gussets | 1×4 scrap | 3½” × 3½” triangle | 2 |
Steps
- Cut the back, base and lip to length, all three the same. Any mismatch shows immediately as a crooked row of cards.
- Sand everything flat before assembly — 120 then 180 grit. It is much harder once the corners are screwed together.
- Attach the back to the base. Stand the back board on the rear edge of the base, square it, and drive 1¼ inch screws up through the base into the back, two per end and one in the middle. Glue the joint as well; screws hold it, glue stops it wracking.
- Fix the front lip 2 inches forward of the back board. Screw up through the base again, countersunk. This 2-inch channel is the whole mechanism — too narrow and photo cards will not lean back, too wide and standard cards flop forward.
- Add the two gussets in the ends, glued and screwed, to stop the back board flexing when the rack is full.
- Fill, sand and finish. A sharp 90-degree lip edge catches cards; break every edge lightly with 180 grit before painting.
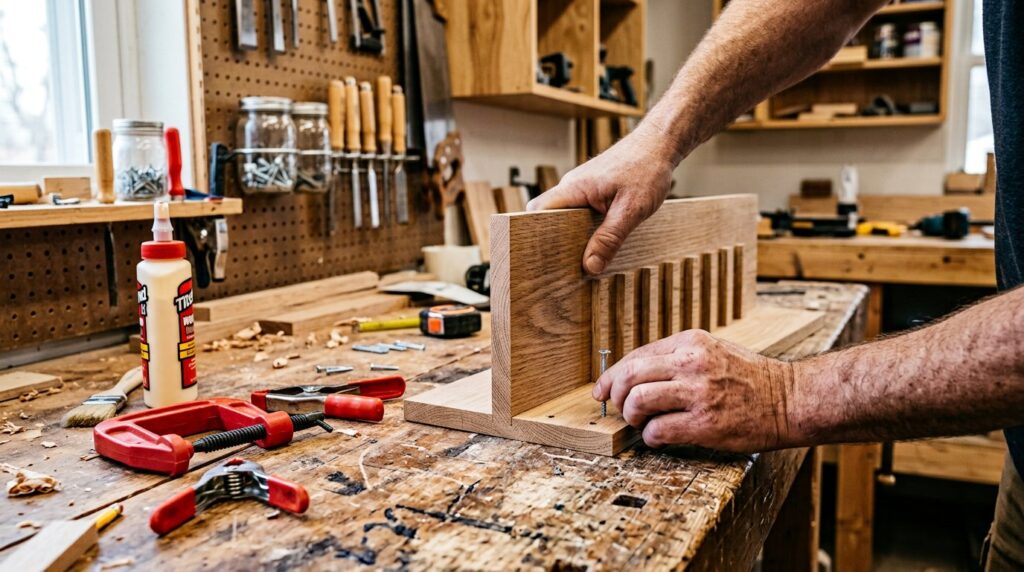
Card spacing: stand a few cards in and leave about 2½ inches between them. In a 36-inch rack that is 14 cards comfortably; squeeze to 2 inches and they fan into each other and start falling.
Build 2: the peg & twine board (about $32, holds 30–35)
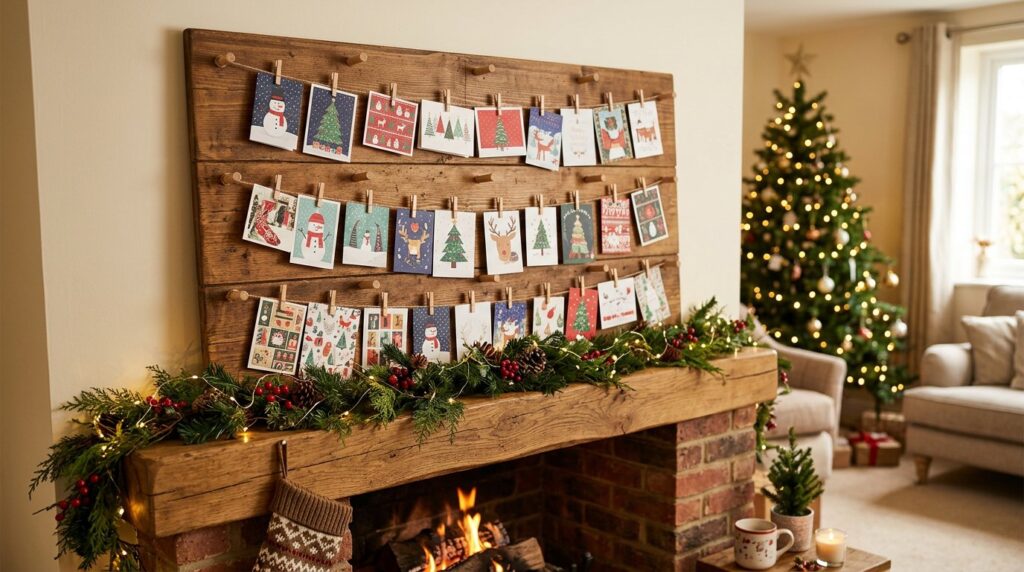
A DIY wooden Christmas card holder does not have to be a horizontal row. This one is a wall-mounted board with three rows of twine on dowel pegs, and mini wooden pegs to hang the cards. It takes three times the cards of Build 1 in the same footprint, and it looks best hung at eye level in a hallway or above a sideboard.
| Part | Material | Cut | Qty |
|---|---|---|---|
| Back board | 1×12 (11¼” actual) or ¾” ply | 36″ × 11¼” | 1 |
| Pegs | ¾” dowel | 2″ | 6 |
| Twine | Jute or cotton | 3 lengths, about 34″ each | 3 |
| Mini pegs | Wooden craft pegs | — | 36 |
Steps
- Mark three rows at 2½”, 5½” and 8½” down from the top edge, with peg positions 3 inches in from each end.
- Drill ¾ inch holes ½ inch deep with a Forstner bit wrapped in tape as a depth stop. Do not drill through — the front of the board is the front of the board.
- Glue and tap the pegs in, flush, and leave overnight.
- Finish, then string the twine. A slip knot at each end, and leave a slight sag — a tight line makes cards hang stiffly and the pegs slide.
- Hang it with two D-rings and wall anchors (see the mounting section), then clip the cards on.
If you want one board to hold more, add two extra pegs and a fourth row rather than going wider — a 36-inch board already needs a solid fixing point at each end.
Build 3: the A-frame ladder display (about $32, holds 40+)
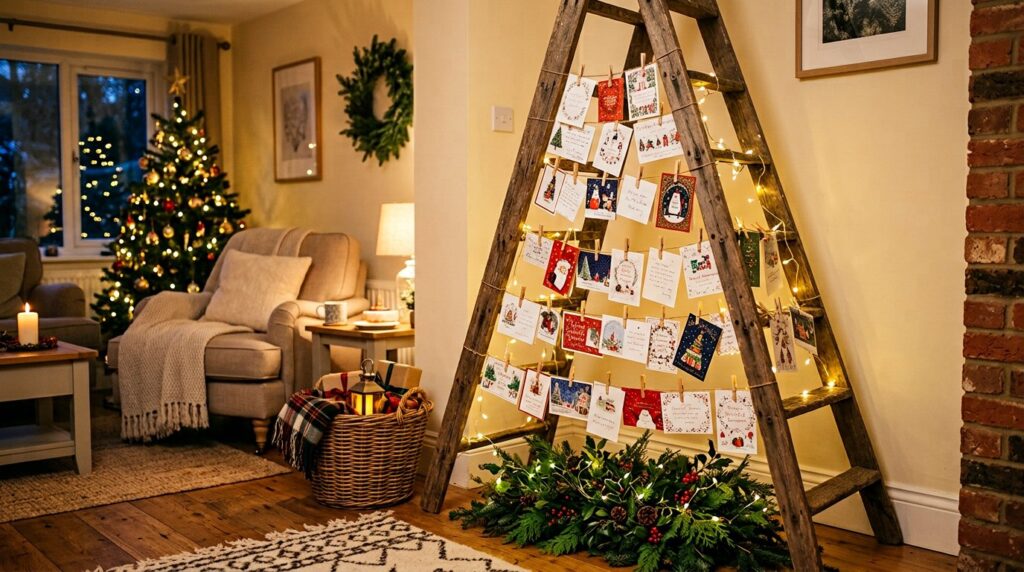
This DIY wooden Christmas card holder is free-standing, needs no wall, and folds flat for storage. Five rungs, cards pegged on, and a footprint small enough for a hallway corner.
| Part | Material | Cut | Qty |
|---|---|---|---|
| Legs | 1×2 (1½” actual) | 60″ | 4 |
| Rungs | 1×2 | 18″ | 5 |
| Top hinge | 1¼” butt hinge, or a 1×2 top cap | — | 1 |
| Mini pegs | Craft pegs or small clips | — | 40 |
Steps
- Build two ladder halves, two legs each, with the rungs at 10″, 21″, 32″, 43″ and 54″ up from the floor. Screw through the legs into the ends of each rung with 1¼ inch screws, predrilled.
- Splay the halves about 14 degrees and join them at the top with a hinge, or with a short top cap screwed across both. Test the splay with cards on before you commit — too upright and it tips forward, too splayed and it takes half the room.
- Add small feet — 2-inch squares of felt under each leg — so it does not skate on a wooden floor.
- Paint it, then clip the cards on with the pegs.
Three ways to hold a card — lip, slot or clip
Every card holder on the market is one of three mechanisms, and each has a trade-off worth knowing before you commit to a build.
| Method | How it works | Best for | Trade-off |
|---|---|---|---|
| Lip (Build 1) | The card leans against the back board and rests behind a front rail | Standard cards, mixed sizes, a mantle or console | Cards touch each other when the row is full; spacing is by eye |
| Slot | The card drops into a narrow cut or between two rails | Even rows, a very tidy look | Needs a router or dado; slots only fit one card thickness |
| Clip / peg (Builds 2 and 3) | The card hangs from twine or a rung on a mini peg | Large collections, photo cards, wall or ladder displays | Cards hang rather than stand, and pegs must be bought or made |
For a first DIY wooden Christmas card holder, the lip method is the one to build: it needs no special bits, it tolerates cards of different sizes, and it holds a folded card as happily as a flat photo print. Slots look sharper in photographs and are more work than they are worth unless you already own the tooling. Clips win on capacity — a 36-inch board with three twine rows takes about 30 cards where a lip rack takes 14 — which is why the two bigger builds in this guide both use them.
Finish: paint, stain or bare wood
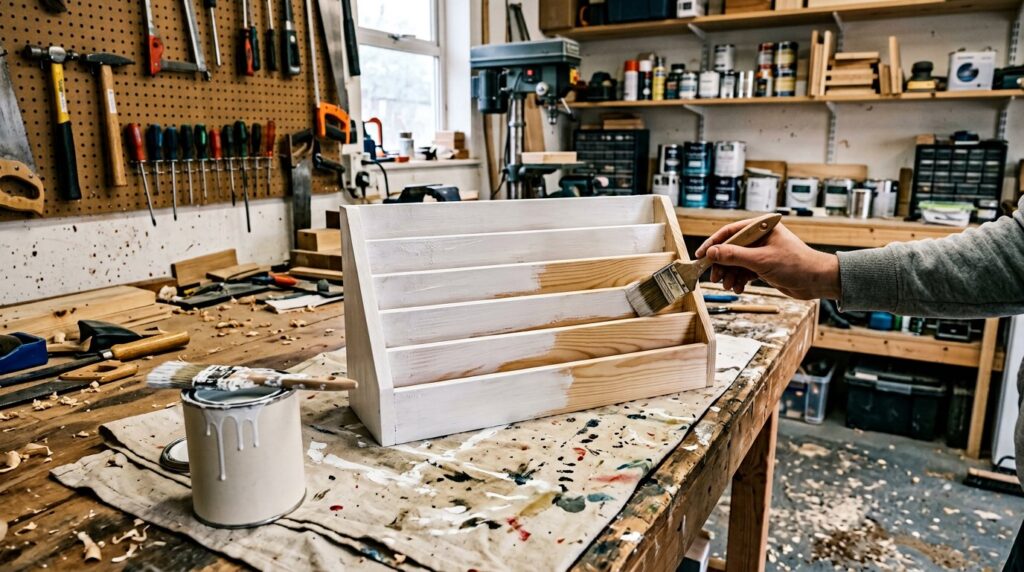
| Look | Schedule | Best for |
|---|---|---|
| Farmhouse white | Primer, two coats satin enamel, light sand between coats | Slatted rack, ladder |
| Dark walnut stain | Pre-stain conditioner, stain, one coat wipe-on poly | Peg board, warmer rooms |
| Two-tone distressed | Stain, chalk paint over it, sand the edges back, wax | Rack, farmhouse styling |
| Bare pine + wax | Sand to 180, one coat clear wax | Quick builds you may repaint later |
One practical note: a card holder gets handled every day for a month, so it needs a finish that does not smudge from fingers. Bare wood shows thumbprints around December 10; painted or waxed surfaces wipe clean. If you are staining pine, use a pre-stain conditioner or the stain will blotch across the growth rings — the same rule that applies to any pine project, covered in our sanding and finishing guide.
Mounting it so it stays up
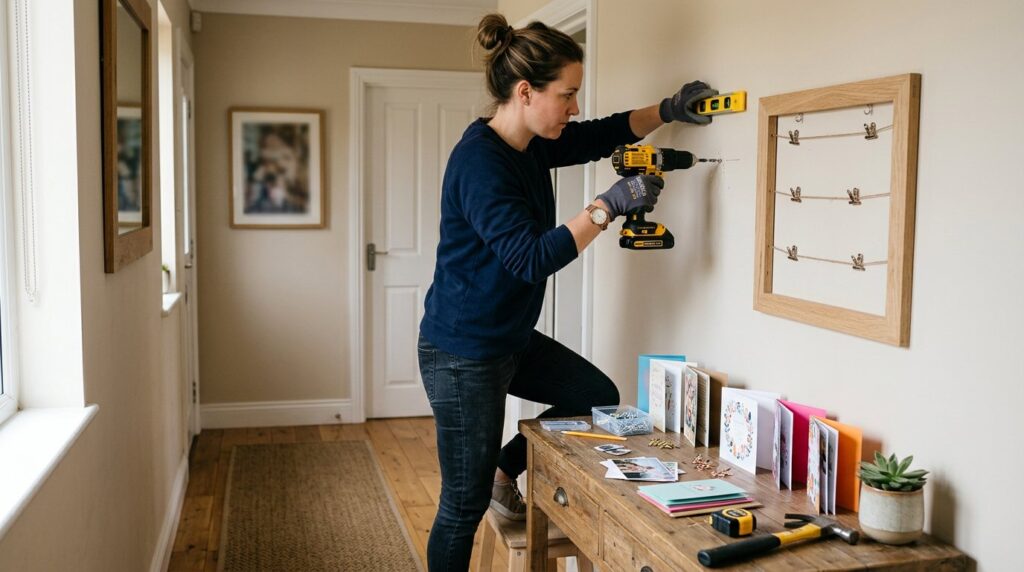
- Weight matters less than leverage. A 36-inch rack weighs about 3 pounds empty, but a full row of cards pulls outward at the top. Fix the top of any wall-mounted holder with two anchors, not one.
- Use two D-rings 10–12 inches apart with proper wall anchors for drywall, or screw into a stud where one is available. A single nail or a hook-and-loop strip will let go by New Year.
- On a mantle, no fixing is needed — the slatted rack in Build 1 sits on its base. Keep it behind the stocking line so a stocking cannot knock it off.
- Avoid hanging above a radiator, a fire or a doorway where a card getting pulled will take the whole thing with it.
- Door display? If you want it on a door, use the peg board with a single over-the-door hook through a drilled hole, and keep it light.
Adapting the builds to where it will actually go
- Mantle: the 24-inch slatted rack, no mounting hardware, sitting behind the stocking line. Anything taller than about 6 inches competes with the stockings.
- Hallway or sideboard: the peg-and-twine board at 36 inches, hung so the middle row is at eye level. This is the build that holds a whole December.
- Door: the peg board again, with a single over-the-door hook through a drilled hole and felt pads on the back so it does not mark the paint.
- Small flat, no wall space: the A-frame ladder in a corner — it needs about 28 inches of floor and no fixing at all.
- Two rooms: build the 24-inch rack twice from the same boards. A DIY wooden Christmas card holder that costs $24 is cheap enough to make a pair, and a pair divides a big haul by occasion rather than by accident.
What these builds cost
| Build | Lumber & hardware | Finish | Total | Capacity |
|---|---|---|---|---|
| Slatted rack, 36″ | 1×6, 1×4, 1×2 boards — about $18; screws and glue $3 | $8 | about $30 | 14 cards |
| Slatted rack, 24″ | About $13; screws and glue $3 | $8 | about $24 | 9 cards |
| Peg & twine board | 1×12 @ 36″ — about $14; dowel $4; twine and pegs $6 | $8 | about $32 | 30–35 cards |
| A-frame ladder | 3 × 1×2 @ 8 ft — about $15; hinge $4; pegs $5 | $8 | about $32 | 40+ cards |
| Store-bought comparison | — | — | $25–$60 | Usually 12–20 |
Build it from scrap and one board and the slatted rack lands under $15. Build the rack and the peg board from the same 8-foot boards and you have two gifts for the price of one trip.
Five mistakes that make a card holder useless
- Spacing cards at 1½ inches. They fan, overlap and fall. Two and a half inches per card, minimum.
- No front lip, or a lip that is too far forward. Without a lip the row slides out; with a 4-inch channel every standard card leans at a useless angle.
- One hanging point on a wide board. It rotates the first time someone pulls a card from one end.
- Building for the cards you got last year. Card counts grow. Build for last year plus five, or go with the two-row peg board.
- Finishing only the front. The back and the base edges are what your hands touch when you move it; unfinished pine marks everything it touches.
Frequently asked questions
How many cards does a 36-inch card holder hold?
About 14 in a single row, at roughly 2½ inches per card. A 24-inch version holds about 9; a 48-inch about 19. If you receive more than 20 cards, build the peg-and-twine board with three rows or the A-frame ladder, which hold 30–35 and 40+ respectively.
What is the best wood for a DIY wooden Christmas card holder?
Pine is fine and inexpensive — 1×6, 1×4 and 1×2 boards are all you need. Use a hardwood like poplar or maple if you want crisper edges and a smoother painted finish. Avoid MDF for the slatted rack, since the front lip takes repeated handling at its edge.
Do the cards need a groove or just a lip?
A lip is enough. A 2-inch channel between the back board and a 1½-inch front lip holds standard 4¾ × 6½ inch cards at a natural lean and lets photo cards sit slightly more upright. Grooves are only worth the extra cutting if you want perfectly even spacing.
How do I stop the holder sliding or tipping?
For a free-standing build, add felt pads under the base and keep the back board angle shallow — around 10–15 degrees. For wall-mounted boards, use two D-rings 10–12 inches apart with wall anchors, and fix the top rather than the middle.
Can I make it fold for storage?
Yes — the A-frame ladder folds flat at the top hinge, and a slatted rack stores face-up in a box. The peg-and-twine board does not fold, which is why it is the one to build if the holder is going to stay on a wall year-round instead of going up and down each year.
How long does it take to build one?
Building a DIY wooden Christmas card holder takes about 45 minutes to 90 minutes depending on the build: the slatted rack takes about 45 minutes of cutting and assembly plus finish drying. The peg board takes about an hour because of the six dowel holes, and the ladder about 90 minutes including the hinge and splay test. All three finish in one evening if you use a water-based paint.
Can I personalise it?
Yes, and this is the part that makes it worth keeping. Stencil or paint “Christmas 2026” on the base, wood-burn a family name, or leave a blank strip on the back board to add a year each December. A 1-inch margin along the base gives you room to write a date every year without it looking cramped.
What else can I display on it?
Anything flat and light: photo prints, children’s drawings, small ornaments hung by ribbon, recipe cards, or the cards you cannot bear to throw away. The peg board doubles as a birthday-card display the rest of the year, which is why it is the version most people end up building twice.
Your evening plan
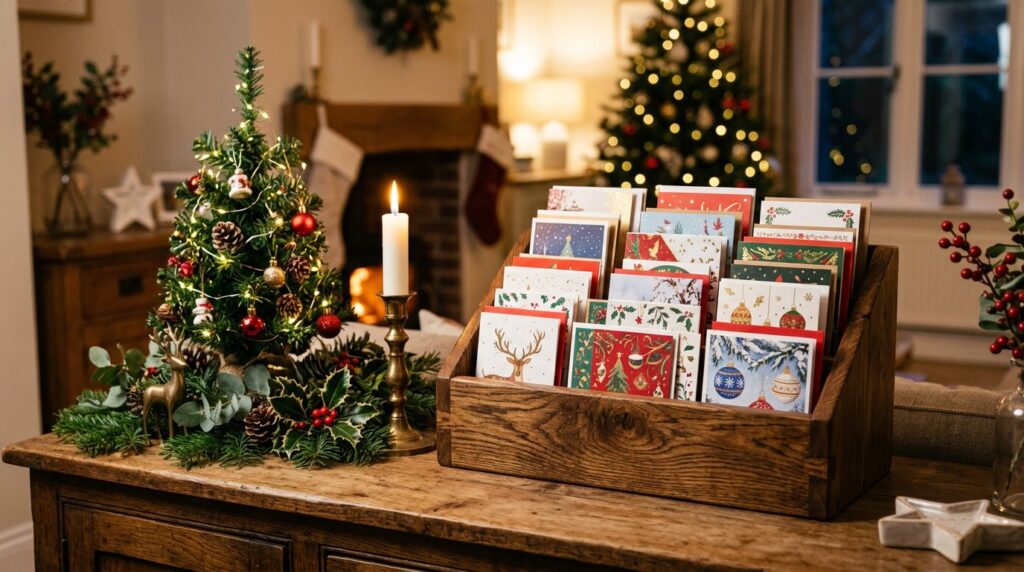
- Count last year’s cards and decide between the rack, the peg board and the ladder.
- Buy the boards — an 8-foot 1×6, 1×4 and 1×2 cover the slatted rack with enough left over for a second, shorter one.
- Cut, sand and assemble in one sitting; screw up through the base, not down through the back.
- Finish and dry overnight, then hang or set it up before the first card arrives.
By the time the cards start coming, your DIY wooden Christmas card holder is already there, waiting for them. If you are building out the rest of the room, our guide to Christmas card display ideas covers where to put it and what to pair it with, and the centerpiece builds, stocking holder and tree collar use the same handful of boards, so one lumber run covers the set.