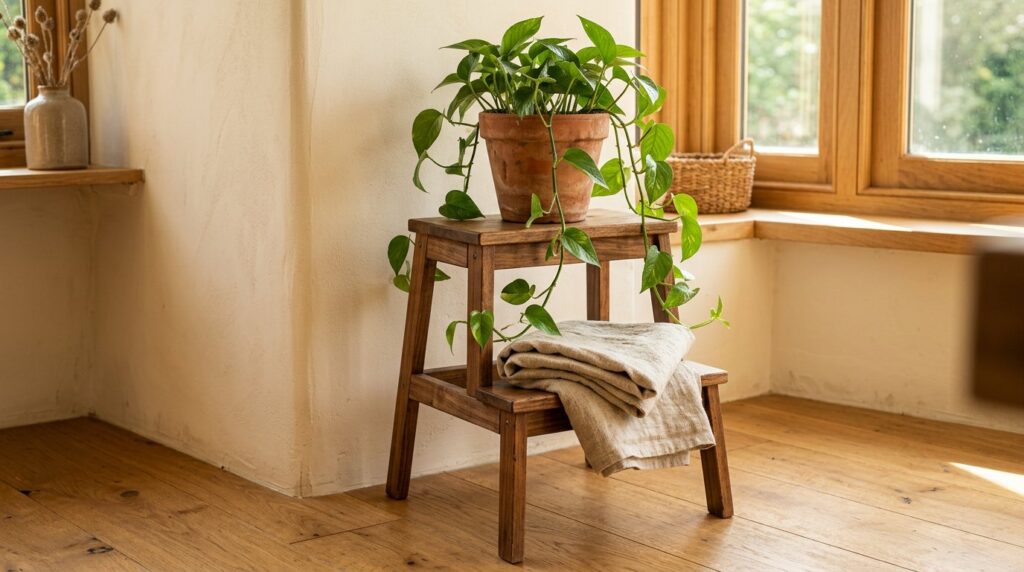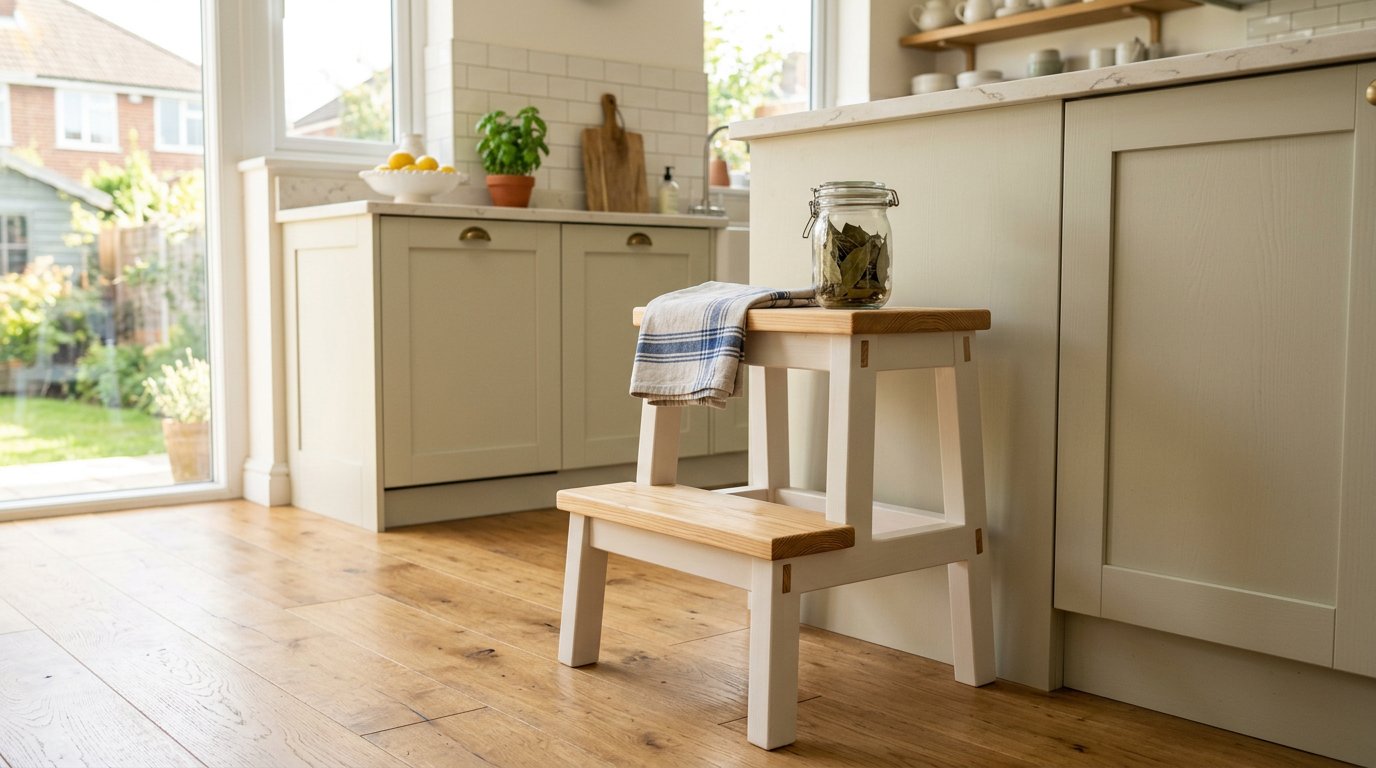
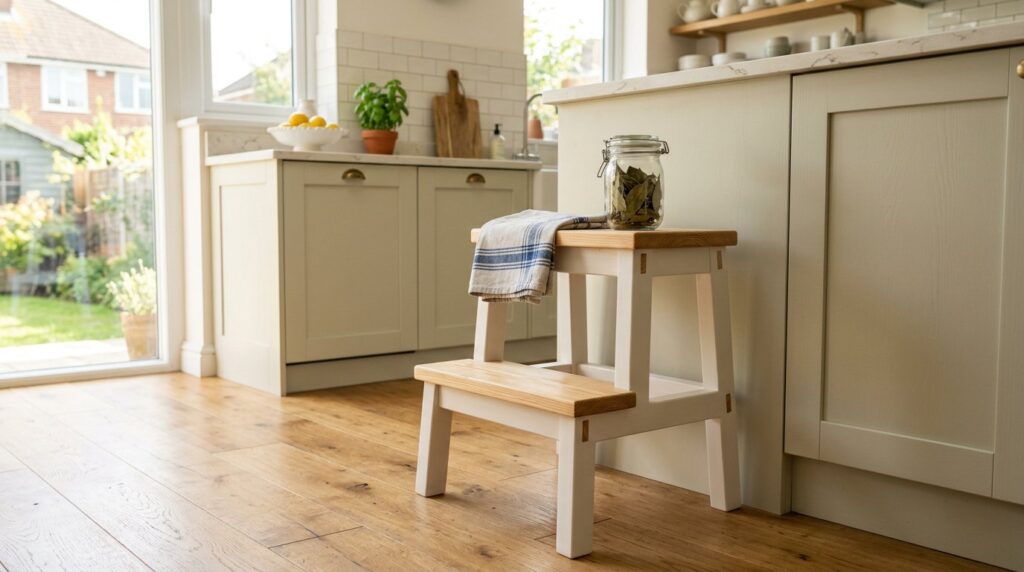
A diy step stool is the smallest piece of furniture in the house and the one most likely to be stood on by a barefoot adult at speed. That is what makes it a good build: five pieces of wood, one afternoon, and a set of proportions that either gives you something rock-solid or something that tips when you reach for the top cupboard.
This guide to a diy step stool gives you three versions of a diy step stool — a two-step utility stool for the kitchen, a small one-step stool for a child at the bathroom sink, and a taller three-step kitchen helper for reaching high shelves. Each has a cut list, and all three share the same rule: the legs splay outward, so the base is always wider than the top.
Everything below is written for someone with a saw, a drill, a square and no dovetail jig. Total cost for the main build is about $28.
What you are building: three options
| Build | Finished size | Material | Time | Cost | Best for |
|---|---|---|---|---|---|
| 1. Two-step utility stool | 16″ W × 15″ D × 18″ H | 1×10 pine + 1×3 cleats | 2 hours | ≈$28 | Kitchens, cupboards, garages |
| 2. One-step kids’ stool | 12″ W × 9″ D × 9″ H | 1×10 pine + 1×2 | 45 min | ≈$14 | Bathroom sink, toilet training |
| 3. Three-step kitchen helper | 18″ W × 20″ D × 26″ H | Two 1×10 boards + 1×3 | 3 hours | ≈$46 | High cupboards, small kitchens |
Build 1: the two-step utility stool
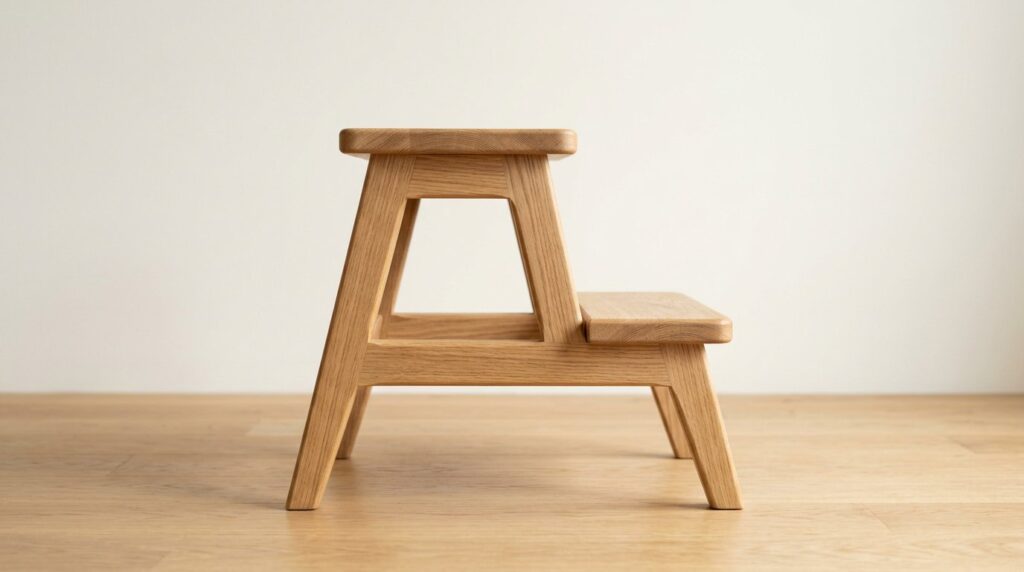
For a diy step stool, two treads and risers 8 inches apart, and a top tread 14 inches wide. The lower tread is deeper than the top — 10 inches against 7 — because your foot needs a landing zone as you step up, and a narrow top tread is what makes cheap stools feel insecure.
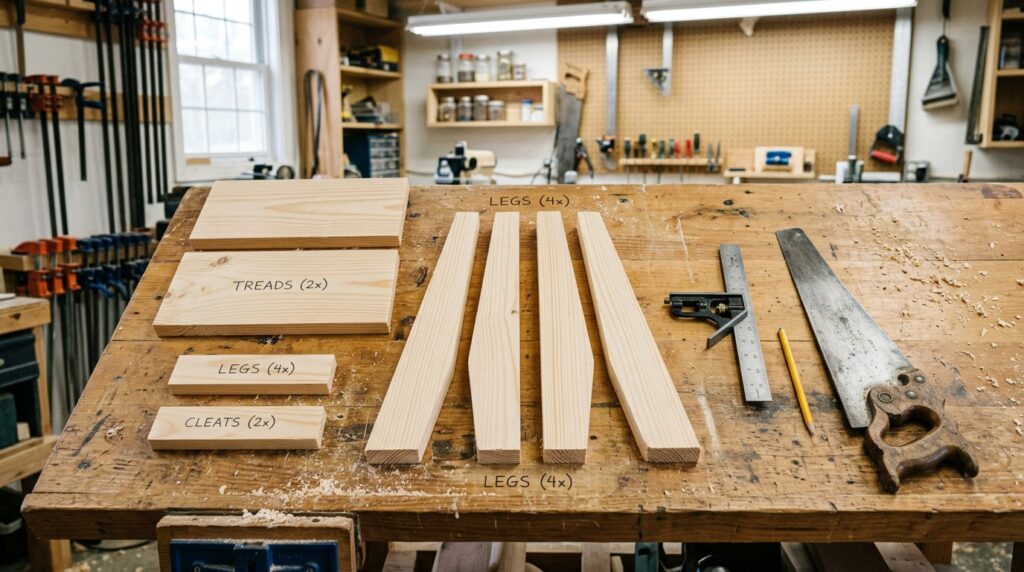
Cut list
| Part | Qty | Size | Notes |
|---|---|---|---|
| Top tread | 1 | ¾ × 14 × 7″ | Front edge rounded over |
| Lower tread | 1 | ¾ × 14 × 10″ | Deep landing step |
| Legs | 4 | ¾ × 2½ × 18″ | Both ends cut at 10° so the base splays |
| Cleats | 4 | ¾ × 1½ × 12″ | Two under each tread, glued and screwed |
| Bottom brace | 2 | ¾ × 2 × 12″ | Optional; kills any side-to-side wobble |
For the main diy step stool, a single 8-foot 1×10 gives you both treads, all four legs and the braces with about 20 inches left over. If you use 1×12 you can widen the stool to 16 inches and still have offcuts for a second one.
Assembly order
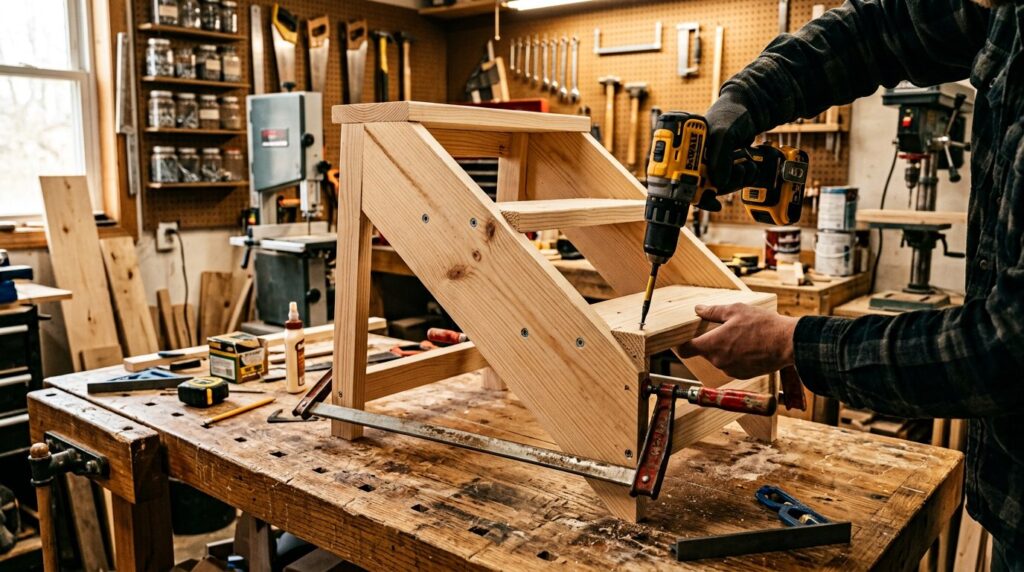
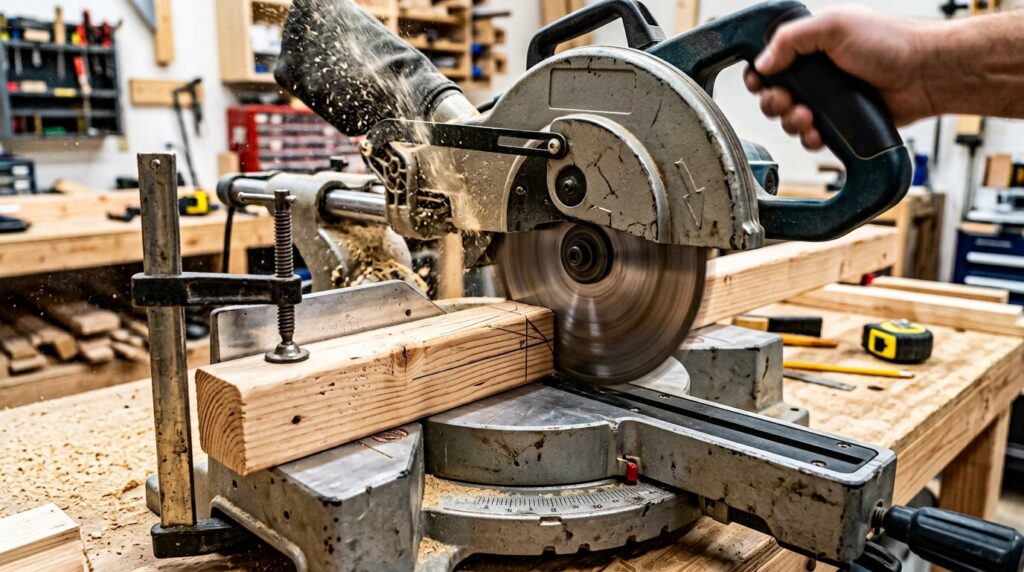
- Cut the legs to length with the 10° angle on both ends. Cut one leg, mark it as the pattern, and use it to scribe the other three. The angles must mirror in pairs — two legs lean left, two lean right.
- Lay the stool on its side. Put two legs flat on the bench and set the top and lower tread between them, checking that the treads are horizontal while the legs are angled.
- Glue and screw the cleats to the legs first. The cleat carries the tread and takes the load; the tread sits on the cleat rather than just being screwed to the leg ends.
- Set the treads on the cleats, check the front overhang is equal left and right, then screw down through the tread into the cleat.
- Repeat for the second side, then join the two sides with the bottom braces.
- Stand it on the floor and check for rock. Any wobble at this point is one leg a degree out — trim the long one, do not shim it.
The cleat is the whole trick
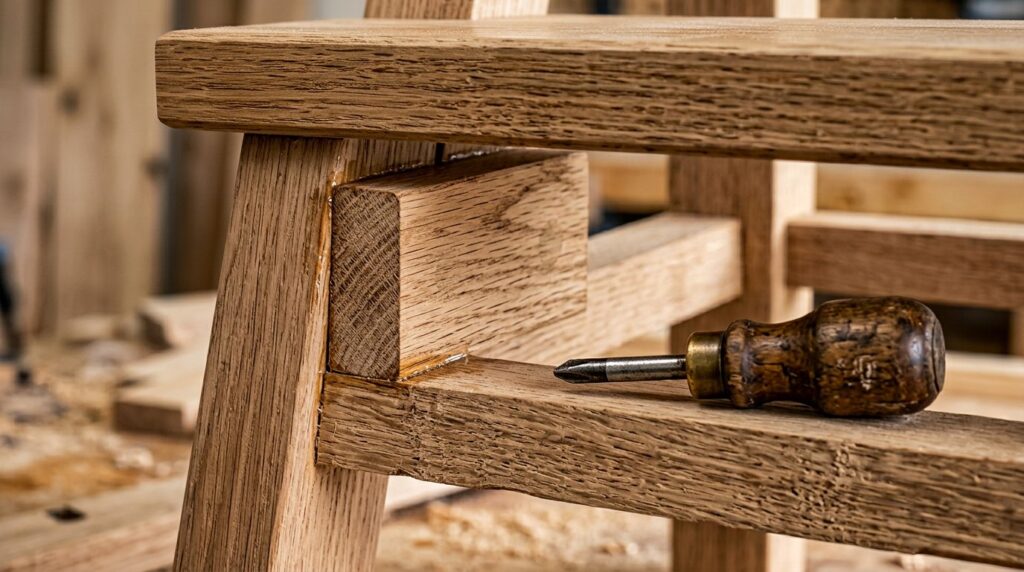
Cheap diy step stool plans screw the tread directly to the top of the leg. That puts every pound of your weight into the shear strength of two screws, into end grain, which is the weakest joint in woodworking. The fix costs four small pieces of 1×2 and ten minutes.
A cleat is a strip screwed and glued to the inside face of the legs, running under the tread. Now the load travels from the tread, into the cleat, into the legs as compression rather than shear — and a stool built this way will carry 300 pounds without complaint.
Why the legs splay, and by how much
Splay in a diy step stool is a stability calculation, not a style choice. A stool with vertical legs has a footprint exactly the width of the top, so the moment you lean sideways your centre of mass passes over the leg line and it tips. Angling the legs 10 degrees each widens the footprint by roughly 25 percent with no extra material.
| Leg angle | Footprint gain | Effect |
|---|---|---|
| 0° (vertical) | None | Tips easily when you reach sideways |
| 5° | ≈10% | Noticeably steadier |
| 10° | ≈25% | The sweet spot for a 18″ stool |
| 15° | ≈40% | Very stable, looks squat, harder to cut |
Go past 15 degrees and you are making a sawhorse, not a stool. Also splay the legs front-to-back, not just side to side — a stool with lateral splay only will still tip forward when you reach into a high cupboard.
Build 2: the one-step kids’ stool
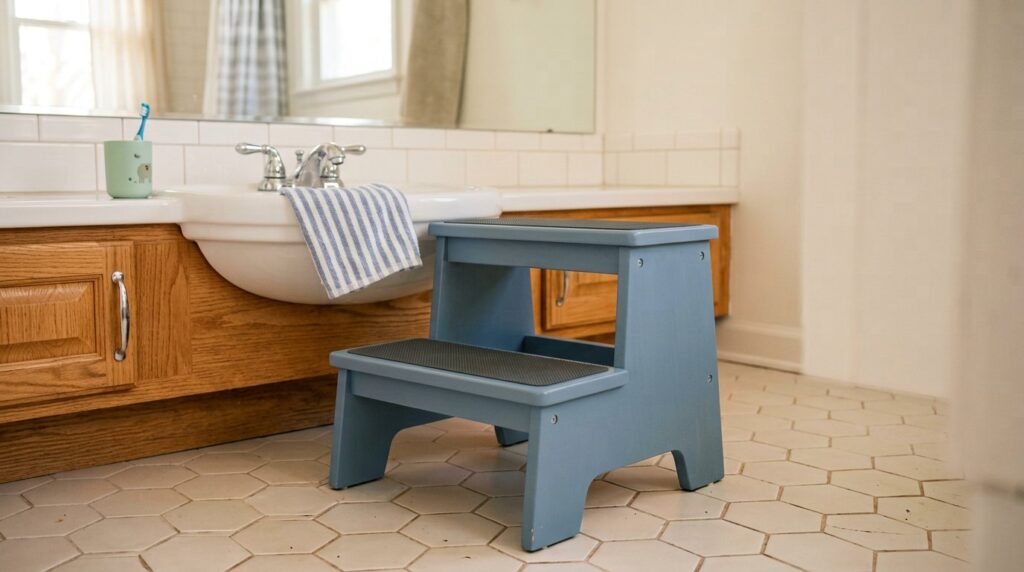
Same construction, one-third the size, and one extra rule: no sharp corners and no gaps a small finger can enter. A 9-inch-high stool puts a four-year-old at the bathroom sink, which is the whole point.
Cut list
| Part | Qty | Size | Notes |
|---|---|---|---|
| Tread | 1 | ¾ × 12 × 9″ | All corners rounded to a ½” radius |
| Legs | 4 | ¾ × 2 × 9″ | 8° splay both ways |
| Cleats | 2 | ¾ × 1¼ × 10″ | Under the tread, front and back |
| Non-slip top | 1 | 12 × 9″ | Adhesive grip tape or a routed router-mat inset |
Add grip tape or a rubber mat to the top of any diy step stool. A painted pine tread in a wet bathroom is genuinely slippery, and this is the one detail worth spending $3 on. Finish with a child-safe water-based paint or a hardwax oil — not an oil-based varnish that off-gasses for a week.
Build 3: the three-step kitchen helper
On the taller diy step stool, risers stay at 8 inches, so three steps land at 24 inches of tread height and about 26 inches overall. The base goes out to 20 inches deep to keep the tipping geometry safe — a tall stool with a small footprint is a fall waiting to happen.
| Part | Qty | Size | Notes |
|---|---|---|---|
| Treads (3) | 3 | ¾ × 16 × 7″, 8″, 9″ | Deepest at the bottom |
| Legs | 4 | ¾ × 3 × 26″ | 12° splay, wider stock for the height |
| Cleats | 6 | ¾ × 1½ × 14″ | Two per tread |
| Back rail | 2 | ¾ × 2 × 16″ | Top and bottom, ties the frame |
| Handrail (optional) | 1 | 1 × 2 × 16″ | Worth adding above 20 inches |
Above 20 inches, add a hand rail or a wall hook to park it on. Anything you have to reach up for is a tipping risk, and that risk multiplies with height.
Dimensions that actually work
| Dimension | Rule | Why |
|---|---|---|
| Riser height | 7–9″ | Comfortable step; above 9″ feels like climbing |
| Top tread depth | 7–8″ | Enough for a full foot without overhanging |
| Lower tread depth | 9–10″ | Landing zone as you step up |
| Tread width | 12–16″ | Shoulder width or slightly less |
| Riser spacing | 8″ max, consistent | Uneven risers are how people trip |
| Base footprint | ≈25% wider than top | The anti-tip margin |
| Top tread height | 16–18″ for adults | Puts you one comfortable step higher |
Joinery, fasteners and what to skip
| Joint | Method | Why |
|---|---|---|
| Cleat to leg | Wood glue + 1¼” screws | Carries the entire load |
| Tread to cleat | Glue + 1¼” screws from above | Fasteners hidden under the tread |
| Legs to tread ends | Do not rely on these alone | End grain screws are weak in shear |
| Side to side bracing | Bottom brace + 1½” screws | Stops racking when you shift weight |
| Anything structural | Never drywall screws | Brittle and they snap under load |
On a diy step stool, pre-drill everything within an inch of an end. Pine splits, and a split cleat is a stool that fails with someone standing on it. If you want the strongest possible version, cut a shallow dado in the legs for the cleats to seat into — but screws and glue are genuinely sufficient at this scale.
Using a step stool safely
Where it should not be used
A step stool is for a step, not for a job. Standing on the top tread and reaching overhead with both hands moves your centre of mass past the footprint, and no splay angle compensates for that. Above shoulder height, use a proper ladder.
Surfaces that change the rules
Tile and polished concrete are the two floors where a wooden diy step stool can slide. Rubber feet solve it. On carpet, the opposite problem — the stool sits stable but the pile hides a wobble, so check it on a hard floor before you trust it.
Children
For a child’s stool, the risks are corners, gaps and grip. Round every edge, keep cleat gaps under a quarter inch so fingers cannot enter, add a non-slip top, and never let a child use a three-step helper unattended — that one belongs against the counter with an adult beside it.
Inspection, once a year
Turn it over and look at the cleats. If a screw has stripped, if the glue line has opened, or if the legs have spread so the stool rocks, fix it or retire it. A stool that has been stood on every day for five years has earned a look.
Finish and non-slip
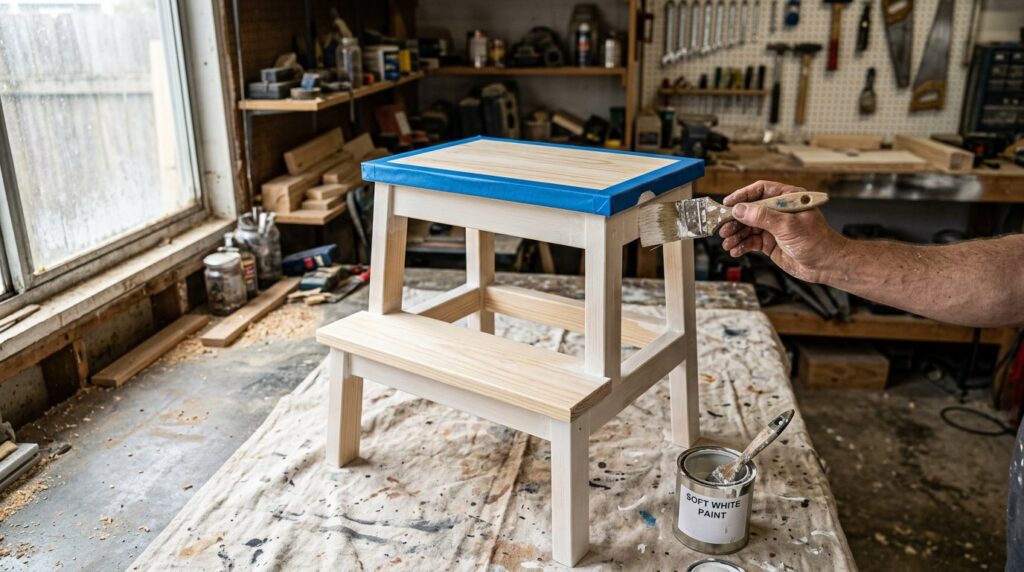
Paint or clear-coat the whole diy step stool, but treat the treads differently: a gloss finish on a step is a hazard. Use satin or matte on the treads, and add grip tape, a router-cut rubber mat, or a few strips of anti-slip stair tape. On a painted stool, an oil-based enamel wears far better than a latex wall paint.
Round over every edge a hand will touch on a diy step stool. A ⅛-inch roundover bit in a trim router takes two minutes and is the difference between a shop stool and a piece of furniture.
The one-board version, in 30 minutes
If you want the simplest possible diy step stool — one board, four cuts, no angles — build this instead. It is a box stool: two side panels, a top tread and two rails, all cut square from a single 1×10.
| Part | Qty | Size |
|---|---|---|
| Top tread | 1 | ¾ × 14 × 10″ |
| Sides | 2 | ¾ × 10 × 9″ |
| Front and back rails | 2 | ¾ × 3 × 12½” |
Glue and screw the rails between the sides, set the top on, and you have a 9-inch box step for £8 of timber. It does not splay, so it is slightly less stable than Build 1, but it is the fastest path to something useful and it doubles as a bedside step or a plant stand.
Keep the sides perfectly parallel by clamping them to the bench before driving any screws, and check the diagonals of the box before the top goes on. That is the entire build.
What it costs
| Item | Build 1 | Build 2 | Build 3 |
|---|---|---|---|
| 1×10 board(s) | ≈$14 | ≈$14 (shared) | ≈$26 |
| 1×3 cleat stock | ≈$5 | ≈$3 | ≈$8 |
| Screws and glue | ≈$5 | ≈$3 | ≈$6 |
| Finish + grip tape | ≈$4 | ≈$5 | ≈$6 |
| Total | ≈$28 | ≈$14 | ≈$46 |
Big-box prices for the diy step stool above, 2026. A store-bought wooden stool of comparable size runs $45–$90 and is usually screwed straight into end grain — the exact joint this build avoids.
Tools you actually need
A diy step stool is a build that does not require a workshop. Here is the honest list, and the alternatives if you do not own something.
| Tool | Needed for | No-tool alternative |
|---|---|---|
| Circular saw or handsaw | Cutting treads and legs to length | Have the timber yard cut the straight cuts |
| Miter saw or bevel gauge | The 10-degree angled leg ends | Mark with a protractor and cut with a handsaw |
| Drill/driver | Pilot holes and screws | None — pre-drilling is not optional on pine |
| Combination square | Every layout line | A steel rule and a checked 90-degree corner |
| Clamps (2 minimum) | Holding cleats while glue cures | Weight, or screws straight away and glue after |
| Random-orbit sander | Flush treads, rounded edges | Sandpaper wrapped around a block |
A trim router with a ⅛-inch roundover bit is the one optional extra worth having. It turns a shop-grade diy step stool into something you would leave out in a kitchen.
Scaling it up or down
The proportions scale predictably, which means one set of numbers can produce a bedside step, a shop stool and a small bench. Keep the riser at 8 inches and change only the tread width and the height.
- Bedside step (9″ high): one tread, 14 × 9″, legs 9″ with 8° splay. The kids’ cut list already does this.
- Shop stool (24″ high): two treads, 16″ wide, legs 26″ with 12° splay, plus a bottom brace. Add a 1×2 rail at the back for a bit of back support.
- Step bench (14″ high, 30″ long): treat it as a low bench — same splayed legs, one 30-inch tread, two cleats and two braces. Useful at the end of a bed.
Two rules survive every size change: the base stays about 25 percent wider than the top, and the risers stay equal. Break either and you have made something that looks like a diy step stool and behaves like a trap.
Five mistakes that make a stool wobble
- Vertical legs. No splay means no footprint, and no footprint means it tips when you reach.
- Screwing treads directly to end grain. Strong enough to feel fine in the shop, weak enough to fail with weight on it.
- Uneven risers. Mark the second tread from the first, not from the floor, and use a spacer block rather than a tape measure.
- Skipping the bottom braces. Without them the two sides rack independently and the stool walks across the floor.
- Gloss finish on the treads. It looks lovely and it is slippery in socks.
Frequently asked questions
What is the best wood for a step stool?
For a painted diy step stool, pine is fine and cheap. Poplar or maple are better if it will be left natural or used hard. Avoid MDF for the legs — it does not hold screws well in end grain and it swells if it gets wet.
How much weight will a wooden step stool hold?
A diy step stool built as described, with cleats under the treads and a bottom brace, a two-step pine stool comfortably holds 300 pounds. The cleat joint, not the wood, is what sets the limit.
How tall should a step stool be?
16 to 18 inches for an adult kitchen stool — one comfortable step up. Children’s stools are 7 to 9 inches, and a three-step kitchen helper tops out around 24 inches of tread height.
How do I stop the legs from splaying over time?
Use a bottom brace and glue every joint. A stool with glued cleats and a brace will not spread; one held together by screws alone will loosen within a couple of years.
Can I build a step stool without a miter saw?
Yes. Mark the 10-degree angle with a bevel gauge or a protractor and cut it with a handsaw, or simply clamp a straight edge as a guide for a circular saw. One pattern leg does the rest.
Should I put felt pads underneath?
On hard floors, yes — but use thin rubber pads rather than felt, because felt slides. Rubber also adds grip, which matters more on a stool than on a chair.
What angle should the legs be?
10 degrees of splay for an 18-inch stool, 8 degrees for a small child’s stool, 12 degrees for a three-step version. Aim for a footprint roughly 25 percent wider than the top.
How long does it take to build one?
Two hours for the two-step diy step stool including finishing. The kids’ stool is under an hour; the three-step helper is about three hours with a hand rail.
Where to go next
If this is your first furniture build, the two-step stool is the right warm-up for our DIY bookshelf guide — same cleat-and-carcass logic, much bigger cut list, and a span table that tells you how wide a shelf can go. For wall-mounted storage instead, the floating shelves guide covers stud fixing and load limits. And before you paint anything, read the sanding and finishing guide.