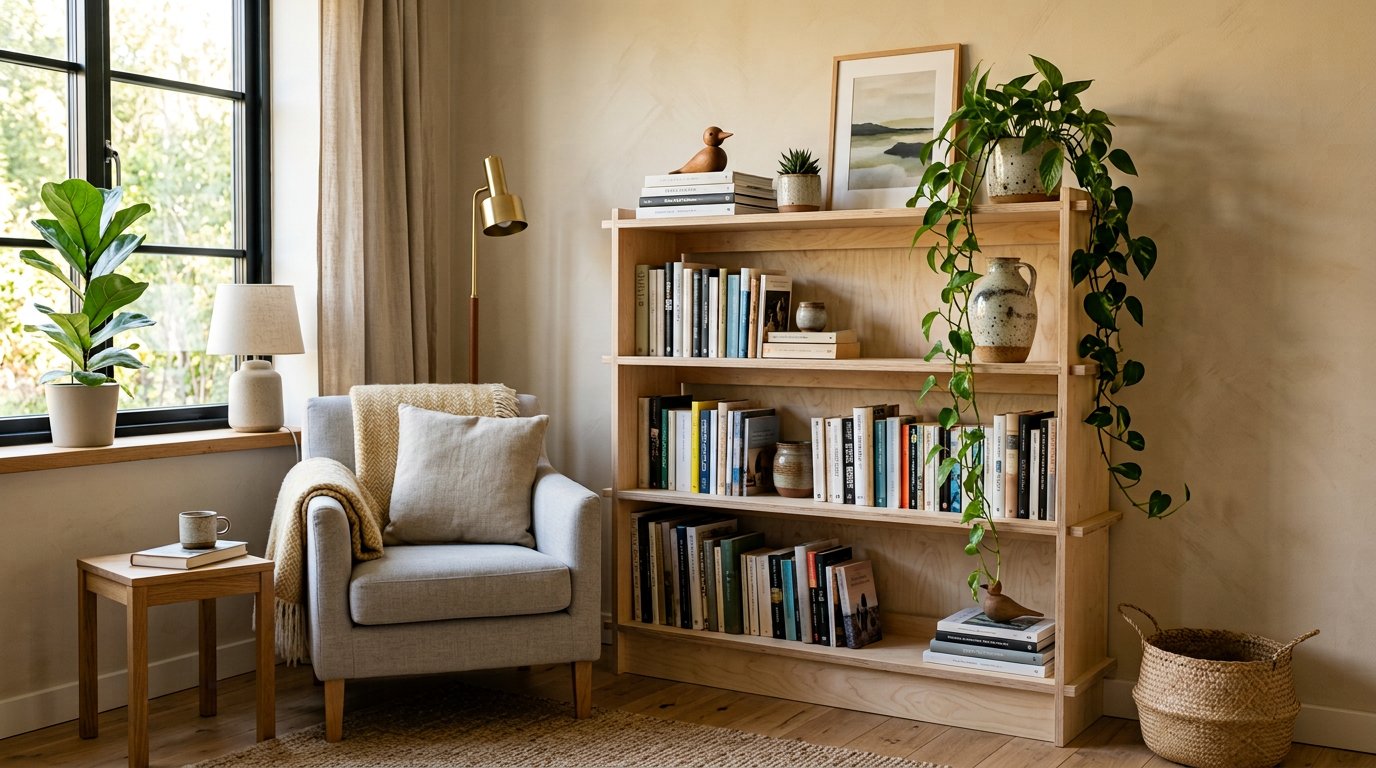
A diy bookshelf is the project where beginners discover that woodworking is mostly arithmetic. The joinery is about as simple as furniture gets — a box with shelves in it — but the difference between a diy bookshelf that stays square for twenty years and one that sags, racks and wobbles comes down to five decisions made before you cut anything: shelf span, material thickness, how the shelves are fixed, whether there is a back panel, and whether the thing is anchored to the wall.
This guide to a diy bookshelf gives you three builds you can actually finish in a weekend. A 32-inch four-shelf case that holds real hardbacks, a 3×3 cube grid for baskets and toys, and a leaning ladder shelf for a rented flat where drilling the wall is not an option. Each one has a cut list, an assembly order and a cost in dollars. Pick the one that fits your wall, then read the span and sag section before you cut — that is the part that decides whether your shelves stay flat.
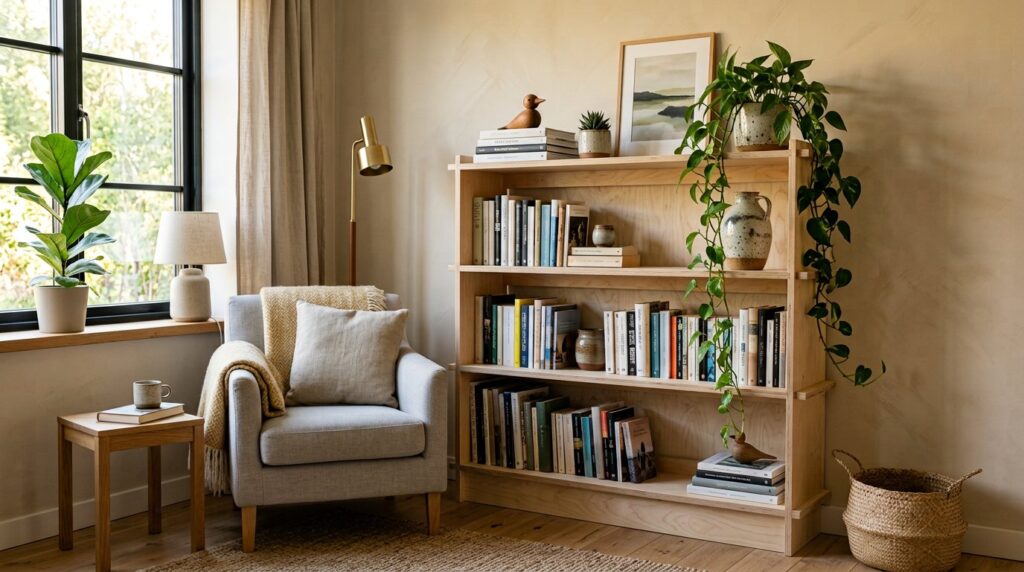
What you are building: three options
All three diy bookshelf builds use the same three-quarter-inch sheet goods and the same box logic. They differ in size, in how the shelves are fixed, and in how much of a wall they eat.
| Build | Finished size | Material | Time | Cost | Best for |
|---|---|---|---|---|---|
| 1. Four-shelf case | 32″ W × 60″ H × 11½” D | One ¾” plywood sheet + ¼” back | 1 day | ≈$95 | Books, the main workhorse |
| 2. Cube grid | 36″ W × 36″ H × 12″ D | Two ¾” sheets | 1–2 days | ≈$150 | Baskets, toys, records |
| 3. Ladder shelf | 24″ W × 72″ H × 13″ base | Two 1×10 boards + one 1×8 | Half a day | ≈$45 | Rentals, no wall fixings |
Build 1: the 32-inch four-shelf case
This is the diy bookshelf to build first. It is 32 inches wide because that is the widest a three-quarter-inch plywood shelf spans before it starts to bow under hardbacks, and 60 inches tall because that clears a sofa back and still leaves room for a lamp on top. Depth of 11½ inches takes a standard 9½-inch art book with the spine flush.
Cut list
| Part | Qty | Size | Notes |
|---|---|---|---|
| Sides | 2 | ¾ × 11½ × 60″ | Grain running vertically |
| Top | 1 | ¾ × 32 × 11½” | Or 12½” deep for a 1″ front overhang |
| Bottom | 1 | ¾ × 32 × 11½” | Set 4″ up if you add a plinth |
| Shelves | 3 | ¾ × 30½ × 11⅛” | 30½” sits between the sides; 11⅛” leaves a whisker of setback |
| Back | 1 | ¼ × 32 × 60″ | Hardboard or ¼” plywood |
| Face frame (optional) | 2 (+3) | ¾ × 2 × 60″ / ¾ × 2 × 30½” | Turns a utility case into furniture |
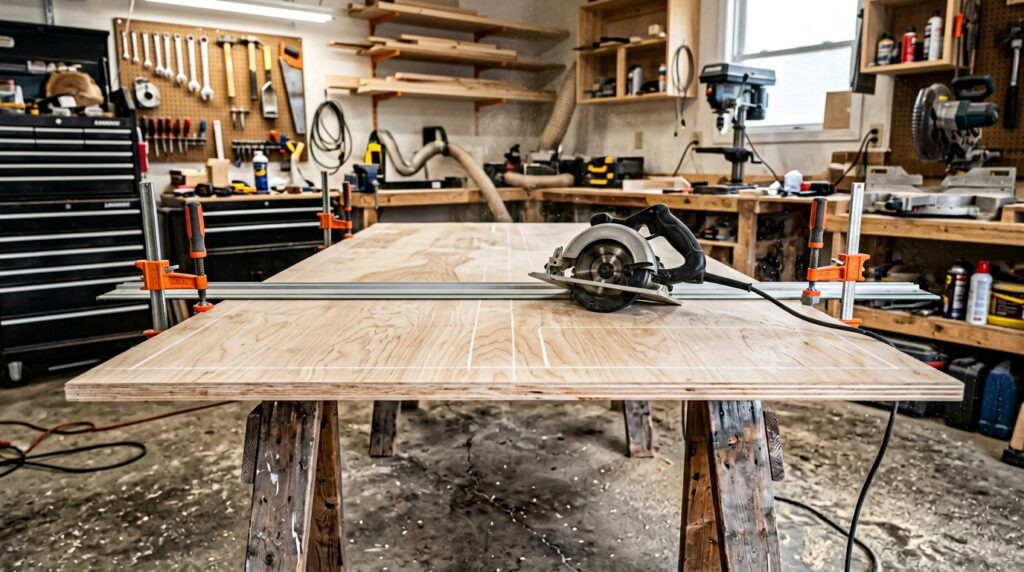
One 4×8 sheet of three-quarter plywood yields both sides, both horizontals and three shelves with room to spare — five full-length rips at 11½ inches. If you would rather use solid stock, three 1×12 boards at 8 feet do the same job with more waste and a nicer front edge.
Assembly order
- Cut everything to size, then label each part on masking tape. Plywood parts all look alike until they do not.
- Drill shelf-pin holes in both side panels before assembly. It is far easier on the bench than in a standing box.
- Mark the shelf positions with a story stick. Measure once, mark all four positions, and use that stick for both sides so the holes line up perfectly.
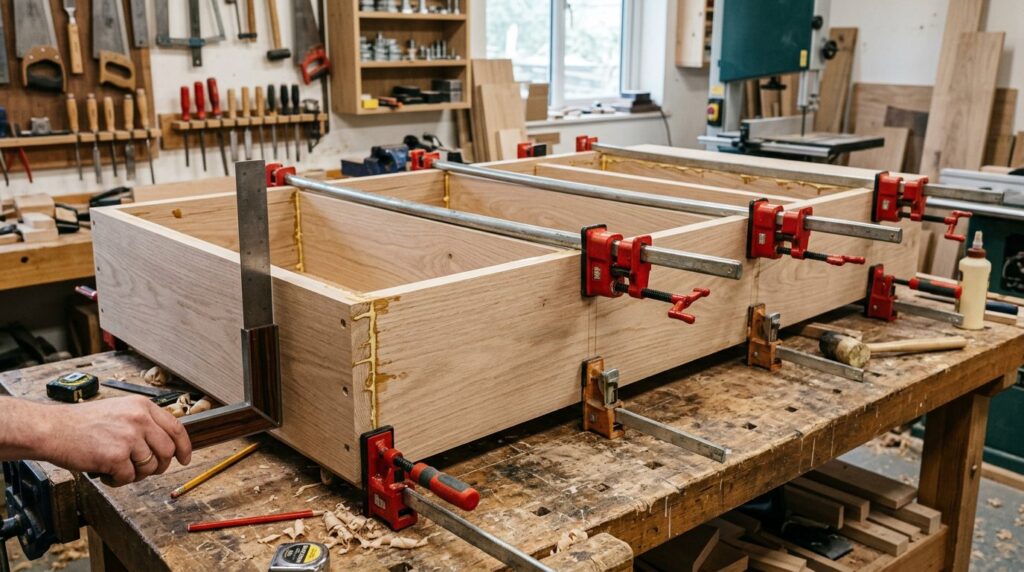
- Glue and screw the bottom between the sides first, then the top. The box is now a rigid U shape.
- Check diagonals with a tape measure and clamp until they match. Do not add shelves until the carcass is square.
- Fit the shelves on pins, or glue and screw fixed shelves in place.
- Attach the back panel square to the carcass, then stand it up.
Build 2: the 3×3 cube grid
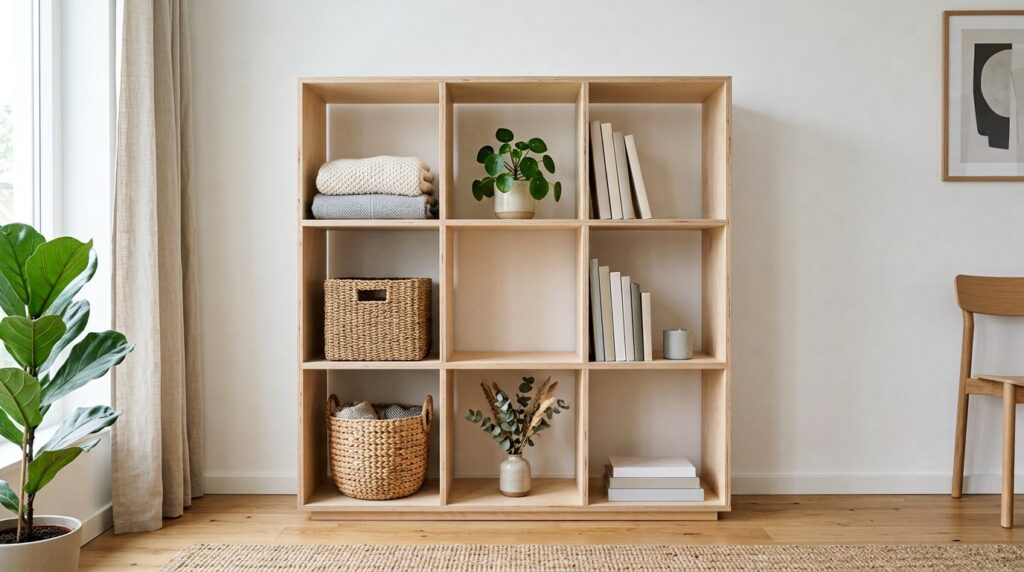
The cube grid is the easiest diy bookshelf build to get right because every compartment is small enough that sag is a non-issue. A 36-inch square footprint in nine 12-inch cubes takes standard fabric baskets and record sleeves, and the whole thing is 13 identical-width panels.
Cut list
| Part | Qty | Size | Notes |
|---|---|---|---|
| Verticals | 4 | ¾ × 12 × 36″ | Full height, full depth |
| Horizontals | 3 sets of 3 | ¾ × 12 × 10½” | Three short pieces between each pair of verticals |
| Top and bottom | 2 | ¾ × 36 × 12″ | Cap the grid |
| Back (optional) | 1 | ¼ × 36 × 36″ | Adds racking resistance |
Assembly is a stack: mark all four verticals identically, glue and screw the three horizontal rows between them, keeping the openings at 12 inches, then cap top and bottom. Screw through the outside of the verticals into the ends of the horizontals and the filled screw heads disappear under paint or edge banding.
Build 3: the leaning ladder shelf
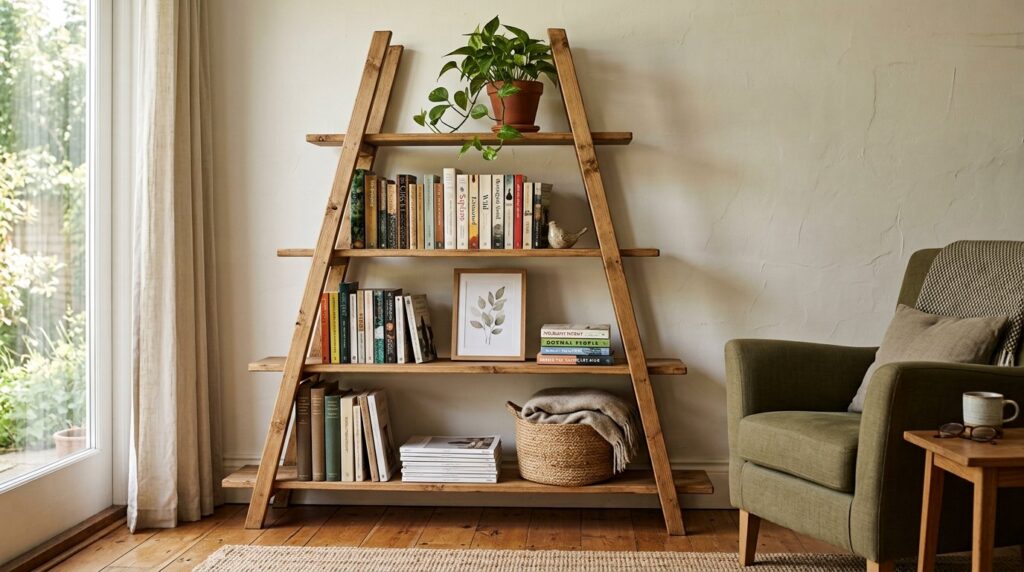
No wall fixings, no back panel, and it comes apart flat if you move. This ladder diy bookshelf leans at about 15 degrees, which means the shelves must be level while the sides are angled — the one geometry trap in this build.
Cut list
| Part | Qty | Size | Notes |
|---|---|---|---|
| Sides (stiles) | 2 | ¾ × 2½ × 76″ | Cut the 15° angle on the base end |
| Shelves | 4 | ¾ × 24 × 10–13″ | Increasing depth from top to bottom: 10, 11, 12, 13″ |
| Cleats | 8 | ¾ × 1½ × 9½” | Two per shelf, screwed under the shelf ends |
Lay the two stiles on the floor at their final 15° angle, spaced 24 inches apart at each shelf position, then sit each shelf on cleats and check it with a spirit level before driving screws. Shelf spacing of 14 inches is the sweet spot: tall enough for most books, short enough to keep four shelves inside 72 inches.
How wide, tall and deep: the numbers that matter
| Dimension | Practical rule | Why |
|---|---|---|
| Overall width | 30–36″ per bay | Wider bays sag; narrower waste material |
| Height | Under 72″ | Above that you need a wall anchor, always |
| Depth | 11–12″ | Takes a 9½” art book with the spine flush |
| Shelf spacing | 10–14″ | 14″ clears most hardbacks, 10″ is fine for paperbacks |
| Bottom shelf height | 4–6″ or flush to floor | Either a plinth or a full-length bottom shelf, not an awkward in-between |
Shelf span and sag: how long a shelf can be
This is the single table worth taping to your shop wall. Shelf sag in a diy bookshelf is a function of span cubed divided by thickness cubed — which is a maths way of saying that doubling the span makes it eight times worse, and doubling the thickness makes it eight times better.
| Shelf material | Safe span, books | Safe span, light decor | Fails at |
|---|---|---|---|
| ¾” plywood | 30–32″ | 36″ | Beyond 40″ it bows visibly |
| ¾” MDF | 28–30″ | 34″ | Sags earlier than ply and never recovers |
| 1×10 pine | 30″ | 36″ | Knots decide where it goes first |
| 1″ oak or maple | 40–42″ | 48″ | Cost, not strength, is the limit |
| ¾” shelf with 1½” front edge | 44–48″ | 54″ | The edge acts as an I-beam flange |
Two cheap fixes if you want a wider bay: glue a 1×2 stiffener under the front edge of the shelf, or add a mid-span divider. Both cost a few dollars and add more rigidity than upgrading the whole sheet to a thicker board.
What a shelf actually carries
Books are heavier than people expect. A shelf of paperbacks runs about 12 pounds per linear foot, hardbacks closer to 18, and a run of art monographs can hit 25. Plan the bottom two shelves for the heavy stuff and keep the top shelf for decor — it is both a strength argument and a stability one.
Fixed shelves, adjustable shelves or dados
Three ways to get a shelf into a case, and each one suits a different skill level and a different job.
- Shelf pins (adjustable): drill ¼-inch holes at 1-inch intervals with a jig. Fast, flexible, and strong enough for a 32-inch bay. Use a brad-point bit so the holes do not tear out.
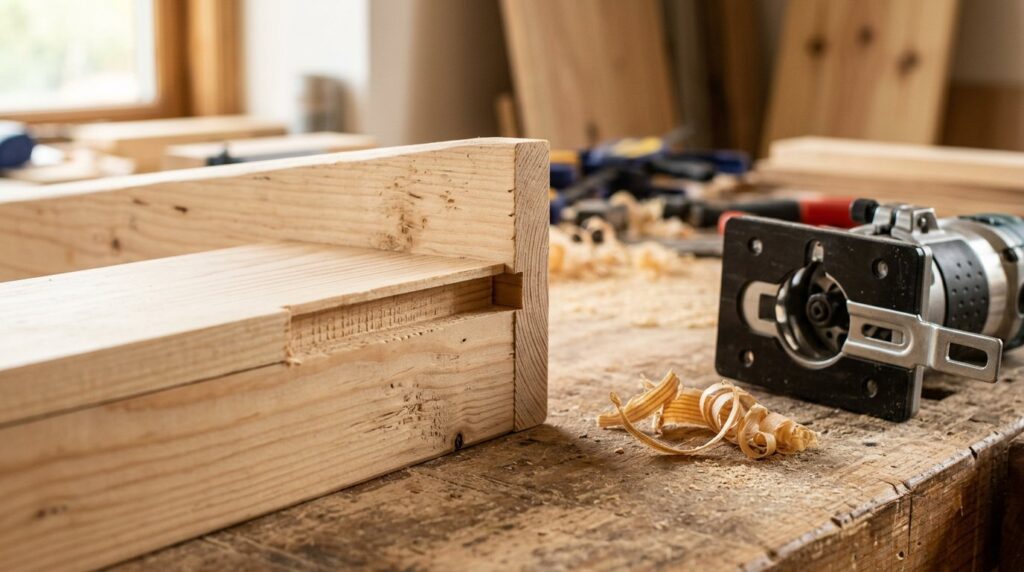
- Dados (fixed, strongest): a routed ¼-inch-deep groove across the side panel gives a mechanical seat that carries far more weight. The shelf cannot drop, move or rack.
- Screws through the side (fixed, easiest): fine for painted utility cases, ugly anywhere the side is visible, and the weakest of the three under a heavy load.
Drilling shelf pins that actually line up
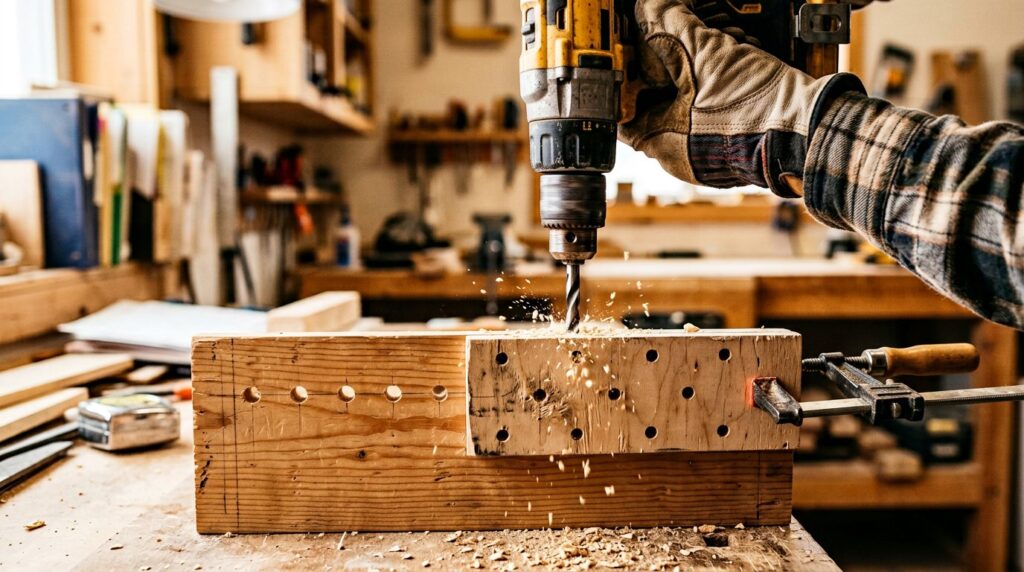
The classic beginner failure is two rows of holes that are an eighth of an inch apart, so every shelf rocks. Fix it with a shop-made jig: a piece of scrap plywood with a ¼-inch hole drilled through it at a fixed distance from one straight edge, plus a pin that engages the hole above.
Clamp the jig to the panel, drill the first hole, drop the pin into it, drill the next, and repeat up the panel. Both sides get drilled from the same jig, which means both rows are identical by construction. A commercial jig does the same thing for about $20.
Fasteners: what to use and what to skip
| Joint | Fastener | Notes |
|---|---|---|
| Sides to top and bottom | 2″ or 2½” #8 wood screws + glue | Pre-drill near plywood edges |
| Fixed shelves to sides | 1¼” pocket screws or 2″ through-screws | Pocket screws hide the heads |
| Back panel to carcass | ¾” staples or ⅝” brads | Every 4–6″ along each edge |
| Face frame | 1¼” screws + glue, or biscuits | Clamp flush before fastening |
| Skirting and plinth | 1¼” screws from inside | Keeps fasteners invisible |
On a diy bookshelf, use glue on every structural joint, even where you screw. Wood glue is stronger than any screw in shear, and the screws exist to clamp the joint while it cures. Avoid drywall screws in furniture — they are brittle and snap under a bookcase that gets moved loaded.
Squaring the carcass, the step everyone rushes
Measure both diagonals of the open diy bookshelf box. If the numbers match, it is square; if they differ by more than 1/16 inch, rack it the other way and re-clamp. This takes ninety seconds and it is the difference between a case that sits flat on the floor and one that rocks forever.
Check a diy bookshelf for square before the back goes on, and again after. The back panel, if it is applied square to the sides, will hold the box in whatever shape it was in when you stapled it — including a bad one.
The back panel does three jobs
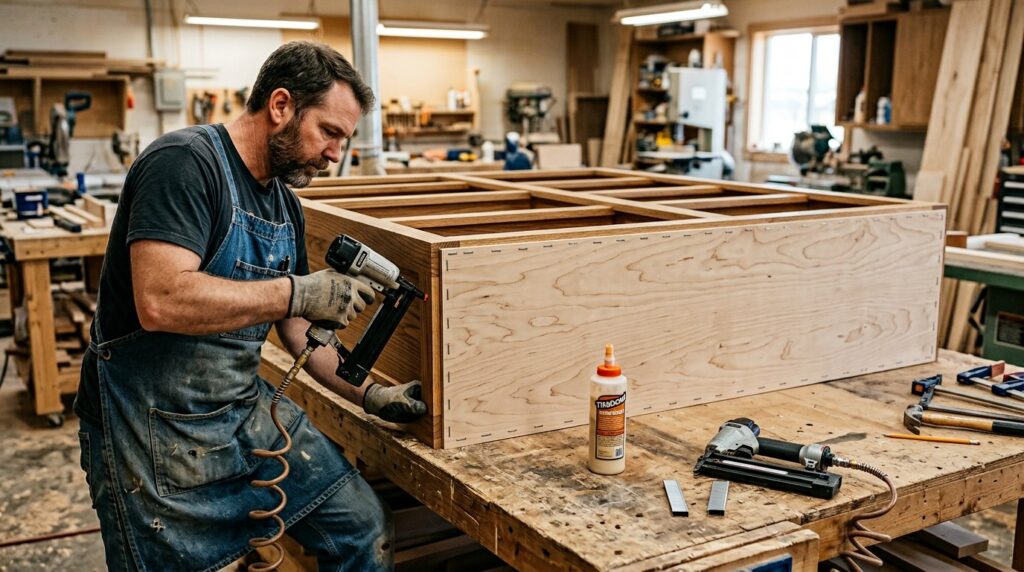
Beginners treat the back of a diy bookshelf as a cosmetic afterthought. It is a structural shear panel: it stops the box racking sideways, keeps the case square under load, and stops books sliding out the back. It also keeps a heavy case off the skirting board, which lets it sit flat against the wall.
Attach it square, staple every 4 to 6 inches along each edge, and set it in a shallow rabbet or just flush to the back face. A case with a glued and stapled back feels completely different to one without — knock on it and you will hear the difference.
Anchoring it to the wall
Any diy bookshelf over 30 inches tall should be anchored, and anything over 48 inches must be. A loaded 60-inch bookcase weighs between 150 and 250 pounds, and a child pulling on the top shelf will tip it.
- Find the studs with a stud finder and mark both edges of each one.
- Use a metal L-bracket at the top, screwed into a stud, or a nylon anti-tip strap rated for the load.
- Leave a ½-inch gap at the back so cables and skirting do not hold the case off the wall.
- On plasterboard with no stud where you need one, use a proper toggle anchor — not a plastic plug.
Edge banding and filling plywood edges
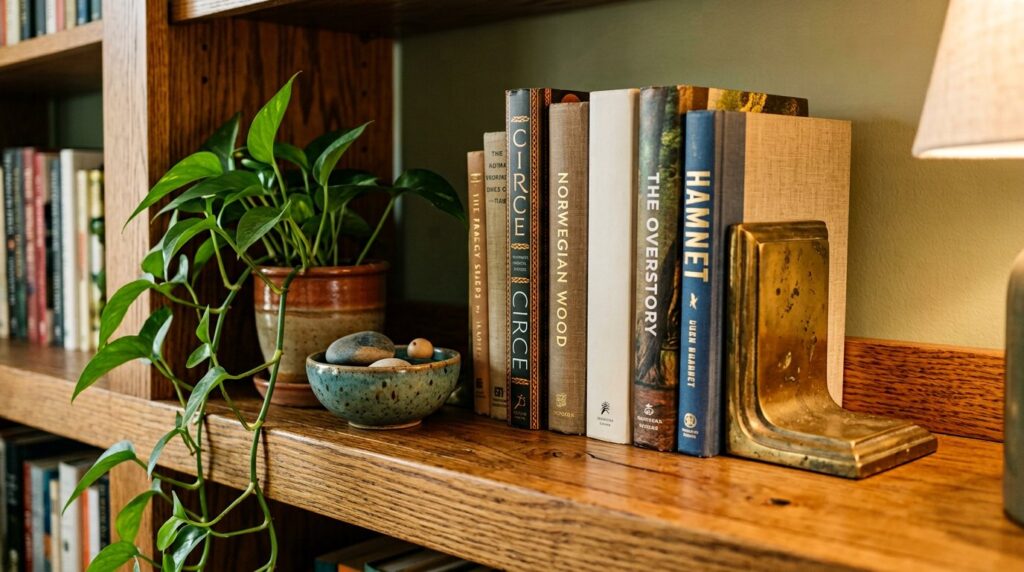
Plywood edges are the giveaway of a home-built diy bookshelf. Three ways to deal with them: iron-on edge banding (fast, neat, colour-matched veneer), solid wood lipping (best looking, needs clamping and planing flush), or simply filling and painting (cheapest, fine for a painted utility case).
On a diy bookshelf, iron-on banding goes on in seconds per strip: trim oversize, iron on, then trim flush with a sharp chisel held flat or a banding trimmer. Lightly sand the corner at 45 degrees so it does not catch on a sleeve. On a $95 bookcase this is the single upgrade that makes it look like a $300 one.
Finish: paint or clear coat
| Finish | Coats | Looks | Notes |
|---|---|---|---|
| Water-based satin poly | 3 | Natural wood, low sheen | Easiest clear coat; dries in 2 hours |
| Oil-based poly | 2–3 | Warmer amber tone | Tougher, but slower and smellier |
| Primer + water-based enamel | 1 + 2 | Solid colour | Best for MDF and cheap ply |
| Hardwax oil | 2 | Matte, natural feel | Beautiful on oak; needs re-oiling |
Sand every diy bookshelf to 180 grit before finishing, raise the grain with a damp rag, sand again at 220, then finish. Sand the shelves and the inside faces before assembly if you can — reaching inside a finished case is miserable.
What it costs
| Item | Build 1 | Build 2 | Build 3 |
|---|---|---|---|
| Sheet goods / boards | ≈$55 | ≈$110 | ≈$30 |
| Back panel | ≈$12 | ≈$14 | — |
| Screws, glue, staples | ≈$12 | ≈$14 | ≈$8 |
| Edge banding | ≈$10 | ≈$12 | — |
| Finish | ≈$15 | ≈$18 | ≈$12 |
| Total | ≈$104 | ≈$168 | ≈$50 |
Prices for each diy bookshelf are 2026 big-box estimates for birch plywood, 1×10 pine and standard hardware. A comparable store-bought case of similar size and thickness runs $250 and up, and it will be particleboard with a paper veneer.
Five mistakes that ruin a first diy bookshelf
- Cutting the shelves to the outside width. The classic diy bookshelf error. Shelves fit between the sides: overall width minus two thicknesses, so 32 minus 1½ = 30½ inches.
- Skimping on the back. No back means a case that racks and feels flimsy no matter how many screws you used.
- Not anchoring. The most common and the most dangerous. Anchor anything over 30 inches tall.
- Trusting the factory edge of a cheap sheet. Check it with a square; if it is off, joint it straight and re-cut everything from that edge.
- Finishing before assembly. You cannot sand or paint inside a closed box properly. Pre-finish inside faces and shelf surfaces first.
Frequently asked questions
What is the cheapest way to build a bookshelf?
A single sheet of three-quarter plywood, a quarter-inch back, a box of screws and a can of paint. Build 1 above comes in near $95–110 and needs no specialist tools beyond a circular saw, a drill and a square.
How wide can a bookshelf shelf be without sagging?
About 32 inches for three-quarter plywood under books, 40 inches for inch-thick hardwood, and 44–48 inches if you add a 1½-inch front edge or a mid-span stiffener.
Do I need a back on a bookshelf?
For strength, yes. The back panel is what stops the case racking sideways. A backless case can be perfectly stable if it has fixed shelves in dados and a kick rail, but for a first build the back is cheap insurance.
Should shelves be fixed or adjustable?
A diy bookshelf with adjustable shelves is more flexible and easier for a beginner. Fixed shelves in dados are stronger and never creep. A common compromise is fixed shelves in dados plus one adjustable shelf per bay.
Can I build a bookshelf from a single sheet of plywood?
Yes — that is exactly what Build 1 is designed around. A 4×8 sheet gives two 60-inch sides, a top, a bottom and three shelves, with the smaller offcuts used for cleats and the plinth.
How do I stop the bookcase wobbling on an uneven floor?
Fix a diy bookshelf wobble before you load it. Shim under the front corner with a plastic or hardwood shim, or fit adjustable levelling feet in the base. A case that is square but rocks on a bad floor is a shimming job, not a rebuild.
What thickness of plywood is best for shelves?
A diy bookshelf shelf should be three-quarter inch (18 mm) for anything holding books. Half-inch sags noticeably past about 24 inches, and MDF sags sooner than plywood at the same thickness.
How long does it take to build a bookshelf?
The Build 1 diy bookshelf takes most people a full day including finishing and a second coat. The cube grid takes two part-days, and the ladder shelf about half a day.
Where to go next
If the case is going on a wall rather than the floor, our DIY floating shelves guide covers the same span and load maths with hidden fixings. Building it into a desk? The floating desk walkthrough uses the identical box-on-a-cleat logic. And before you finish anything, read the sanding and finishing guide — it is the step that decides whether a $95 build looks like a $95 build or a $400 one.